概要
- 公式ドキュメントをみたが名前を固定にしないといけない感じだったので。
- あと、毎回ググってるので備忘録
1. githubでリポジトリ作成
- 好きな名前でリポジトリ名を作成
- readmeを自動で作る設定を押す
- publicで作るか有料版で作らないとgithubPagesは使えないので注意
2. localでcreate-react-app
$ git clone リポジトリのURL$ create-react-app リポジトリ名と同じapp名$ cd app名$ mv -f ./* ../-
$ mv .gitignore ../- 階層が一つネストされてしまうので、中のファイルを全部うつす
-
$ ls -aをして残っているファイルがないか確認 - 大体
.gitignoreなどの隠しファイル系が残っているので、それも上に移動
$ cd ../$ rm -rf app名
3. gh-pagesを入れる
$ npm install --save-dev gh-pages
4. package.jsonを編集
{
  "homepage": "https://<組織 or ユーザ名>.github.io/<リポジトリ名>/",
  // 省略
  "scripts": {
    "start": "react-scripts start",
    "build": "react-scripts build",
    "test": "react-scripts test",
    "eject": "react-scripts eject",
    "predeploy": "npm run build",
    "deploy": "gh-pages -d build"
  },
  // 省略
}
5. 画像がpublicにあるとgithubPagesでは読んでくれないので移動
$ cd ./src$ mkdir images$ mv ../public/* images/-
$ mv ./images/index.html ../public/- この時、index.htmlだけはpublicに残しておく
6. App.js側ではimgをimportして使う
import hogeImg from './images/hoge.jpg'

function App() {
  return (
    <div>
        <img src={hogeImg} alt="hogeの画像" />
    </div>
  )
}
7. デプロイ
$ npm run deploy
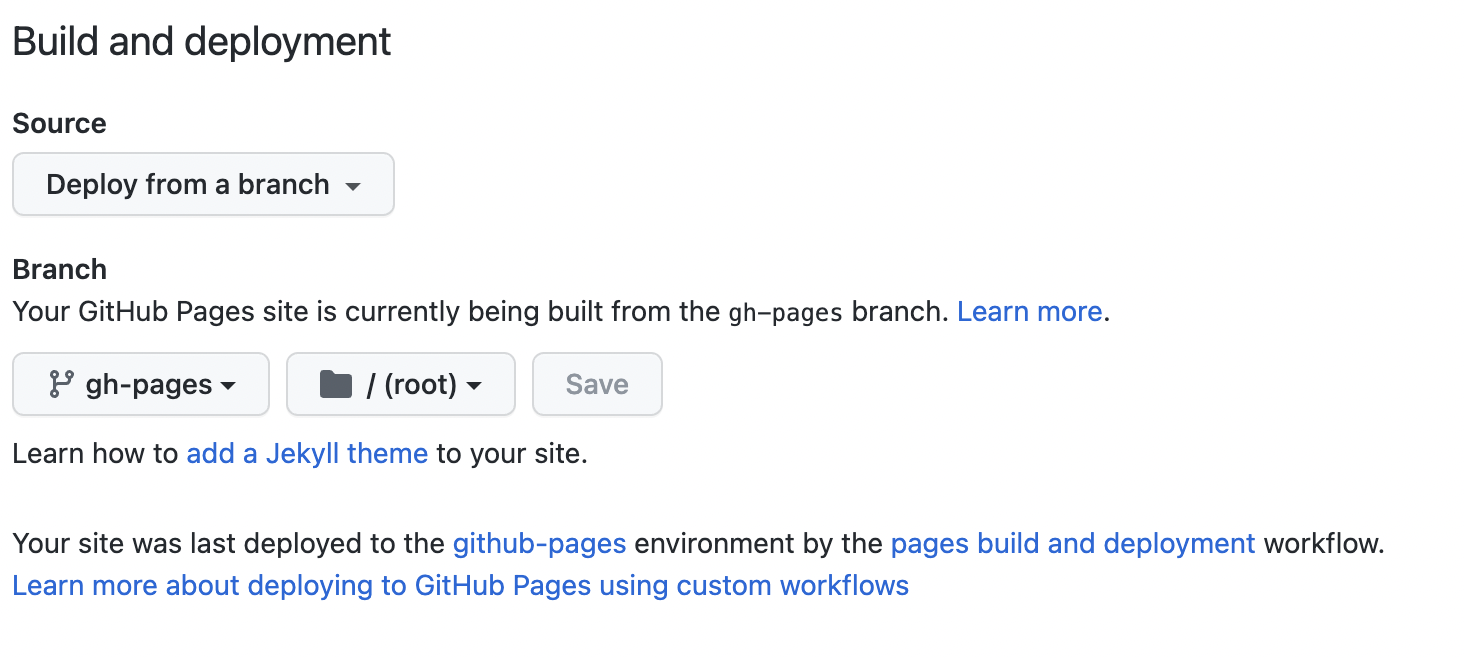
8. github側でpagesの設定
9. アクションで確認
https://github.com/<組織名 or ユーザ名>/<リポジトリ名>/actions- buildが走っていて緑になっていればok
10. github.ioで確認
https://<組織名 or ユーザ名>.github.io/<リポジトリ名>/
