はじめに
AWS Backupサービスがリリースされ、EFSのバックアップ/リストアが可能になったため試してみます。
ファイル単位でリストアできると最高ですが、現状はファイルシステム単位のリストアでバックアップ取得したファイルシステムに対して直接リストアする方法と、新しくファイルシステムを作成する方法が選べます。
直接リストアした場合は、任意のディレクトリが作成されその配下にファイルがリストアされます。
https://aws.amazon.com/jp/backup/getting-started/
https://docs.aws.amazon.com/ja_jp/aws-backup/latest/devguide/create-a-scheduled-backup.html
https://docs.aws.amazon.com/ja_jp/aws-backup/latest/devguide/create-a-scheduled-backup.html
https://docs.aws.amazon.com/ja_jp/aws-backup/latest/devguide/monitor-and-verify-protected-resources.html
やってみた
バックアッププランを作成します。

Build a new planを選択し、Backup plan nameを入力する。

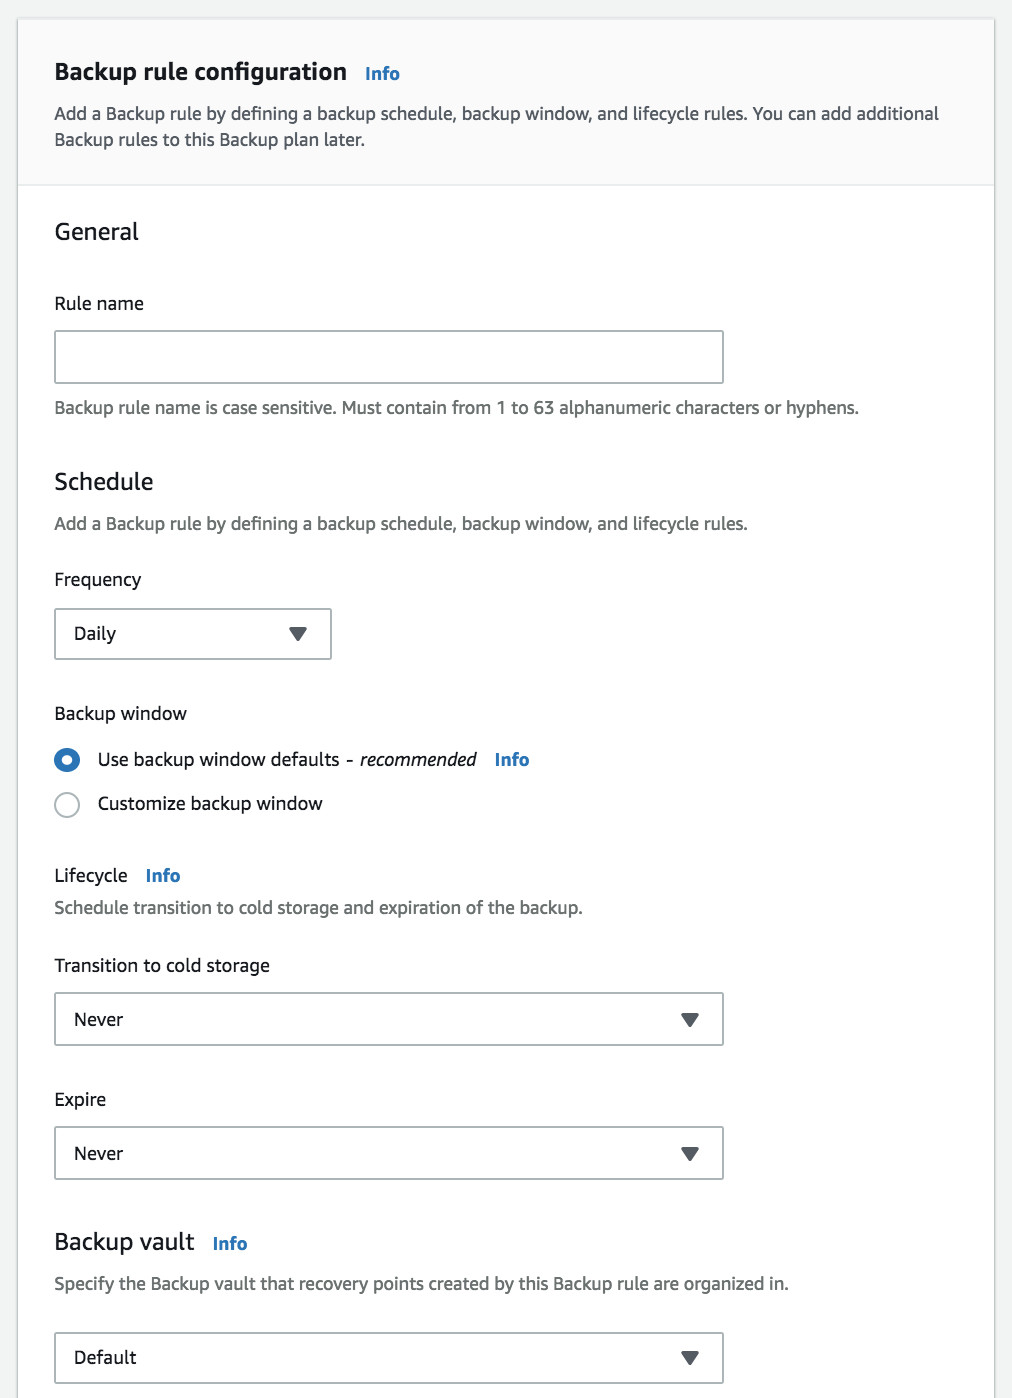
Rule name:任意のルール名を入力してバックアッププランを作成する。
Schedule:Every 12 hours/Daily/Weekly/Monthly/Custom Cron Expressionから選択
Cronの記載方法は以下を参照
https://docs.aws.amazon.com/ja_jp/AmazonCloudWatch/latest/events/ScheduledEvents.html
1時間以内のインターバルは設定できません。

Backup window:バックアップウィンドウを指定する※デフォルトはUTC5AMから8時間
Lifecycle:ライフサイクルの設定を指定
Backup vault:AWS Backupが取得するバックアップの管理単位をVaultと呼ぶ。ここではVaultの設定が可能。
Assign resourcesをクリックする。

Resource Assign Nameを入力する。
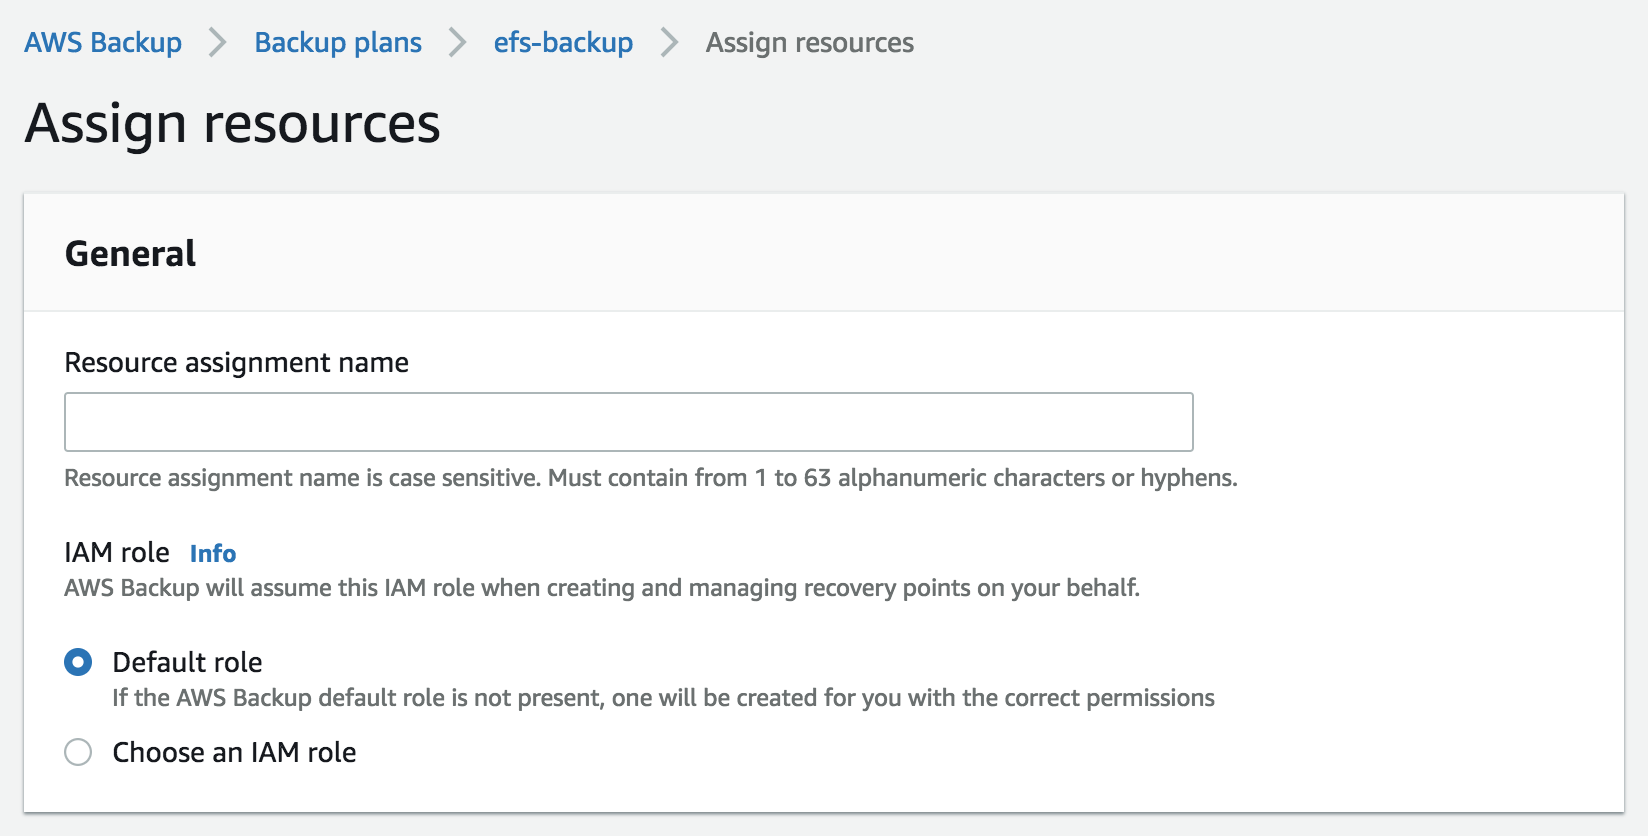
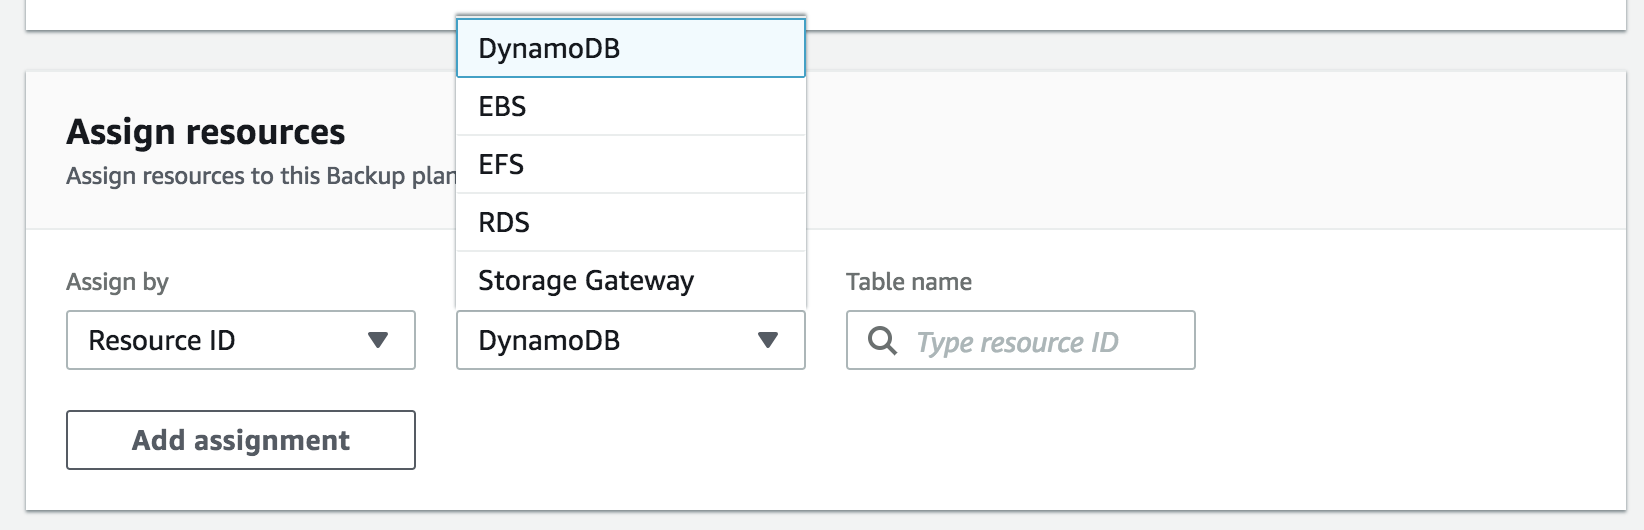
TAGかResource IDでバックアップ対象のリソースを指定して作成する。
指定した時間デバックアップが取得できていることを確認する。
AWS Backup>Backup vaults>vault名

確認
バックアップ取得時点では、EFS上に空のa.txtとb.txtが存在する。
$ mount
fs-6feb7a16.efs.us-east-2.amazonaws.com:/ on /home/ec2-user/efs type nfs4 (rw,relatime,vers=4.1,rsize=1048576,wsize=1048576,namlen=255,hard,noresvport,proto=tcp,timeo=600,retrans=2,sec=sys,clientaddr=172.31.32.105,local_lock=none,addr=172.31.33.16)
$ ls -l efs/
total 8
-rw-r--r-- 1 root root 0 Jan 23 04:47 a.txt
-rw-r--r-- 1 root root 0 Jan 23 05:01 b.txt
a.txtファイルを削除して、b.txtファイルに書き込みします。
$ sudo rm efs/a.txt
$ sudo vi efs/b.txt
$ ls -l efs/
total 4
-rw-r--r-- 1 root root 5 Jan 23 08:27 b.txt
AWS Backup>Backup vaults>vault名から任意のRecovery point IDをクリックする。
Restoreをクリックする。

直接既存のEFSファイルシステムにリストアするか、新しいEFSファイルシステムを作成するかを指定する。

ここでは、Restore to directory in source file systemを指定してRestore backupをクリックする。
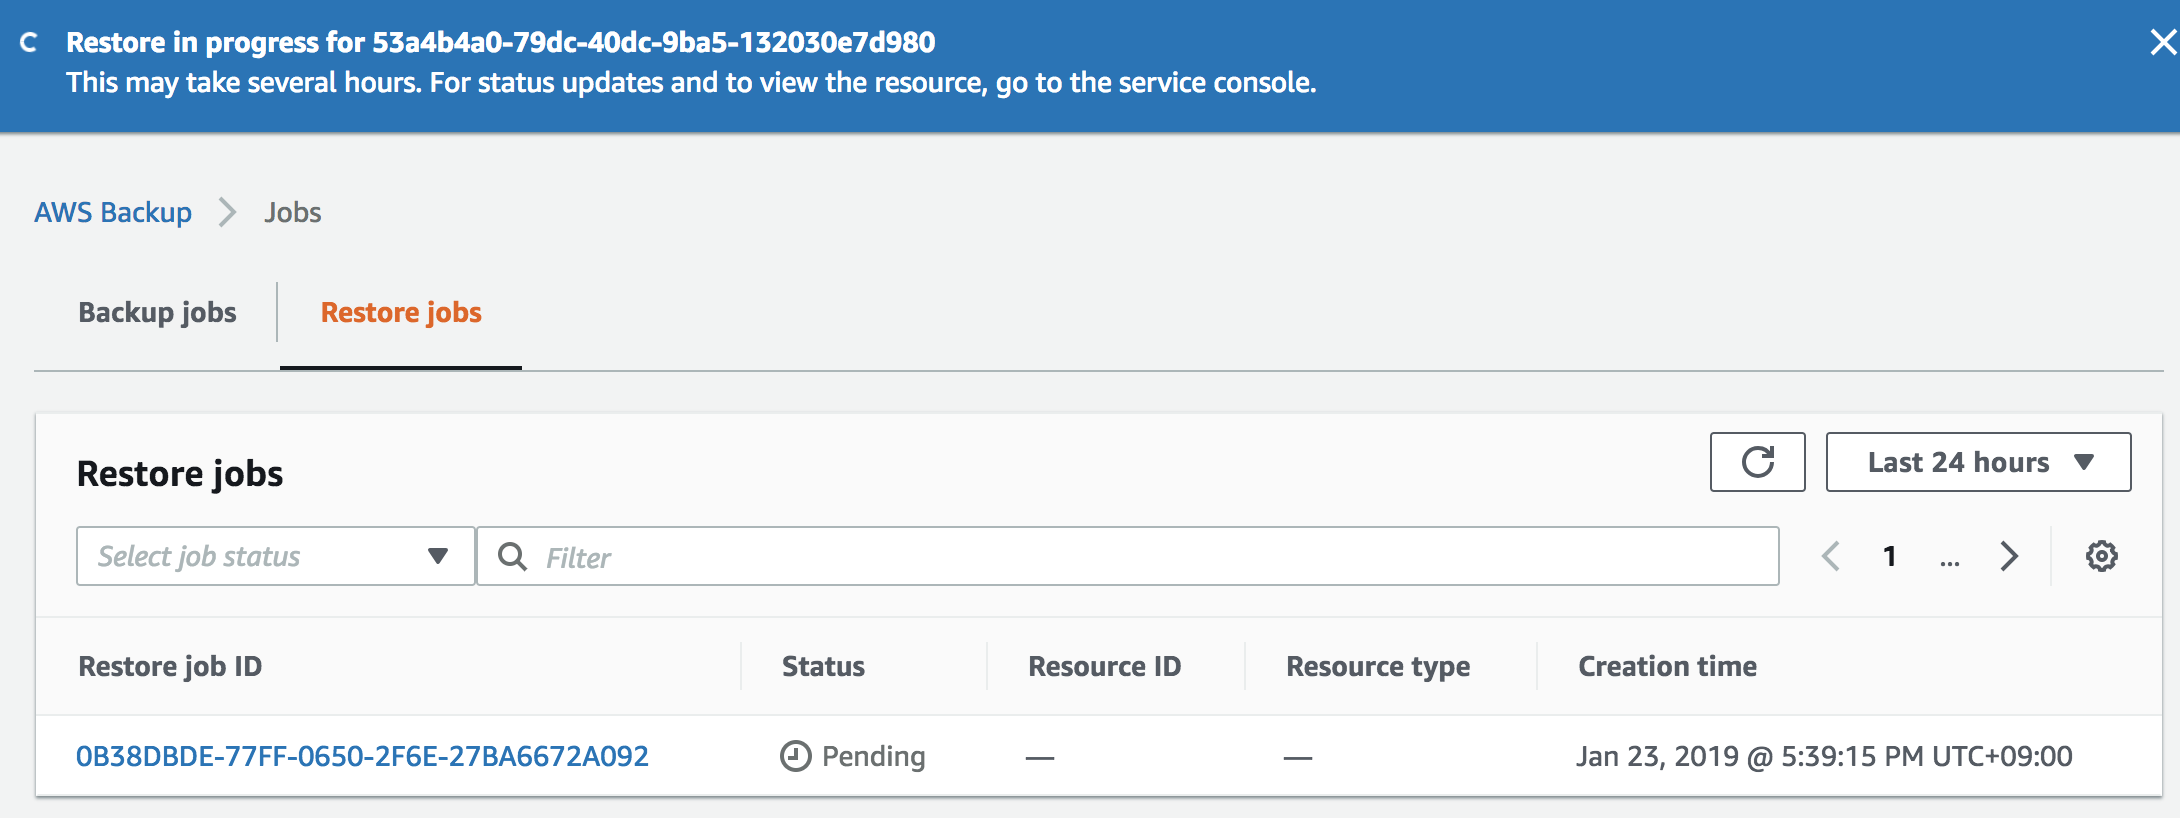
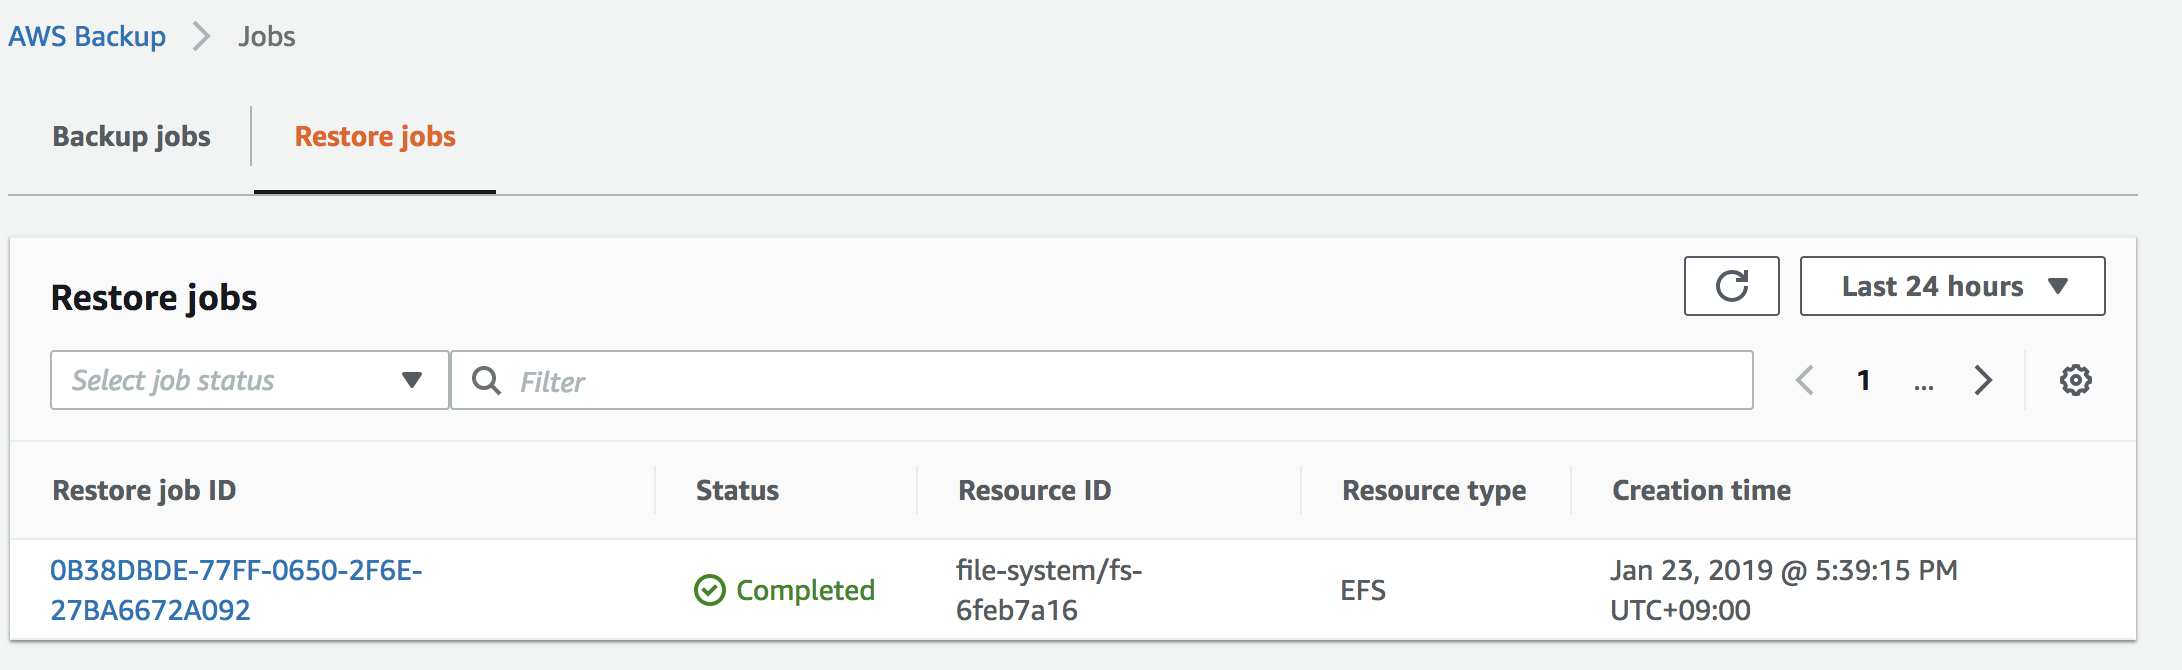
2ファイルしかないので10分以内に完了していた。
aws-backup-restore_2019-01-23T08-49-32-134Zが作成されている。
$ ls -l efs/
total 8
drwxr-xr-x 3 root root 6144 Jan 23 08:49 aws-backup-restore_2019-01-23T08-49-32-134Z
-rw-r--r-- 1 root root    5 Jan 23 08:27 b.txt
aws-backup-restore_2019-01-23T08-49-32-134Z配下にファイルがリストアされた。
[ec2-user@ip-172-31-32-105 ~]$ ls -l efs/aws-backup-restore_2019-01-23T08-49-32-134Z/
total 44
-rw-r--r-- 1 root root     0 Jan 23 04:47 a.txt
drw--w---- 2 root root 38912 Jan 23 08:49 aws-backup-lost+found_2019-01-23T08-49-18-134Z
-rw-r--r-- 1 root root     0 Jan 23 05:01 b.txt
お約束
投稿内容は私個人の意見であり、所属企業・部門見解を代表するものではありません。