はじめに
Swift UIを初めて触れたので序の序の書き方について記載していきます。
細かいSwiftの文法etcについては以下の記事を見てください。
モディファイアとは
- Viewの見た目や機能を変えるためのもの
モディファイアの一例
ContentView.swift
import SwiftUI

struct ContentView: View {
    var body: some View {
        VStack {
            Image(systemName: "globe")
                .imageScale(.large) // 画像の大きさを設定するモディファイア
                .foregroundColor(.accentColor) // 色を指定するモディファイア
            Text("Hello, world!")
                .foregroundColor(.green) // 上のTextの色を変更するモディファイア
        }
        .padding()
    }
}

struct ContentView_Previews: PreviewProvider {
    static var previews: some View {
        ContentView()
    }
}
Text
- 文字列を表示させるもの
一例
ContentView.swift
import SwiftUI

struct ContentView: View {
    var body: some View {
        VStack {
            Image(systemName: "globe")
                .imageScale(.large)
                .foregroundColor(.accentColor)
            Text("Hello, world!") // ここ
        }
        .padding()
    }
}

struct ContentView_Previews: PreviewProvider {
    static var previews: some View {
        ContentView()
    }
}
プレビューのTextの上で、「Command+クリック」をすることで、Swift UI inspectorを起動させることが出来、色やフォント、字体などを簡単に変更できる
List
- 複数のUI部品を縦に並べて表示させるもの
一例
ContentView.swift
import SwiftUI

struct ContentView: View {
    var body: some View {
        VStack {
            Image(systemName: "globe")
                .imageScale(.large)
                .foregroundColor(.accentColor)
            List {
                Text("リンゴ")
                    .padding()
                Text("レモン")
                    .padding()
                Text("オレンジ")
                    .padding()

            }
        }

    }
}

struct ContentView_Previews: PreviewProvider {
    static var previews: some View {
        ContentView()
    }
}
これでリスト上で表示される。

NavigationTitle
- タイトルを作るモディファイア
ContentController.swift
import SwiftUI

struct ContentView: View {
    var body: some View {
        NavigationStack {
            Text("Hello")
                .navigationTitle(Text("タイトル"))
        }
    }
}

struct ContentView_Previews: PreviewProvider {
    static var previews: some View {
        ContentView()
    }
}
これでタイトルがつく。
↓こんな感じ

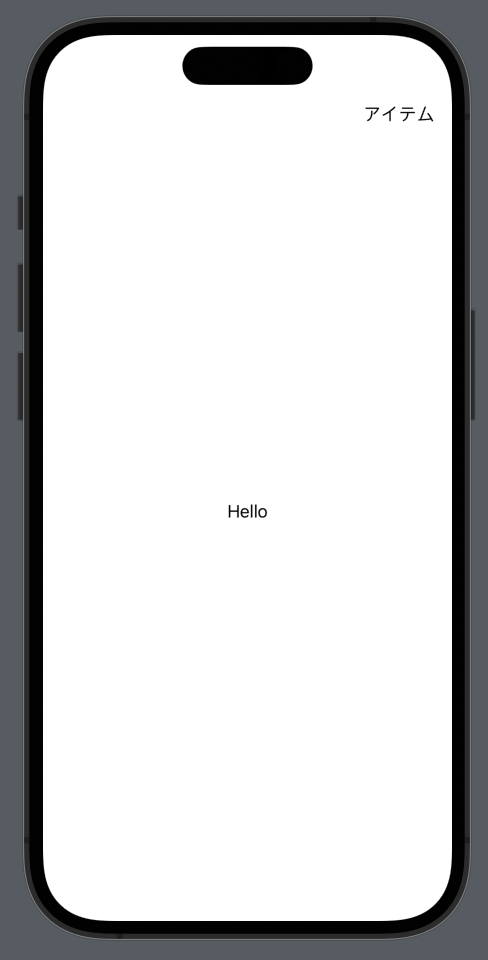
ToolbarItem
- toolbarにViewを配置するためのモディファイア
- toolbarとは
- 画面上部や下部に配置されるボタンやアイコンなどの集合
- ex). 戻るボタン、検索ボタン
ContentView.swift
import SwiftUI

struct ContentView: View {
    var body: some View {
        NavigationStack {
            Text("Hello")
                .toolbar {
                    ToolbarItem {
                        Text("アイテム")
                    }
                }
        }
    }
}

struct ContentView_Previews: PreviewProvider {
    static var previews: some View {
        ContentView()
    }
}
↓こんな感じ
TiilbarItemの位置を変える
ContentView.swift
import SwiftUI

struct ContentView: View {
    var body: some View {
        NavigationStack {
            Text("Hello")
                .toolbar {
                    ToolbarItem(placement: .navigationBarLeading) {
                        Text("アイテム")
                    }
                }
        }
    }
}

struct ContentView_Previews: PreviewProvider {
    static var previews: some View {
        ContentView()
    }
}
これで左寄せでToolbarItemが表示される。
右寄せにしたい場合は
ToolbarItem(placement: .navigationBarLeading)
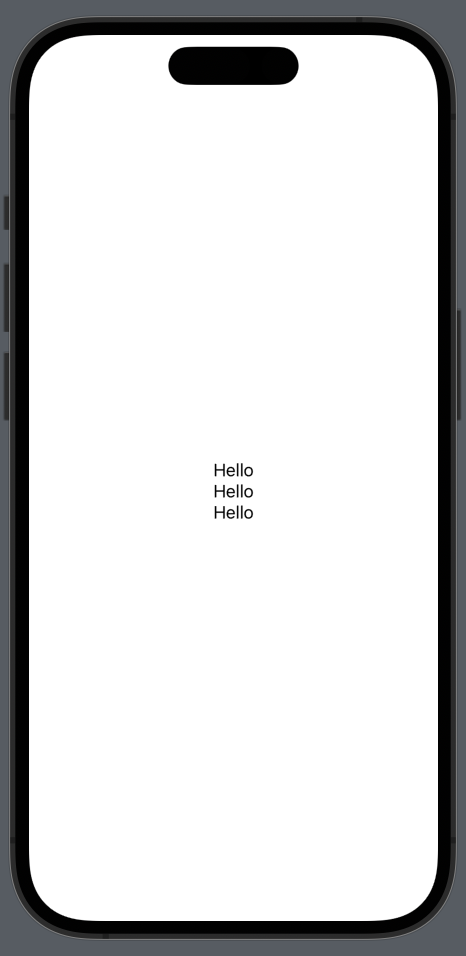
HStack
- 複数のViewを水平方向(横)に配置するためのもの
ContentView.swift
import SwiftUI

struct ContentView: View {
    var body: some View {
        HStack {
            Text("Hello")
            Text("Hello")
            Text("Hello")
        }
    }
}

struct ContentView_Previews: PreviewProvider {
    static var previews: some View {
        ContentView()
    }
}
↓こんな感じ

VStack
- 複数のUI部品を垂直方向(縦)に配置するためのもの
ContentView.swift
import SwiftUI

struct ContentView: View {
    var body: some View {
        VStack {
            Text("Hello")
            Text("Hello")
            Text("Hello")
        }
    }
}

struct ContentView_Previews: PreviewProvider {
    static var previews: some View {
        ContentView()
    }
}
↓こんな感じ
font
- 文字の大きさを変えるモディファイア
ContentView.swift
import SwiftUI

struct ContentView: View {
    var body: some View {
        VStack {
            Text("Hello")
                .font(.headline)
            Text("Hello")
                .font(.title)
            Text("Hello")
                .font(.largeTitle)
        }
    }

}

struct ContentView_Previews: PreviewProvider {
    static var previews: some View {
        ContentView()
    }
}
指定できるフォントサイズは以下の通り(大きい順に記載)
- largetitle
- title
- headline
- body
- callout
- subheadline
- footnote
- caption
Button
- クリックしたときに何らかの処理を行うView
- 見た目にはTextなどのViewを使う
ContentView.swift
import SwiftUI

struct ContentView: View {
    var body: some View {
        Button(action: Report) {
            Text("ボタンを押してください")
        }
    }
}

func Report() {
    print("ボタンが押されました。")
}

struct ContentView_Previews: PreviewProvider {
    static var previews: some View {
        ContentView()
    }
}
↓こんな感じ

さいごに
長くなりそうなので今回はここまで。
今回はSwift UIの序の序について記載しましたが、次はもう少し踏みこんだ内容について記載していこうと思います!
参考文献