はじめに
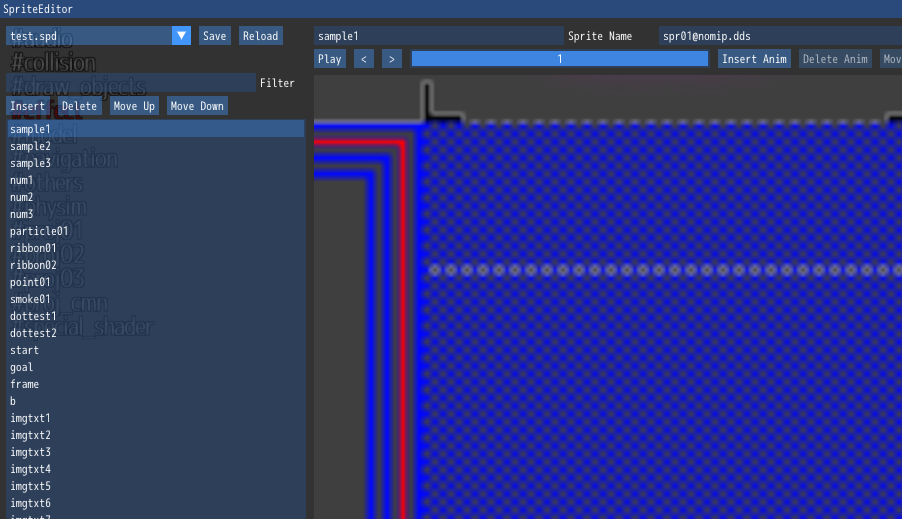
dear imguiではテクスチャサンプラ設定が固定されており、普通にスケーリングして描画すると下画像のようにバイリニア補間が掛かります。

通常はこれで問題になることはありませんが、今回はスプライトエディタで拡大表示した場合にドット境界がわかりづらくなってしまうので補間をOFFにする必要が発生しました。
本稿ではその具体的な方法について記載します。
対処法
imguiではImGui::Imageなどのコマンドは内部的に配列に格納され、実行した順に描画されます。
ImGui::GetWindowDrawList()->AddCallback()によってコールバックを差し込むことで
ユーザ側から任意のタイミングで任意のコードを実行できます。
そこでスプライト画像を描画する直前にID3D11DeviceContext::PSSetSamplers()に別途作成した補間無し版のサンプラステートを設定することでバイリニア補間をOFFにすることができます。描画後はAddCallbackにImDrawCallback_ResetRenderStateを渡すことで適用した変更を戻しておきます。
具体的には以下のようになります。
# サンプラステートを変更
ImGui::GetWindowDrawList()->AddCallback(
  [](const ImDrawList* parent_list, const ImDrawCmd* cmd) {
    imm_context_->PSSetSamplers(0, 1, my_sampler_state.GetAddressOf());
  },
  nullptr);

# スプライト画像をスケーリングして表示
auto size = ImVec2(tex_rb_->width() * view_scale_, tex_rb_->height() * view_scale_);
ImGui::Image(tex_rb_->srv_.Get(), size);

# 変更した設定を元に戻す
ImGui::GetWindowDrawList()->AddCallback(ImDrawCallback_ResetRenderState, nullptr);
