4/2にTerraform 0.4.0がリリースされDocker、OpenStackなどのプロバイダー追加をはじめとして多くの機能が追加されました。(CHANGELOG.md)
今回は追加された機能の一つであるTerraformの出力を別のTerraformから利用するためのリソースterraform_remote_state を試してみます。
概要
Terraformはデフォルトで状態をterraform.tfstateというファイルとしてローカルに保存します。バージョン0.3.5からローカルの代わりにConsulやAtlasをバックエンドとしてリモートに保存することが可能になりました。
バージョン0.4.0ではリモートに保存された状態をterraform_remote_state というリソースを用いて参照し、別のTerraformの中で利用することができるようになりました。
テスト環境
Remote stateはhttp, consul, Atlasをバックエンドとして使用する事ができますが、今回は導入・設定が簡単で、UIを使用してTerraformがセットしている値を容易に確認できるconsulを例として使用します。
下記がインストールされた環境を用意します。
- Terraform (0.4.0以降)
- Consul (0.5.0以降)
- Consul UI (0.5.0以降)
以下にIDCFクラウドのVagrantfileがあります。
https://github.com/atsaki/vagrant-examples/tree/master/terraform-remote
使い方
レポジトリの作成
まず1つめのレポジトリを作成します。出力として別のTerraformに渡したい値をoutputとして書いておきます。(現状ではoutputしている値のみ渡す事が可能です。)
$ mkdir -p ~/terraform-remote/repo1
$ cd ~/terraform-remote/repo1
$ cat << EOS > repo1.tf
output "repo1_output" {
  value = "Output from repo1"
}
EOS
Remote stateを有効にする
consulに状態を保存するため以下のコマンドを実行します。
$ terraform remote config -backend consul -backend-config="path=repo1"
Initialized blank state with remote state enabled!
Remote state configured and pulled.
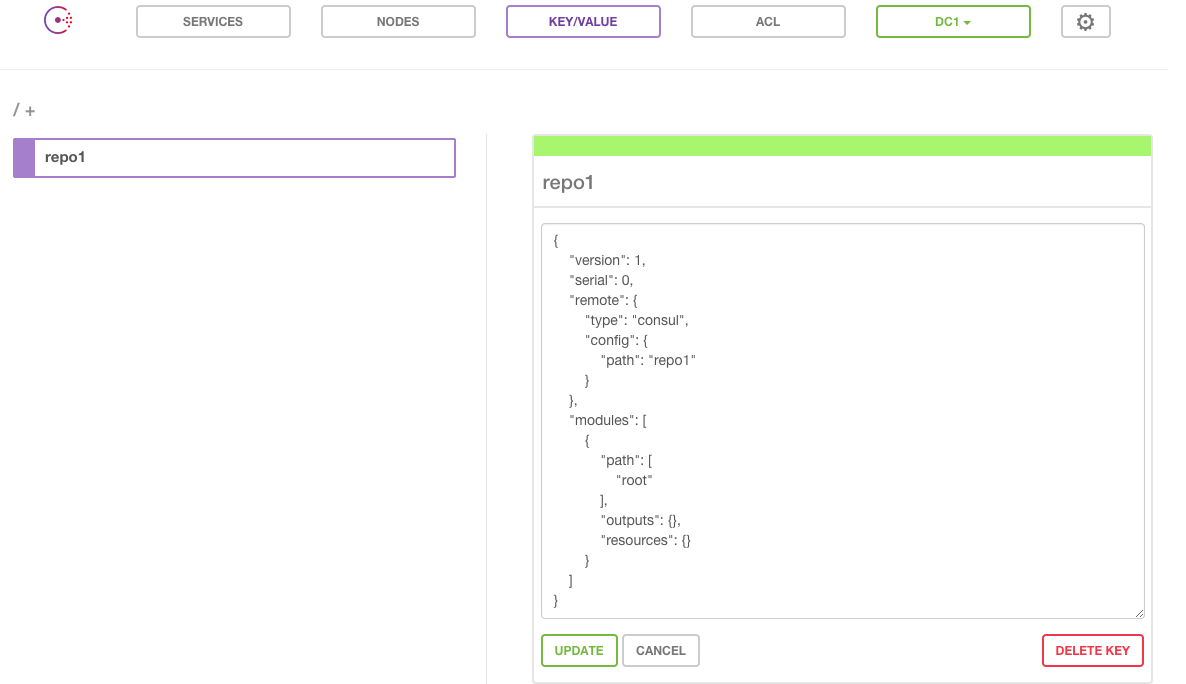
consulのUIを確認すると指定したpathに空の状態が保存されていることが確認できます。
Terraformの状態をリモートに保存する
Remote stateが有効化されている状態でterraform apply すると、アップデートされた情報が自動的にconsulに保存されます。
$ terraform apply

Apply complete! Resources: 0 added, 0 changed, 0 destroyed.

Outputs:

  repo1_output = Output from repo1
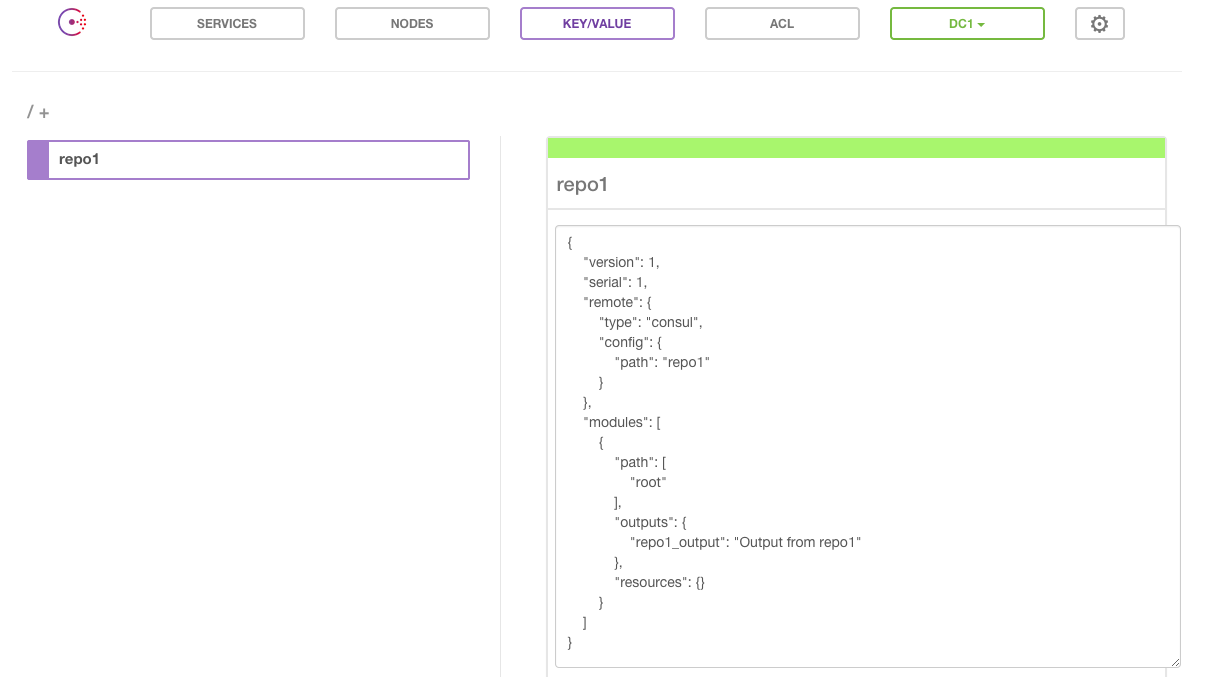
consulのUIを確認するとoutputsに値が入っていることが確認できます。
リモートのTerraformの状態を参照する
リモートに状態を保存できたので、もう一つレポジトリを作成し参照してみましょう。
リモートの状態はterraform_remote_state というリソースを使って取得することができます。configにはrepo1で指定した情報を記入します。
リソースの値を参照する方法は他のリソースと同じです。今回は単にoutputで出力します。
$ mkdir -p ~/terraform-remote/repo2
$ cd ~/terraform-remote/repo2
$ cat << EOS > repo2.tf
resource "terraform_remote_state" "repo1" {
    backend = "consul"
    config {
        path = "repo1"
    }
}

output "repo1_output" {
  value = "\${terraform_remote_state.repo1.output.repo1_output}"
}
EOS
terraform apply するとrepo1で設定したメッセージが出力されます。
$ terraform apply
terraform_remote_state.repo1: Creating...
  backend:     "" => "consul"
  config.#:    "" => "1"
  config.path: "" => "repo1"
  output.#:    "" => "<computed>"
terraform_remote_state.repo1: Creation complete

Apply complete! Resources: 1 added, 0 changed, 0 destroyed.

The state of your infrastructure has been saved to the path
below. This state is required to modify and destroy your
infrastructure, so keep it safe. To inspect the complete state
use the `terraform show` command.

State path: terraform.tfstate

Outputs:

  repo1_output = Output from repo1
参照元を変更する
repo1を変更した際、repo2の出力も変わることを確認します。
まずrepo1の設定を変更し、terraform apply で反映させます。
$ cd ~/terraform-remote/repo1
$ cat << EOS > repo1.tf
output "repo1_output" {
  value = "Modified output from repo1"
}
EOS
$ terraform apply

Apply complete! Resources: 0 added, 0 changed, 0 destroyed.

Outputs:

  repo1_output = Modified output from repo1
repo2でterraform apply を再実行すると、メッセージの変更が反映されています。
$ cd ~/terraform-remote/repo2
$ terraform apply
terraform_remote_state.repo1: Refreshing state... (ID: 2015-04-04 10:34:03.745421914 +0000 UTC)

Apply complete! Resources: 0 added, 0 changed, 0 destroyed.

Outputs:

  repo1_output = Modified output from repo1
最後に
terraform_remote_state を利用して異なるレポジトリのTerraformの値を参照できることが確認できました。実際に使用する際には、渡したいリソースの値を参照してoutputで出力します。(参考に上げているブログにあるようにoutput専用のファイルを作成しておくのが良さそうです。)