RaspberryPiで動く何かを、OSX上でコーディングしてビルドするための環境セットアップのメモです。
Ubuntu@VirtualBoxにEclipseをセットアップし、C言語を用いてRaspbian用にクロスコンパイル&リモートデバッグ、がゴールです。
環境
- ターゲット : RaspberryPi2 ModelB
- ターゲットのOS : Raspbian
- ホストPC : OSX Yosemite
- 仮想マシン : Ubuntu14.04 @ VirtualBox
前提
- VirtualBox + Ubuntu は、Mac上にセットアップ済み
- RaspberryPiへは、MacからSSH接続できること
Eclipseのインストール
https://eclipse.org/downloads/
CDTがバンドルされたEclipse(Linux64bit)をダウンロード&展開します。
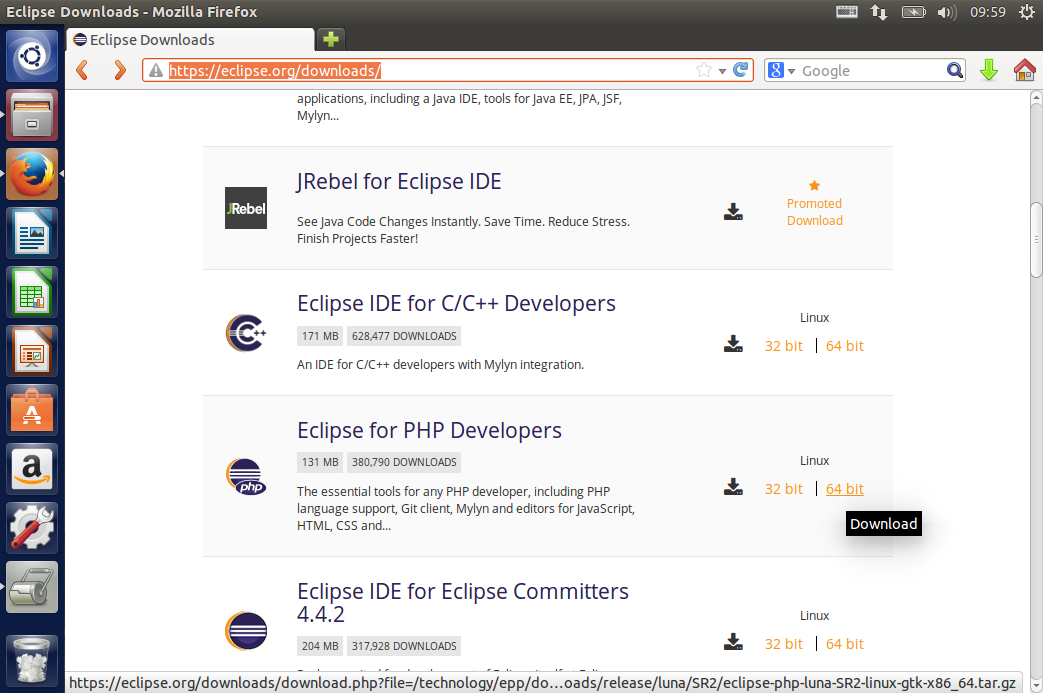
ホームに展開して起動!JREが無いと怒られました (´・ω・`)
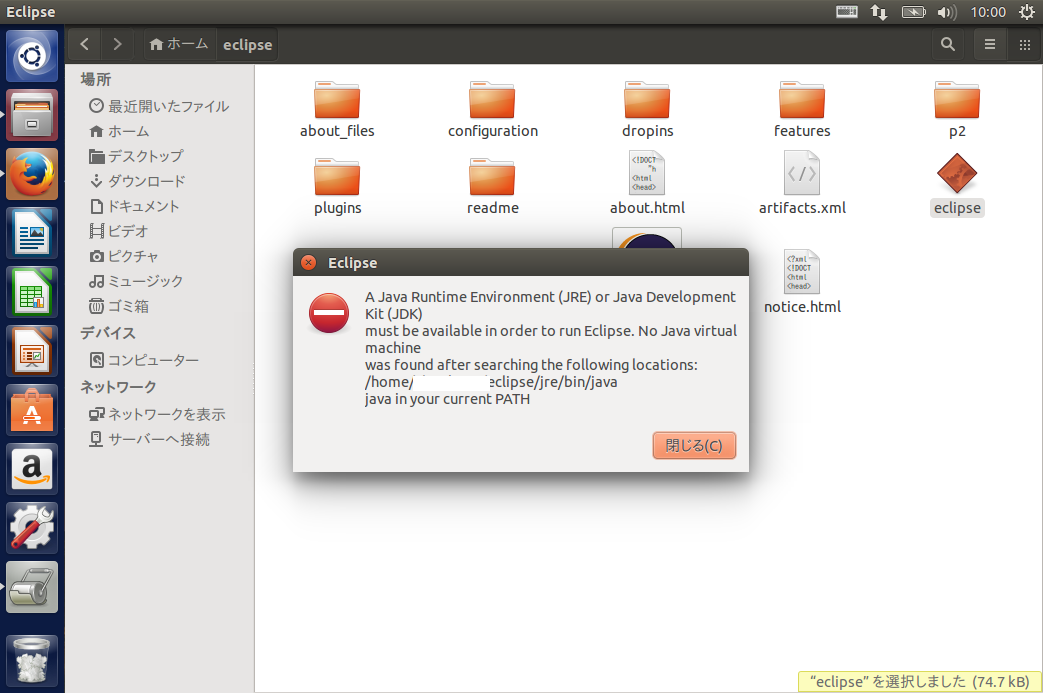
JDKのインストール
oracleのJDKだといろいろ面倒なことがあったので、OpenSDKをインストールします。
sudo apt-get install openjdk-7-jdk
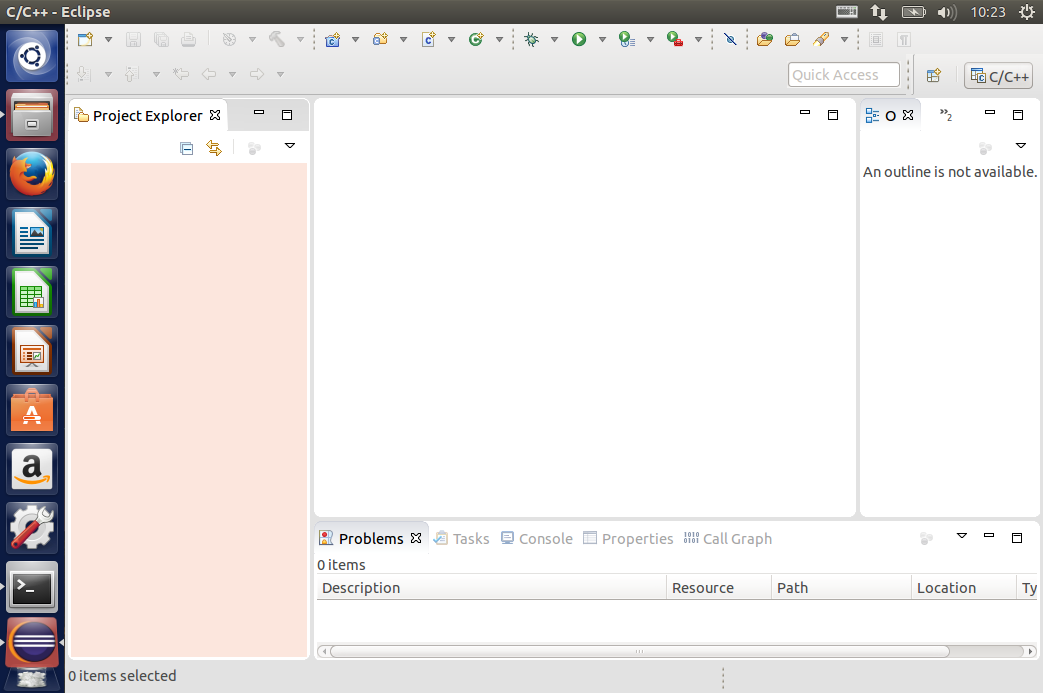
Eclipseが起動するかどうか確認します。起動しましたね。
RaspberryPi用のコンパイラおよびツールのインストール
まずはgitをインストール。
sudo apt-get install git
適当にディレクトリを作りクローンします。
mkdir raspi
cd raspi
git clone git://github.com/raspberrypi/tools.git
シェルにパスを通しておきます。.bashrcに以下を追加します。
export PATH=$HOME/raspi/tools/arm-bcm2708/gcc-linaro-arm-linux-gnueabihf-raspbian-x64/bin:$PATH
EclipseでRaspberryPi用のプロジェクトを作成する
File → New から C Projectを選択します。ToolChainは Cross GCC を選択します。
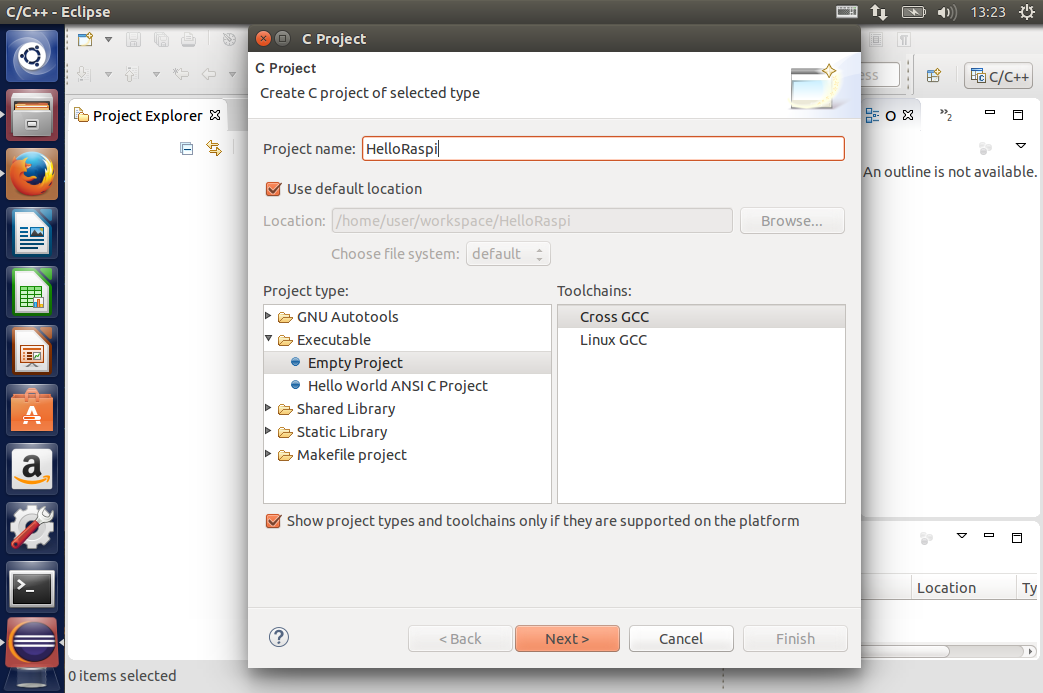
Next

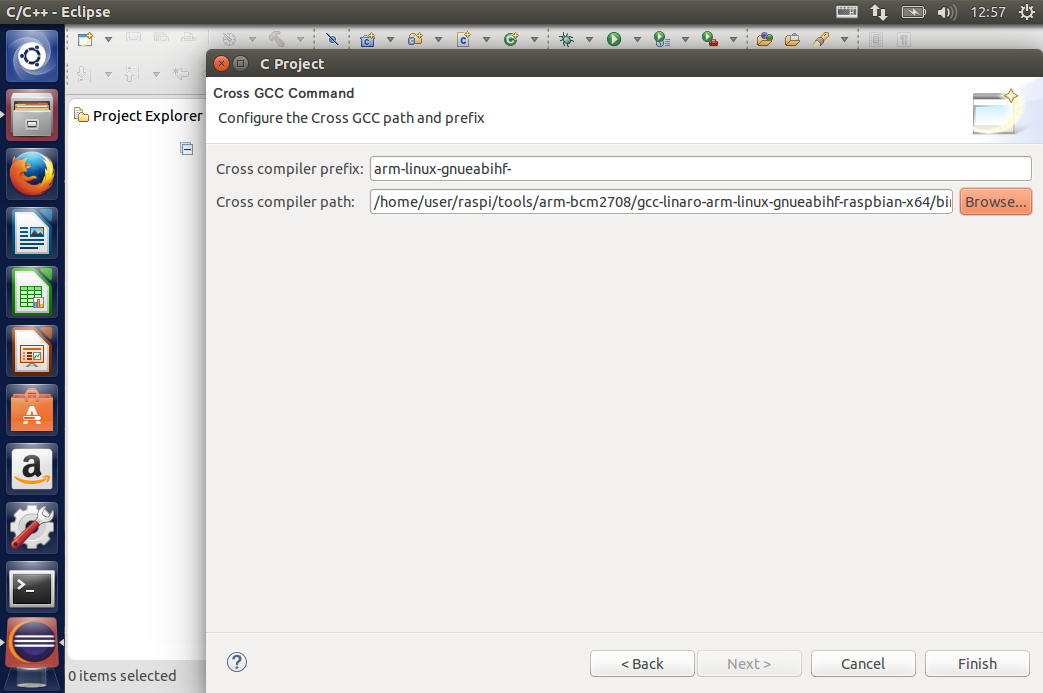
以下を入力してFinish。
Cross Compiler Prefix: arm-linux-gnueabihf-
Cross Compiler Path:/home/user/raspi/tools/arm-bcm2708/gcc-linaro-arm-linux-gnueabihf-raspbian-x64/bin/
user名にあわせてディレクトリ名を変更してください
とりあえずHello Worldを作成する
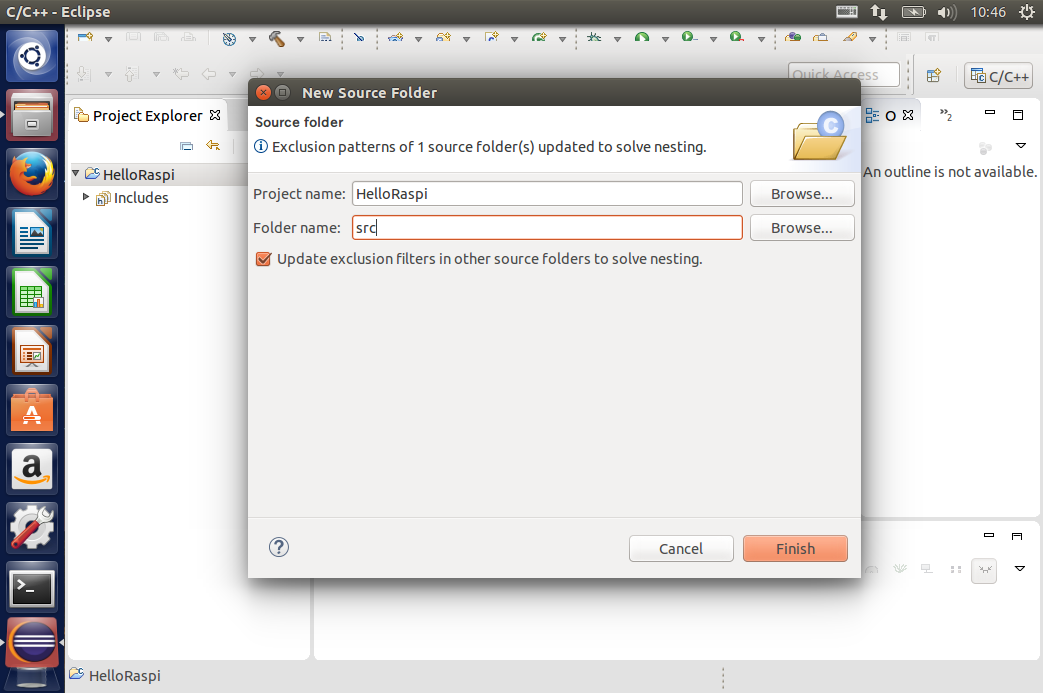
プロジェクトを選択した状態で、File → Newから Source Folder を作成します。フォルダ名は適当でいいです。
作ったフォルダを選択した状態で、File → New から Source File を作成します。ファイル名はmain.cとします。作ったソースにHello World を書きます。Project → Bulid Project からビルドしておきます。

EclipseからSSHで接続する
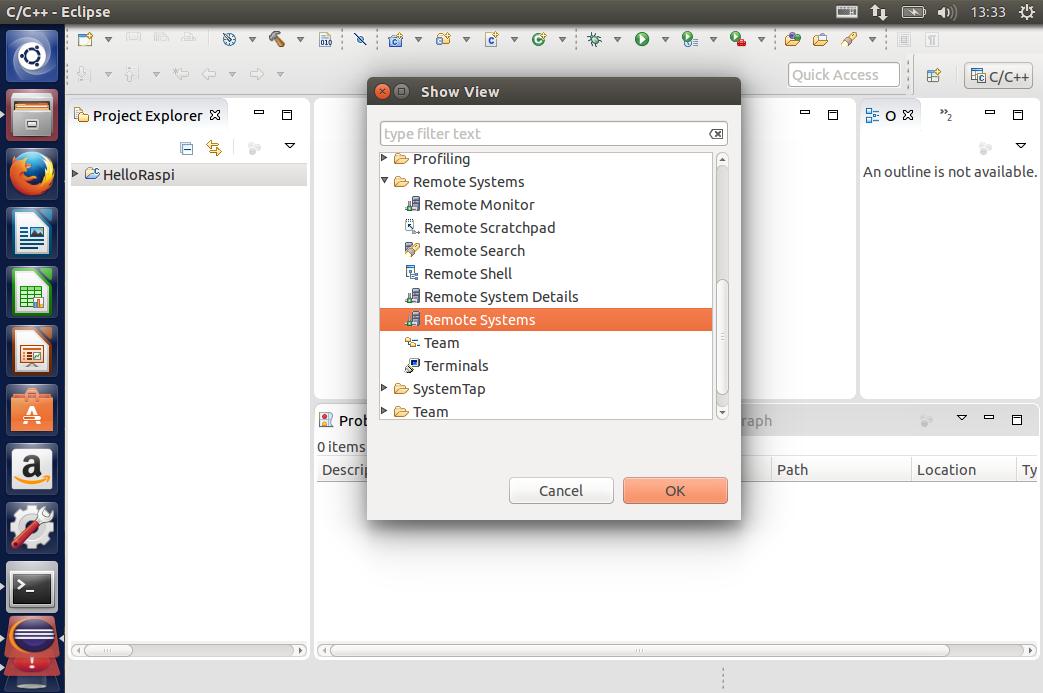
Window → Show View → Other から Remote Systems の Remote Sytems を選択しOK
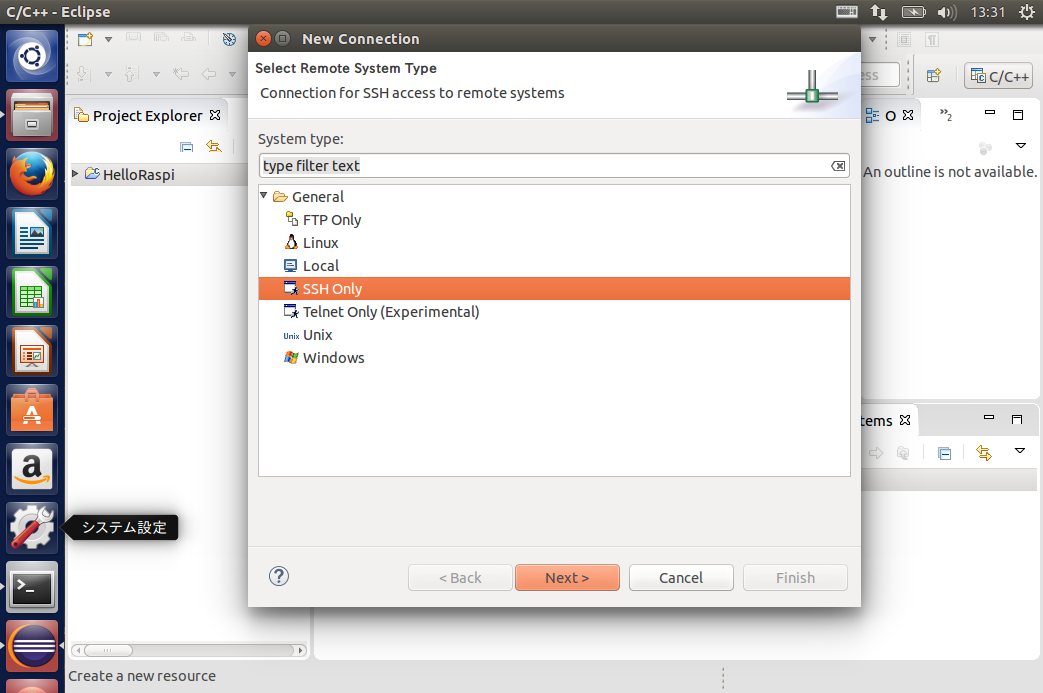
表示されたウィンドウ内のLocalを右クリックし New → Connection を選択、SSH Only を選択し Next
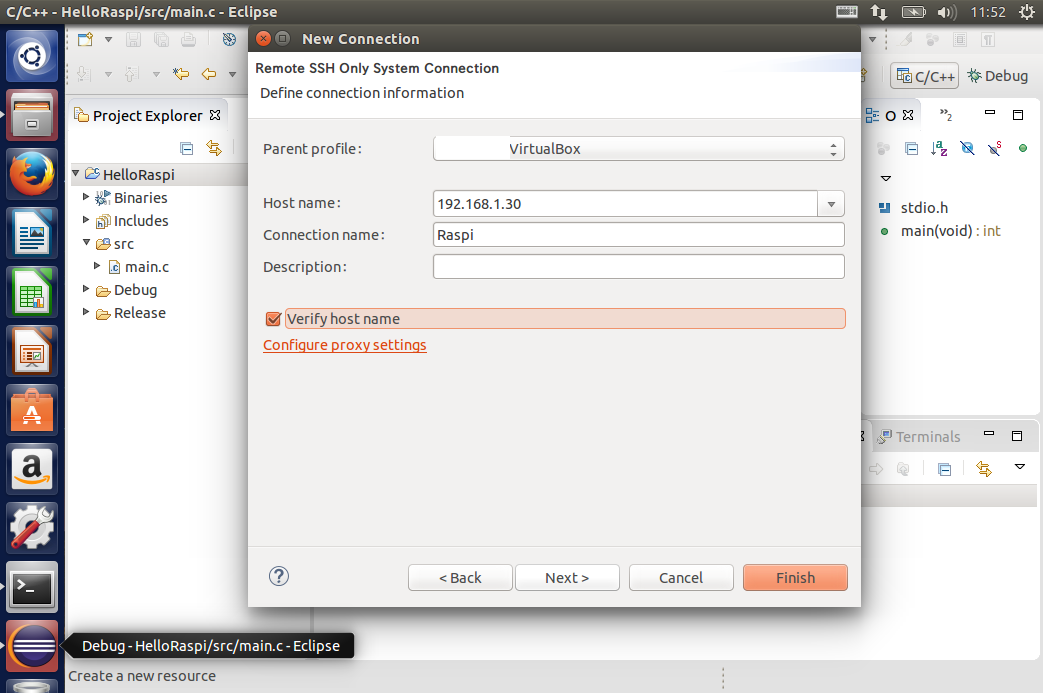
Host Name にIPアドレスを、Connection Nameに適当な接続名を入力しFinish。
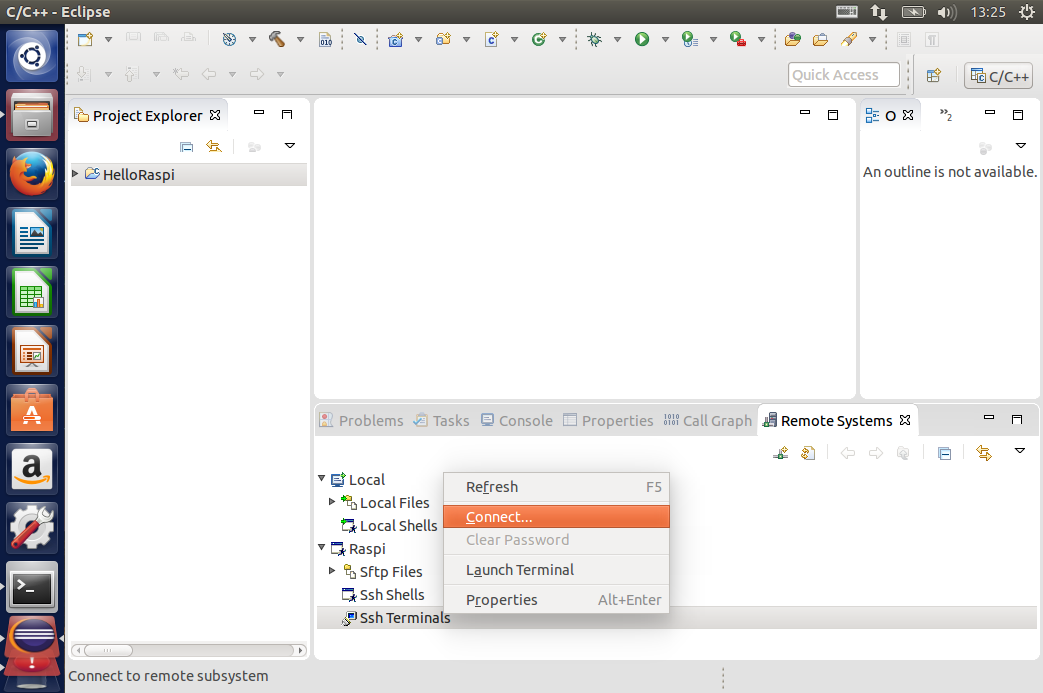
作成した接続名の下にある Ssh Terminals を選択した状態で Connect を選択し、
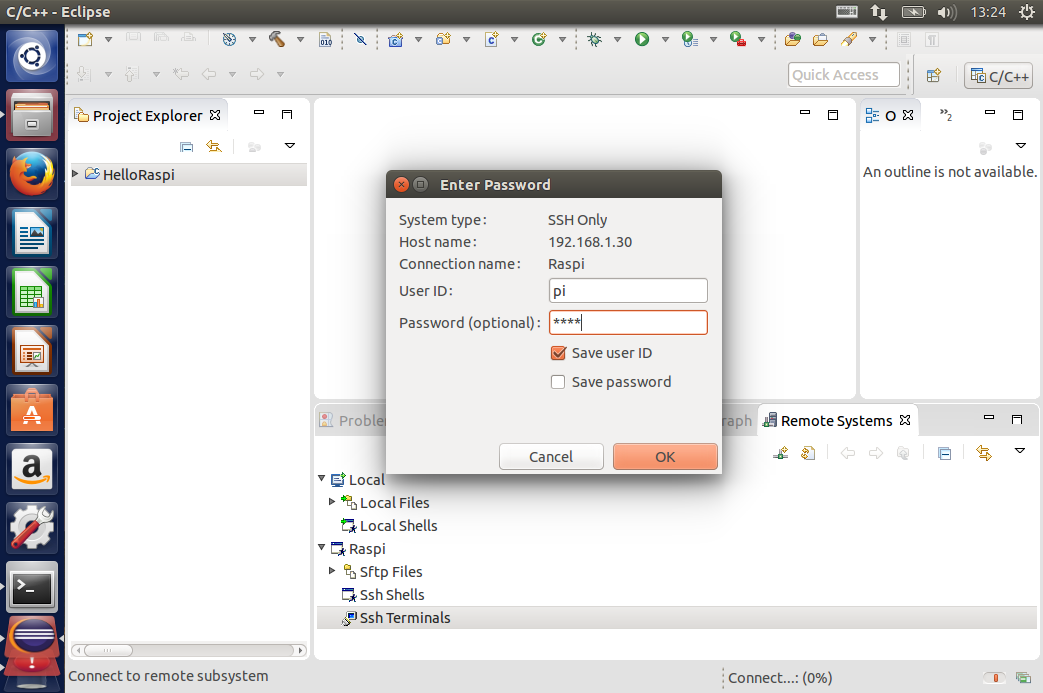
RaspberryPiでデバッグするユーザ名とパスワードを入力し OK します。
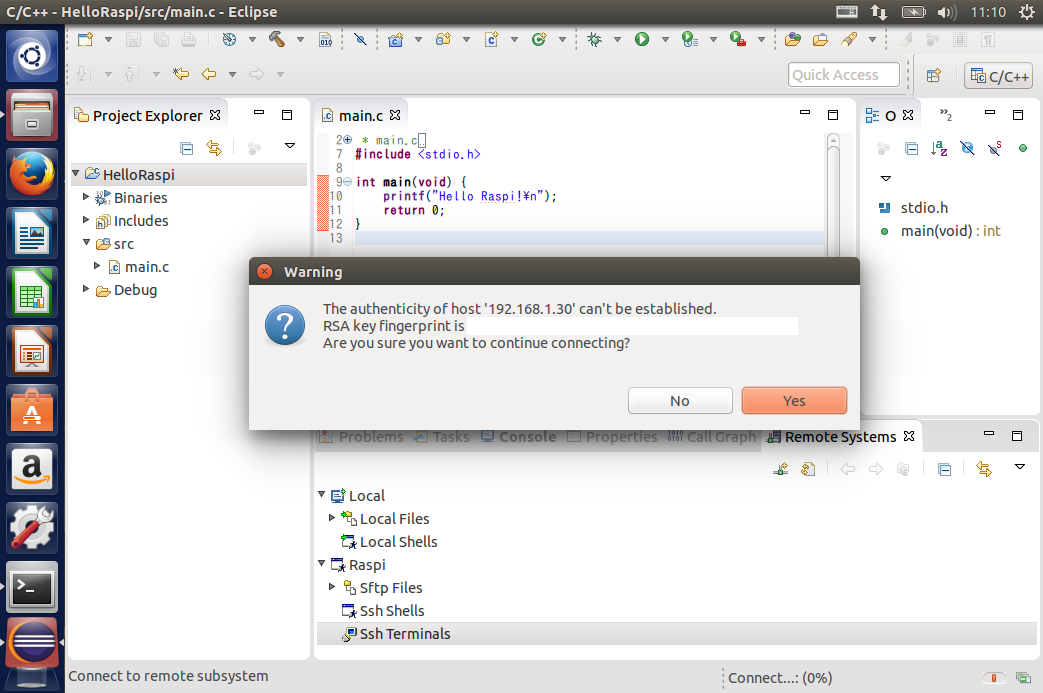
SSH接続に関する確認画面がいくつか表示されるので Yes します。
Ssh Terminals を右クリックし Launch Terminal を選択、ログインできればOK。
Eclipseからリモートデバッグする
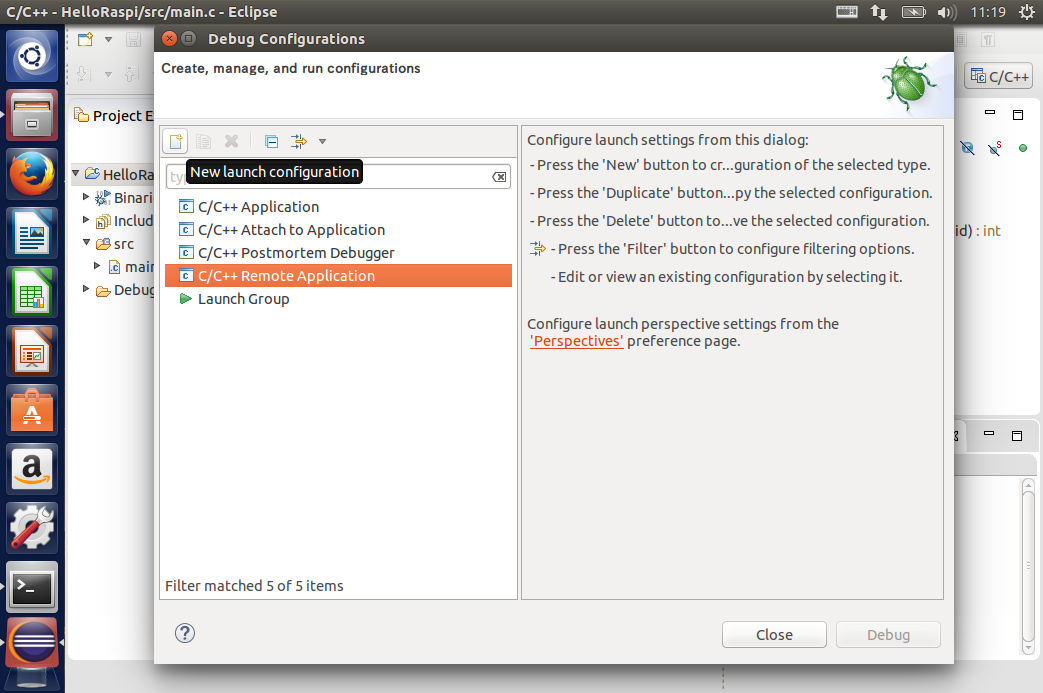
Run → Debug Configurations を選択し、左側から C/C++ Remote Application を選択した状態で左上の New Launch Counfiguration を選択します。
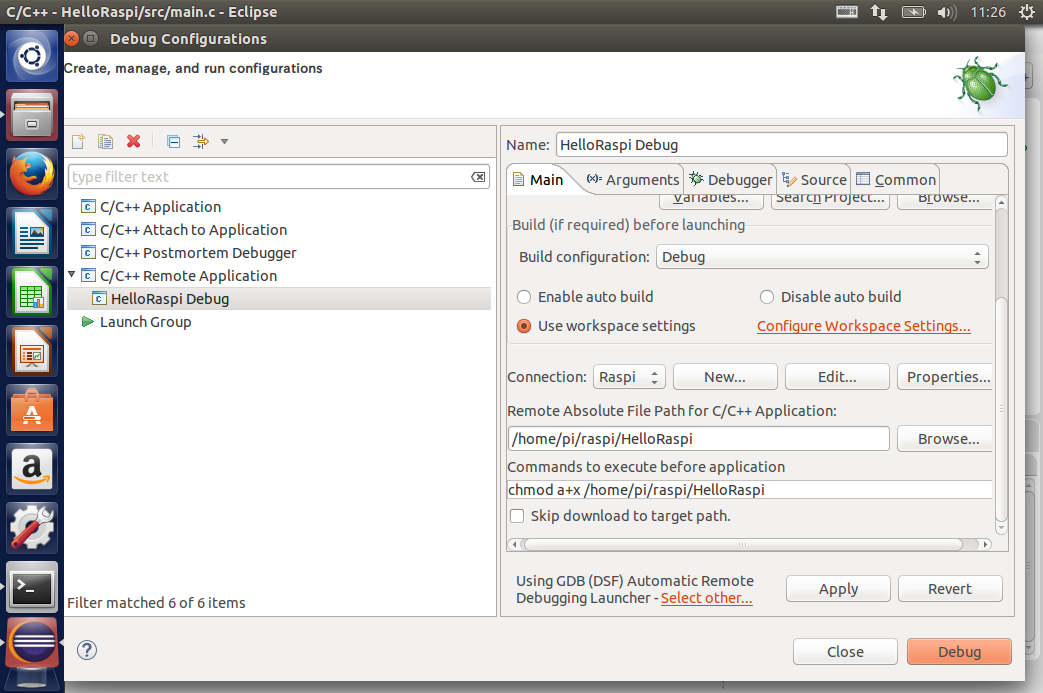
- Mainタブ
Connection:作成したSSH接続名
Remote Absolute File Path for C/C++ Application :/home/pi/raspi/HelloRaspi
Commands to execute before application :chmod a+x /home/pi/raspi/HelloRaspi
RaspberryPi側に /home/pi/raspi というフォルダがあることが前提です。
- Debuggerタブ
GDB Debugger:arm-linux-gnueabihf-gdb
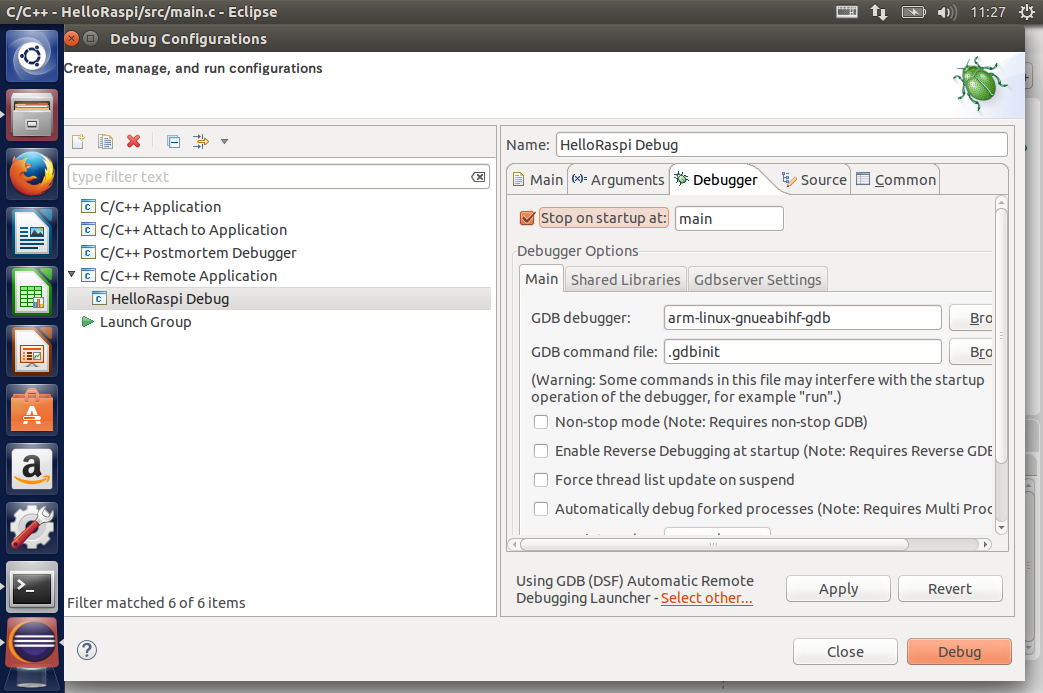
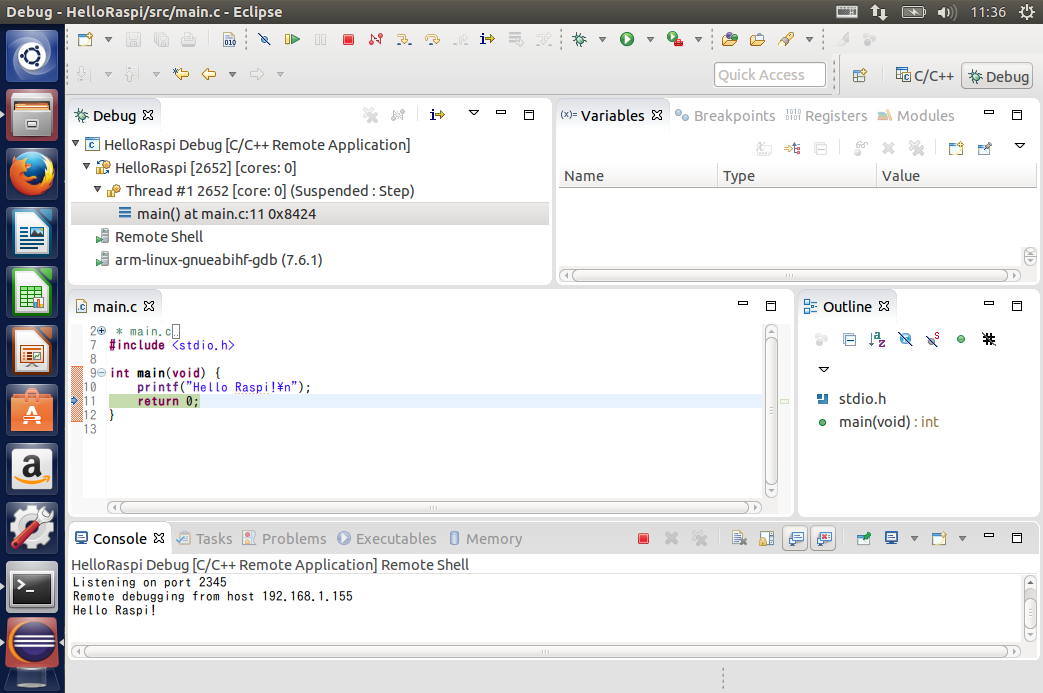
上記を入力して、Debug を押すと・・・
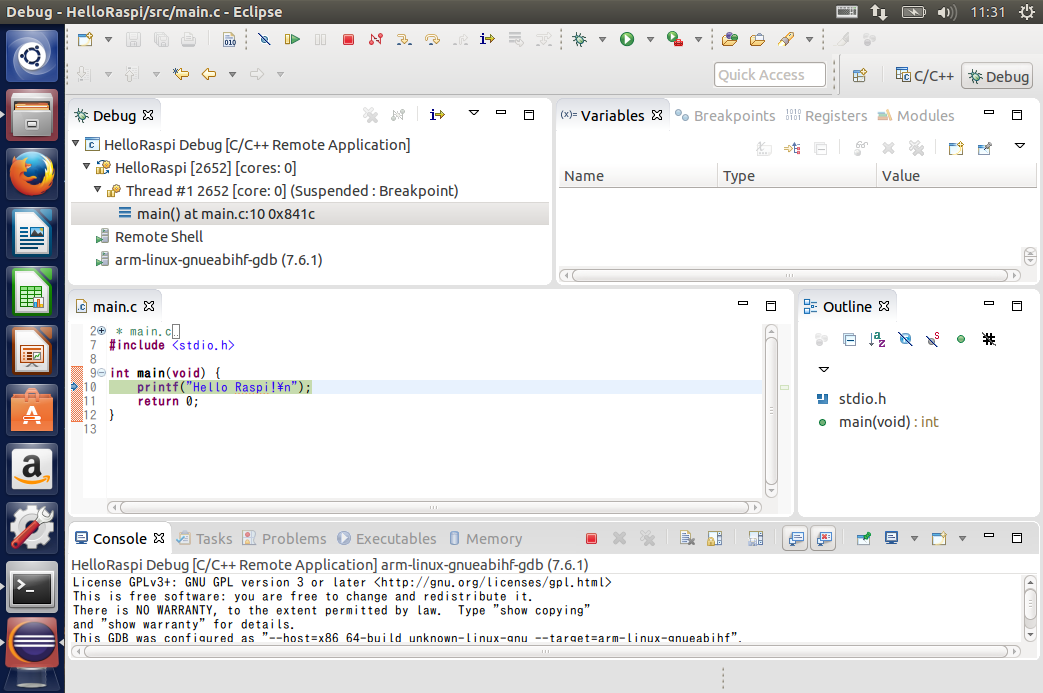
先頭でブレークすれば成功です!ステップすると、ちゃんと出力されてますね。
本記事は以下のサイト様をほぼ丸パクリで作成しました。有益な情報をありがとうございます。
http://www.sadaji.net/Firmware/eclipse/index.htm