はじめに
TextViewに標準以外のフォントを指定する場合、iOSのようにXcodeでフォントを指定する…といったことができません。
※ Android Oからは利用可能になるようです。
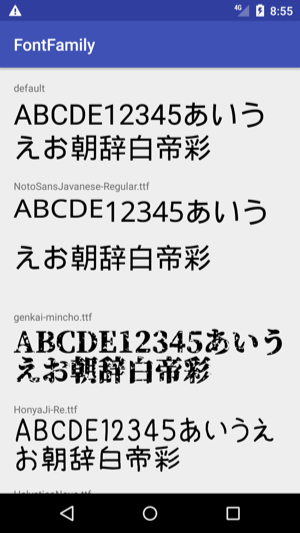
しかし、ライブラリを使うことで簡単に好きなフォントを利用することができます。
手順
- フォントファイルの準備
- プロジェクトへの追加
- ライブラリの準備と導入
1. フォントファイルの準備
好きなフォントを準備してください。例えばNoto Sansは以下から取得します。
2. プロジェクトへの追加
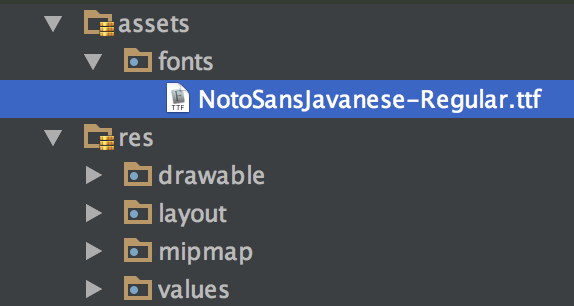
Android StudioのプロジェクトウインドウをProjectビューに切り替えます。app/src/main配下にassetsディレクトリを作成します。さらにfontsディレクトリを作成し、その中に準備したフォントを追加します。
3. ライブラリの準備と導入
ライブラリは以下を利用します。
chrisjenx/Calligraphy: Custom fonts in Android the easy way...
具体的な導入はREADME.mdにありますが、簡単に記載します。
ライブラリのインポート
app/build.gradleに以下を追記します。
app/build.gradle
dependencies {
    compile 'uk.co.chrisjenx:calligraphy:2.3.0'
}
初期化
利用するアクティビティで以下を追記します。
SampleActivity.java
@Override
protected void attachBaseContext(Context newBase) {
    super.attachBaseContext(CalligraphyContextWrapper.wrap(newBase));
}
TextViewへの指定
layout/sample_text_style.xml
<TextView
    fontPath="fonts/HelveticaNeue.ttf"
    android:layout_width="wrap_content"
    android:layout_height="wrap_content"
    android:text="あいうえおあいうえおあいうえおあいうえお"
    />
赤い波線が出てエラーと言われますがDisable Inspectionsしてください。

