1年以上前から下書きに温めていた記事を、mac購入記念に完成させました😌
とても今さらな内容になってしまいましたが、mysqlの環境が構築できて嬉しいです。
仮想環境 とは
通常、ひとつのコンピュータ(ハード)にはひとつのOSがはいっていて、
そこにいろいろなアプリをインストールしてつかっています。

わたしの環境を例にあげると以下のようになります。
ハード : MacBook
OS : macOS
アプリ : Slack, SublimeText, PHPStorm ...
OSには Windows, macOS, Linux, UNIX などさまざまありますが、
今回は Linux のひとつである CentOS に MySQL をインストールしてみたいと思います。
しかしわたしの既存のOSは macOS なので、 CentOS をつかうためには 仮想環境 が必要です。
仮想化することで、ひとつのコンピュータで複数のOSを扱えるようになります。

仮想化ソフトには代表的なものとして Vmware や VirtualBox があります。
今回は VirtualBox をつかっていきます!
VirtualBox とは

- オープンソースの仮想化ソフトウェアのひとつ
- ゲストOS(仮想環境にインストールしたOS)として Windows, macOS, Linux, Solaris などさまざまなOSをいれることができる
VirtualBox は本来、複雑なコマンドで仮想環境の設定を行っていきますが、
Vagrant というソフトをつかうことで簡単なコマンドで設定を行うことができます!
Vagrant とは

- 簡単にいうと 仮想化ソフトの設定を簡単に行うことができる「仮想化カンタンツール」
- VirtualBox だけでなく、VMware や EC2 でもつかうことができる
実際に環境をつくる
改めて、現状の環境、つくりたい環境はそれぞれ以下のようになっています。

VirtualBox をインストール

2019年12月時点で、6.1.0 まで公開されていましたが、
Vagrantの最新バージョンに対応していないのか、
vagrant up 時に以下のようなエラーが出てしまいました。
No usable default provider could be found for your system.
Vagrant relies on interactions with 3rd party systems, known as
"providers", to provide Vagrant with resources to run development
environments. Examples are VirtualBox, VMware, Hyper-V.The easiest solution to this message is to install VirtualBox, which
is available for free on all major platforms.If you believe you already have a provider available, make sure it
is properly installed and configured. You can see more details about
why a particular provider isn't working by forcing usage with
vagrant up --provider=PROVIDER, which should give you a more specific
error message for that particular provider.
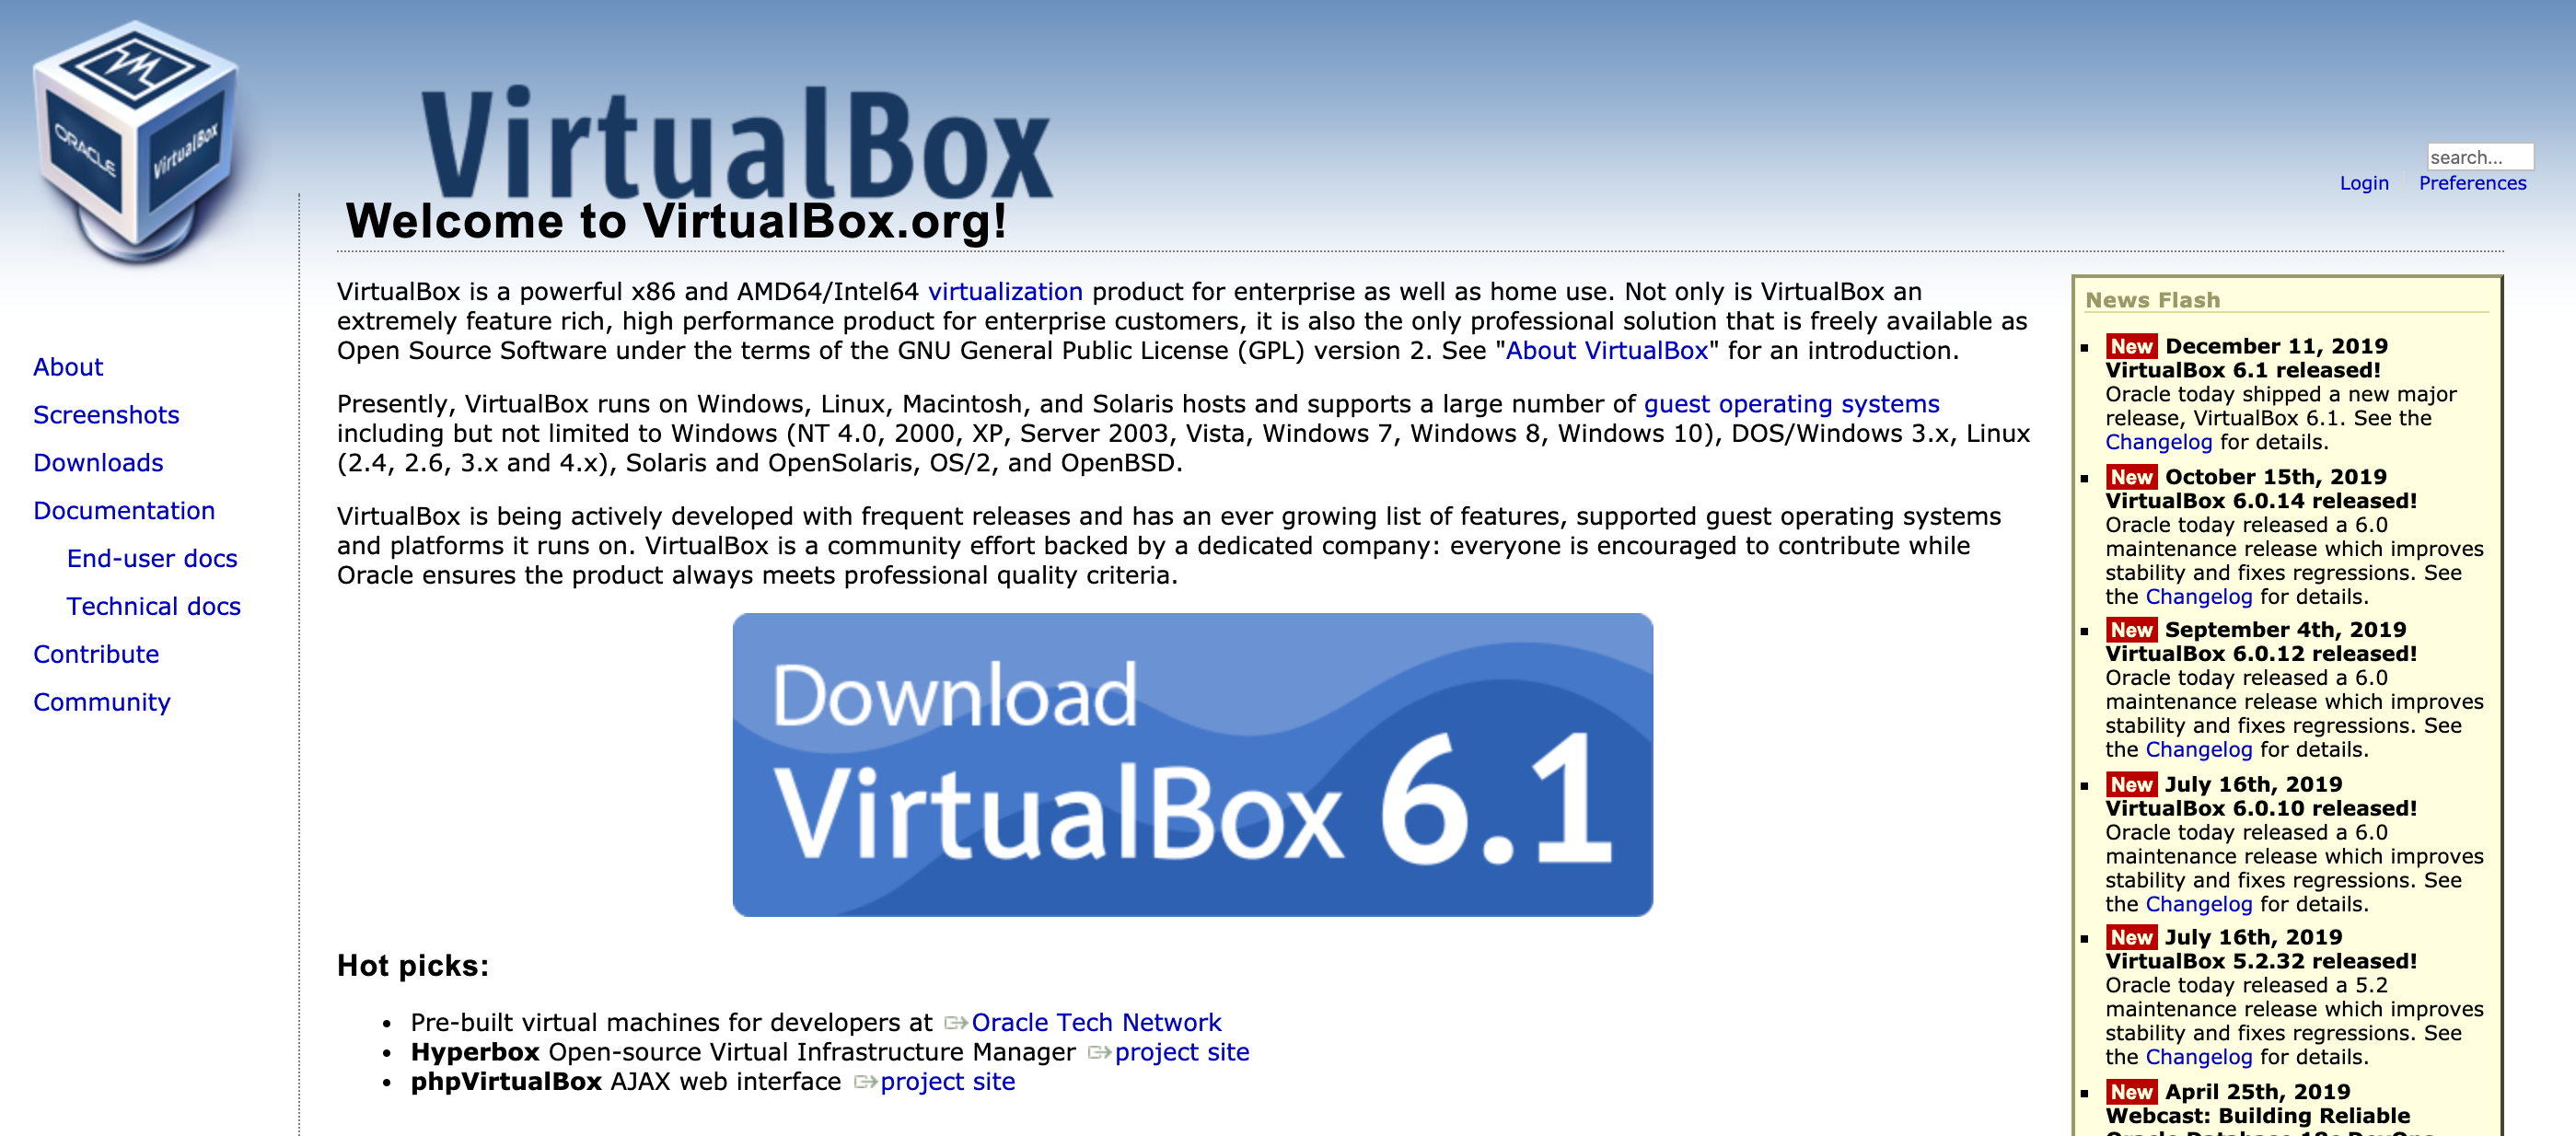
5.2 をダウンロードしたところ、無事成功しました!
https://www.virtualbox.org/wiki/Download_Old_Builds
Vagrant をインストール

VagrantでCentOS7の仮想環境をつくる
ディレクトリを作成し移動
$ mkdir centos7
$ cd centos7
CentOS7のboxを追加
$ vagrant box add centos/7
==> box: Loading metadata for box 'centos/7'
box: URL: https://vagrantcloud.com/centos/7
This box can work with multiple providers! The providers that it
can work with are listed below. Please review the list and choose
the provider you will be working with.
- hyperv
- libvirt
- virtualbox
- vmware_desktop
# virtualbox を選択
$ Enter your choice: 3
$ vagrant init
Vagrantfileのbox名を変更
15行目のbox名を、指定したbox名に変更します。
$ vi Vagrantfile
config.vm.box = "centos/7"
仮想サーバーを起動・接続
$ vagrant up
$ vagrant ssh
CentOS7 に MySQL をインストール
[vagrant@localhost ~]$ sudo yum install mysql-server
CentOS7にデフォルトではいっているmariaDBを削除する
[vagrant@localhost ~]$ sudo yum remove mariadb-libs
[vagrant@localhost ~]$ rm -rf /var/lib/mysql/
公式リポジトリをインストール
[vagrant@localhost ~]$ sudo rpm -Uvh http://dev.mysql.com/get/mysql57-community-release-el7-11.noarch.rpm
mysql をインストール
[vagrant@localhost ~]$ sudo yum install --enablerepo=mysql57-community mysql-community-server
完了したら、バージョンを確認しましょう!
[vagrant@localhost ~]$ mysqld --version
mysqld  Ver 5.7.28 for Linux on x86_64 (MySQL Community Server (GPL))
上記のように表示されれば成功です✊
mysql を起動
[vagrant@localhost ~]$ sudo systemctl start mysqld.service
mysql のセキュリティ設定
/var/log/mysqld.log のなかに初期パスワードがかいてあるので、確認します。
[vagrant@localhost ~]$ sudo cat /var/log/mysqld.log | grep password
下記コマンドで、パスワードなどを設定します!
[vagrant@localhost ~]$ mysql_secure_installation
mysql に接続
[vagrant@localhost ~]$ mysql -u root -p
Enter password: {設定したパスワード}
Welcome to the MySQL monitor. Commands end with ; or \g.
Your MySQL connection id is 8
Server version: 5.7.28 MySQL Community Server (GPL)Copyright (c) 2000, 2019, Oracle and/or its affiliates. All rights reserved.
Oracle is a registered trademark of Oracle Corporation and/or its
affiliates. Other names may be trademarks of their respective
owners.Type 'help;' or '\h' for help. Type '\c' to clear the current input statement.
mysql>
このように表示されれば成功です⭐️
参考
- MacにVagrantでCentOS7環境を作成
- MacでVagrantを使いCentOS7の仮想環境を作る
- [CentOS 7 に MySQL 5.7 を yum インストールして初期設定までやってみた]
(https://enomotodev.hatenablog.com/entry/2016/09/01/225200)
わたくしごと
DBA目指して勉強中...
- MySQL について
- MySQL のインストール ◀ これ
- my.cnf について