MacでIEの表示を確認をすることになったのでメモ
※2018/04/20時点では問題なし
前提
Homebrewとhomebrew-cask、それとVirtualBoxを使うので入れておくこと。
簡単なインストール手順は以下の通り。
Homebrewのインストール
/usr/bin/ruby -e "$(curl -fsSL https://raw.githubusercontent.com/Homebrew/install/master/install)"
でインストールできます。Homebrew公式サイトより
homebrew-caskのインストール
brew install caskroom/cask/brew-cask
でインストール。みんなhomebrew-caskって知ってるか?
Virtual Boxのインストールとセットアップ
Homebrewを使って
brew cask install virtualbox
実行するとインストール完了。
VB用のイメージをダウンロード
modern.IE からイメージをダウンロードしておく。
Virtual machineから好きなイメージを選び、Select Platform はもちろん VirtualBox を選択

ダウンロードが完了したらterminalで
$ tar zxf <さっき落としたファイル名>
で展開する。普通にFinderからアーカイブユーティリティを使うと展開されすぎるみたい。
イメージをVBにインポート
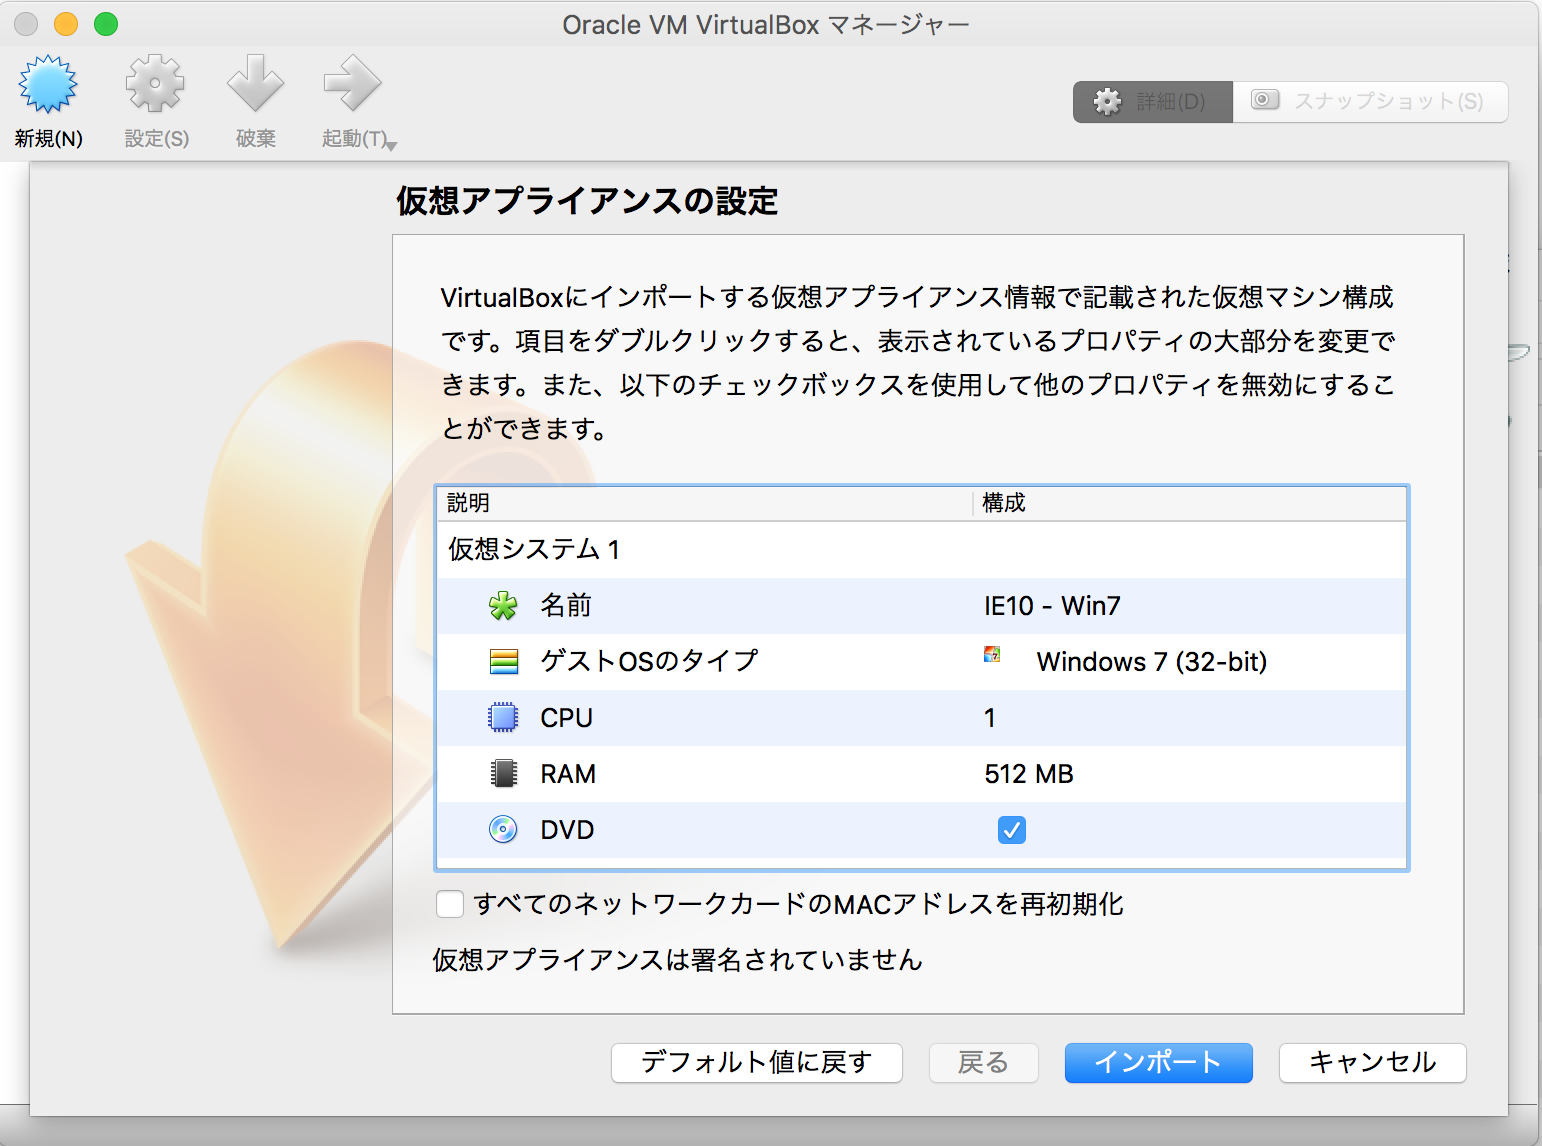
先ほどダウンロードして展開した .ova ファイルをVBで開く

公式のModern.IE VM Notes(PDF)を確認すると
- Windows XP images: 256 – 512MB
- Windows Vista images: 512 – 1024MB
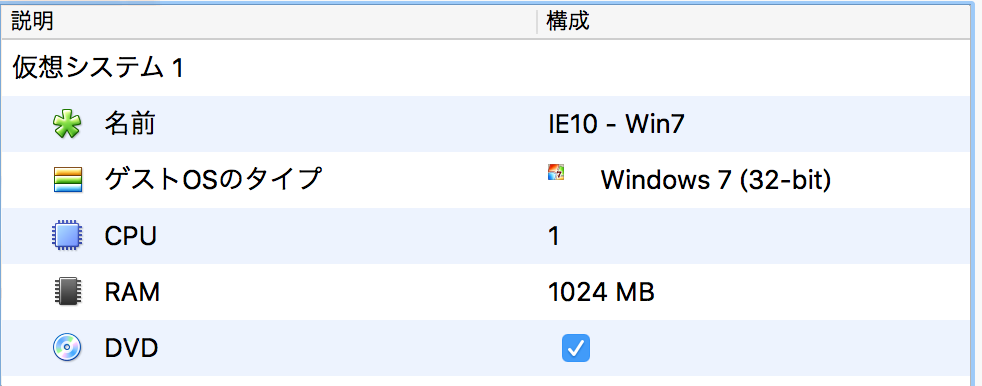
- Windows 7 images: 1024 – 2048MB
- Windows 8 images: 1024 – 2048MB
- Windows 10 images: 1024 – 2048MB
が推奨メモリとのこと。
なので、7以降のOSを選択している場合には1024MB以上に設定しておく。
他は初期値でおk
その他
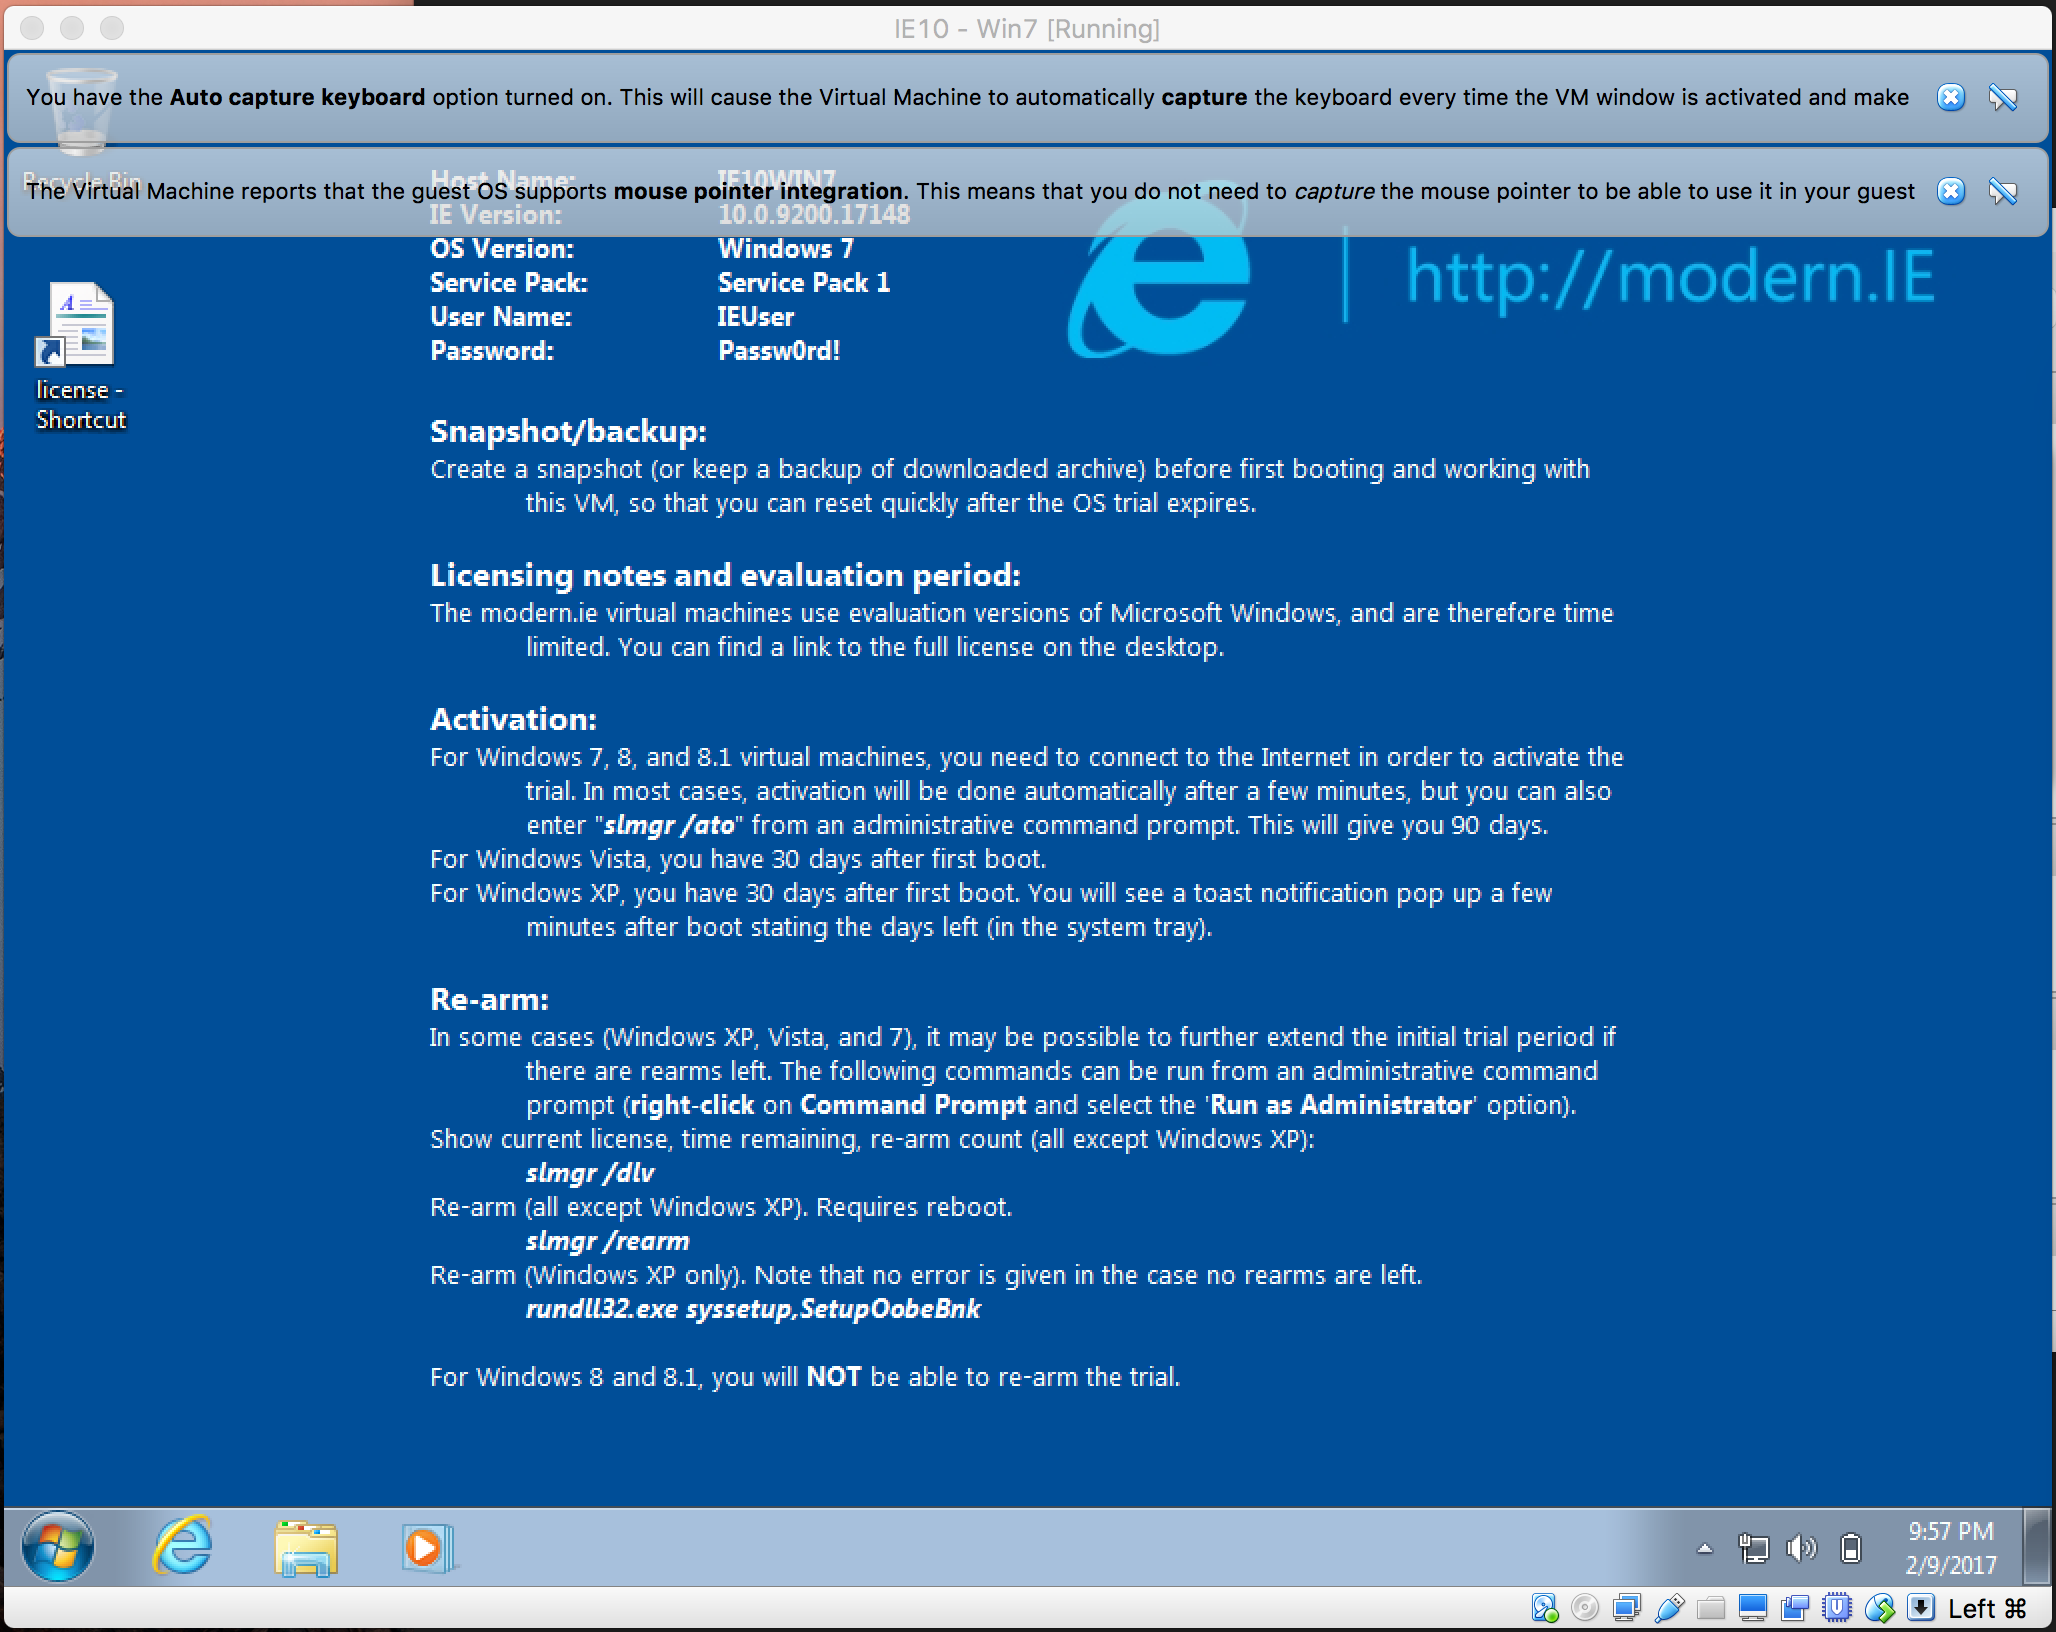
ユーザ名 : IEUser
パスワード : Passw0rd!


