CircleCIでやっと自動デプロイ設定ができたので、記録として投稿
環境
・Mac Catalina(10.15.5)
・Ruby 2.6.6, Rails 6.0.3.2
・RSpec(テストフレームワーク)
・Docker,Docker-compose(開発環境)
・AWS/本番環境(EC2, RDS, VPC, EIP, Route53, IAM, S3)
参考URL
この投稿でできること
GitHubでmasterにmergeされたらEC2にSSHログインしてデプロイができるで
事前確認
-
EC2へSSHでログインが成功しといて。
-
デプロイを行って、アプリケーションを公開できといて
-
CircleCIで該当のプロジェクトを**「Add Projects」**できといて。
まずは成功した設定ファイル!!!
version: 2.1
orbs:
  ruby: circleci/ruby@0.1.2
jobs:
  deploy:
    machine:
      enabled: true
    steps:
      - add_ssh_keys:
          fingerprints:
            - xx:xx:xx:xx:xx:xx:xx:xx:xx:xx:xx:xx:xx:xx:xx:xx
      - run: ssh -p $SSH_PORT $SSH_USER@$SSH_HOST "/home/ec2-user/アプリ名/deploy-me.sh"
workflows:
  version: 2
  deploy:
    jobs:
      - deploy:
          filters:
            branches:
              only: master
circleciでの準備!!!
SSHするサーバの秘密鍵をcircleciに登録しておく。
該当プロジェクトのproject settingのSSH Keysへ。
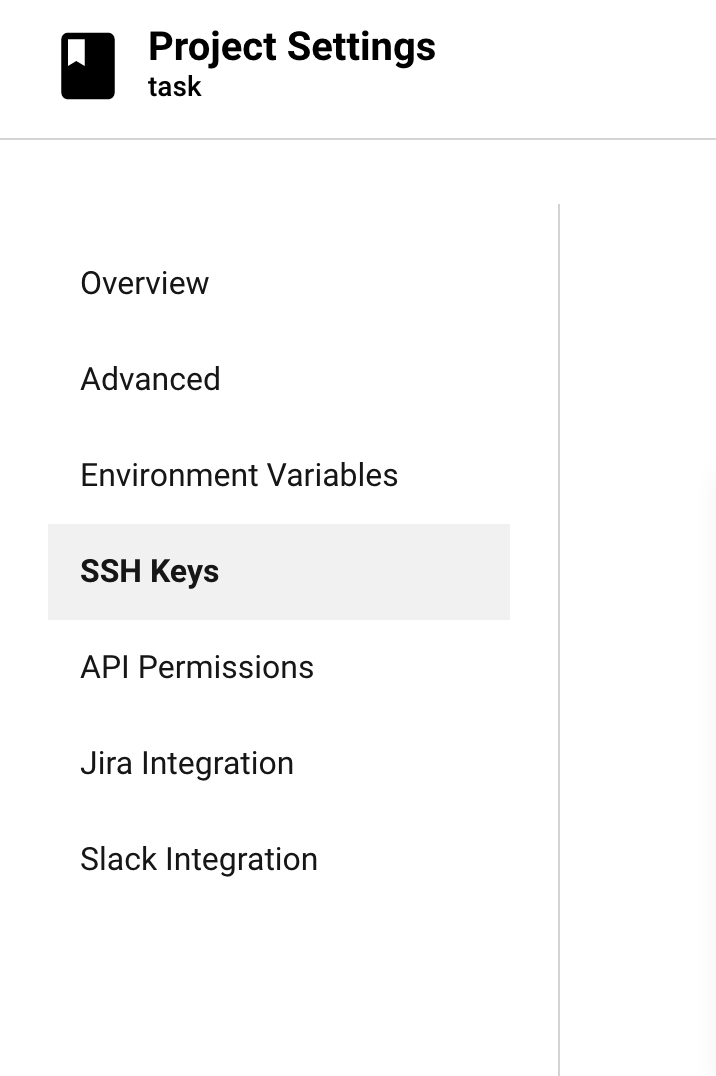
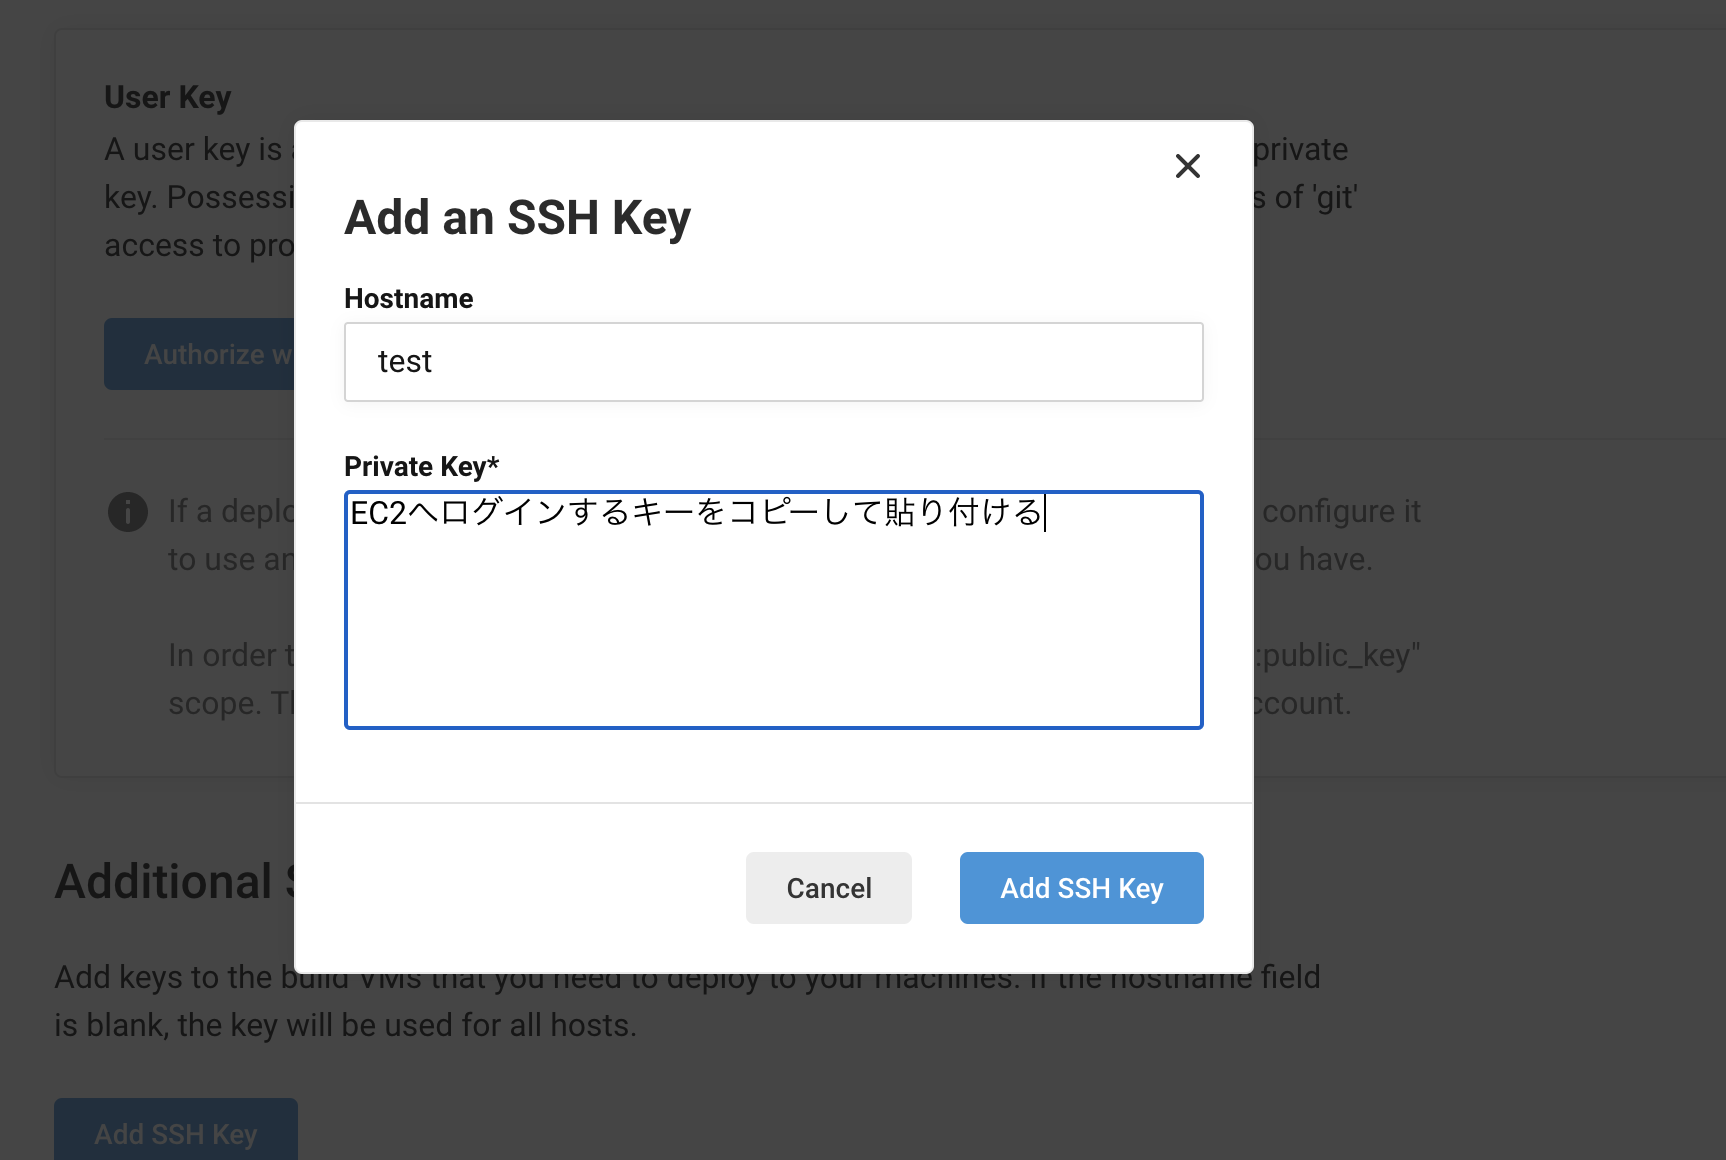
Add SSH Keyをポチッと

ここで注意なのがgithubのキーではなく、**EC2へログインするためのキーを登録せなあかんで!!!!**色々参考にした先輩等の記事を見ると、ここを間違えて苦しんではったので僕たちは先輩等の犠牲の上に立ってスマートにこの問題は避けていこう。
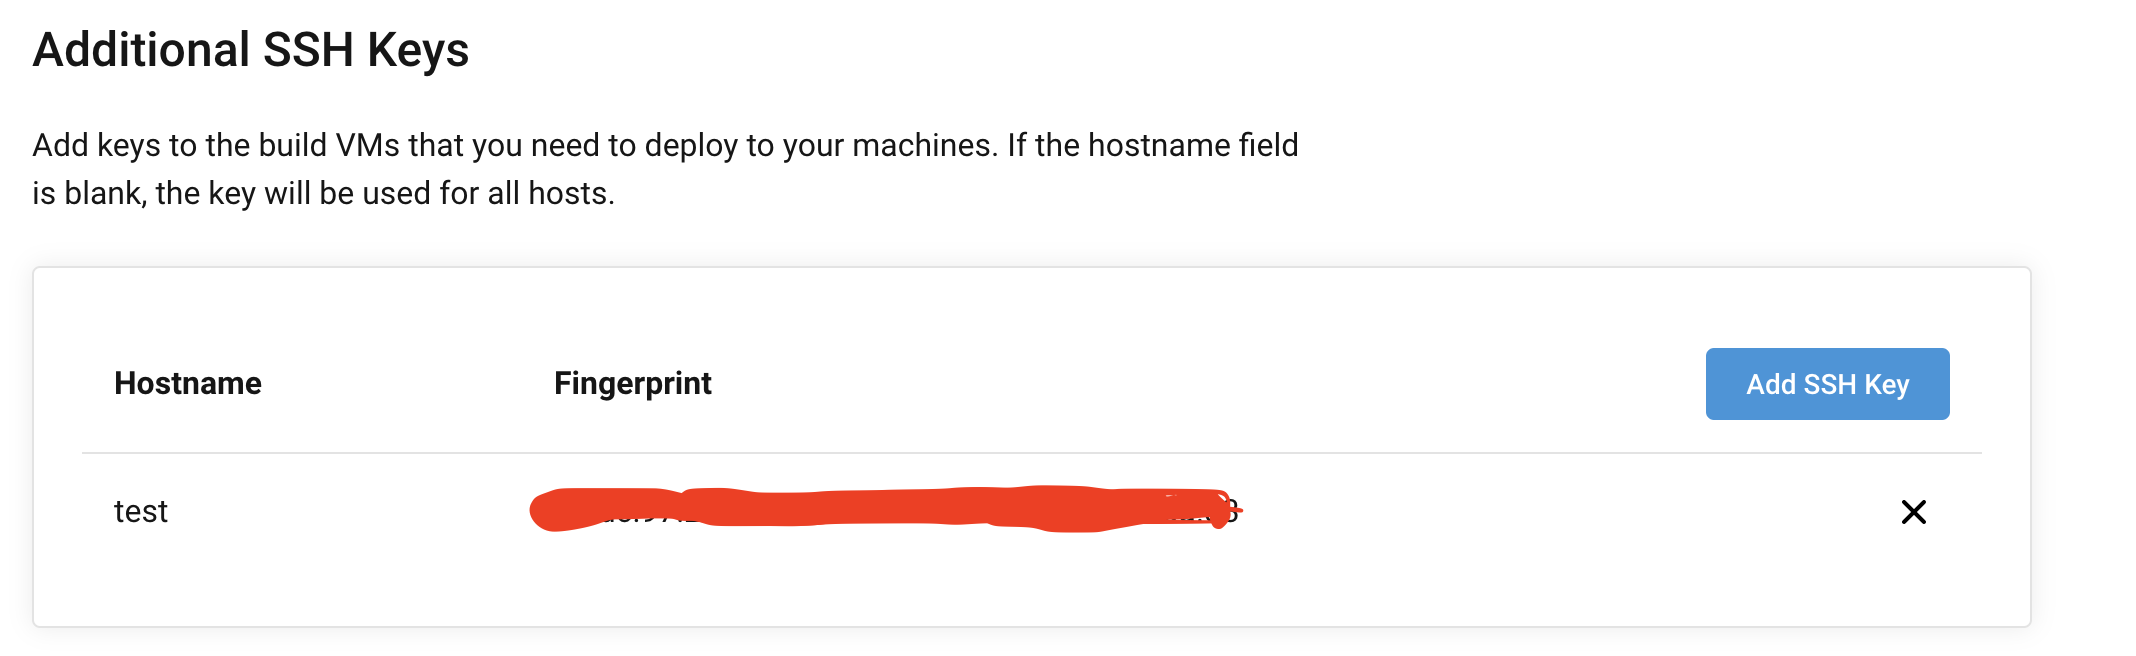
秘密鍵を登録したら
ハッシュ化されているfingerprintsを.circleci/config.yml用にコピー
さっきコピーしたfingerprintsを.circleci/config.ymlに記載
- add_ssh_keys:
          fingerprints:
            - xx:xx:xx:xx:xx:xx:xx:xx:xx:xx:xx:xx:xx:xx:xx:xx   #ここに貼り付け
環境変数を設定
環境変数の設定を知らんかったらこちらを参考に。
設定する値は以下の通り。
$SSH_PORT = 22
$SSH_USER = EC2にログインするときに使うユーザー名(ec2-userなど)
$SSH_HOST = パブリックIPアドレス
EC2上での準備
シェルスクリプトを書いてやる
/home/ec2-user/my_app/以下にdeploy-me.shを作成
deploy-me.sh が実行されることによって、リモートからEC2にpullされる。
注意2点
circleciでやる前に、EC2上で手動でできる確認しておく。
そして実行権限をちゃんと渡すこと!!!
# !/bin/bash

cd /home/ec2-user/my_app/ && git pull
$ chmod +x deploy-me.sh    #実行権限を渡す
$ /home/ec2-user/アプリ名/deploy-me.sh     #手動で実行
ちなみにシェルスクリプトとは
シェルスクリプトは実行したいコマンドを記述したテキストファイルのこと。長〜いコマンドとかを毎回使うのはめんどいから、ファイルに書き込んで実行しちゃえ!!!って感じ。
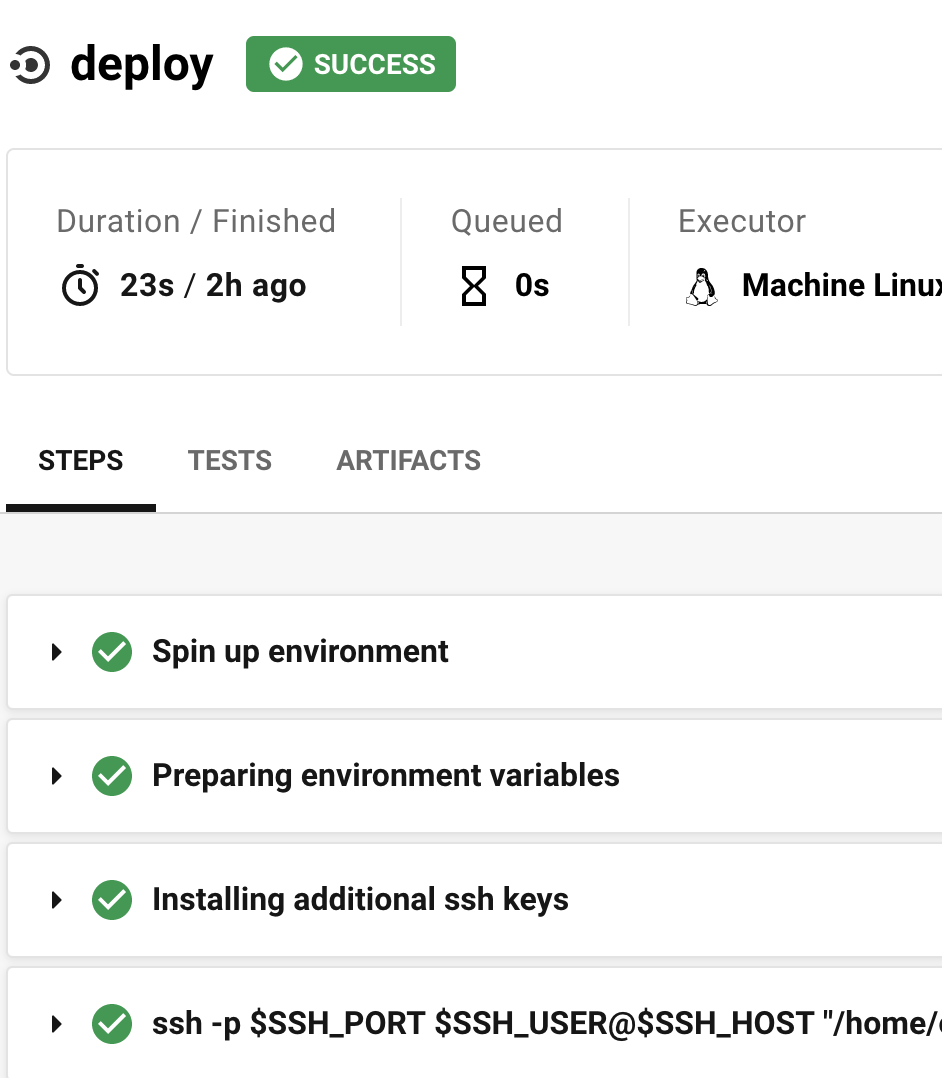
ここまできたら
ローカルからGitHubにpushしてmasterへmerge!!!!
今回の設定ファイルはmasterにmergeしないと、動いてくれないので注意!!!!
SUCCESSが出た時はお祭り騒ぎしても近所の人は目を瞑ってくれるから、Eminemを大音量で流してブチ上がろう。(冗談やで?)
シェルスクリプトを強化
Gemfileの変更やCSS/JavaScript/画像の変更を反映させるためのコンパイルも実行する
# !/bin/bash

cd /home/ec2-user/アプリ名/ && git pull && bundle install --path vendor/bundle --without test development && bundle exec rails assets:precompile RAILS_ENV=production
circleciのむずいとこ
エラー文が不親切すぎて、初心者殺しすぎる。
circleciの設定やらするだけで2週間ぐらいかかってしもたし、あんま理解できてない。。。
勉強しよーっと。
追記
自動デプロイの設定をそのまま元の設定ファイルに書き込んだら、No workflowが表示されてテストが走らないようになってしまったので、その解決方法。

参考URL
ここに示すように、依存関係は requires: を設定することによって定義されます。 deploy: ジョブは、build、test1、test2 の各ジョブが正しく完了するまで実行されません。 ジョブは、依存関係グラフ内のすべてのアップストリーム ジョブが実行を完了するまで待機する必要があります。 したがって、deploy ジョブは test2 ジョブを待ち、test2 ジョブは test1 ジョブを待ち、test1 ジョブは build ジョブを待ちます。
config.yml(修正前)
version: 2.1
orbs:
  ruby: circleci/ruby@0.1.2

jobs:
  build:
    docker:
      # specify the version you desire here
      - image: circleci/ruby:2.6.6-stretch-node
        environment:
          - RAILS_ENV: 'test'
      - image: circleci/mysql:8.0
        name: "db"
        command: mysqld --default-authentication-plugin=mysql_native_password
        environment:
          - MYSQL_ROOT_PASSWORD: password
      - image: selenium/standalone-chrome
        name:  "chrome"

      # Specify service dependencies here if necessary
      # CircleCI maintains a library of pre-built images
      # documented at https://circleci.com/docs/2.0/circleci-images/
      # - image: circleci/postgres:9.4

    working_directory: ~/アプリ名

    steps:
      - checkout

      # Download and cache dependencies
      - restore_cache:
          keys:
            - v2-dependencies-{{ checksum "Gemfile.lock" }}
            # fallback to using the latest cache if no exact match is found
            - v2-dependencies-

      - run: bundle install --jobs=4 --retry=3 --path vendor/bundle
      - run: yarn install
      - save_cache:
          paths:
            - ./vendor/bundle
          key: v2-dependencies-{{ checksum "Gemfile.lock" }}

      # Database setup
      - run: bundle exec rake db:create
      - run: bundle exec rake db:schema:load

      # googlemapAPI
      - run:
          name: GoogleMap API
          command: |
            touch .env
            echo GOOGLEMAP=$GOOGLEMAP > .env
            echo S3_ACCESS_KEY_ID=$S3_ACCESS_KEY_ID > .env
            echo S3_SECRET_ACCESS_KEY=$S3_SECRET_ACCESS_KEY > .env

# rspec
      # run tests!
      - run:
          name: run tests
          command: |
            mkdir -p /tmp/test-results
            TEST_FILES="$(circleci tests glob "spec/**/*_spec.rb" | \
              circleci tests split --split-by=timings)"
            bundle exec rspec \
              --format progress \
              --format RspecJunitFormatter \
              --out /tmp/test-results/rspec.xml \
              --format progress \
              $TEST_FILES
      # collect reports
      - store_test_results:
          path: /tmp/test-results
      - store_artifacts:
          path: /tmp/test-results
          destination: test-results
      - store_artifacts:
          path: /home/circleci/アプリ名/tmp/screenshots/


  deploy:
    machine:
      enabled: true
    steps:
      - add_ssh_keys:
          fingerprints:
            - xx:xx:xx:xx:xxx:xx:xx:xx:xx:xx:xx:xx:xx:xx:xx:xx
      - run: ssh -p $SSH_PORT $SSH_USER@$SSH_HOST "/home/ec2-user/アプリ名/deploy-me.sh"
workflows:
  version: 2
  deploy:
    jobs:
      - deploy:
          filters:
            branches:
              only: master
修正点
公式によると、requires: キーで定義されたbuildジョブの実行が完了できるまで、deployが実行されないように設定できるみたい。
ということで早速やってみると、テストが実行されるようになりました。
workflows:
  version: 2
  build-test-and-deploy:
    jobs:
      - build
      - deploy:
          requires:   #buildジョブが完了されるまで処理が待機されるように設定
            - build
          filters:
            branches:
              only: master
正直、初心者にとって公式リファレンスを読むのは知らん単語だらけで難しいけど、ちゃんと頼りになってくれる。。。