概要
アプリを作っていると、フォームってほぼ確実に一回は作りますよね。
ログイン画面とか。
そんなフォーム作成に特化したWidget、Formについて今回は解説していきたいと思います。
ソースコードは以下に置いています。
https://github.com/daiki1003/form_example
前提
Flutterプロジェクトを作成し、出来上がった_MyHomePageStateのbody部分を中心に記載していきます。
FormとTextFormField
まず、Formで包んだTextFormFieldを用意してみる
@override
  Widget build(BuildContext context) {
    return Scaffold(
      appBar: AppBar(
        title: Text(widget.title),
      ),
      body: Form(
        child: TextFormField(
          decoration: InputDecoration(labelText: 'Title'),
        ),
      ),
    );
  }
※以降はbodyのみ
実行結果

解説
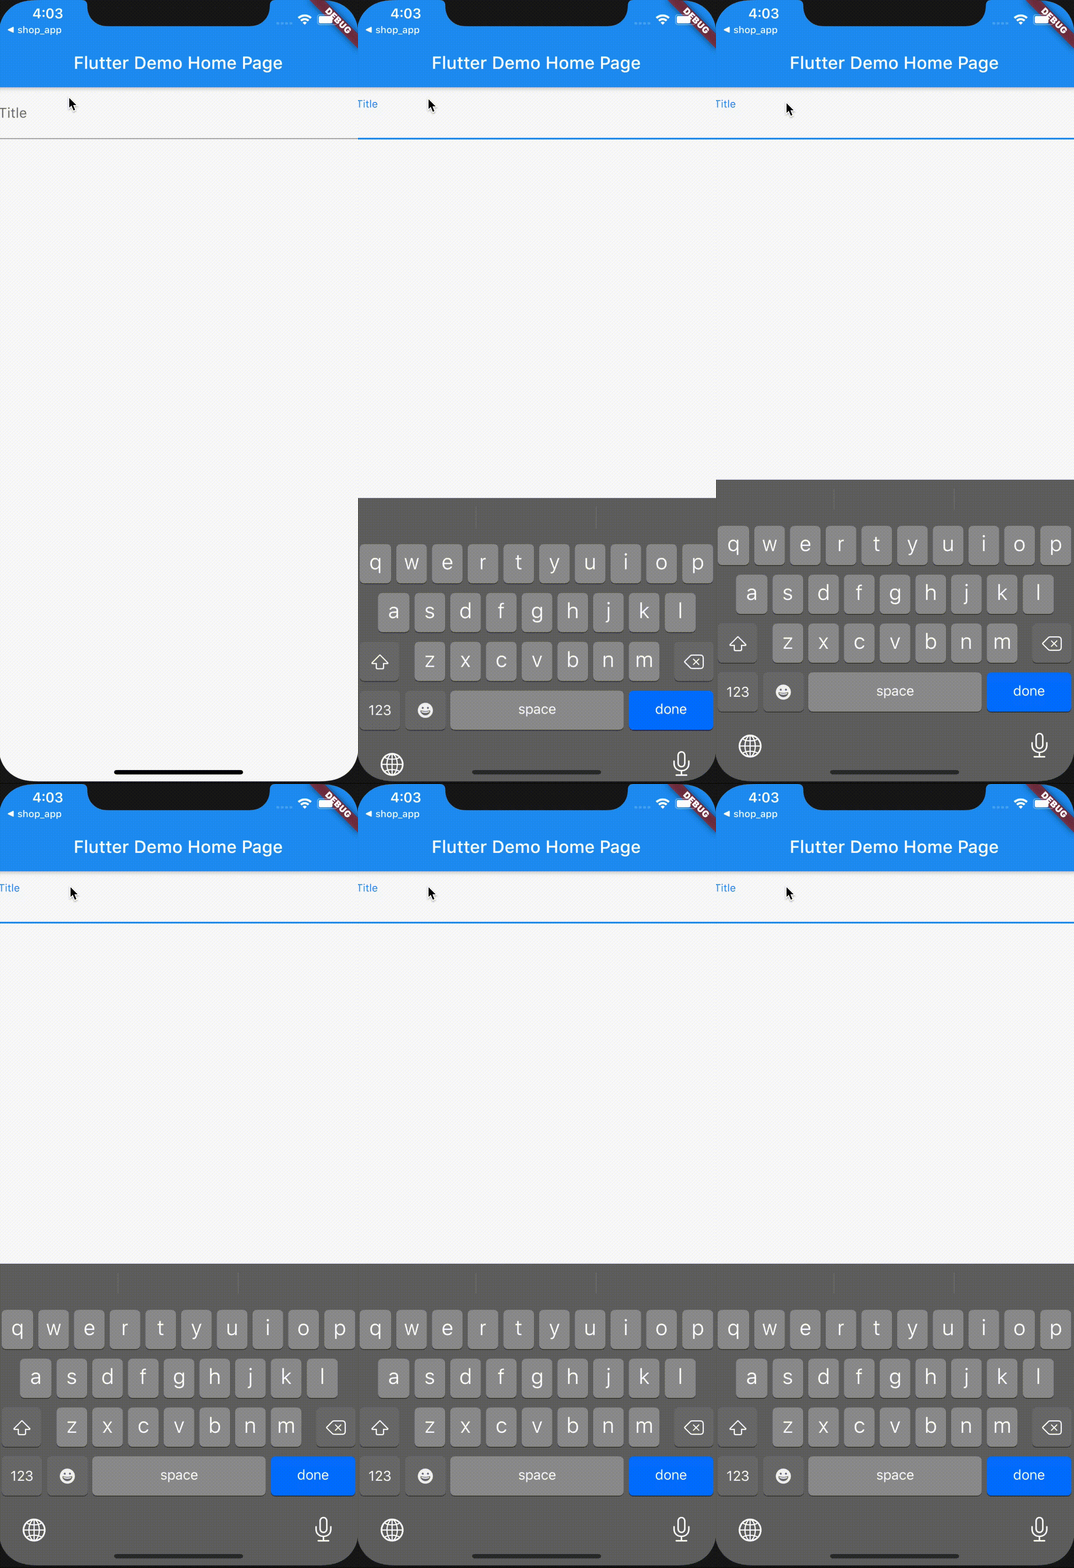
これだけで、アニメーションなどが実装されたちょっと良い感じのテキストフォームが出来上がる。
キーボードを二つ並べる
Form(
  child: Column(
    children: <Widget>[
      TextFormField(
        decoration: InputDecoration(labelText: 'id'),
      ),
      TextFormField(
        decoration: InputDecoration(labelText: 'password'),
      ),
    ],
  ),
)
実行結果

解説
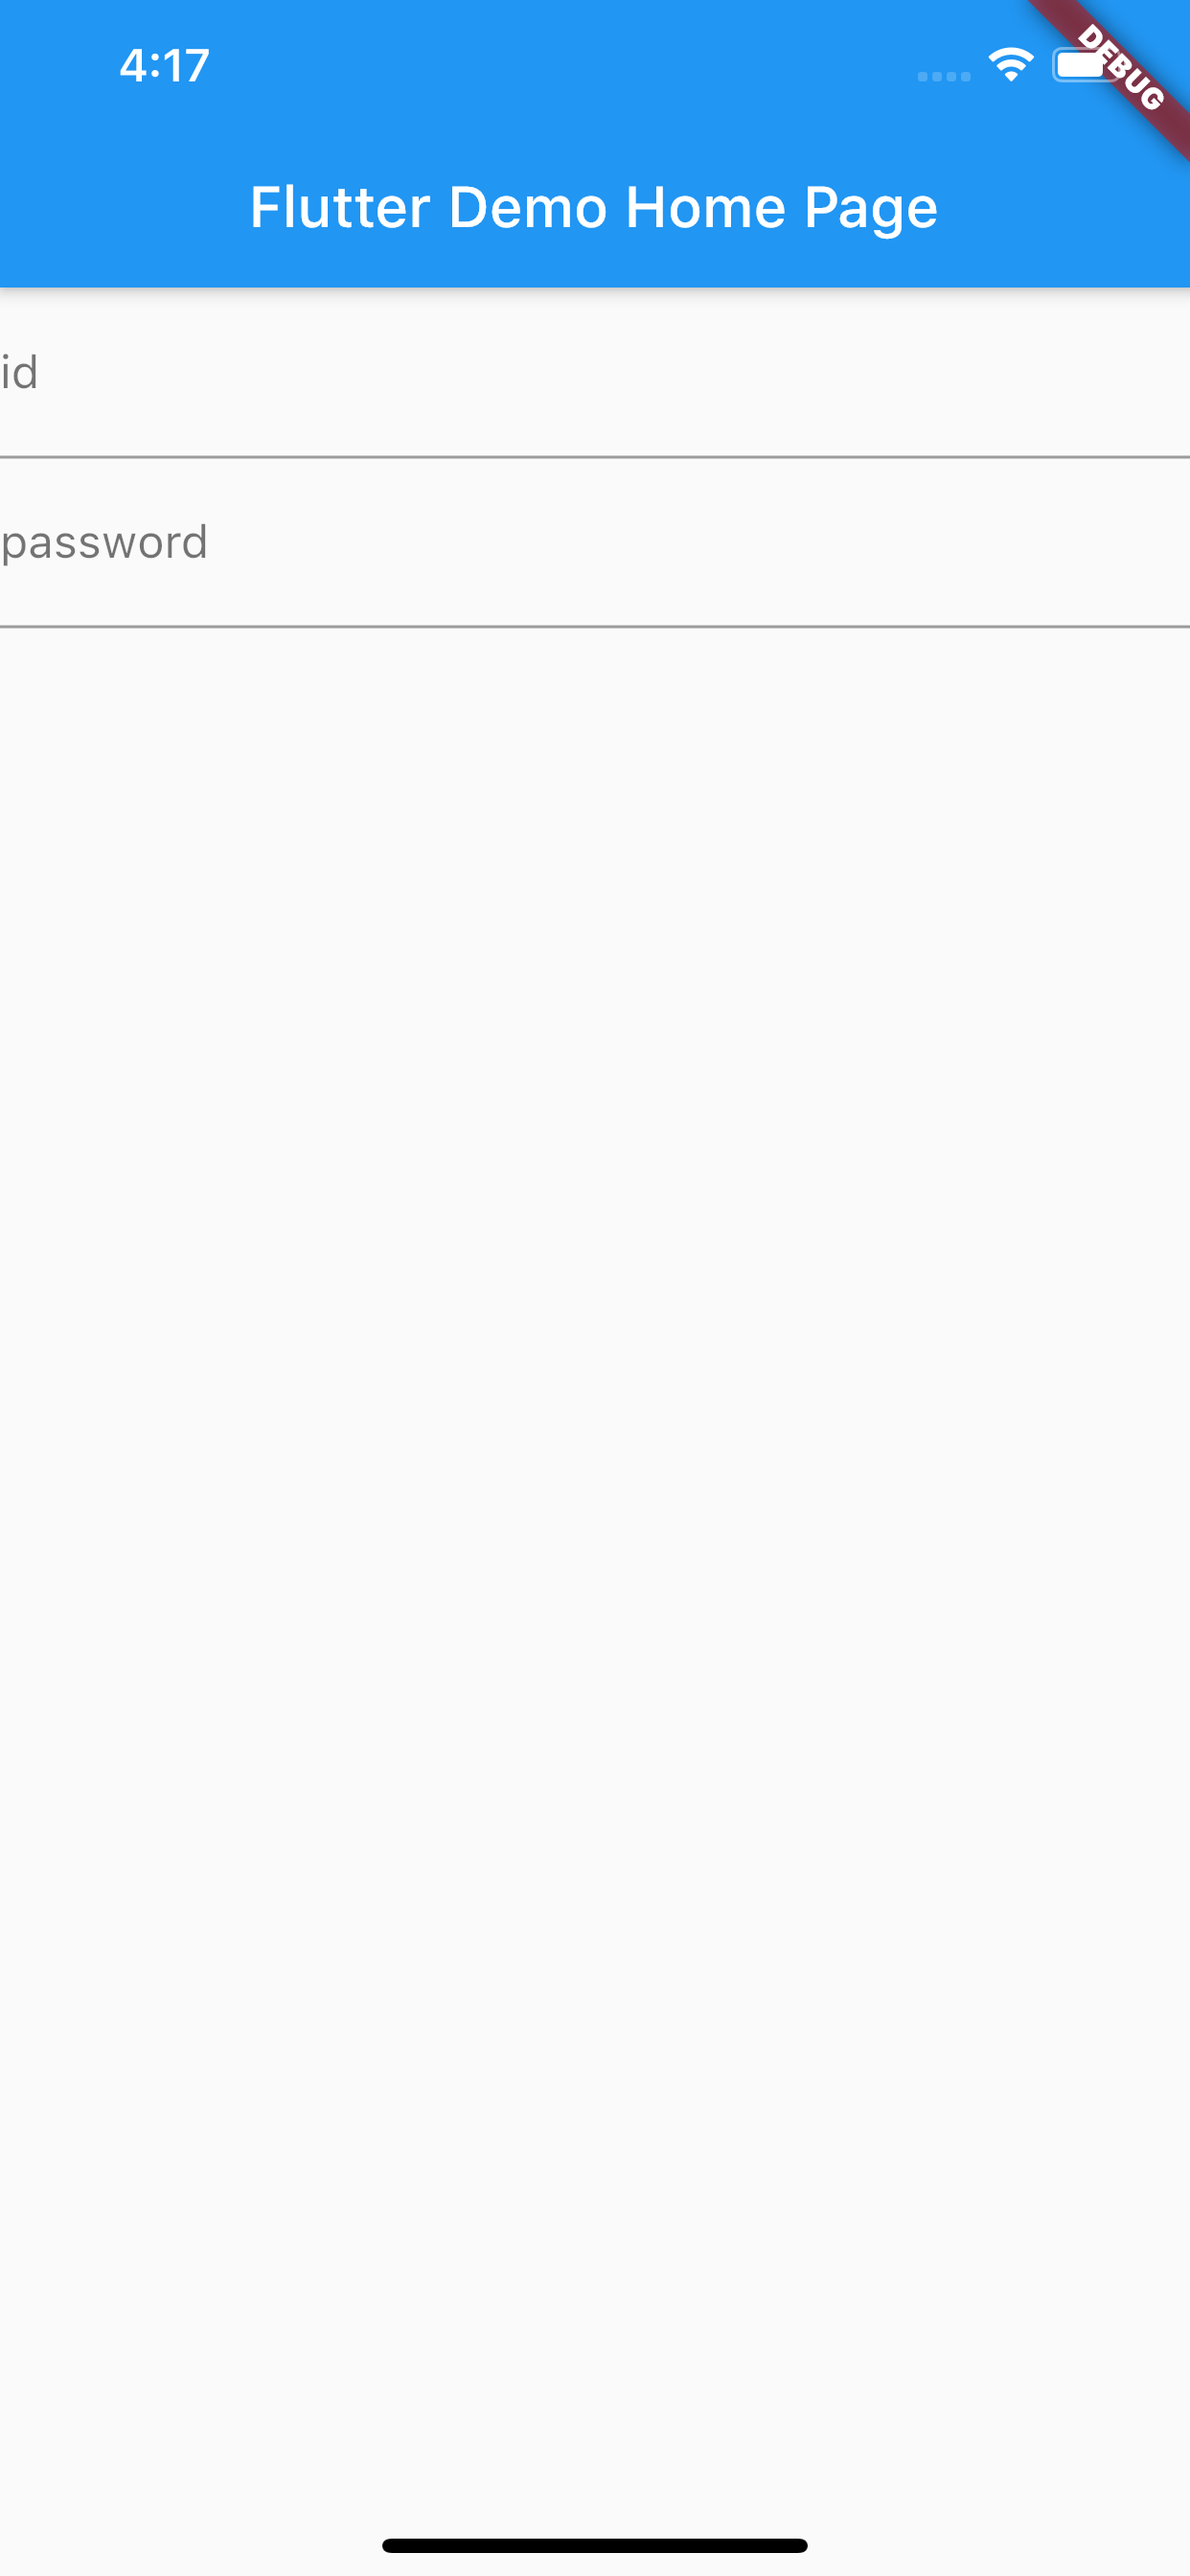
はい、2つ並びました。
まず、
FormはTextFormFieldなどFormFieldを基底とするWidgetと裏で連携していますが、それしか置けないわけではない
です。
入力中のパスワードを非表示にする
Form(
  child: Column(
    children: <Widget>[
      TextFormField(
        decoration: InputDecoration(labelText: 'id'),
      ),
      TextFormField(
        decoration: InputDecoration(labelText: 'password'),
        obscureText: true, // 追加
      ),
    ],
  ),
)
実行結果

解説
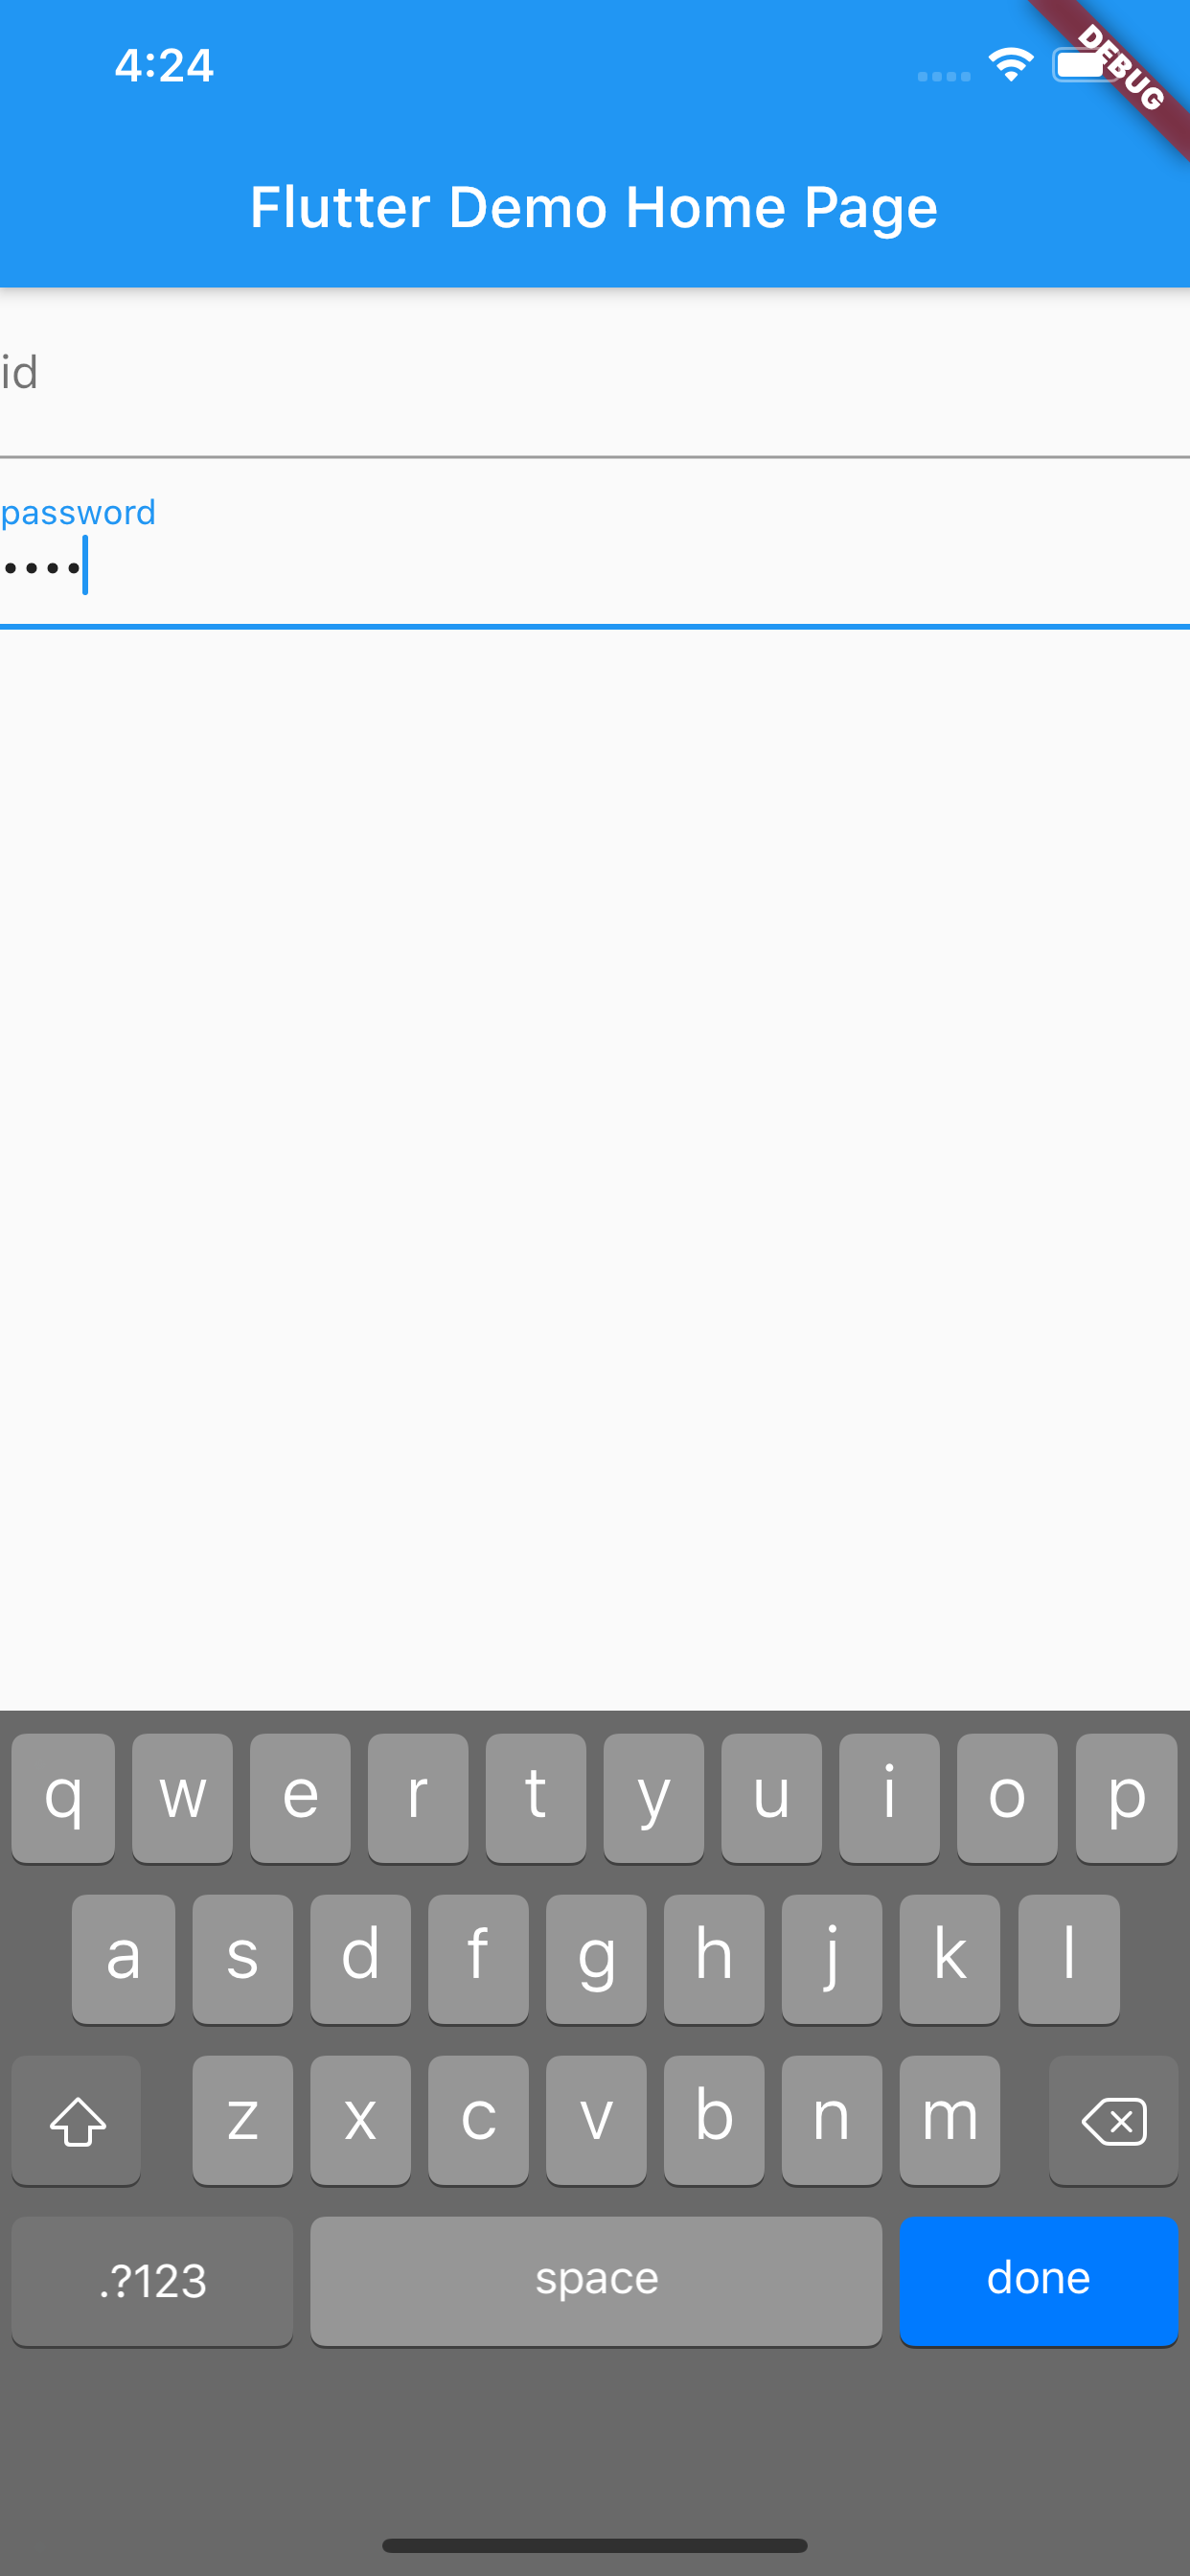
この様に入力したテキストが隠れる様になります。
doneボタンが押された時の処理を記述したい
Form(
  child: Column(
    children: <Widget>[
      TextFormField(
        decoration: InputDecoration(labelText: 'id'),
        textInputAction: TextInputAction.next,
        onFieldSubmitted: (value) {
          print(value);
        }, // 追加
      ),
      TextFormField(
        decoration: InputDecoration(labelText: 'password'),
        obscureText: true,
      ),
    ],
  ),
)
実行結果
引数valueには現在入力されている値が渡されます。
よって、コンソールに現在入力されているidの値が表示されます。
キーボードの右下ボタンをdoneからnextに変更
Form(
  child: Column(
    children: <Widget>[
      TextFormField(
        decoration: InputDecoration(labelText: 'id'),
        textInputAction: TextInputAction.next, // 追加
        onFieldSubmitted: (value) {
          print(value);
        },
      ),
      TextFormField(
        decoration: InputDecoration(labelText: 'password'),
        obscureText: true,
      ),
    ],
  ),
)
実行結果

解説
nextになりました。
が、 これだけではpasswordに移動してはくれません
passwordに移動する
@override
Widget build(BuildContext context) {
  final _passwordFocusNode = FocusNode(); // 追加

  return Scaffold(
    appBar: AppBar(
      title: Text(widget.title),
    ),
    body: Form(
      child: Column(
        children: <Widget>[
          TextFormField(
            decoration: InputDecoration(labelText: 'id'),
            textInputAction: TextInputAction.next,
            onFieldSubmitted: (_) {
              FocusScope.of(context).requestFocus(_passwordFocusNode);
            }, // 変更
          ),
          TextFormField(
            decoration: InputDecoration(labelText: 'password'),
            obscureText: true,
            focusNode: _passwordFocusNode, // 追加
          ),
        ],
      ),
    ),
  );
}
実行結果

解説
これで無事にpasswordに移動しましたね。
・FocusNode インスタンスを生成
・移動したいTextFormFieldに割り当てる
・FocusScope.of(context).requestFocusで対象のTextFormFieldにフォーカスを当てる
と言う流れで実行できます。
初期値を設定する
Form(
  child: Column(
    children: <Widget>[
      TextFormField(
        initialValue: 'initial id', // 追加
        decoration: InputDecoration(labelText: 'id'),
        textInputAction: TextInputAction.next,
        onFieldSubmitted: (_) {
          FocusScope.of(context).requestFocus(_passwordFocusNode);
        },
      ),
      TextFormField(
        decoration: InputDecoration(labelText: 'password'),
        obscureText: true,
        focusNode: _passwordFocusNode,
      ),
    ],
  ),
)
実行結果

現状の入力値を保存したい
@override
Widget build(BuildContext context) {
  final _passwordFocusNode = FocusNode();
  final _form = GlobalKey<FormState>(); // 追加
  String _userId;
  String _password;

  return Scaffold(
    appBar: AppBar(
      title: Text(widget.title),
    ),
    body: Form(
      key: _form, // 追加
      child: Column(
        children: <Widget>[
          TextFormField(
            decoration: InputDecoration(labelText: 'id'),
            textInputAction: TextInputAction.next,
            onFieldSubmitted: (_) {
              FocusScope.of(context).requestFocus(_passwordFocusNode);
            },
            onSaved: (value) {
              _userId = value;
            }, // 追加
          ),
          TextFormField(
            decoration: InputDecoration(labelText: 'password'),
            obscureText: true,
            focusNode: _passwordFocusNode,
            onSaved: (value) {
              _password = value;
            }, // 追加
          ),
          FlatButton(
            child: Text('Save'),
            color: Colors.grey,
            onPressed: () {
              _form.currentState.save();
              print(_userId);
              print(_password);
            },
          ), // 追加
        ],
      ),
    ),
  );
}
実行結果
flutter: test
flutter: testpassword
解説
まず、GlobalKey<FormState>インスタンスを生成します。
このインスタンスに対してcurrentStateを参照すると指定したState(今回はFormState)のインスタンスが取得できます。
このインスタンスに対してsaveメソッドを投げることによってFormの内容を保存する事が出来ます。
さて、保存をすると、各TextFormFieldのonSavedメソッドが呼ばれます。
なので、各々のTextFormFieldにこれを設定してあげてしかるべき場所に保存します。
saveメソッドを実行し終えた後は各widgetのonSavedが動いた後なので、無事にprintが動作すると言う流れです。
バリデーションしたい
Form(
  key: _form,
  child: Column(
    children: <Widget>[
      TextFormField(
        decoration: InputDecoration(labelText: 'id'),
        textInputAction: TextInputAction.next,
        validator: (value) {
          if (value.isEmpty) {
            return 'Please provide a value.';
          }
          if (value.length <= 4) {
            return 'id must be longer than 4 characters.';
          }
          if (16 < value.length) {
            return 'id must be less than 16 characters.';
          }
          return null;
        }, // 追加
        onFieldSubmitted: (_) {
          FocusScope.of(context).requestFocus(_passwordFocusNode);
        },
        onSaved: (value) {
          _userId = value;
        },
      ),
      TextFormField(
        decoration: InputDecoration(labelText: 'password'),
        obscureText: true,
        focusNode: _passwordFocusNode,
        validator: (value) {
          if (value.isEmpty) {
            return 'Please enter a password.';
          }
          return null;
        }, // 追加
        onSaved: (value) {
          _password = value;
        },
      ),
      FlatButton(
        child: Text('Save'),
        color: Colors.grey,
        onPressed: () {
          _form.currentState.save();
        },
      ),
    ],
  ),
)
実行結果

解説
見てお分かりのとおり、validatorに
現在の入力値を引数にとり、エラー文言を返却するFunction
を設定します。
エラーがなければnullを返します。
その他バリデーション
数値かどうか確かめたい
// 整数
if (int.tryParse(value) == null) {
  return 'Input a valid number.';
}

// 小数値
if (double.tryParse(value) == null) {
  return 'Input a valid number.';
}
指定した文字列で始まる|終わるか確かめたい
if (!value.startsWith('http')) {
  return 'Input a valid url.';
}

if (!value.endsWith('.png')) {
  return 'Input a png format url';
}
この他にも多種多様なプロパティが指定出来るので試してみてください。
誰かのお役に立てば。
