目標
APIのエンドポイントを叩いたら特定のスプレッドシートのデータをCSVに書き出してストレージに保存する。
※公開しても問題のないデータの前提
使うもの
- Google Apps Script
- Python
- Cloud Storage
- Cloud Functions
手順
1. スプレッドシートをWebアプリケーションとして公開する
スプレッドシートのツールバーから「ツール」→「<>スクリプトエディタ」を選択してGoogle Apps Scriptのエディタを開きます。
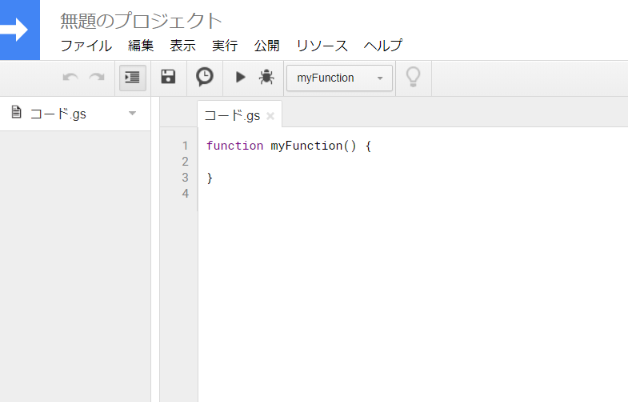
既存のコードを削除して以下のコードを貼り付けます。
function doGet(e) {
  var output = ContentService.createTextOutput(createCSV());
  output.setMimeType(ContentService.MimeType.TEXT);
  return output;
}

function createCSV() {
  var sheetName = 'シート名';
  var ss = SpreadsheetApp.getActiveSpreadsheet();
  var sheet = ss.getSheetByName(sheetName);
  var values = sheet.getDataRange().getValues();
  var csv = values.join('\n');
  return csv;
}
ツールバーの「公開」→「ウェブアプリケーションとして導入...」をクリックします。
プロジェクト名を聞かれるので適当な名前を付けて「OK」をクリックします。
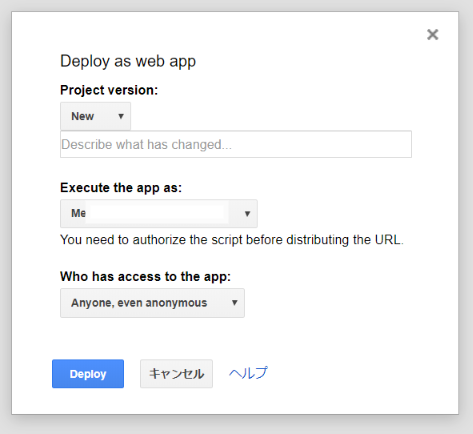
設定を聞かれるので「Execute the app as:」を「Me(メールアドレス)」、「Who has access to the app:」を「Anyone,even anonymous」に設定して「Deploy」をクリックします。
以下の画面が表示されるので、「Current web app URL」に記載のURLにアクセスしてスプレッドシートのデータがCSVの形で表示されれば成功です。
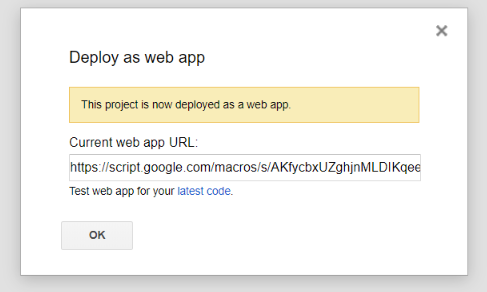
このURLは後で使うので控えておいてください。
###2. Cloud Storageにオブジェクト作成の権限を付与する
※細かい設定の説明は省きます。
「IAMと管理」の「サービスアカウント」を開き、「サービスアカウントのを作成」をクリックしてサービスアカウントを作成します。
「Storage」を開き、「バケットを作成」をクリックしてバケットを作成します。
バケット一覧の画面でバケットの右のメニューから「バケットの権限を編集」→「メンバーの追加」をクリックします。
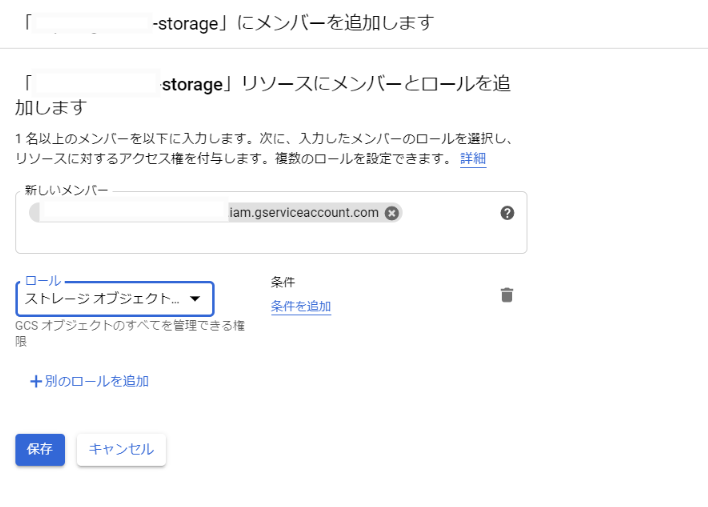
新しいメンバーにさきほど作成したサービスアカウントを追加し、ロールを選択から「Cloud Storage」→「ストレージオブジェクト管理者」を選択して「保存」をクリックします。
3. Cloud FunctionsにCSVをアップロードするスクリプトを配置する
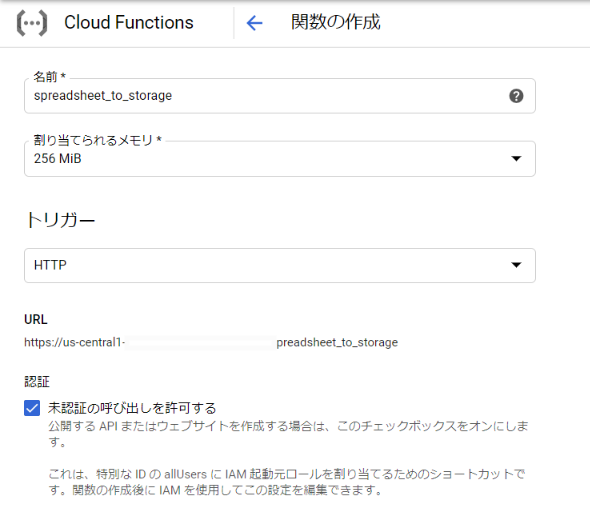
「Cloud Functions」を開き、「関数を作成」をクリックします。
「未承認の呼び出しを許可する」にチェックを入れます。
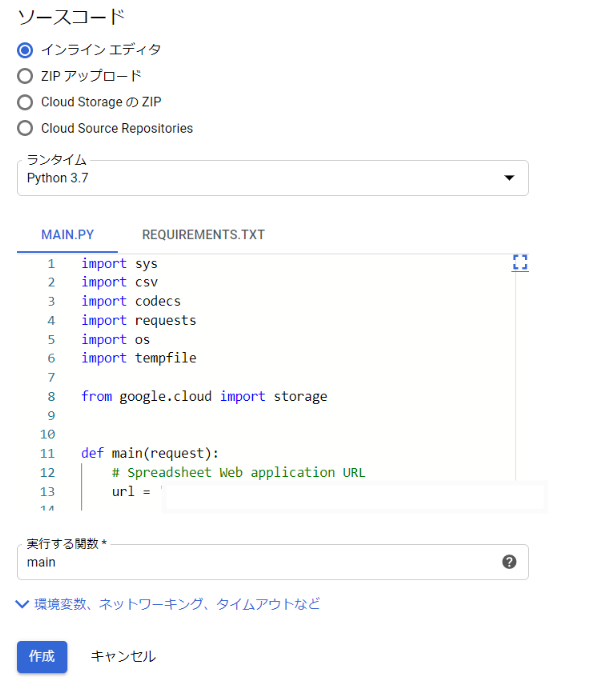
ランタイムに「Python 3.7」を選択します。
「MAIN.PY」と「REQUIREMENT.TXT」に以下のコードを貼り付けます。
import sys
import csv
import codecs
import requests
import os
import tempfile

from google.cloud import storage


def main(request):
    # Spreadsheet Web application URL
    url = '1.で表示されたURL'

    # Cloud Storage
    bucket = 'バケット名'
    dir = 'ディレクり名'
    fileName = 'csv名'

    # get data
    r = requests.get(url)
    assert r.status_code == requests.codes.ok, "can't read spreadsheet"  # pylint: disable=no-member

    # make file
    _, temp_local_filename = tempfile.mkstemp()
    with codecs.open(temp_local_filename, 'w', 'utf_8') as f:
        f.write(r.text)

    # upload file
    client = storage.Client()
    bucket = client.get_bucket(bucket)
    blob = bucket.blob(f'{dir}/{fileName}')
    blob.upload_from_filename(filename=temp_local_filename)
    return "success"
astroid==2.4.0
autopep8==1.5.2
cachetools==4.1.0
certifi==2020.4.5.1
chardet==3.0.4
colorama==0.4.3
google-api-core==1.17.0
google-auth==1.14.1
google-cloud==0.34.0
google-cloud-core==1.3.0
google-cloud-storage==1.28.0
google-resumable-media==0.5.0
googleapis-common-protos==1.51.0
idna==2.9
isort==4.3.21
lazy-object-proxy==1.4.3
mccabe==0.6.1
protobuf==3.11.3
pyasn1==0.4.8
pyasn1-modules==0.2.8
pycodestyle==2.5.0
pylint==2.5.0
pytz==2020.1
requests==2.23.0
rsa==4.0
six==1.14.0
toml==0.10.0
urllib3==1.25.9
wrapt==1.12.1
「実行する関数」を「main」にして「作成」をクリックします。
後は関数名をクリック→「トリガー」タブに書いているURLを叩いてCSVが書き出されれば成功です。
