2014年12月22日(月)より利用開始となったSoftLayer東京データセンター(TOK02)に仮想サーバーをデプロイして、その上にDockerコンテナを構築してみます。
ホストマシンの準備
まずはDockerが動くホストマシンを準備します。ホストマシンは、物理サーバーでも仮想サーバーでもかまいませんが、ここでは仮想サーバーを利用します。
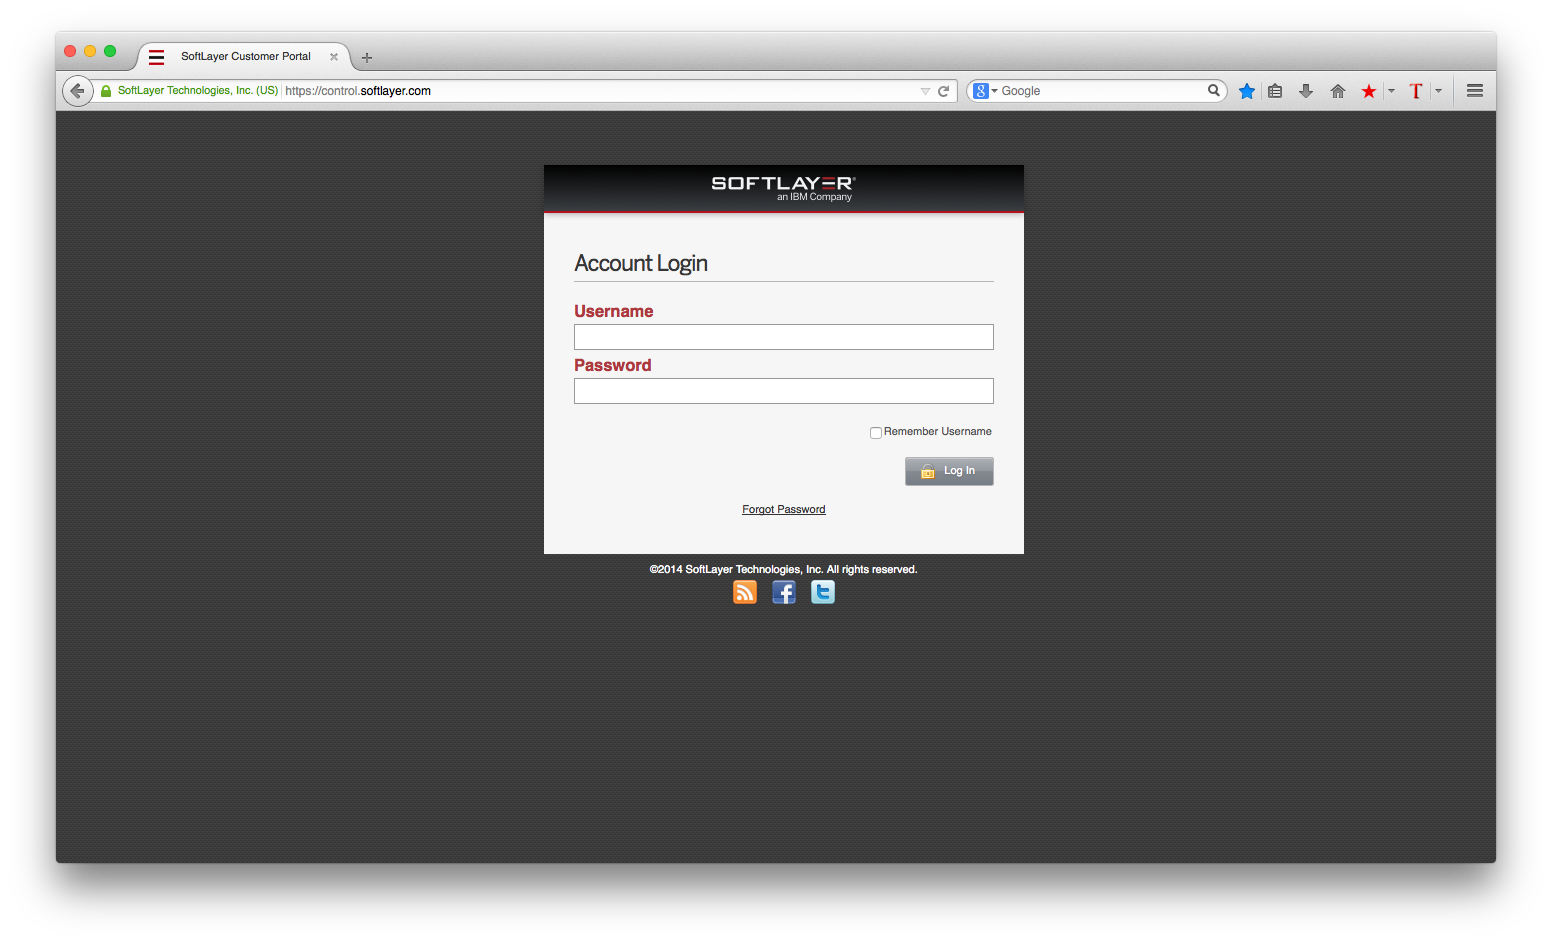
SoftLayerの管理コンソールにログインします。
https://control.softlayer.com/
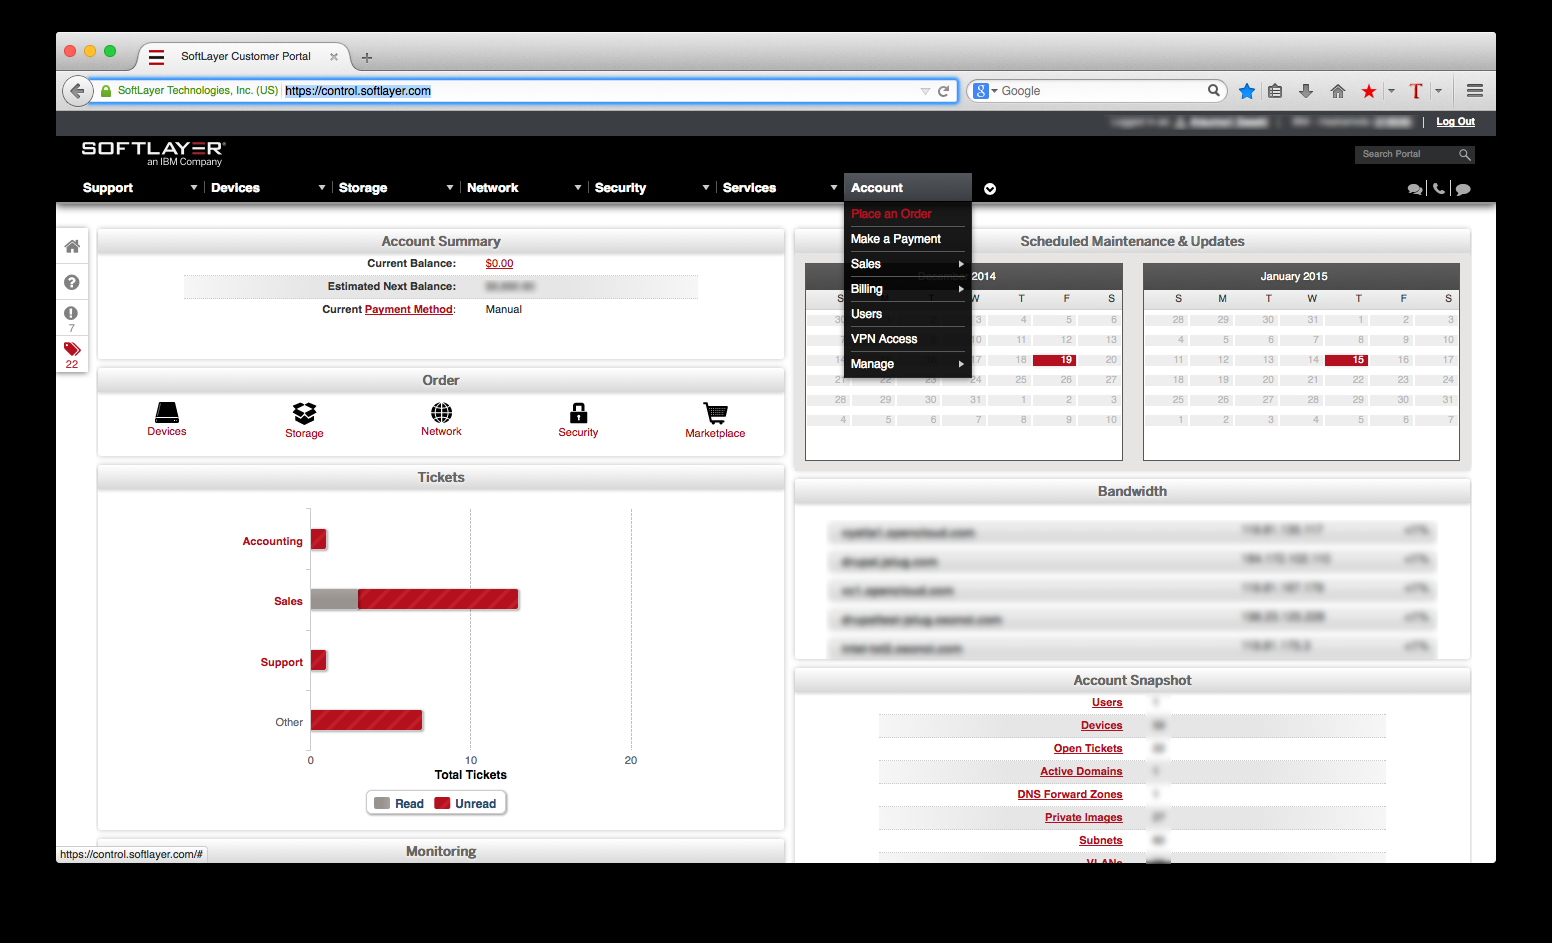
[Account] -> [Place an Order]をクリックします。
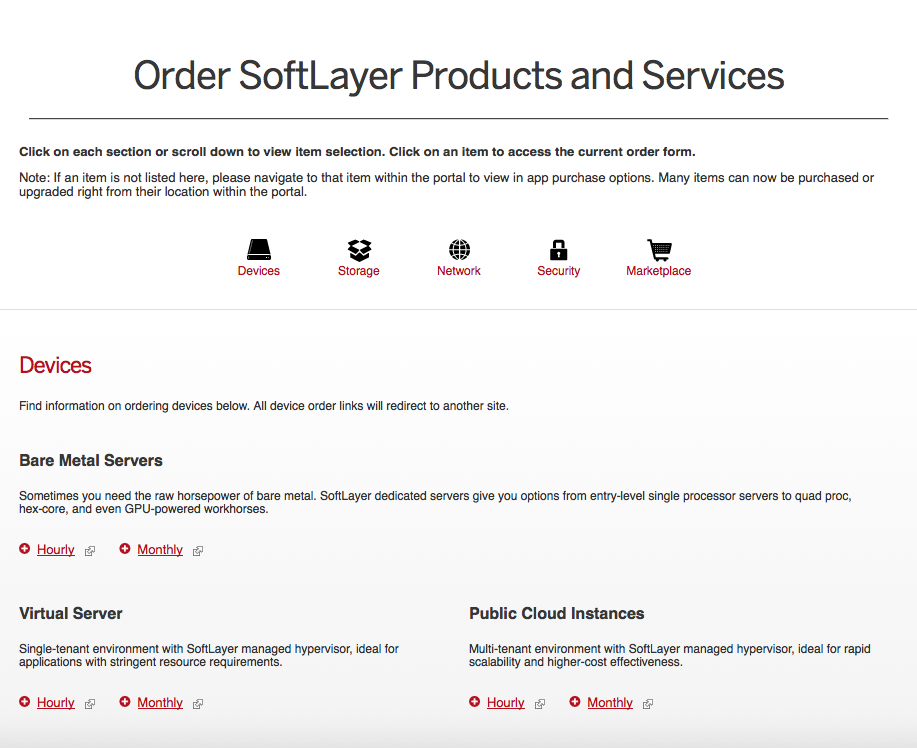
Virtual Server (Hourly)をオーダーしてみます。
TOK02(東京データ・センター)が追加されていることが分かります。Surchargeは17%です。
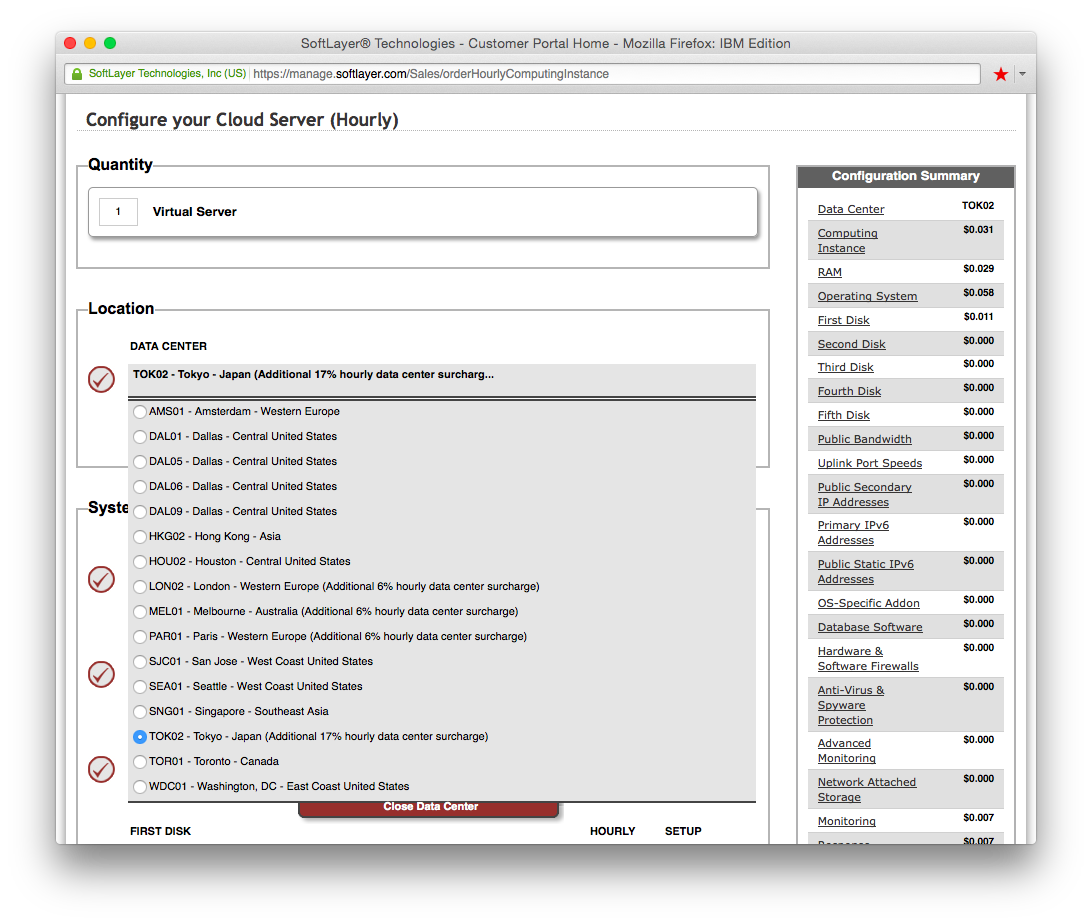
必要なスペックを指定します。例えば、今回はディスクはLocalを選択しています。
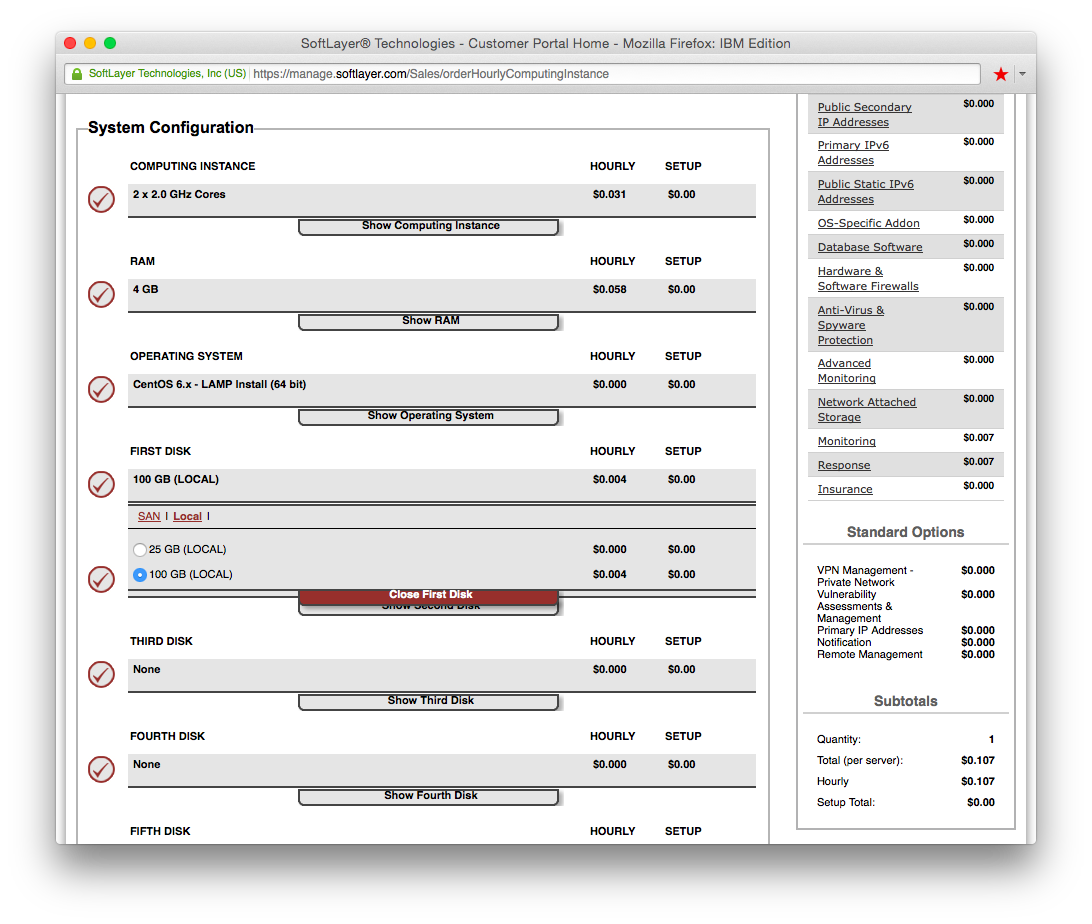
オーダー内容を確認の上、Add Serverをクリックすれば、仮想サーバーのデプロイが開始します。
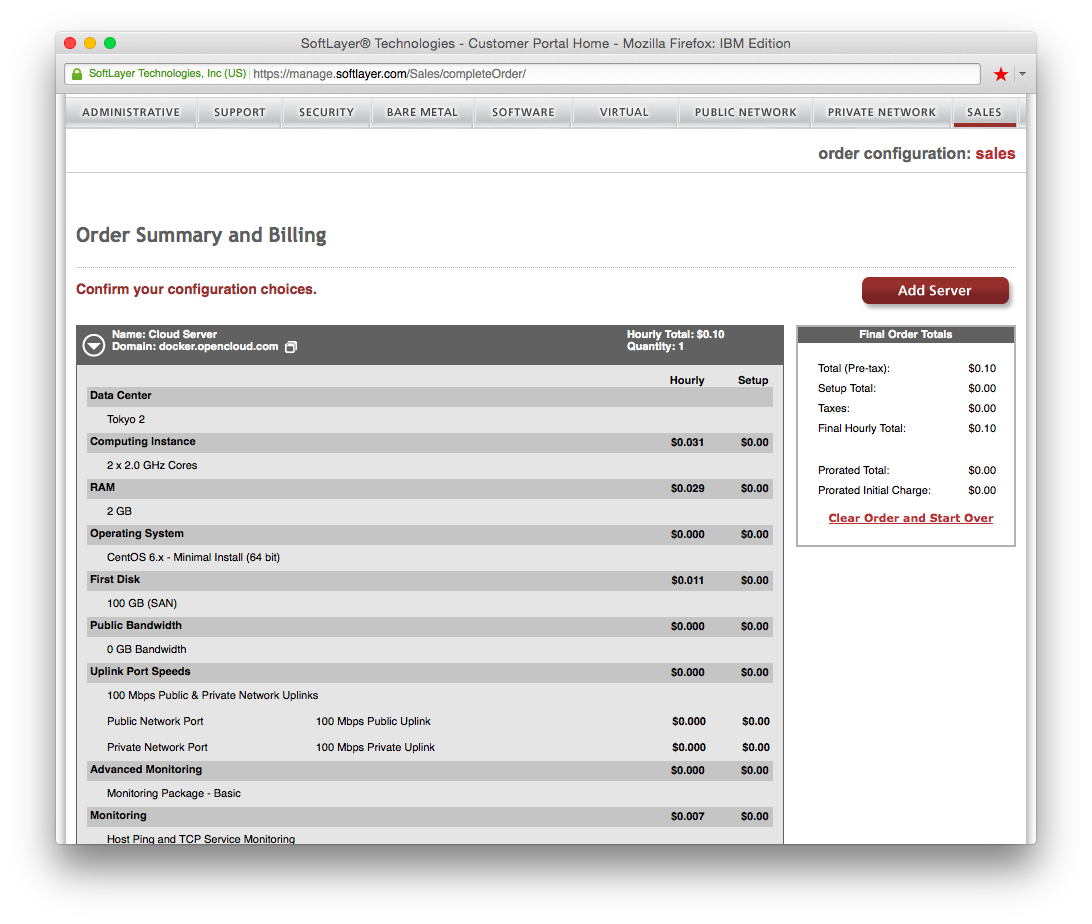
しばらくするとデプロイが完了します。
yum updateやiptables設定など基本的なOS設定を施しますが、ここでは割愛します。SoftLayerで標準機能として利用できるProvisioningスクリプトを使えば自動化できます。例えば、今回は、このようなProvisioningスクリプトを利用しました。
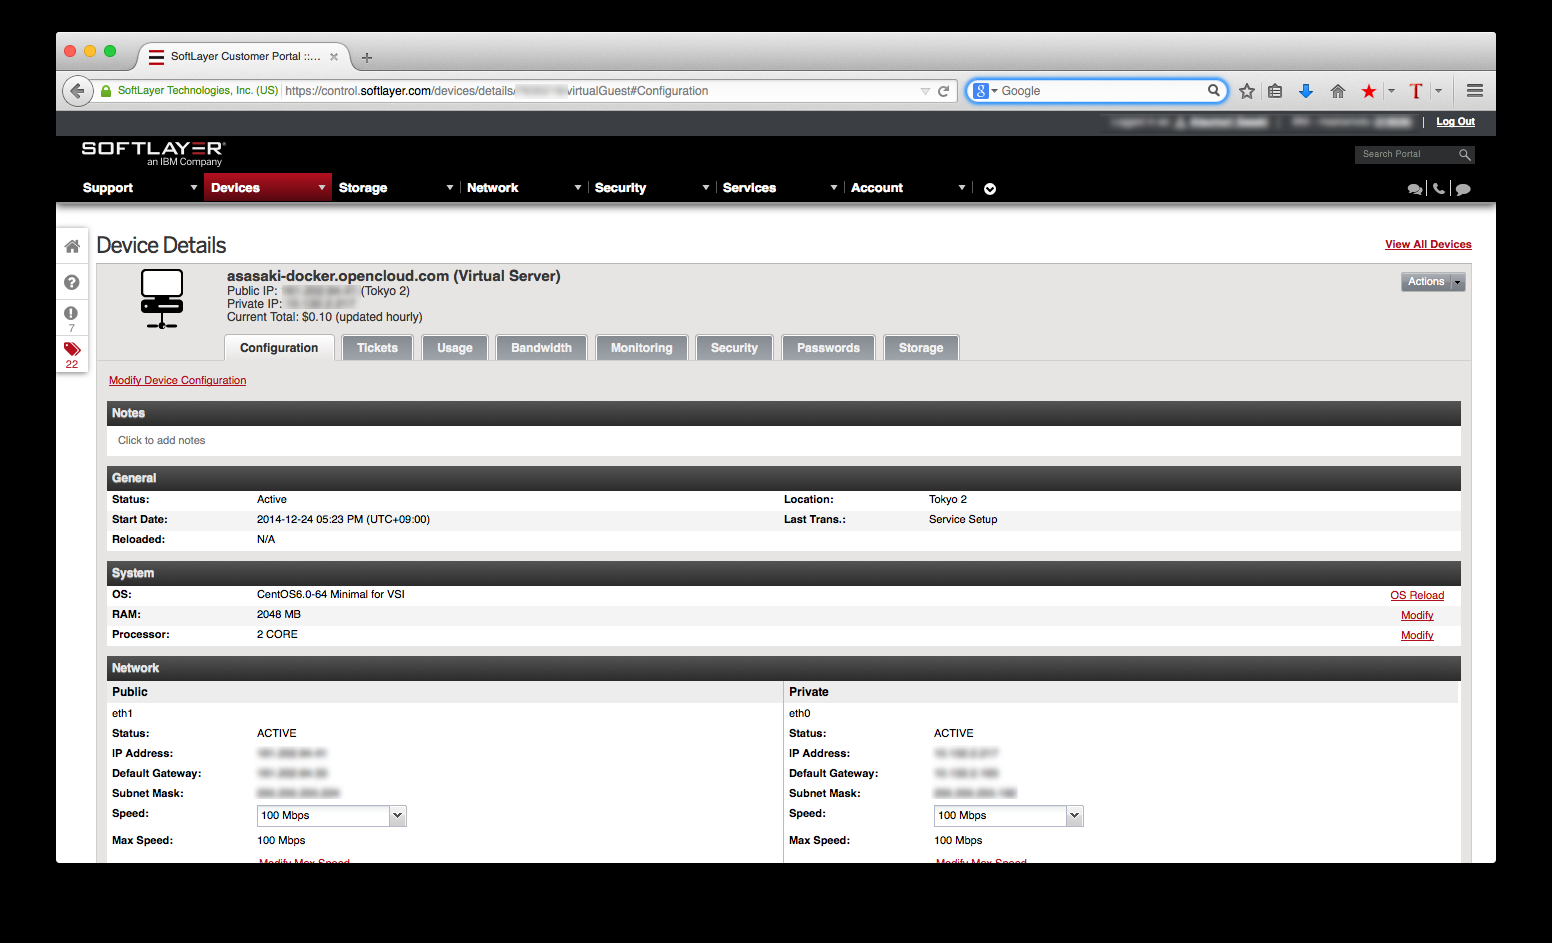
Device Listより、デプロイされた仮想サーバーを確認できます。
Dockerのインストール
早速、Dockerをインストールしてみます。
公式サイトに詳しい手順はあります。
今回はホストOSにはCentOS release 6.6を利用しています。
CentOSの標準リポジトリには、Dockerは含まれませんので、EPELリポジトリをインストールします。
EPELリポジトリとは、CentOS 標準のリポジトリでは提供されていないパッケージを、yum コマンドでインストールすることを可能にするリポジトリのことです。
# sudo rpm --import http://dl.fedoraproject.org/pub/epel/RPM-GPG-KEY-EPEL-6
# sudo yum -y install http://dl.fedoraproject.org/pub/epel/6/x86_64/epel-release- 6-8.noarch.rpm
読み込んだプラグイン:fastestmirror, security
インストール処理の設定をしています
epel-release-6-8.noarch.rpm                                                                            |  14 kB     00:00
/var/tmp/yum-root-pnk4TX/epel-release-6-8.noarch.rpm を調べています: epel-release-6-8.noarch
/var/tmp/yum-root-pnk4TX/epel-release-6-8.noarch.rpm をインストール済みとして設定しています
Loading mirror speeds from cached hostfile
依存性の解決をしています
--> トランザクションの確認を実行しています。
---> Package epel-release.noarch 0:6-8 will be インストール
--> 依存性解決を終了しました。

依存性を解決しました

==============================================================================================================================
 パッケージ                    アーキテクチャ          バージョン             リポジトリー                               容量
==============================================================================================================================
インストールしています:
 epel-release                  noarch                  6-8                    /epel-release-6-8.noarch                   22 k

トランザクションの要約
==============================================================================================================================
インストール         1 パッケージ

合計容量: 22 k
インストール済み容量: 22 k
パッケージをダウンロードしています:
rpm_check_debug を実行しています
トランザクションのテストを実行しています
トランザクションのテストを成功しました
トランザクションを実行しています
  インストールしています  : epel-release-6-8.noarch                                                                       1/1
  Verifying               : epel-release-6-8.noarch                                                                       1/1

インストール:
  epel-release.noarch 0:6-8

完了しました!
次に、yumを使いdockerをインストールします。
# sudo yum -y install docker-io
読み込んだプラグイン:fastestmirror, security
インストール処理の設定をしています
Loading mirror speeds from cached hostfile
epel/metalink                                                                                          |  27 kB     00:00
 * epel: mirror.datacenter.by
epel                                                                                                   | 4.4 kB     00:00
epel/primary_db                                                                                        | 6.3 MB     00:02
依存性の解決をしています
--> トランザクションの確認を実行しています。
---> Package docker-io.x86_64 0:1.3.2-2.el6 will be インストール
--> 依存性の処理をしています: lxc のパッケージ: docker-io-1.3.2-2.el6.x86_64
--> 依存性の処理をしています: libcgroup のパッケージ: docker-io-1.3.2-2.el6.x86_64
--> トランザクションの確認を実行しています。
---> Package libcgroup.x86_64 0:0.40.rc1-15.el6_6 will be インストール
---> Package lxc.x86_64 0:1.0.6-1.el6 will be インストール
--> 依存性の処理をしています: lua-lxc(x86-64) = 1.0.6-1.el6 のパッケージ: lxc-1.0.6-1.el6.x86_64
--> 依存性の処理をしています: lua-alt-getopt のパッケージ: lxc-1.0.6-1.el6.x86_64
--> 依存性の処理をしています: liblxc.so.1()(64bit) のパッケージ: lxc-1.0.6-1.el6.x86_64
--> トランザクションの確認を実行しています。
---> Package lua-alt-getopt.noarch 0:0.7.0-1.el6 will be インストール
---> Package lua-lxc.x86_64 0:1.0.6-1.el6 will be インストール
--> 依存性の処理をしています: lua-filesystem のパッケージ: lua-lxc-1.0.6-1.el6.x86_64
---> Package lxc-libs.x86_64 0:1.0.6-1.el6 will be インストール
--> トランザクションの確認を実行しています。
---> Package lua-filesystem.x86_64 0:1.4.2-1.el6 will be インストール
--> 依存性解決を終了しました。

依存性を解決しました

==============================================================================================================================
 パッケージ                      アーキテクチャ          バージョン                            リポジトリー              容量
==============================================================================================================================
インストールしています:
 docker-io                       x86_64                  1.3.2-2.el6                           epel                     4.3 M
依存性関連でのインストールをします。:
 libcgroup                       x86_64                  0.40.rc1-15.el6_6                     updates                  129 k
 lua-alt-getopt                  noarch                  0.7.0-1.el6                           epel                     6.9 k
 lua-filesystem                  x86_64                  1.4.2-1.el6                           epel                      24 k
 lua-lxc                         x86_64                  1.0.6-1.el6                           epel                      15 k
 lxc                             x86_64                  1.0.6-1.el6                           epel                     120 k
 lxc-libs                        x86_64                  1.0.6-1.el6                           epel                     248 k

トランザクションの要約
==============================================================================================================================
インストール         7 パッケージ

総ダウンロード容量: 4.9 M
インストール済み容量: 20 M
パッケージをダウンロードしています:
(1/7): docker-io-1.3.2-2.el6.x86_64.rpm                                                                | 4.3 MB     00:01
(2/7): libcgroup-0.40.rc1-15.el6_6.x86_64.rpm                                                          | 129 kB     00:00
(3/7): lua-alt-getopt-0.7.0-1.el6.noarch.rpm                                                           | 6.9 kB     00:00
(4/7): lua-filesystem-1.4.2-1.el6.x86_64.rpm                                                           |  24 kB     00:00
(5/7): lua-lxc-1.0.6-1.el6.x86_64.rpm                                                                  |  15 kB     00:00
(6/7): lxc-1.0.6-1.el6.x86_64.rpm                                                                      | 120 kB     00:00
(7/7): lxc-libs-1.0.6-1.el6.x86_64.rpm                                                                 | 248 kB     00:00
------------------------------------------------------------------------------------------------------------------------------
合計                                                                                          1.6 MB/s | 4.9 MB     00:03
rpm_check_debug を実行しています
トランザクションのテストを実行しています
トランザクションのテストを成功しました
トランザクションを実行しています
  インストールしています  : lxc-libs-1.0.6-1.el6.x86_64                                                                   1/7
  インストールしています  : libcgroup-0.40.rc1-15.el6_6.x86_64                                                            2/7
  インストールしています  : lua-filesystem-1.4.2-1.el6.x86_64                                                             3/7
  インストールしています  : lua-lxc-1.0.6-1.el6.x86_64                                                                    4/7
  インストールしています  : lua-alt-getopt-0.7.0-1.el6.noarch                                                             5/7
  インストールしています  : lxc-1.0.6-1.el6.x86_64                                                                        6/7
  インストールしています  : docker-io-1.3.2-2.el6.x86_64                                                                  7/7
  Verifying               : lxc-1.0.6-1.el6.x86_64                                                                        1/7
  Verifying               : lxc-libs-1.0.6-1.el6.x86_64                                                                   2/7
  Verifying               : lua-lxc-1.0.6-1.el6.x86_64                                                                    3/7
  Verifying               : docker-io-1.3.2-2.el6.x86_64                                                                  4/7
  Verifying               : lua-alt-getopt-0.7.0-1.el6.noarch                                                             5/7
  Verifying               : lua-filesystem-1.4.2-1.el6.x86_64                                                             6/7
  Verifying               : libcgroup-0.40.rc1-15.el6_6.x86_64                                                            7/7

インストール:
  docker-io.x86_64 0:1.3.2-2.el6

依存性関連をインストールしました:
  libcgroup.x86_64 0:0.40.rc1-15.el6_6      lua-alt-getopt.noarch 0:0.7.0-1.el6      lua-filesystem.x86_64 0:1.4.2-1.el6
  lua-lxc.x86_64 0:1.0.6-1.el6              lxc.x86_64 0:1.0.6-1.el6                 lxc-libs.x86_64 0:1.0.6-1.el6

完了しました!
Dockerのインストール確認
サービスの開始
# sudo service docker start
Starting cgconfig service:                                 [  OK  ]
Starting docker:	                                   [  OK  ]
OS起動時にdockerサービスが自動起動するようにします
# chkconfig docker on
Dockerのバージョンを確認します
# docker version
Client version: 1.3.2
Client API version: 1.15
Go version (client): go1.3.3
Git commit (client): 39fa2fa/1.3.2
OS/Arch (client): linux/amd64
Server version: 1.3.2
Server API version: 1.15
Go version (server): go1.3.3
Git commit (server): 39fa2fa/1.3.2
これで、Dockerのインストールは完了です。
動作確認1:Hello World
動作確認の第一歩として、"Hello world"をDockerizingしてみます。
公式のユーザー・ガイドにしたがい、最初は、"Hello world"アプリケーションをDockerizingしてみます。公式ガイドは、日本語版もあります。
Dockerizingとは、すなわち、Docker化を意味します。
例えば、以下のようなコマンドで、Ubuntu 14.04をコンテナOSとして指定し、Hello worldを実行してみます。
# sudo docker run ubuntu:14.04 /bin/echo 'Hello world'
Unable to find image 'ubuntu:14.04' locally
ubuntu:14.04: The image you are pulling has been verified
c7b7c6419568: Pull complete
70c8faa62a44: Pull complete
d735006ad9c1: Pull complete
04c5d3b7b065: Pull complete
511136ea3c5a: Already exists
Status: Downloaded newer image for ubuntu:14.04`
Hello world
この環境では、今回、初めてubuntu 14.04をするので、公開イメージレジストリである Docker Hub からイメージをダウンロードしていることが分かります。
今回は、
# docker run ubuntu:14.04
によりDockerコンテナを起動しています。
そして、起動したubuntu 14.04上で、
/bin/echo 'Hello World'
というコマンドが実行されるので、Hello worldと表示されます。
exitでコンテナを終了します。
# exit
ちなみに、事前にイメージをローカルにダウンロードしておきたいときは、以下のようにしておきます。この例では、CentOSをダウンロードしています。
# docker pull centos
docker pull centos
centos:latest: The image you are pulling has been verified

511136ea3c5a: Pull complete
5b12ef8fd570: Pull complete
34943839435d: Pull complete
Status: Downloaded newer image for centos:latest
ローカルにあるイメージ・リストを確認してみます。
# docker images
REPOSITORY          TAG                 IMAGE ID            CREATED             VIRTUAL SIZE
ubuntu              14.04               04c5d3b7b065        8 days ago          192.7 MB
centos              latest              34943839435d        3 weeks ago         224 MB
動作確認2:nginx
nginxのDockerイメージを取得します
# docker pull nginx:latest
Pulling repository nginx
4194bf052e83: Download complete
511136ea3c5a: Download complete
f10807909bc5: Download complete
f6fab3b798be: Download complete
d21beea329f5: Download complete
04499cf33a0e: Download complete
34806d38e48d: Download complete
7c2a0607fc9b: Download complete
749d25cb902b: Download complete
7ac018b45e19: Download complete
01cbbaff3e11: Download complete
622688c57815: Download complete
cb2b97a38995: Download complete
Status: Downloaded newer image for nginx:latest
ダウンロードしたイメージの確認
# docker images
REPOSITORY          TAG                 IMAGE ID            CREATED             VIRTUAL SIZE
nginx               1.7.9               4194bf052e83        30 hours ago        91.75 MB
nginx               latest              4194bf052e83        30 hours ago        91.75 MB
nginx               1                   4194bf052e83        30 hours ago        91.75 MB
nginx               1.7                 4194bf052e83        30 hours ago        91.75 MB
ちなみに、docker runの各オプションは以下のとおりです。
-d:バックグラウンドで実行する。
-i:コンテナーの標準入力を開く。
-t:tty(端末デバイス)を確保する。
-p {ホストのポート番号}:{コンテナーのポート番号}:Dockerサーバーのホストとポートマッピングを構成
Dockerが正しくインストールされていることが確認できました。
以上、SoftLayer上のVirtual Serverを使えば、Docker環境も簡単に構築できることがわかりました。