概要
HeadlessCMSを自前で用意するため、オープンソースのstrapiを利用してみました。
構築からコンテンツ登録までの手順をご紹介します。
環境構築
strapiインストール&プロジェクト作成
本家ドキュメントに従い、構築します。
yarn create strapi-app my-strapi-cms --quickstart
しばらく待っているだけで何もせず、ユーザー登録画面起動![]()

Adminのユーザー情報を入力して[Ready to strapi]でスタートします。
--quickstartを指定した場合、DBはSQLiteが選択され、
一緒にインストールされます。その他のDBは以下が選択可能です。
- SQLite
- MongoDB
- MySQL and MariaDB
- PostgreSQL
DBを指定する場合の手順はこちら
予めDBのインストールが必要です。
ユーザー登録
ユーザを登録します。
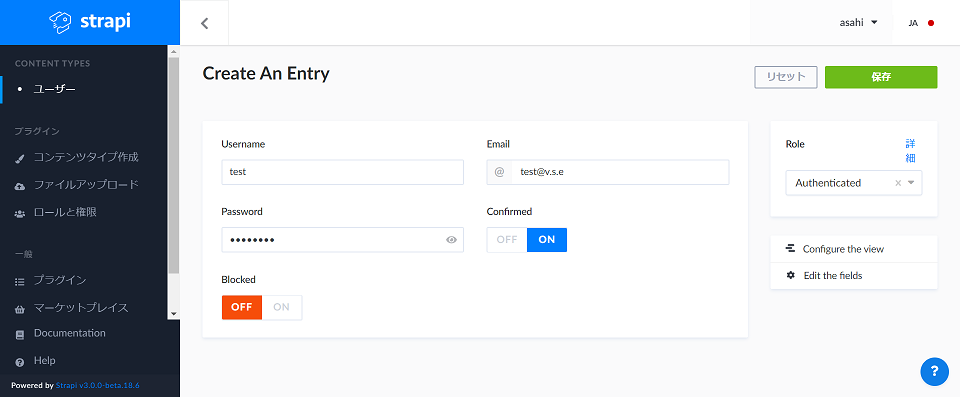
- CONTENT TYPESの下にあるユーザーをクリック
- Userを追加をクリック
-
Username,Email,Passwordを入力 -
Confirmedは
ONを選択 -
Roleは
Authenticatedを選択 - 保存をクリック
コンテンツタイプの作成
「Restaurant」というコンテンツを登録します。

- CONTENT TYPESの下にあるコンテンツタイプ作成をクリック
-
Create new content-typeをクリック -
Display Nameに
restaurantと入力し続けるをクリック
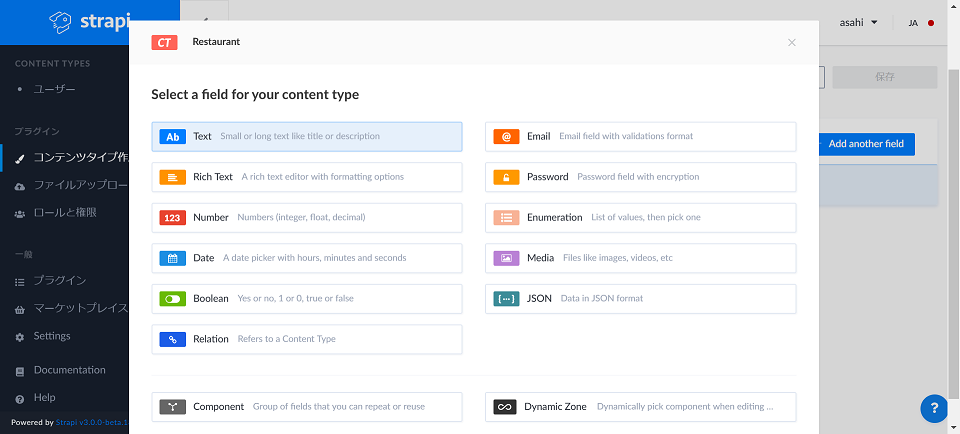
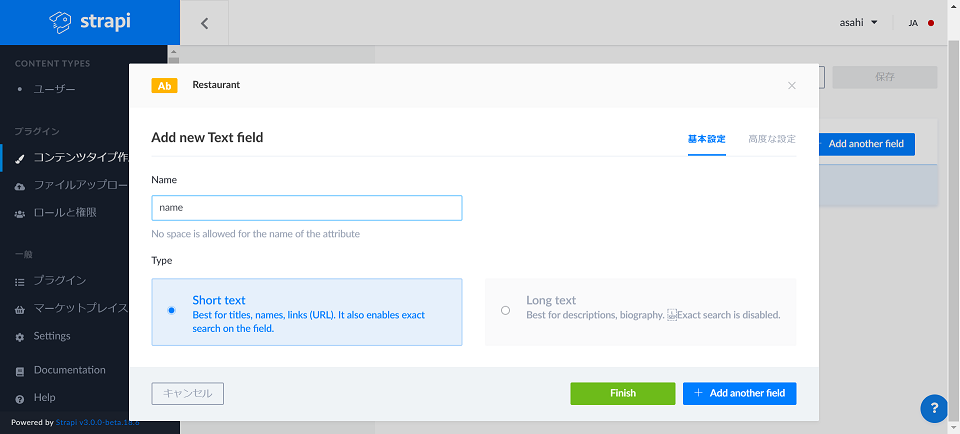
-
Textを選択 - 基本設定タブでNameに
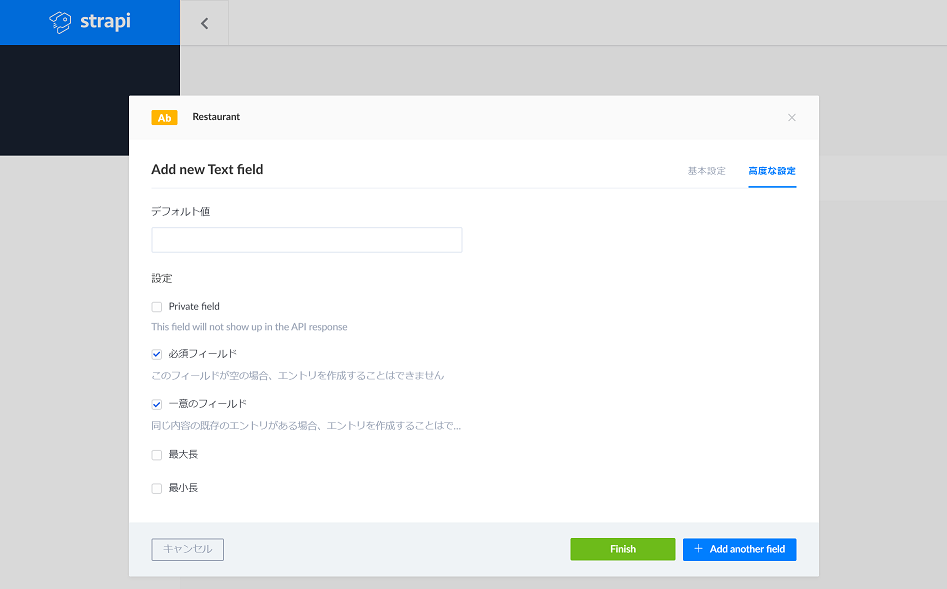
nameを入力 - 高度な設定タブでRequired fieldをチェック
- 高度な設定タブでUnique fieldをチェック
-
+Add another fieldをクリック
上記を切り返し、複数フィールドを設定します。
最後にFinishをクリックします。

保存をクリックでコンテンツタイプの作成完了です。

リレーションの作成
コンテンツタイプにリレーションを組むことができます。
以下の内容の「Category」というコンテンツを登録します。
-
Display Name:
category -
Text:Name:
name - Required fieldをチェック
- Unique fieldをチェック
リレーションを張るためのfieldを追加します。

-
Relationを選択 -
Restaurantを選択 - 多対多を選択
コンポーネントの作成
フィールドに指定できるコンポーネントを作成できます。

-
Create new content-typeをクリック -
Nameに
hours_of_operation -
categoryに
hours - 続けるをクリック
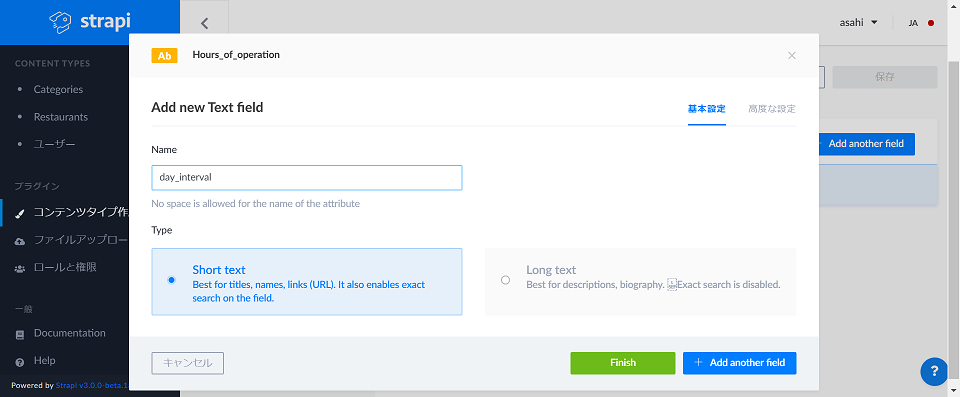
-
Text:Name:
day_interval - Required fieldをチェック
上記の手順で複数項目を設定し、保存します。
Hours_of_operationをRestaurantに割り当てるため、
Restaurantの+ Add another fieldで以下を追加します。


-
Use an existing componentを選択 -
Nameに
restaurant_hoursを入力 -
Select a componentは
hours_of_operationを選択 -
Repeatable componentを選択 - Finishをクリック
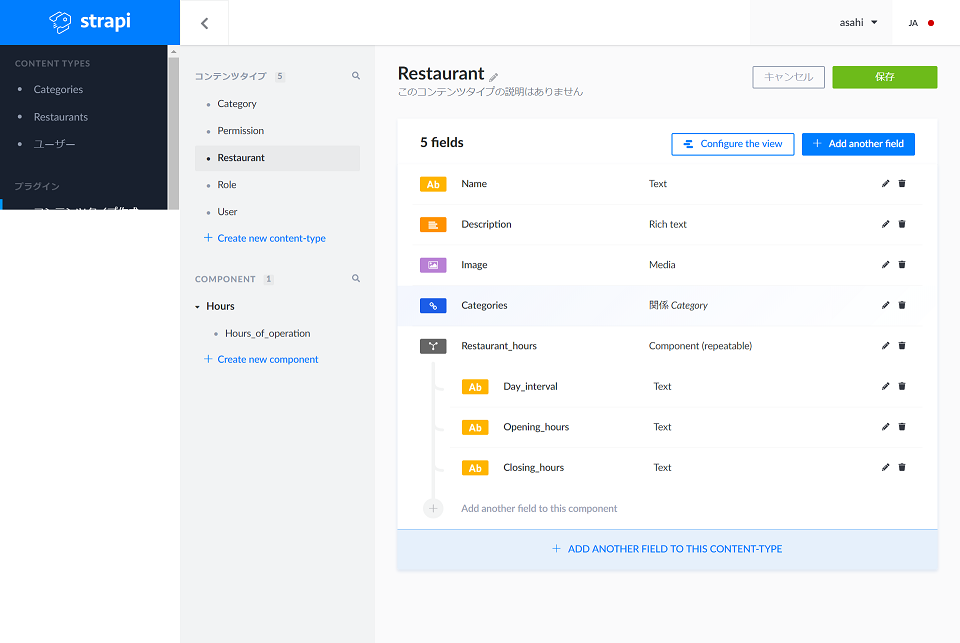
- 保存をクリック
※Configure the viewからコンテンツ登録時の画面レイアウトの編集ができます。
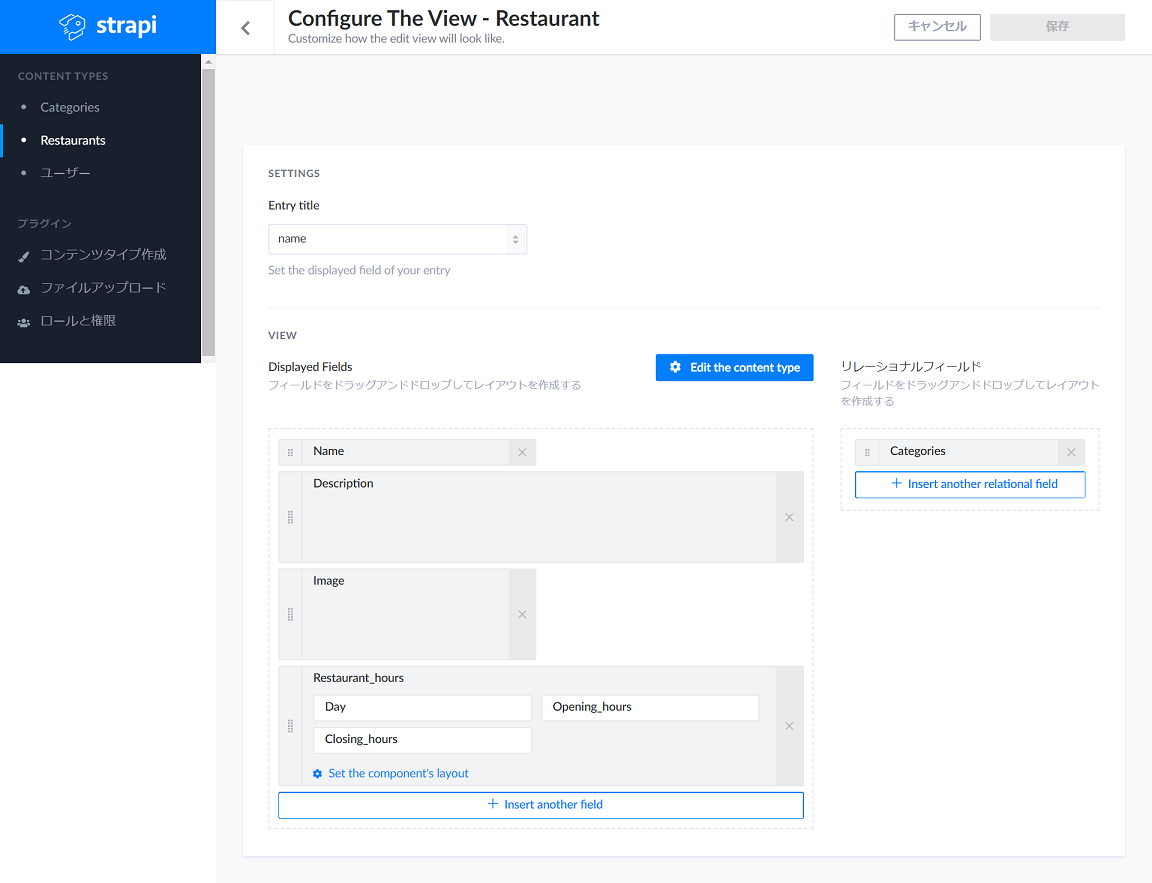
コンテンツ登録の準備が整いました!
コンテンツ登録
CONTENT TYPESの下にあるRestaurantからコンテンツを登録できます。

コンテンツ公開
デフォルトでは限定公開のため、公開設定が必要です。
- ロールと権限を選択
-
Publicを選択 - 「Restaurant」、「category」の
find,findoneをチェックします。

APIでアクセス
http://localhost:1337/restaurantsにアクセスするとJSONが取得できます。

以上でHeadlessCMSの準備完了です!
まとめ
簡単に構築できるうえ、リレーション、コンポーネントも組み合わせることで
単純なデータ構造だけではなく、様々なデータ構造に対応できるため、汎用性が高いと感じました。
フロントエンドと組み合わせてCMSライフにどんどん活用したいと思います。![]()
参考
strapi
WordPress以外の選択肢!HeadlessCMS「Strapi」を試す
超簡単にAPIが作れる?Headless CMS “strapi” を触ってみる
【strapi】HeadlessCMSのstrapiを触ってみた