最後のVRGUI Project
- Step 1: **概要**
- Step 2: **設置/説明**
- Step 3: **Mainコード 1**
- Step 4: **Mainコード 2**
- Step 5: **Mainコード 3**
- Step 6: **所感**
概要
目標のVideo:[Click]
具現機能
- Unity3DとLeapmotionを使って、簡単なジェスチャーを認識される。
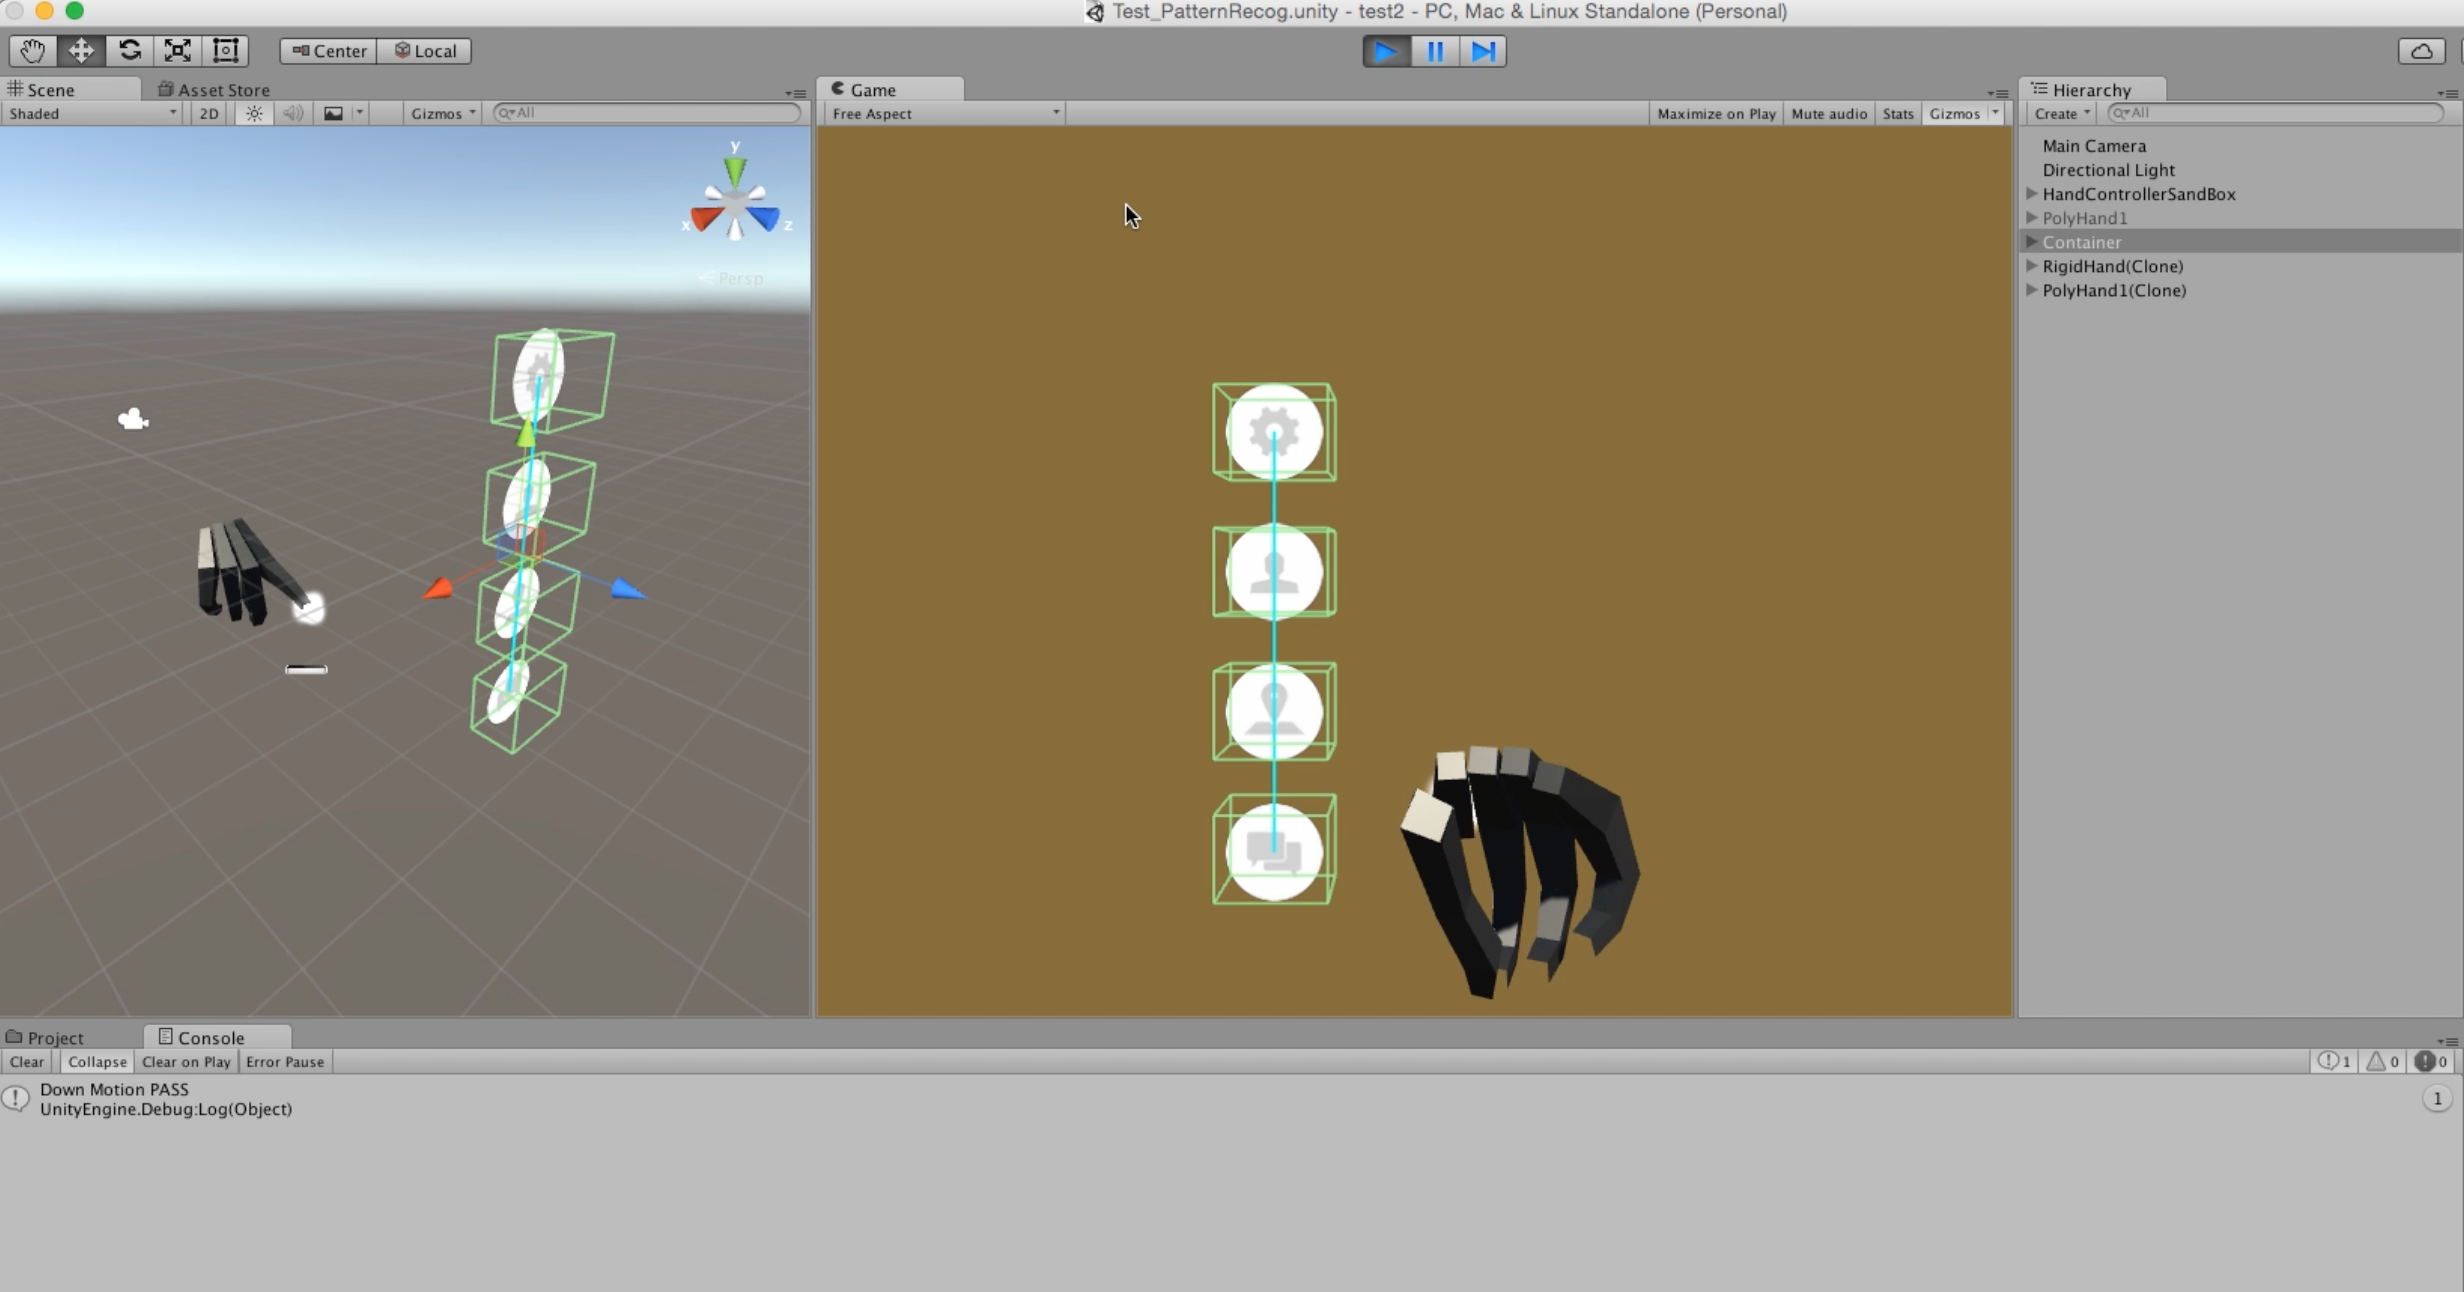
- 認識した後でMenuが出られる。
- Menuのトグルの機能を使って、ボタンが押される。押したらメニュのイメージが変わる。
**Step2**設置のために
必要なこと
- Unity3D
- Leapmotionデバイス
- LeapmotionCoreAsset_2_3_1(or higher version).unitypackage
- MotionRecognition.unitypackage
使用説明
新しいunity3d projectを作る
LeapMotionウェップから、ダウンロードLeapMotionCoreAsset_2_3_1(or higher).unitypackage
リンクはこち:https://developer.leapmotion.com/UnityからインポートLeapMotionアセット
Assets -> Import Package -> Custom Package -> LeapMotionCoreAsset_2_3_1.unitypackagegithubから、ダウンロード MotionRecognition.unitypackage
リンクはこち:https://github.com/archandy/Sample1Unityから、インポートアセット
Assets -> Import Package -> Custom Package -> MotionRecognition.unitypackageAssets->PracticeSceneのフォルダーでTest_PatternRecog.unityをダブルクリックでEnjoy
**Step3**Mainコード 1
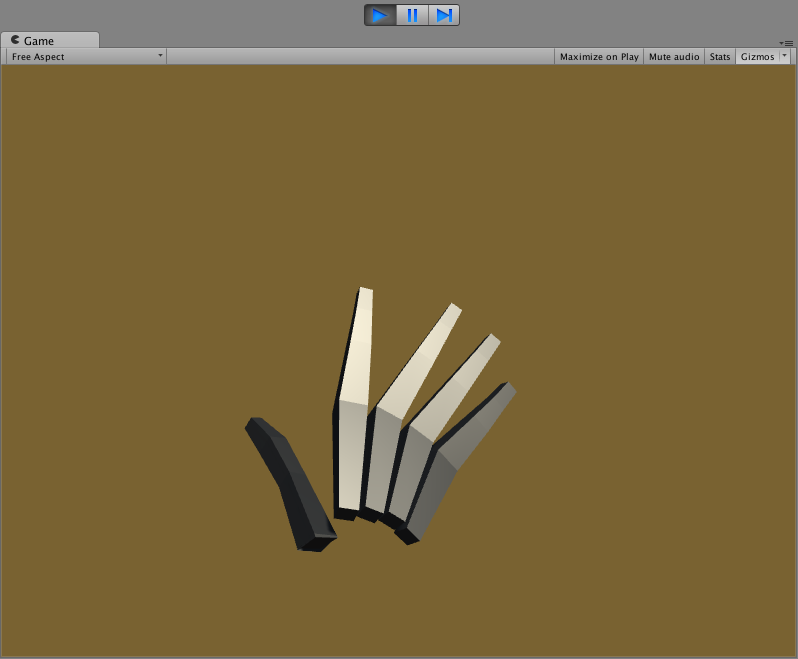
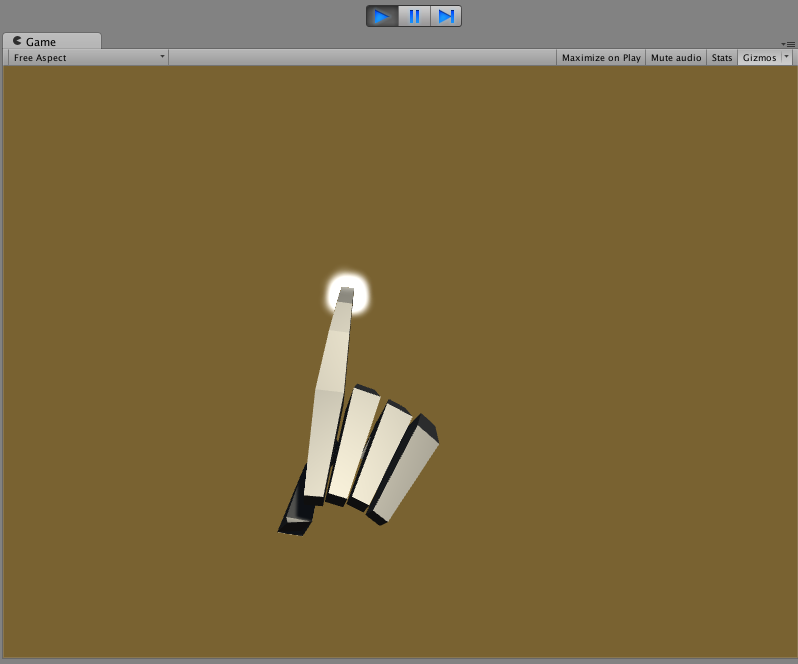
-ジェスチャーをする前何か認識することが必要だと思って。。patternTest_2.csの中で//Trigger test (true: thumbTip got close to rest of fingers) bool patternTrigger = false; for (int i = 1; i<5 && !patternTrigger; ++i) { for(int j = 0; j<4 && !patternTrigger; ++j){ Finger.FingerJoint joint = (Finger.FingerJoint)(j); Vector3 difference = leapHand.Fingers[i].JointPosition(joint).ToUnityScaled() - thumbTip; if(difference.magnitude < THUMB_TRIGGER_DISTANCE && leapHand.Confidence > MIN_CONFIDENCE){ //Trigger is ON patternTrigger = true; } } }-このコードはパーティクルができることを決めるんだ
patternTest_2.csの中で//Particle system On/Off switch (patternTrigger) { case(true): //Start recording finger position AddPositionCache (indexTip); transform.FindChild("particle").gameObject.SetActive(true); break; case(false): transform.FindChild("particle").gameObject.SetActive(false); break; }-以下はパーティクルが人差し指をつきまとうために。。
pointerFollowusing UnityEngine; using System.Collections; using Leap; public class mouseFollow : MonoBehaviour { void Start(){ gameObject.SetActive (false); } // Update is called once per frame void Update () { transform.position = GetComponentInParent<patternTest_2> ().indexTip; } }**
**
**Step4**Mainコード 2
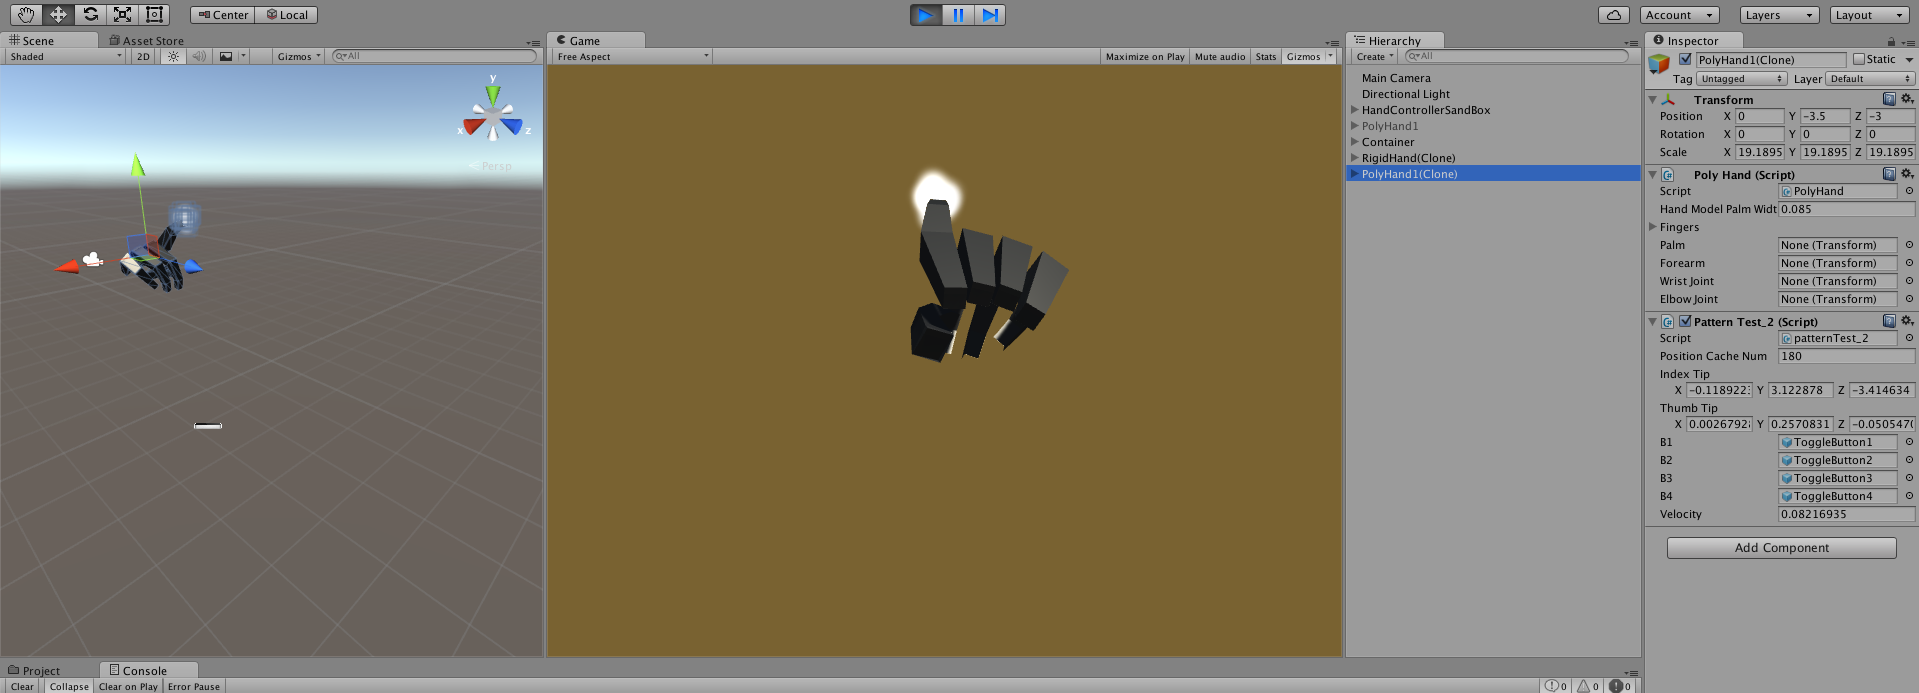
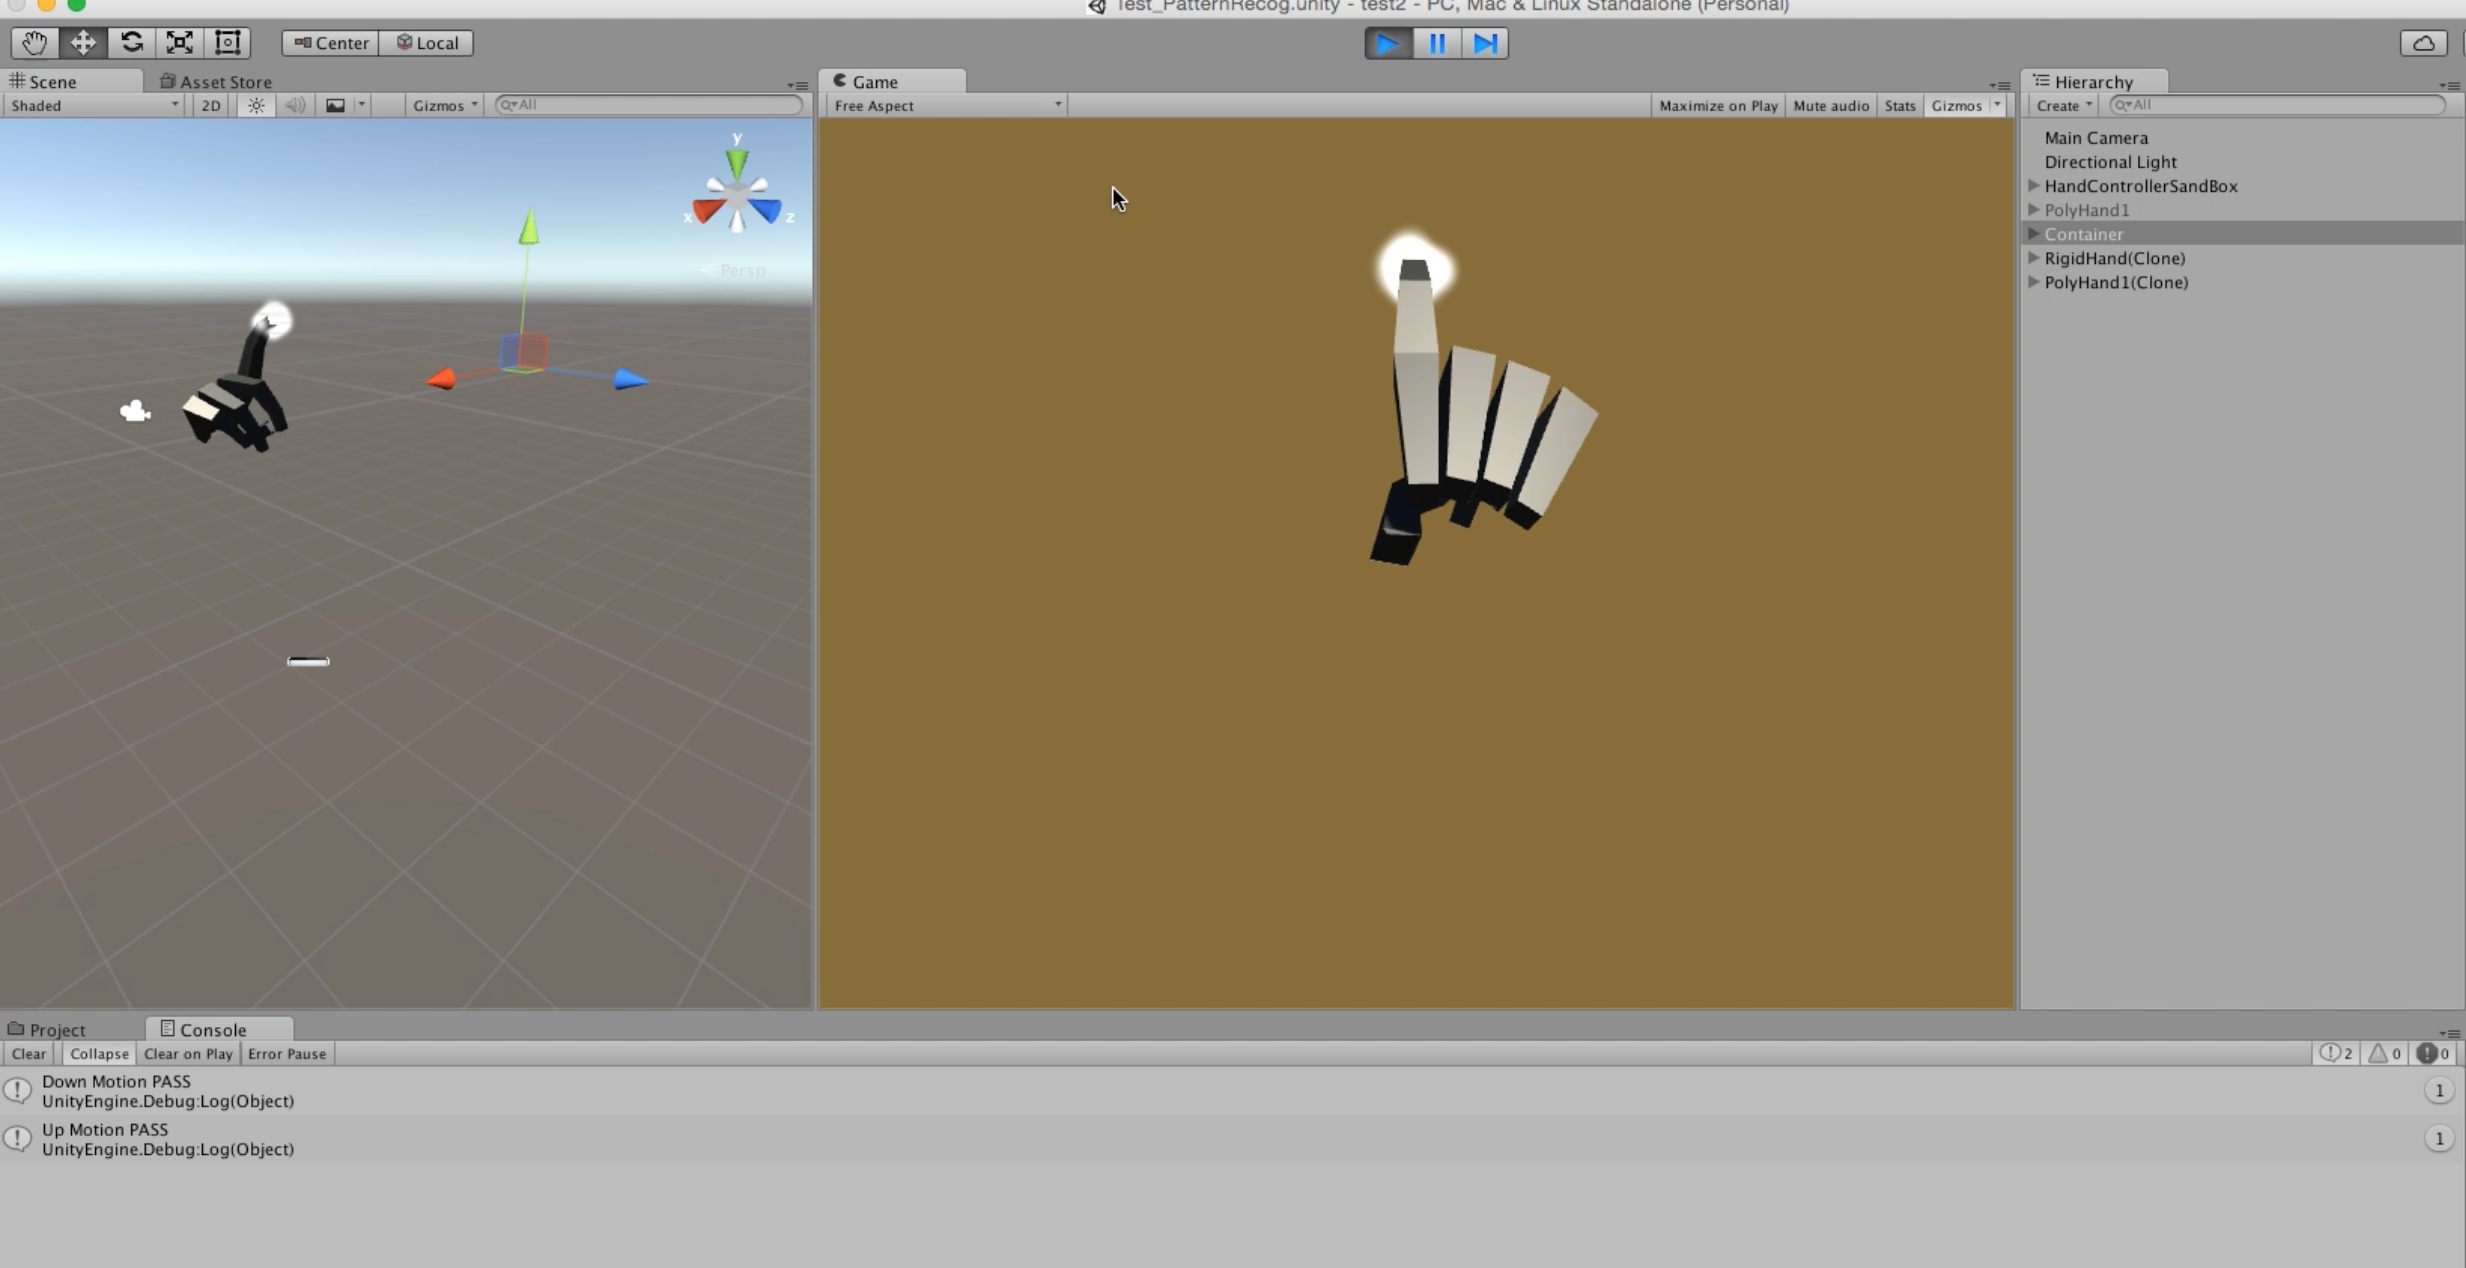
-Triggerがされた後で上から下まで人差し指を特別な条件を満足しながら動いたら、メニューが出ることができるために。patternTest_2.csの中で//Add finger position void AddPositionCache(Vector3 position) { positions_.Insert(0, position); if (positions_.Count > positionCacheNum) { positions_.RemoveAt(positions_.Count - 1); } } //Detecting finger Gesture (Up||Down) bool DetectFingerGesture () { var positionSum = Vector3.zero; for (int i = 0; i<positions_.Count; i++) { positionSum += positions_ [i]; //Distance between First and Last Point float disBtwFirstLast = Vector3.Distance (positions_ [i], positions_ [0]); //X-coordinate distance change of the finger float xPositionCheck = Mathf.Abs (positions_ [i].x - positions_ [0].x); //Y-coordinate distance change of the finger float yPositionCheck = (positions_ [i].y - positions_ [0].y); //Gesture trigger checking point if (disBtwFirstLast > 3.0f && xPositionCheck < 0.05f && velocity>0.8f) { if (yPositionCheck > 0) { //Downward Motion Debug.Log ("Down Motion PASS"); b1.SetActive(true); b2.SetActive(true); b3.SetActive(true); b4.SetActive(true); iTween.MoveTo (b1, iTween.Hash ("path", iTweenPath.GetPath ("BtnPath1"), "time", 1.20,"easetype","easeOutBack")); iTween.MoveTo (b2, iTween.Hash ("path", iTweenPath.GetPath ("BtnPath2"), "time", 1.20,"easetype","easeOutBack")); iTween.MoveTo (b3, iTween.Hash ("path", iTweenPath.GetPath ("BtnPath3"), "time", 1.20,"easetype","easeOutBack")); iTween.MoveTo (b4, iTween.Hash ("path", iTweenPath.GetPath ("BtnPath4"), "time", 1.20,"easetype","easeOutBack")); Reset (); }else if (yPositionCheck < 0) { //Upward Motion Debug.Log ("Up Motion PASS"); iTween.MoveFrom (b1, iTween.Hash ("path", iTweenPath.GetPath ("BtnPath1"), "time", .20,"easetype","linear")); iTween.MoveFrom (b2, iTween.Hash ("path", iTweenPath.GetPath ("BtnPath2"), "time", .20,"easetype","linear")); iTween.MoveFrom (b3, iTween.Hash ("path", iTweenPath.GetPath ("BtnPath3"), "time", .20,"easetype","linear")); iTween.MoveFrom (b4, iTween.Hash ("path", iTweenPath.GetPath ("BtnPath4"), "time", .20,"easetype","linear")); b1.SetActive(false); b2.SetActive(false); b3.SetActive(false); b4.SetActive(false); Reset (); } return true; } } return false; } //Reseting position records void Reset () { positions_.Clear(); }-上のコードでif文の条件には
- disBtwFirstLast > 3.0f :最小の移動距離
- xPositionCheck < 0.05f :縦に直線距離のためにx-coordinateの変化
- velocity>.8f:最小の速度
**
**
**Step5**Mainコード 3
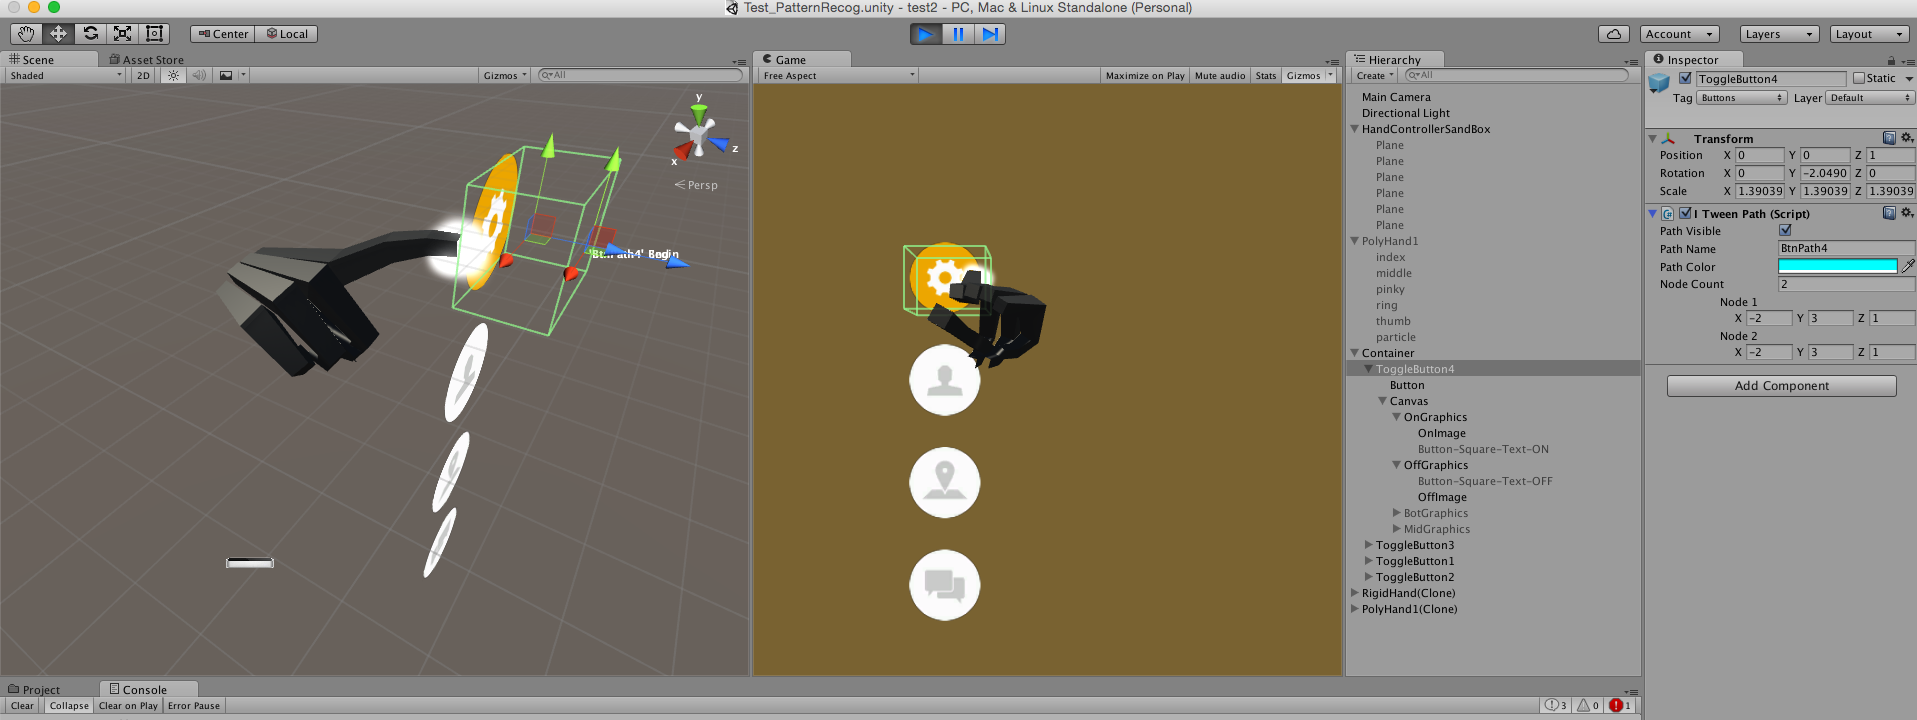
-人差し指とボタンが会ったら、トグルの機能でボタンがつけるとか消すことができる。
*ButtonトグルはLeapmotionからあるButtonDemoToggle.csを使って具現した。**
**
-メニューが出る時、iTweenPathを使って作った *iTweenPathについては、こちを参考:[iTweenPathについてブログ](http://qiita.com/archandy85/items/5ee0adeb1e0c233d7881)
**Step6**所感
完璧ではないが、簡単に目標の重要な機能を作った。トグルの機能とか、leapmotionのコードを依存する機能を依存しないで作ることがしたいが、後でするプランだ。
後で具現したいこと
- Toggle button script
- Different Gesture Recognition(circle, triangle, rectangle)
- Apply Music Listener
- Menu-hover function
