Cognitoユーザープールの作成
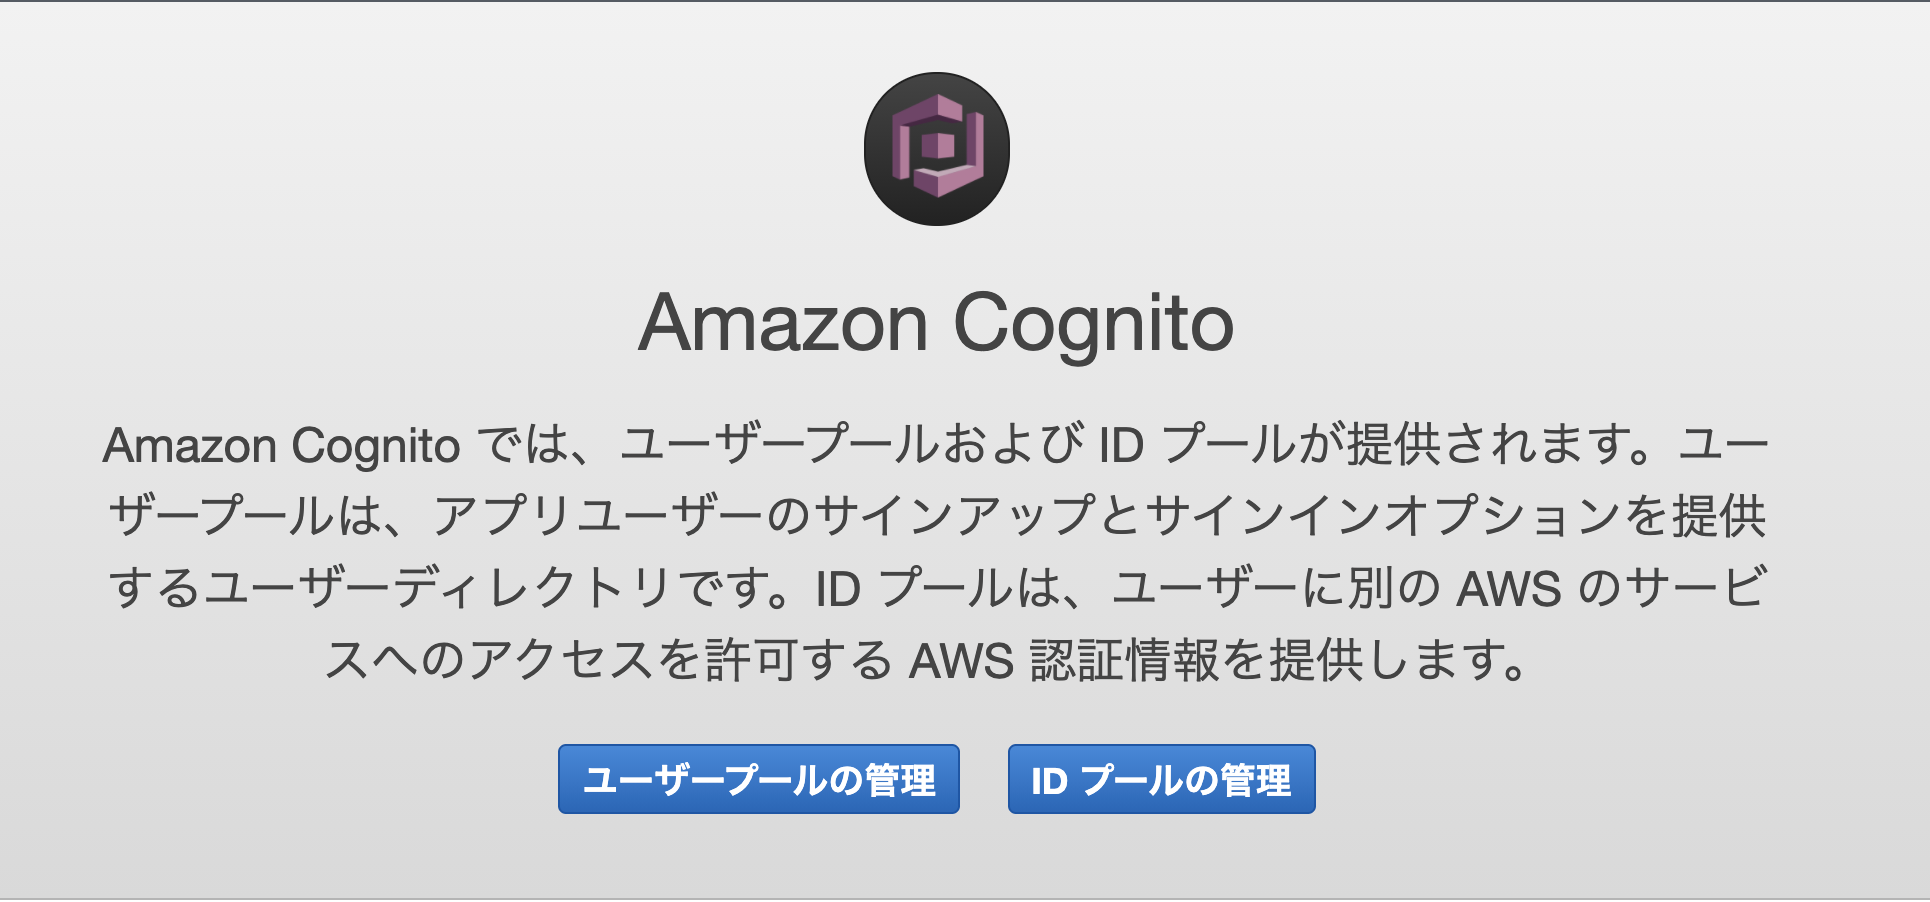
AWSのコンソールからCognito→ユーザープールの管理と進みます。
ユーザープールの作成を選択し、作成するユーザプールの設定に移ります。
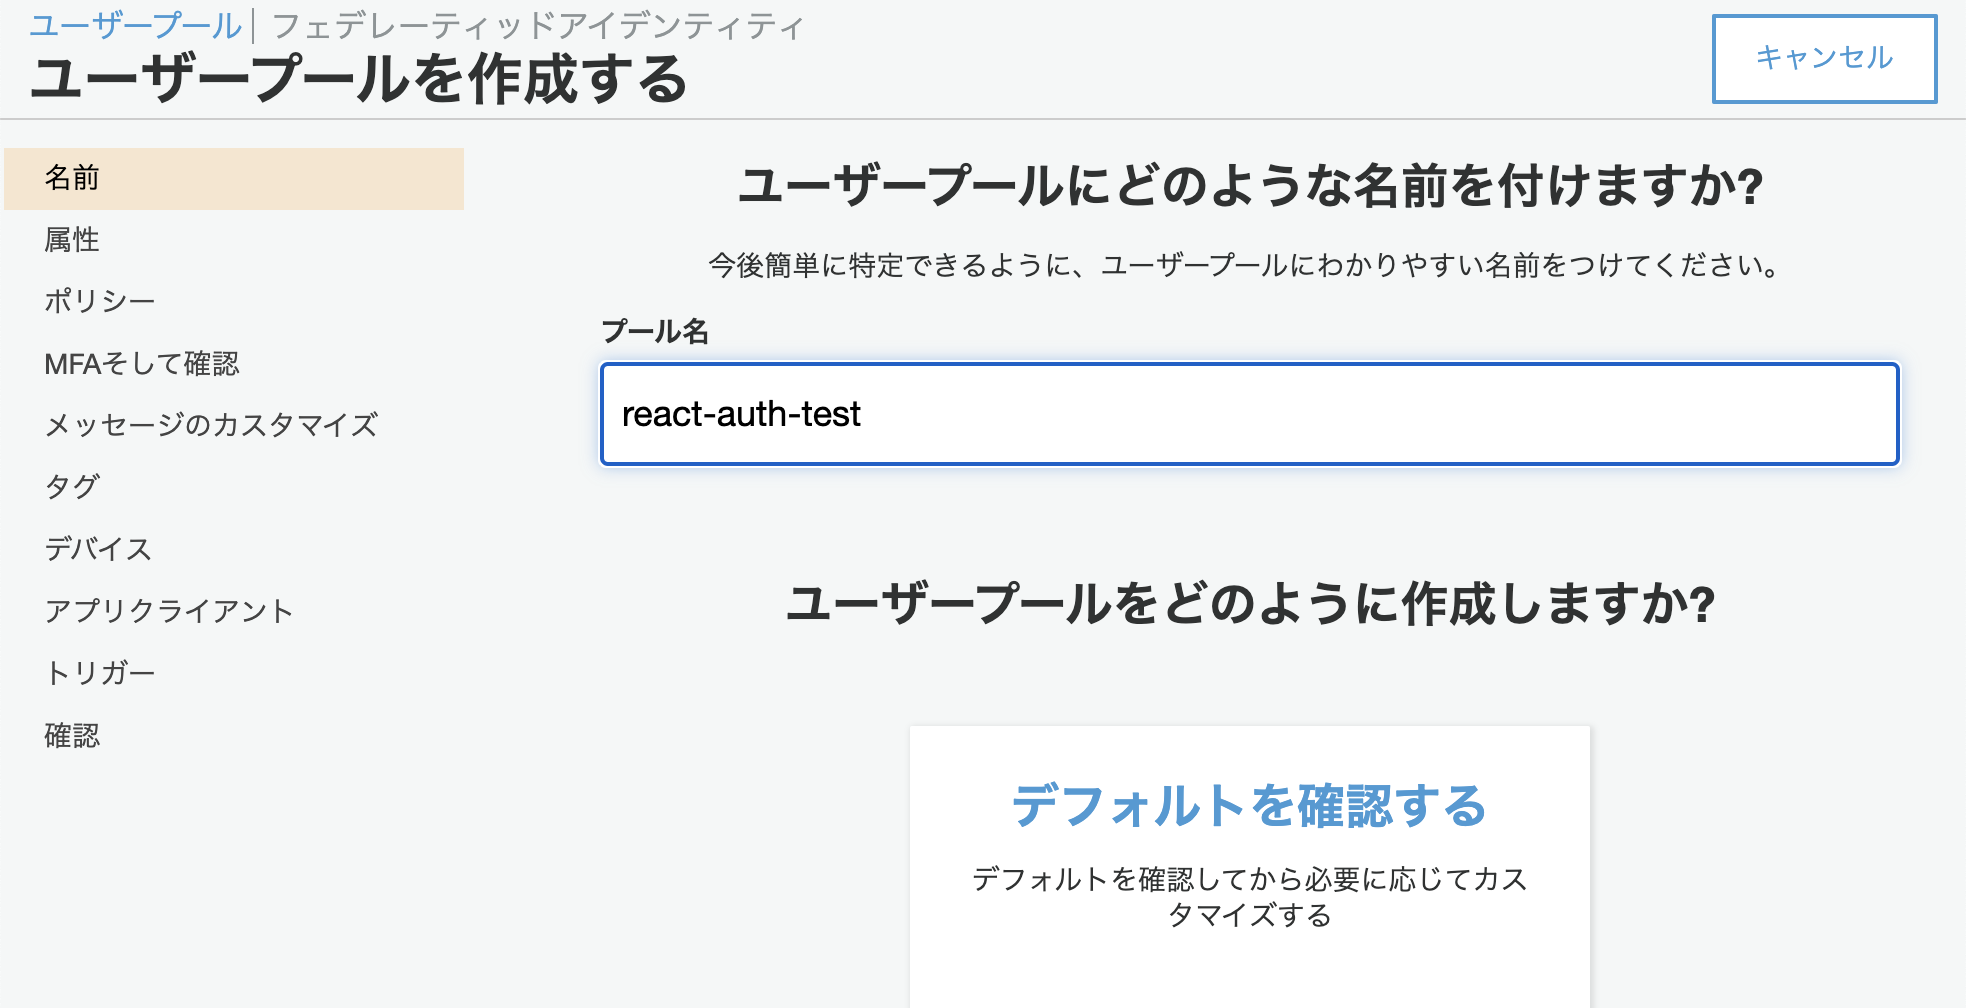
今回はユーザープールの設定をカスタマイズせずにデフォルトの設定で作成しました。
画像の「デフォルトを確認する」→「プールの作成」で大丈夫です。
カスタマイズする場合は、パスワードの文字数などのルールや、ユーザーに紐づく属性の設定などができます。
アプリクライアントの作成
アプリケーションからCognitoにアクセスするためにはアプリクライアントが必要になります。
今回作成するReactアプリでもアプリクライアントIDを利用するため、アプリクライアントを作成します。
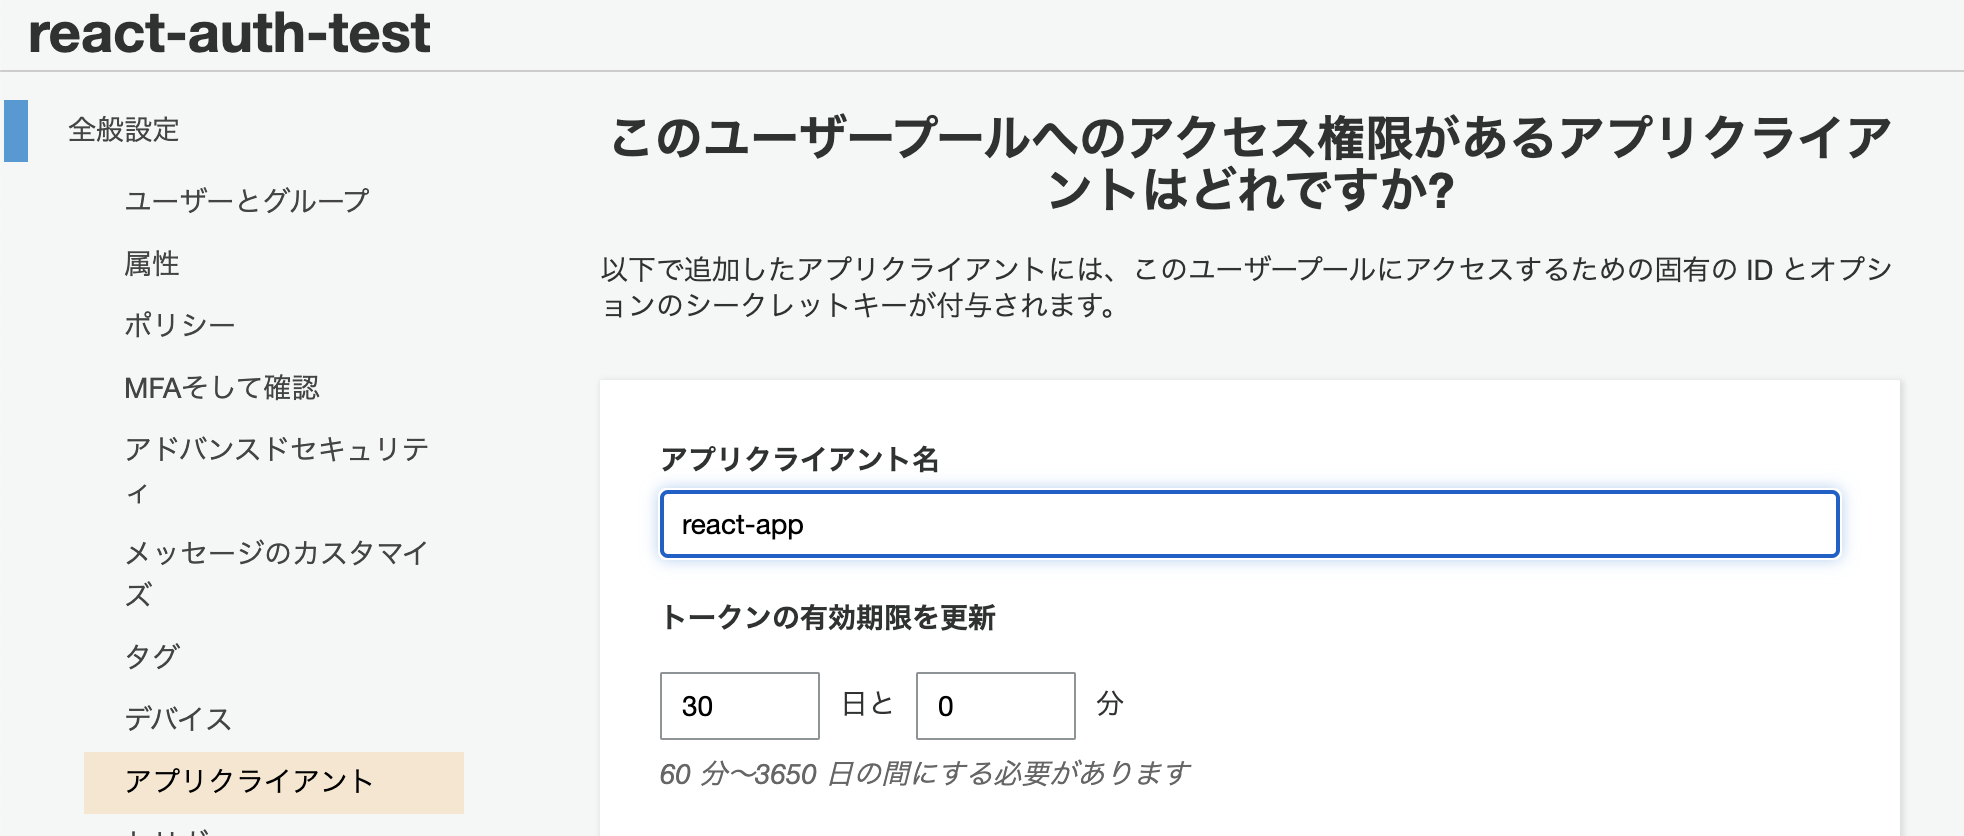
先程作成したユーザープールを選択肢、左カラムの「アプリクライアント」を選択します。
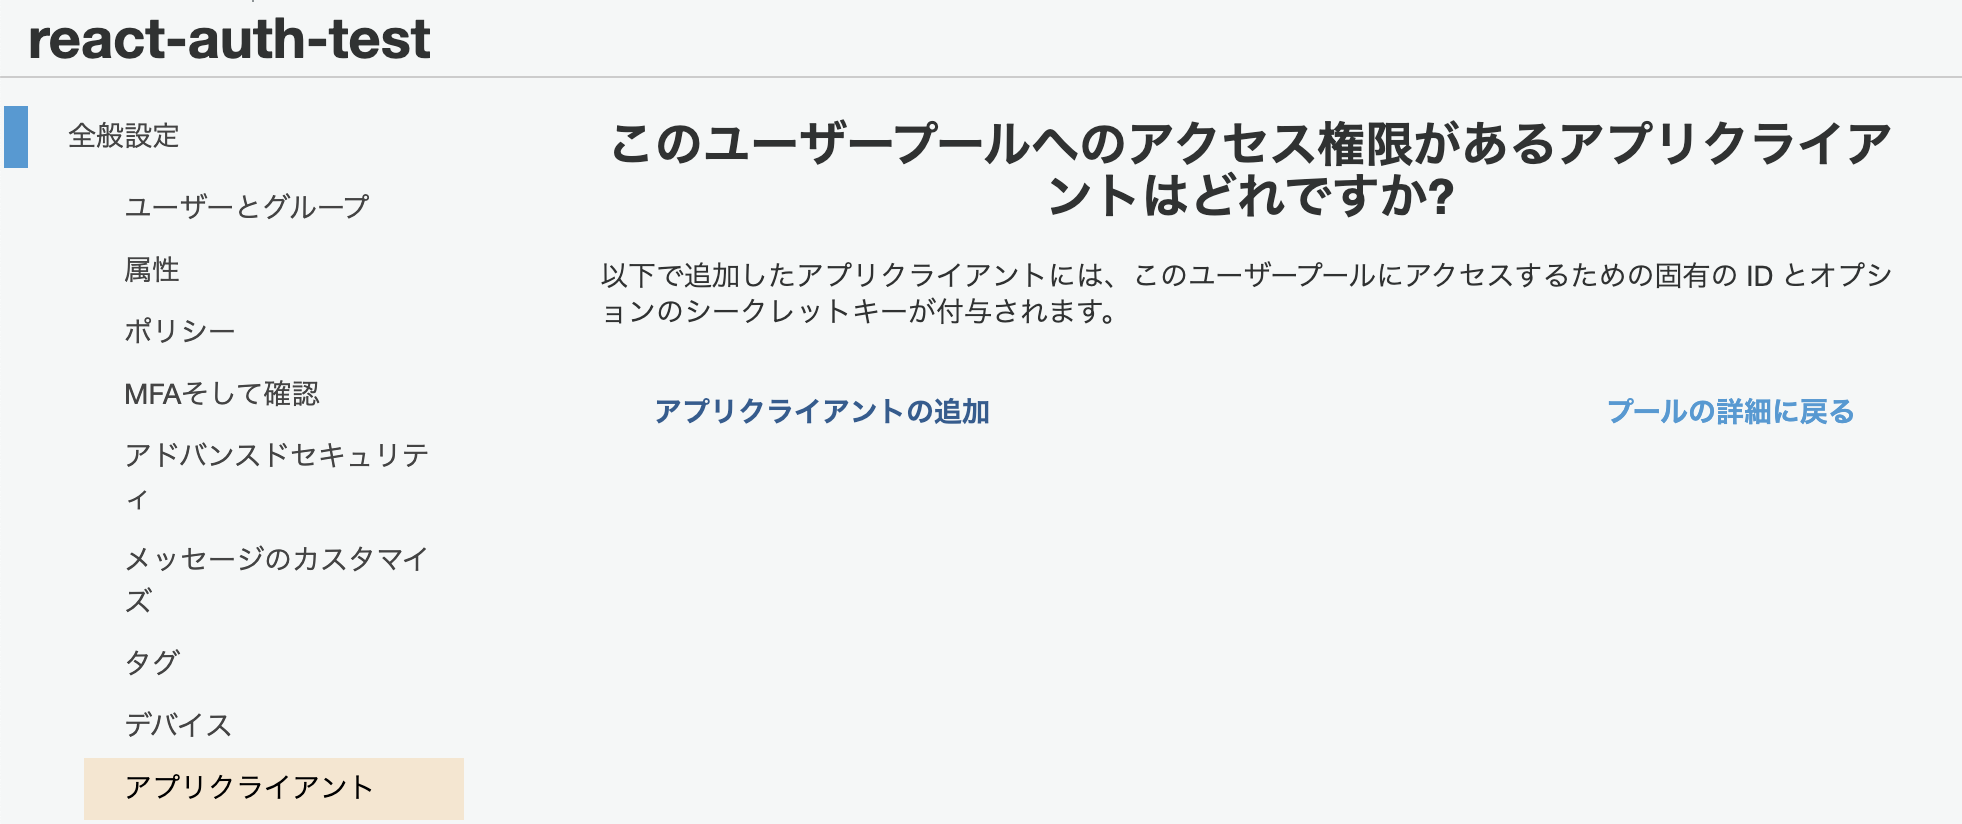
まず適当な、「アプリクライアント名」を設定します。
次に、「クライアントシークレットを生成」を無効にします。Javascriptからユーザー登録を行う際はこの設定が必要です。
他はデフォルトのママそのまま画面一番下の「アプリクライアントの作成」ボタンで作成しました。
アイデンティティプールの作成
少しわかりにくいですが、画面上部の反転している「フェデレーティッドアイデンティティ」リンクをクリックします
その後ID プール名には適当な名前を入れて、下部の認証プロバイダーエリアでCognitoを選択肢、先ほど作成したユーザープールとアプリクライアントIDを設定して「プールの作成」をします。

Reactでのプロジェクトの作成
新規プロジェクトを作成
$ npx create-react-app cognito-test  --template typescript
$ npm install --save @aws-amplify/auth
$ npm install --save @material-ui/core
$ cd cognito-test
$ yarn start
実装
index.tsxでベタベタと認証情報を直書きしていますが、環境変数い入れて取得するようにしましょう。
import React from 'react';
import ReactDOM from 'react-dom';
import './index.css';
import App from './App';
import reportWebVitals from './reportWebVitals';
import Auth from '@aws-amplify/auth';

Auth.configure({
  identityPoolId: 'ap-northeast-1:d7712efb-c630-4ce5-a7b3-a43e50bc424c',
  region: 'ap-northeast-1',
  userPoolId: 'ap-northeast-1_7lh5yibbX',
  userPoolWebClientId: '77b77bvidr3lbemks4t8j5cfl7',
});

ReactDOM.render(
  <React.StrictMode>
    <App />
  </React.StrictMode>,
  document.getElementById('root')
);

reportWebVitals();
import React from 'react';
import './App.css';
import {CardContent, CardActions, TextField, Button} from '@material-ui/core';
import { Auth } from '@aws-amplify/auth';

interface Props {}

interface State {
  username: string;
  email: string;
  password: string;
}

class App extends React.Component<Props, State> {
  constructor(props: Props) {
    super(props);

    this.state = {
      username: "",
      email: "",
      password: ""
    };
  }

  render() {
    const signup = async () => {
      const data = {
        username: this.state.username,
        password: this.state.password,
        attributes: {
          email: this.state.email
      }
      };
      try {
        const { user } = await Auth.signUp(data);
        alert('success!')
      } catch (error) {
        console.log('error signing up:', error);
      }
    }

    const setUsername = (value: string) => {
      this.setState({
        username: value
      });
    }

    const setEmail = (value: string) => {
      this.setState({
        email: value
      });
    }

    const setPassword = (value: string) => {
      this.setState({
        password: value
      });
    }

    return (
      <div className="App">
        <CardContent>
          <TextField onChange={(e) => setUsername(e.target.value)} type="text" label="Username" placeholder="Username" margin="normal" /><br/>
          <TextField onChange={(e) => setEmail(e.target.value)} type="email" label="Email" placeholder="xxx@xx.xx" margin="normal" /><br/>
          <TextField onChange={(e) => setPassword(e.target.value)} type="password" label="Password" placeholder="Password" margin="normal" />
        </CardContent>
        <CardActions style={{justifyContent: 'center'}}>
          <Button variant="contained" size="large" color="secondary" onClick={signup}>Login </Button>
        </CardActions>
      </div>
    );
  }
}

export default App;
アプリからユーザー登録
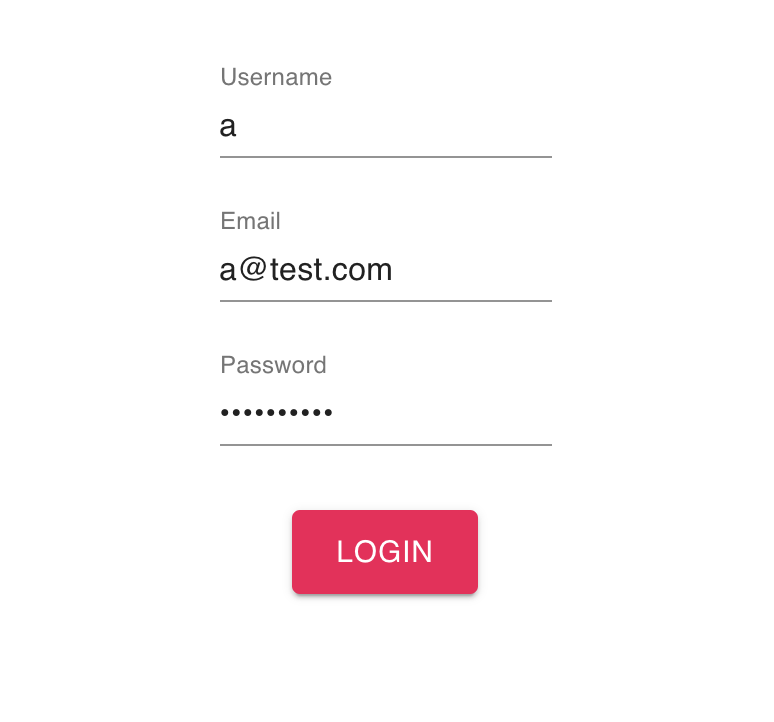
ブラウザで http://localhost:3000 を開くと作成した画面が表示されます。
ここから、ユーザー名、Email、パスワードを入力して「LOGIN」ボタンを押します。
パスワードのルールはCognitoのデフォルトで、英数大文字小文字、記号が必須で8文字以上となっています。
 |
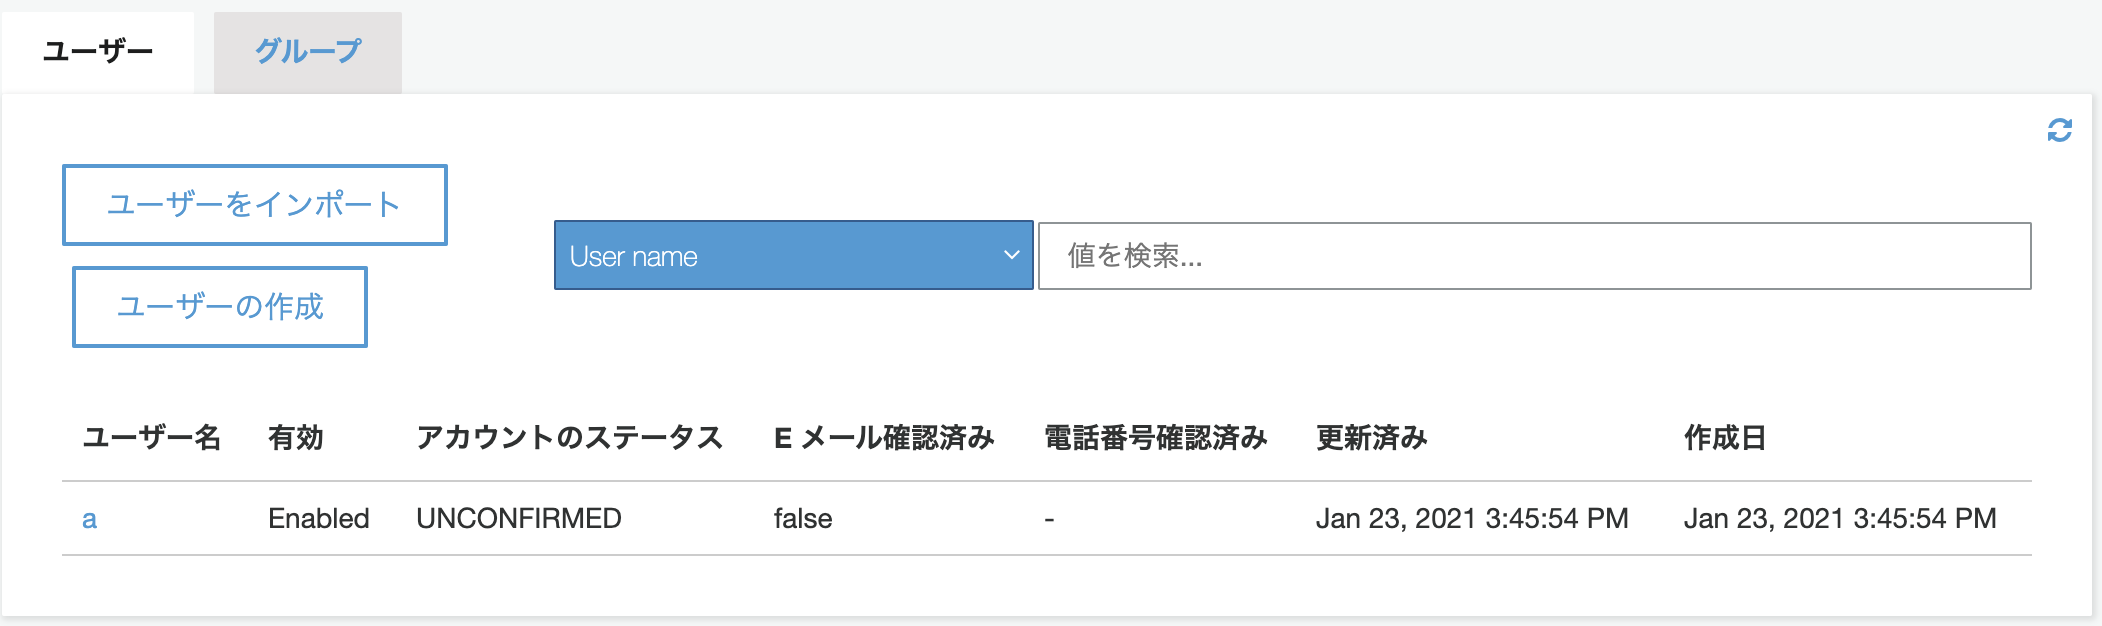
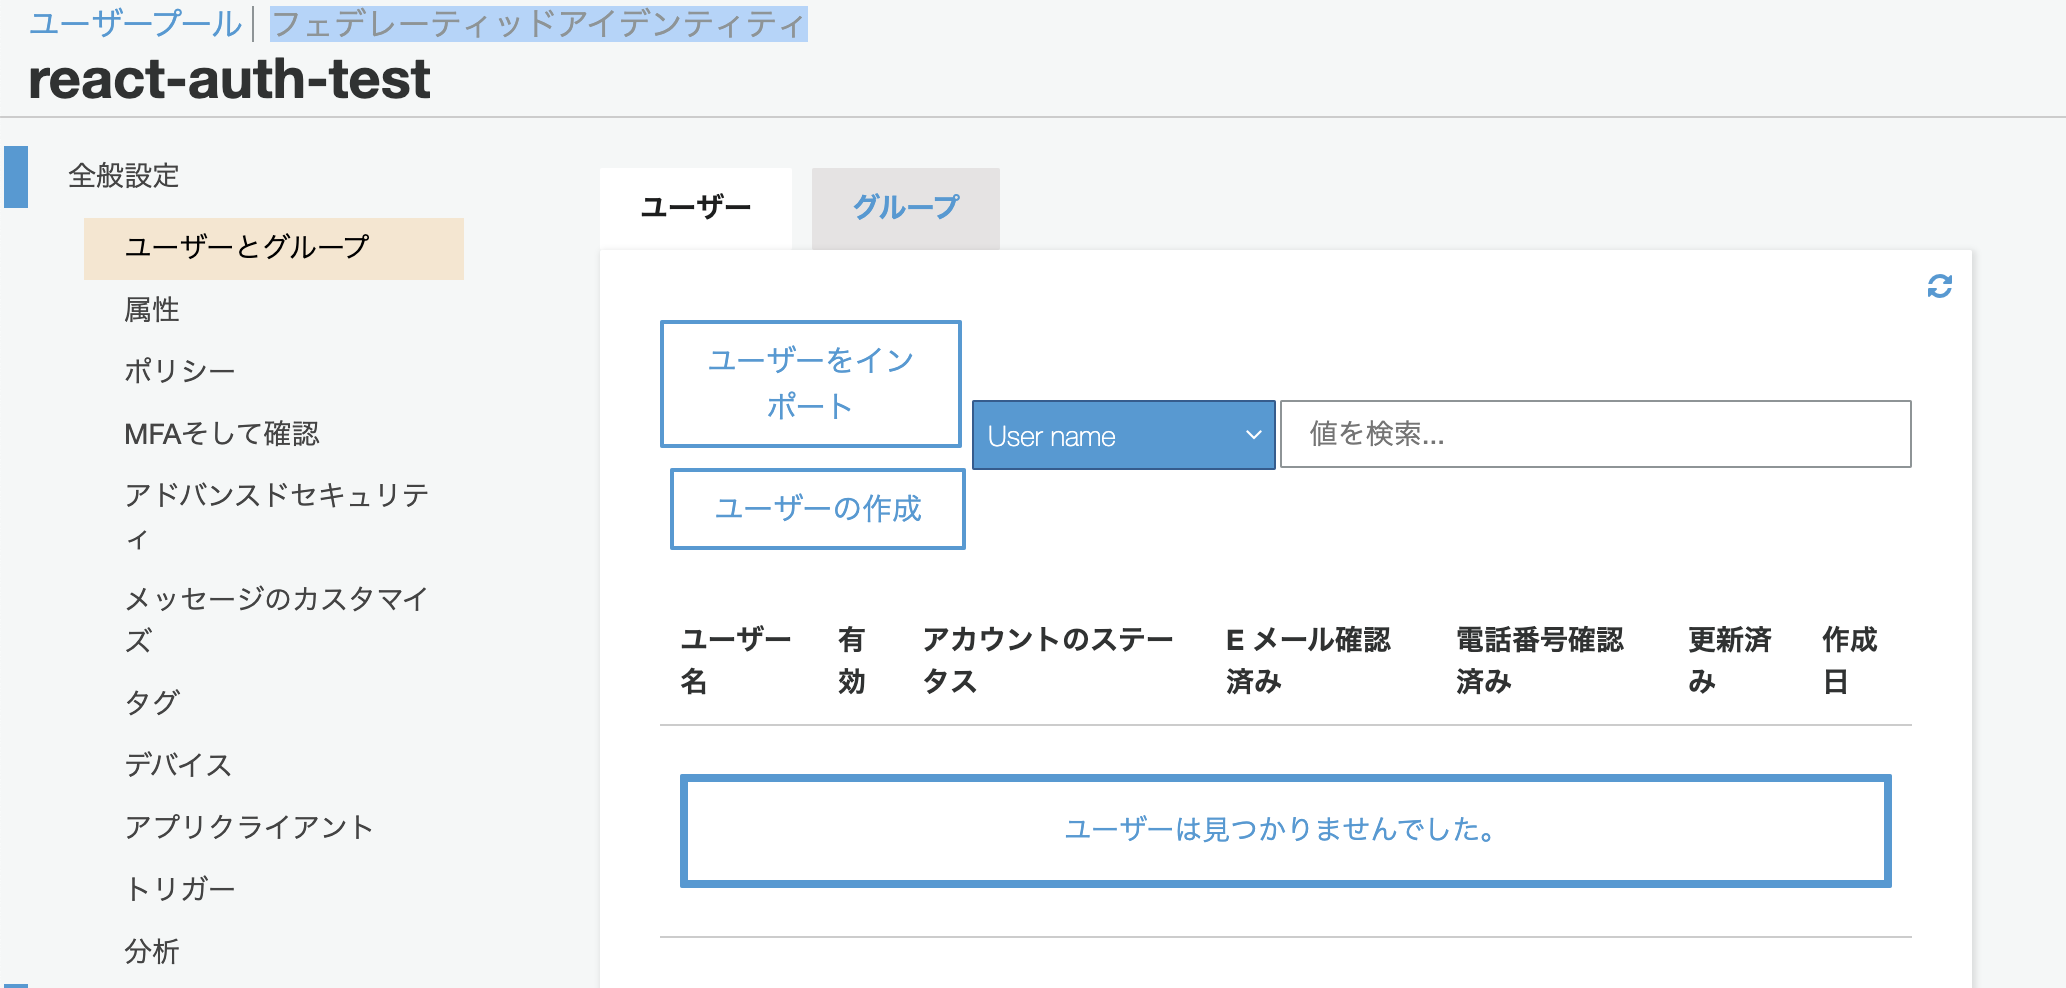
|---|
その後Cognitoでユーザープールの「ユーザーとグループ」を見るとユーザーが作成されています。