Arduinoに取り付けたRTCからひたすら現在時刻ををSDカード内のテキストファイルに書き込むようにします。
今回実装した環境は、下記のとおりです。
macOS Big Sur 11.2
MacBook Pro (13-inch, 2020, Four Thunderbolt 3 ports)
Arduino UNO R3 BOARD
RTC Module
SD Card Sield
Arduino IDEのインストール
https://www.arduino.cc/en/software
こちらから、Mac OSXを選択します。寄付のページに飛ぶので、好きな方を選択してダウンロードしてください。

ダウンロードしたZipを展開すると、Arduinoというアプリケーションが利用できるようになります。
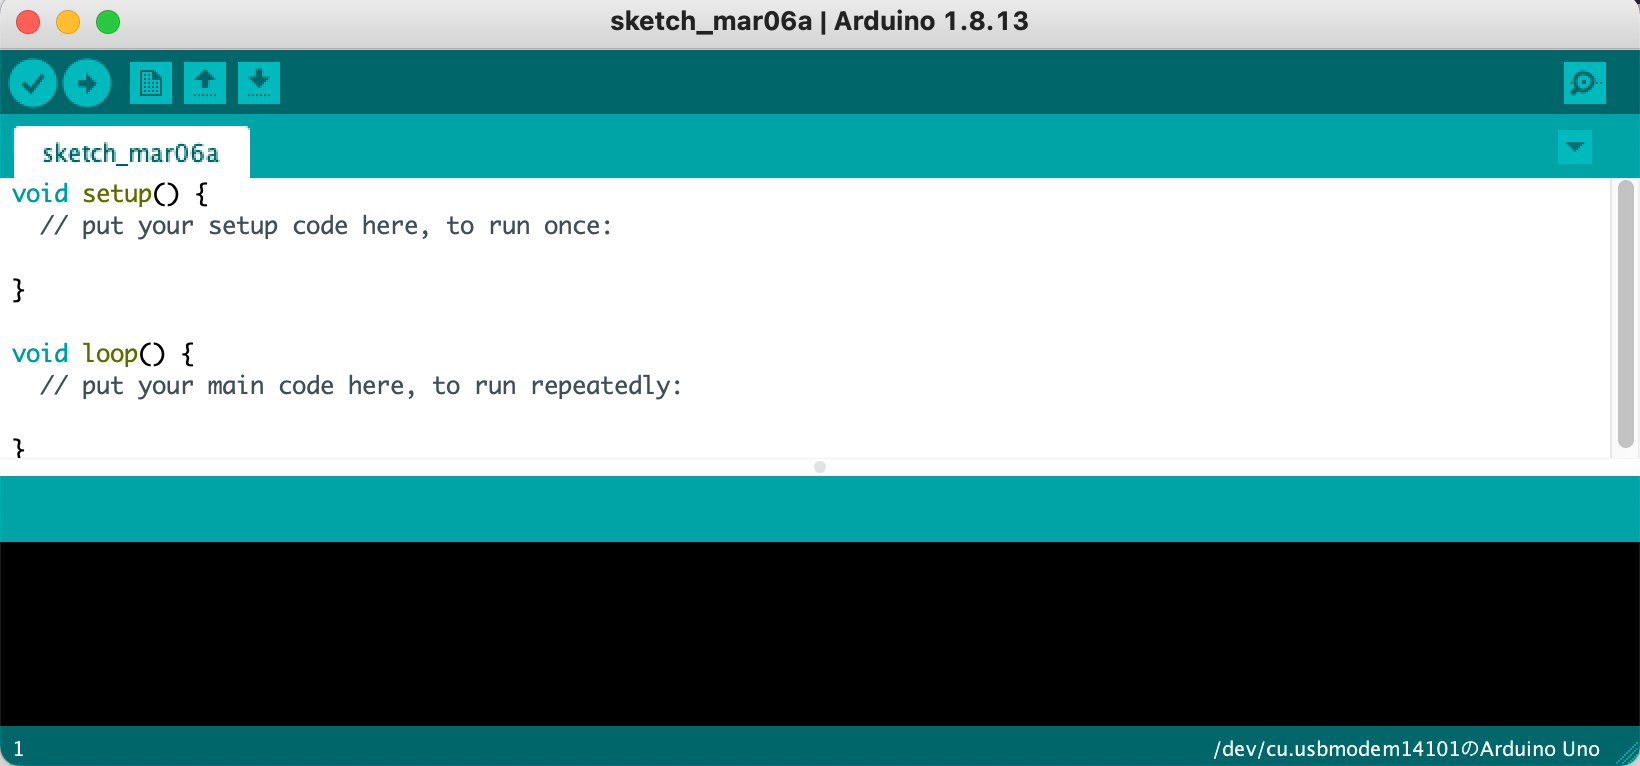
こちらを起動すると、

このような、Arduinoに「スケッチ」を送ってボードに書き込むアプリが始まります。
「スケッチ」とはArduinoのプログラムのことで、Arduinoのプログラムが絵を書くように簡単にできますよという意味で呼ばれています。
ArduinoとMacの接続
ArduinoはUSB-bの端子が搭載されているので、Macとの接続にこのような、USB-b↔USB-cのケーブルを利用しました。

MacとArdiunoを接続すると、LEDが2つ光ってArduinoが起動したことがわかります。
その後、アプリのメニューからツール→シリアルポート→ (Arduino Uno)と記載のあるポート、を選択するとArduinoとシリアル接続が出来ます。
シリアルポートの選択肢に出てこない場合は、Macを再起動すると出てくることがあります。
SDカードの接続とへの書き込み
Seeed Studio製のSDカードシールドを利用しました。
https://www.switch-science.com/catalog/1292/
このシールドをArduinoのうえからガチャッと取り付けます。その後、SDカードを刺します。
写真のような状態になります。

ArduinoのスケッチのサンプルにSDカードの情報を取得するコードがあるのでそれを起動してみましょう。
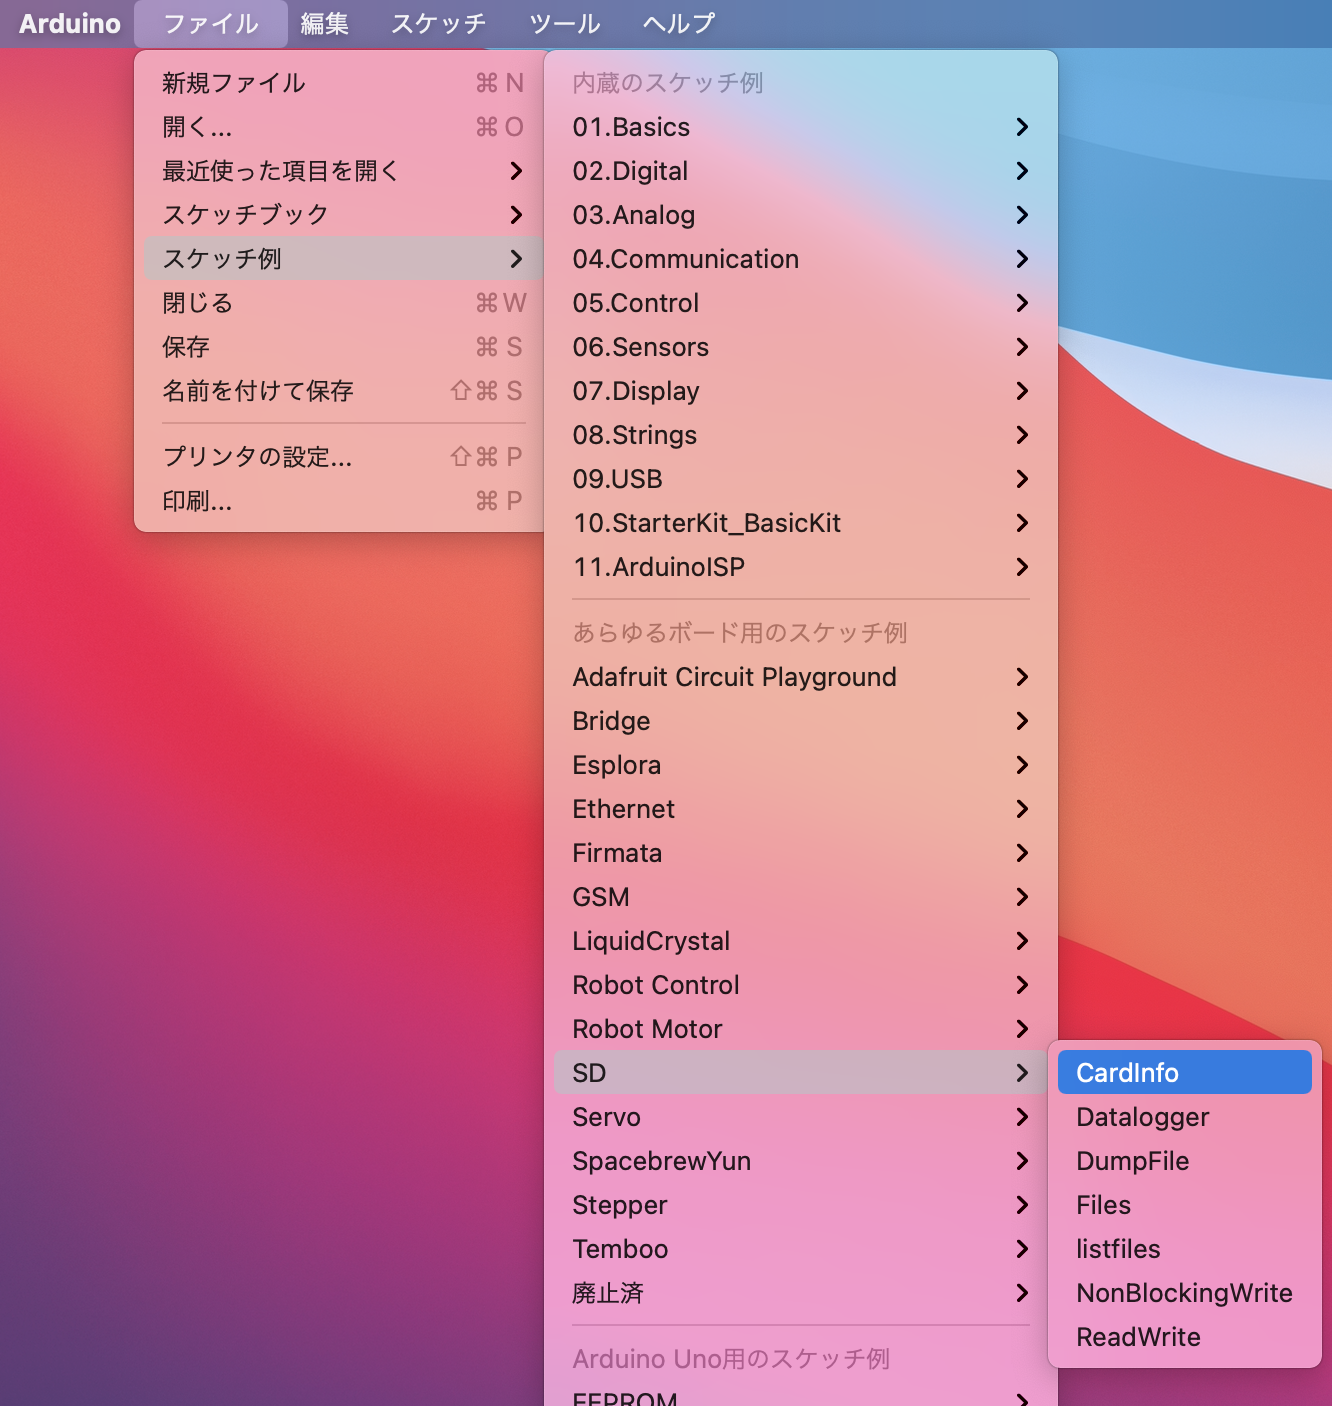
ファイル→スケッチ例→SD→CardInfo
と選択すると、

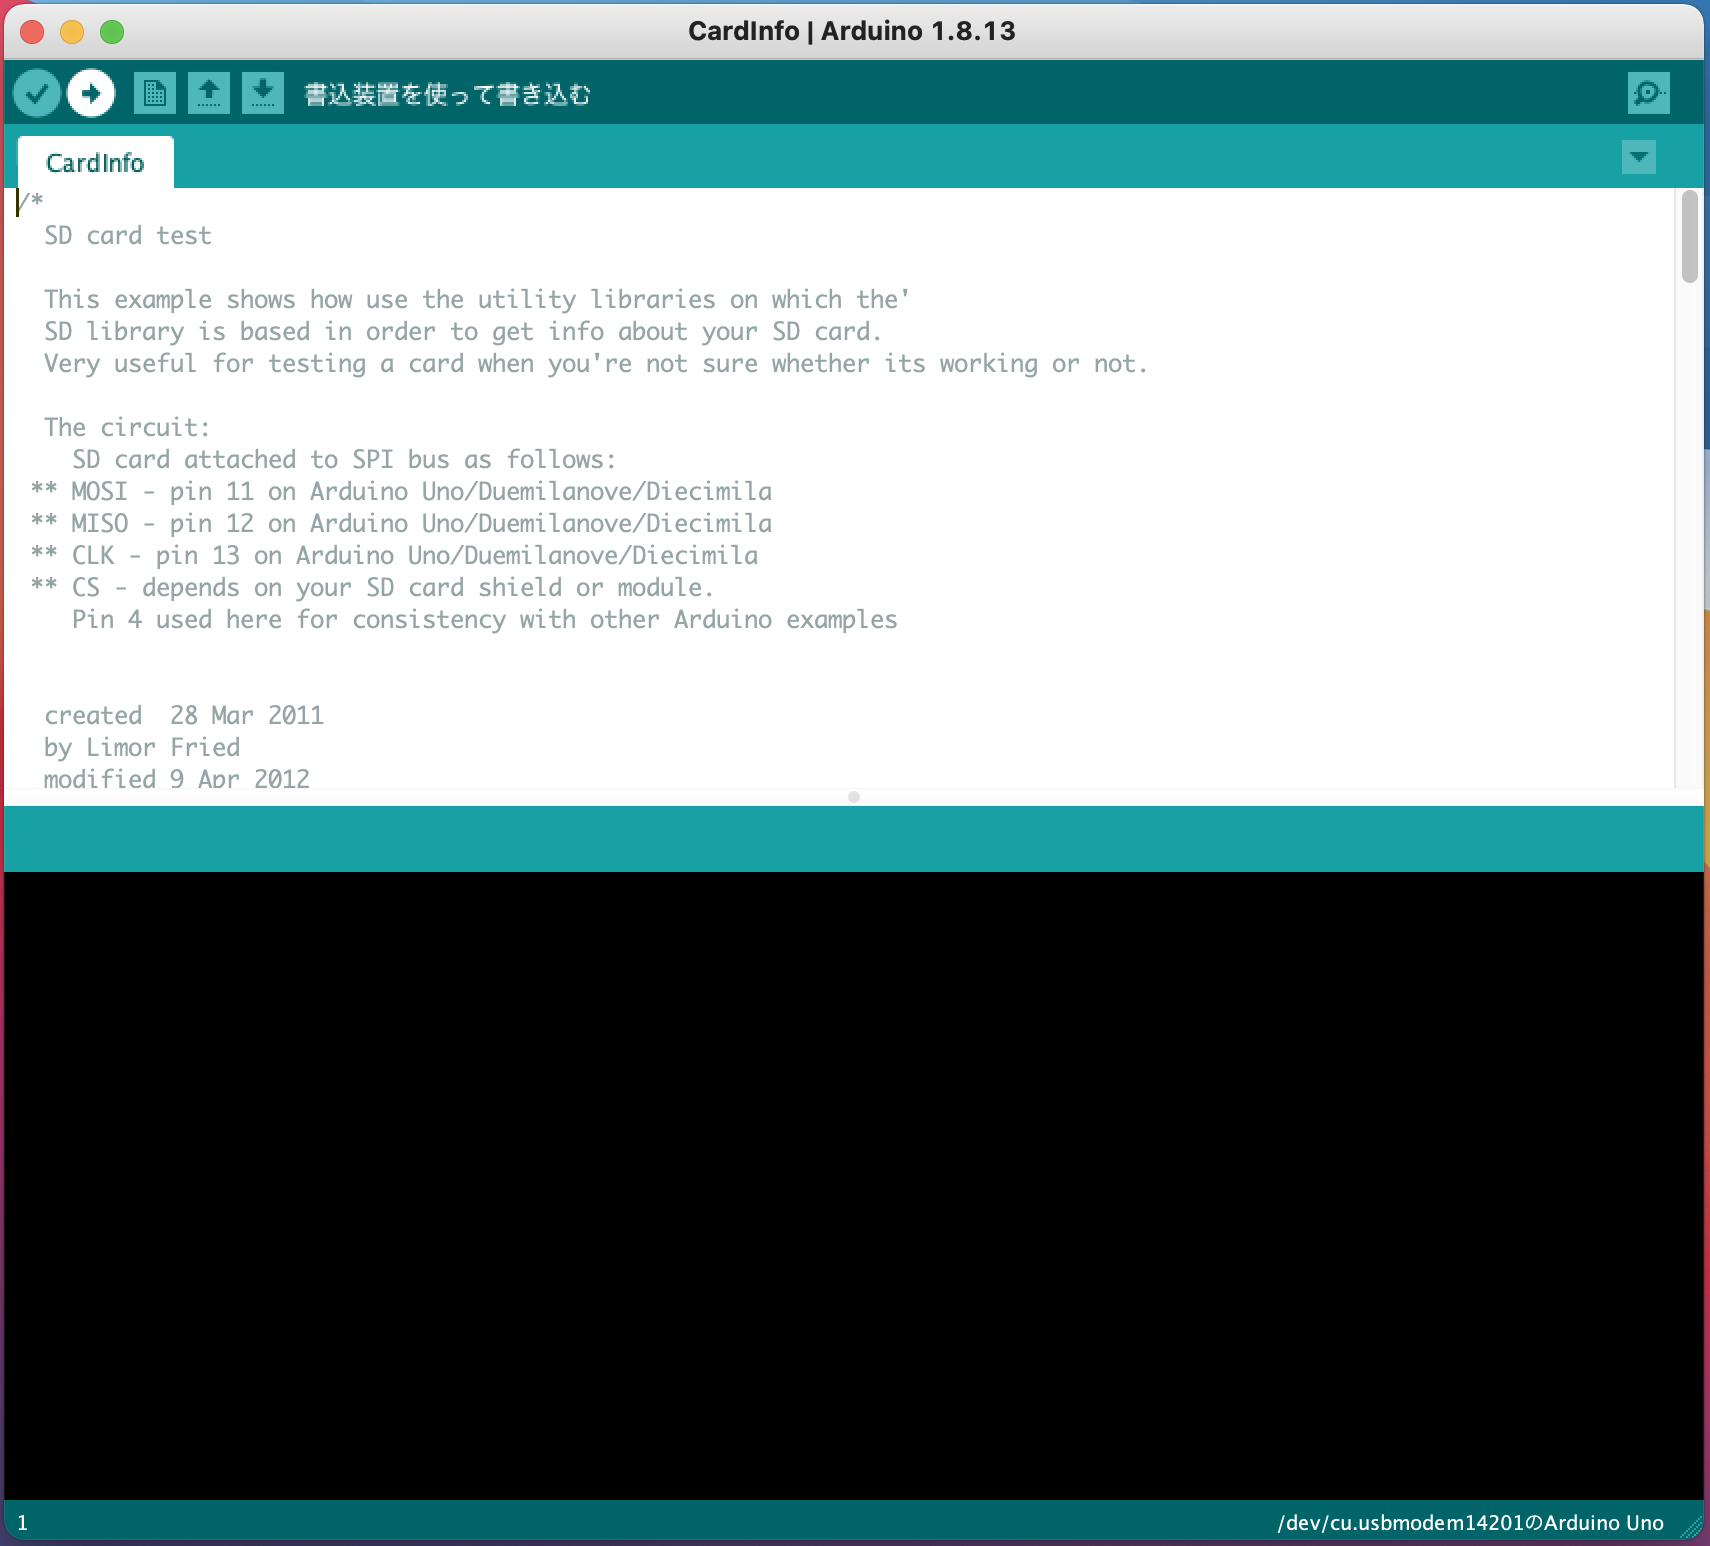
下記のようなスケッチが新しいWindowで表示されるので、左上の右矢印マークを押しましょう。

すると下部のログエリアにスケッチの書き込みをしている様子が表示されます。

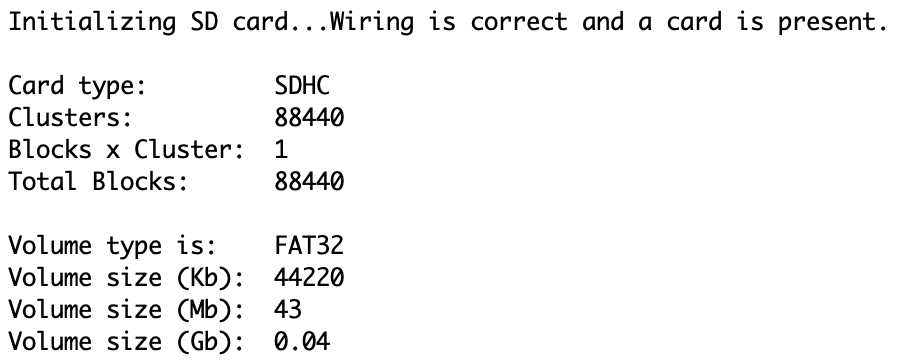
その後、ツール→シリアルモニタ、でシリアルモニタを開くと写真のようにSDカードのFormatタイプやサイズが表示されていて、SDカードとArduinoが正しく接続されていることがわかります。
 |
|---|
RTCモジュールの利用
HiLetgo DS3231 AT24C32を利用しました。
写真のように、RTCのGND,VCC,SDA,SCLをSDカード・シールドの同じ記載がある端子に接続します。

※本来RTCモジュールにボタン電池を取り付けて、Arduinoの電源がOFFのときも時計を進めておくようにするのですが、今回は取り付けていません。
ライブラリのインストール
RTCモジュールを利用するには、下記の2つのライブラリをインストールする必要があります。
https://github.com/JChristensen/DS3232RTC
https://github.com/PaulStoffregen/Time
方法は簡単で、GithubのサイトからZip形式でダウンロードして、
スケッチ→ライブラリをインクルード→.ZIP形式のライブラリをインストール
から選ぶだけでOKです。

RTCの時刻の設定
RTCに現在時刻の設定をします。
ファイル→新規ファイル
で新しいスケッチWindowを表示して、下記のコードを貼り付けて、マイコンボードに書き込みを行います。
# include <DS3232RTC.h>

void setup() {
  setTime(15, 30, 30, 6, 3, 2021);//時、分、秒、日、月、年の順で入力
  RTC.set(now());//書き込み
}

void loop() {
}
現在時刻のSDカードへの書き込み
SDカード内のtest.txtというファイルに、1秒ごとに現在時刻を書き込むスケッチです。
# include <DS3232RTC.h>
# include <SPI.h>
# include <SD.h>

File myFile;

void setup() {
  // Open serial communications and wait for port to open:
  Serial.begin(9600);
  while (!Serial) {
    ; // wait for serial port to connect. Needed for native USB port only
  }

  Serial.print("Initializing SD card...");

  if (!SD.begin(4)) {
    Serial.println("initialization failed!");
    while (1);
  }
  Serial.println("initialization done.");

  // open the file. note that only one file can be open at a time,
  // so you have to close this one before opening another.
  myFile = SD.open("test.txt", FILE_WRITE);

  // if the file opened okay, write to it:
  if (myFile) {
    Serial.print("Writing to test.txt...");
    // close the file:
    myFile.close();
    Serial.println("done.");
  } else {
    // if the file didn't open, print an error:
    Serial.println("error opening test.txt");
  }

  // re-open the file for reading:
  myFile = SD.open("test.txt");
  if (myFile) {
    Serial.println("test.txt:");

    // read from the file until there's nothing else in it:
    while (myFile.available()) {
      Serial.write(myFile.read());
    }
    // close the file:
    myFile.close();
  } else {
    // if the file didn't open, print an error:
    Serial.println("error opening test.txt");
  }
}

void loop() {
  File dataFile = SD.open("test.txt", FILE_WRITE);
  if (dataFile) {
    tmElements_t tm;
    RTC.read(tm);

    dataFile.print(tm.Year + 1970, DEC);
    dataFile.print("年");
    dataFile.print(tm.Month, DEC);//月を表示
    dataFile.print("月");
    dataFile.print(tm.Day, DEC);//日を表示
    dataFile.print("日");
    dataFile.print(tm.Hour, DEC);//時を表示
    dataFile.print("時");
    dataFile.print(tm.Minute, DEC);//分を表示
    dataFile.print("分");
    dataFile.println(tm.Second, DEC);//秒を表示して改行
    dataFile.close();
    delay(1000);//1秒待機
  }
  delay(1000);
}
少し待ってから、Arduinoを停止して、SDカードの中身をMacで見てみます。
なぜか2秒毎になっているのはArduinoの動作速度のせいかもしれないですが、一応うまく時間がSDカードのtext.txtファイルに書き込めていました。


