こんにちは!今年一年で頻繁に利用したプラグインを振り返ろうと思い、それぞれのプラグインをこんな風に使っていますよーっていうのをまとめてみました!
記事中に出てくるプラグインたち
overseer.nvim
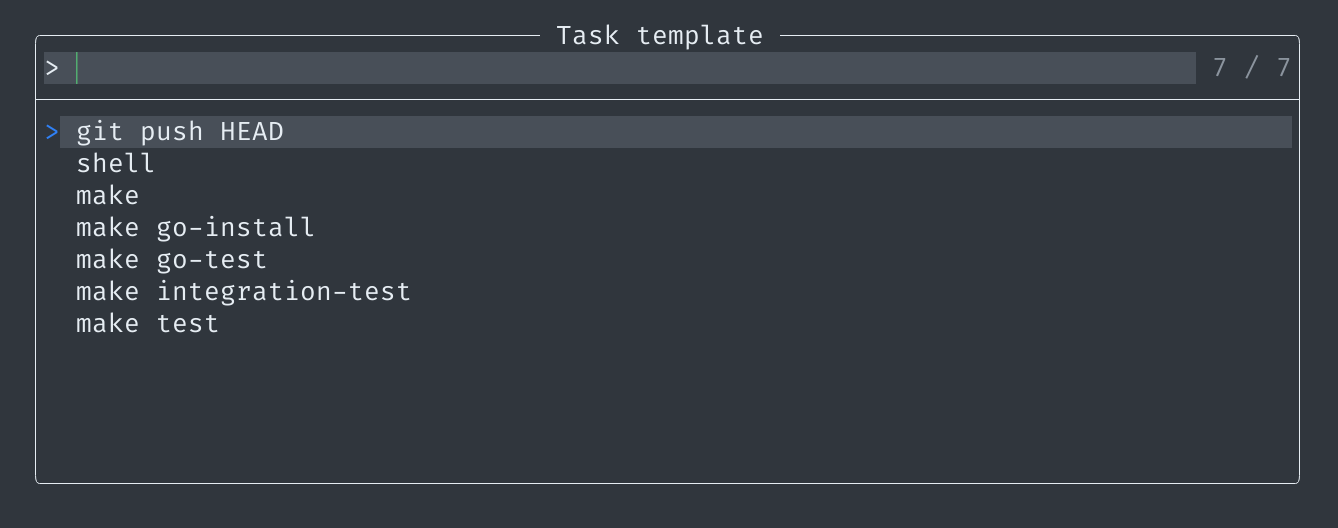
始めのプラグインは一推しの、汎用的なタスクランナーの紹介です。Makefileのコマンド一覧や独自タスクなどを出してくれてNeovim上から実行できるので、私の場合はgit pushやテスト実行時に利用することが多いです。
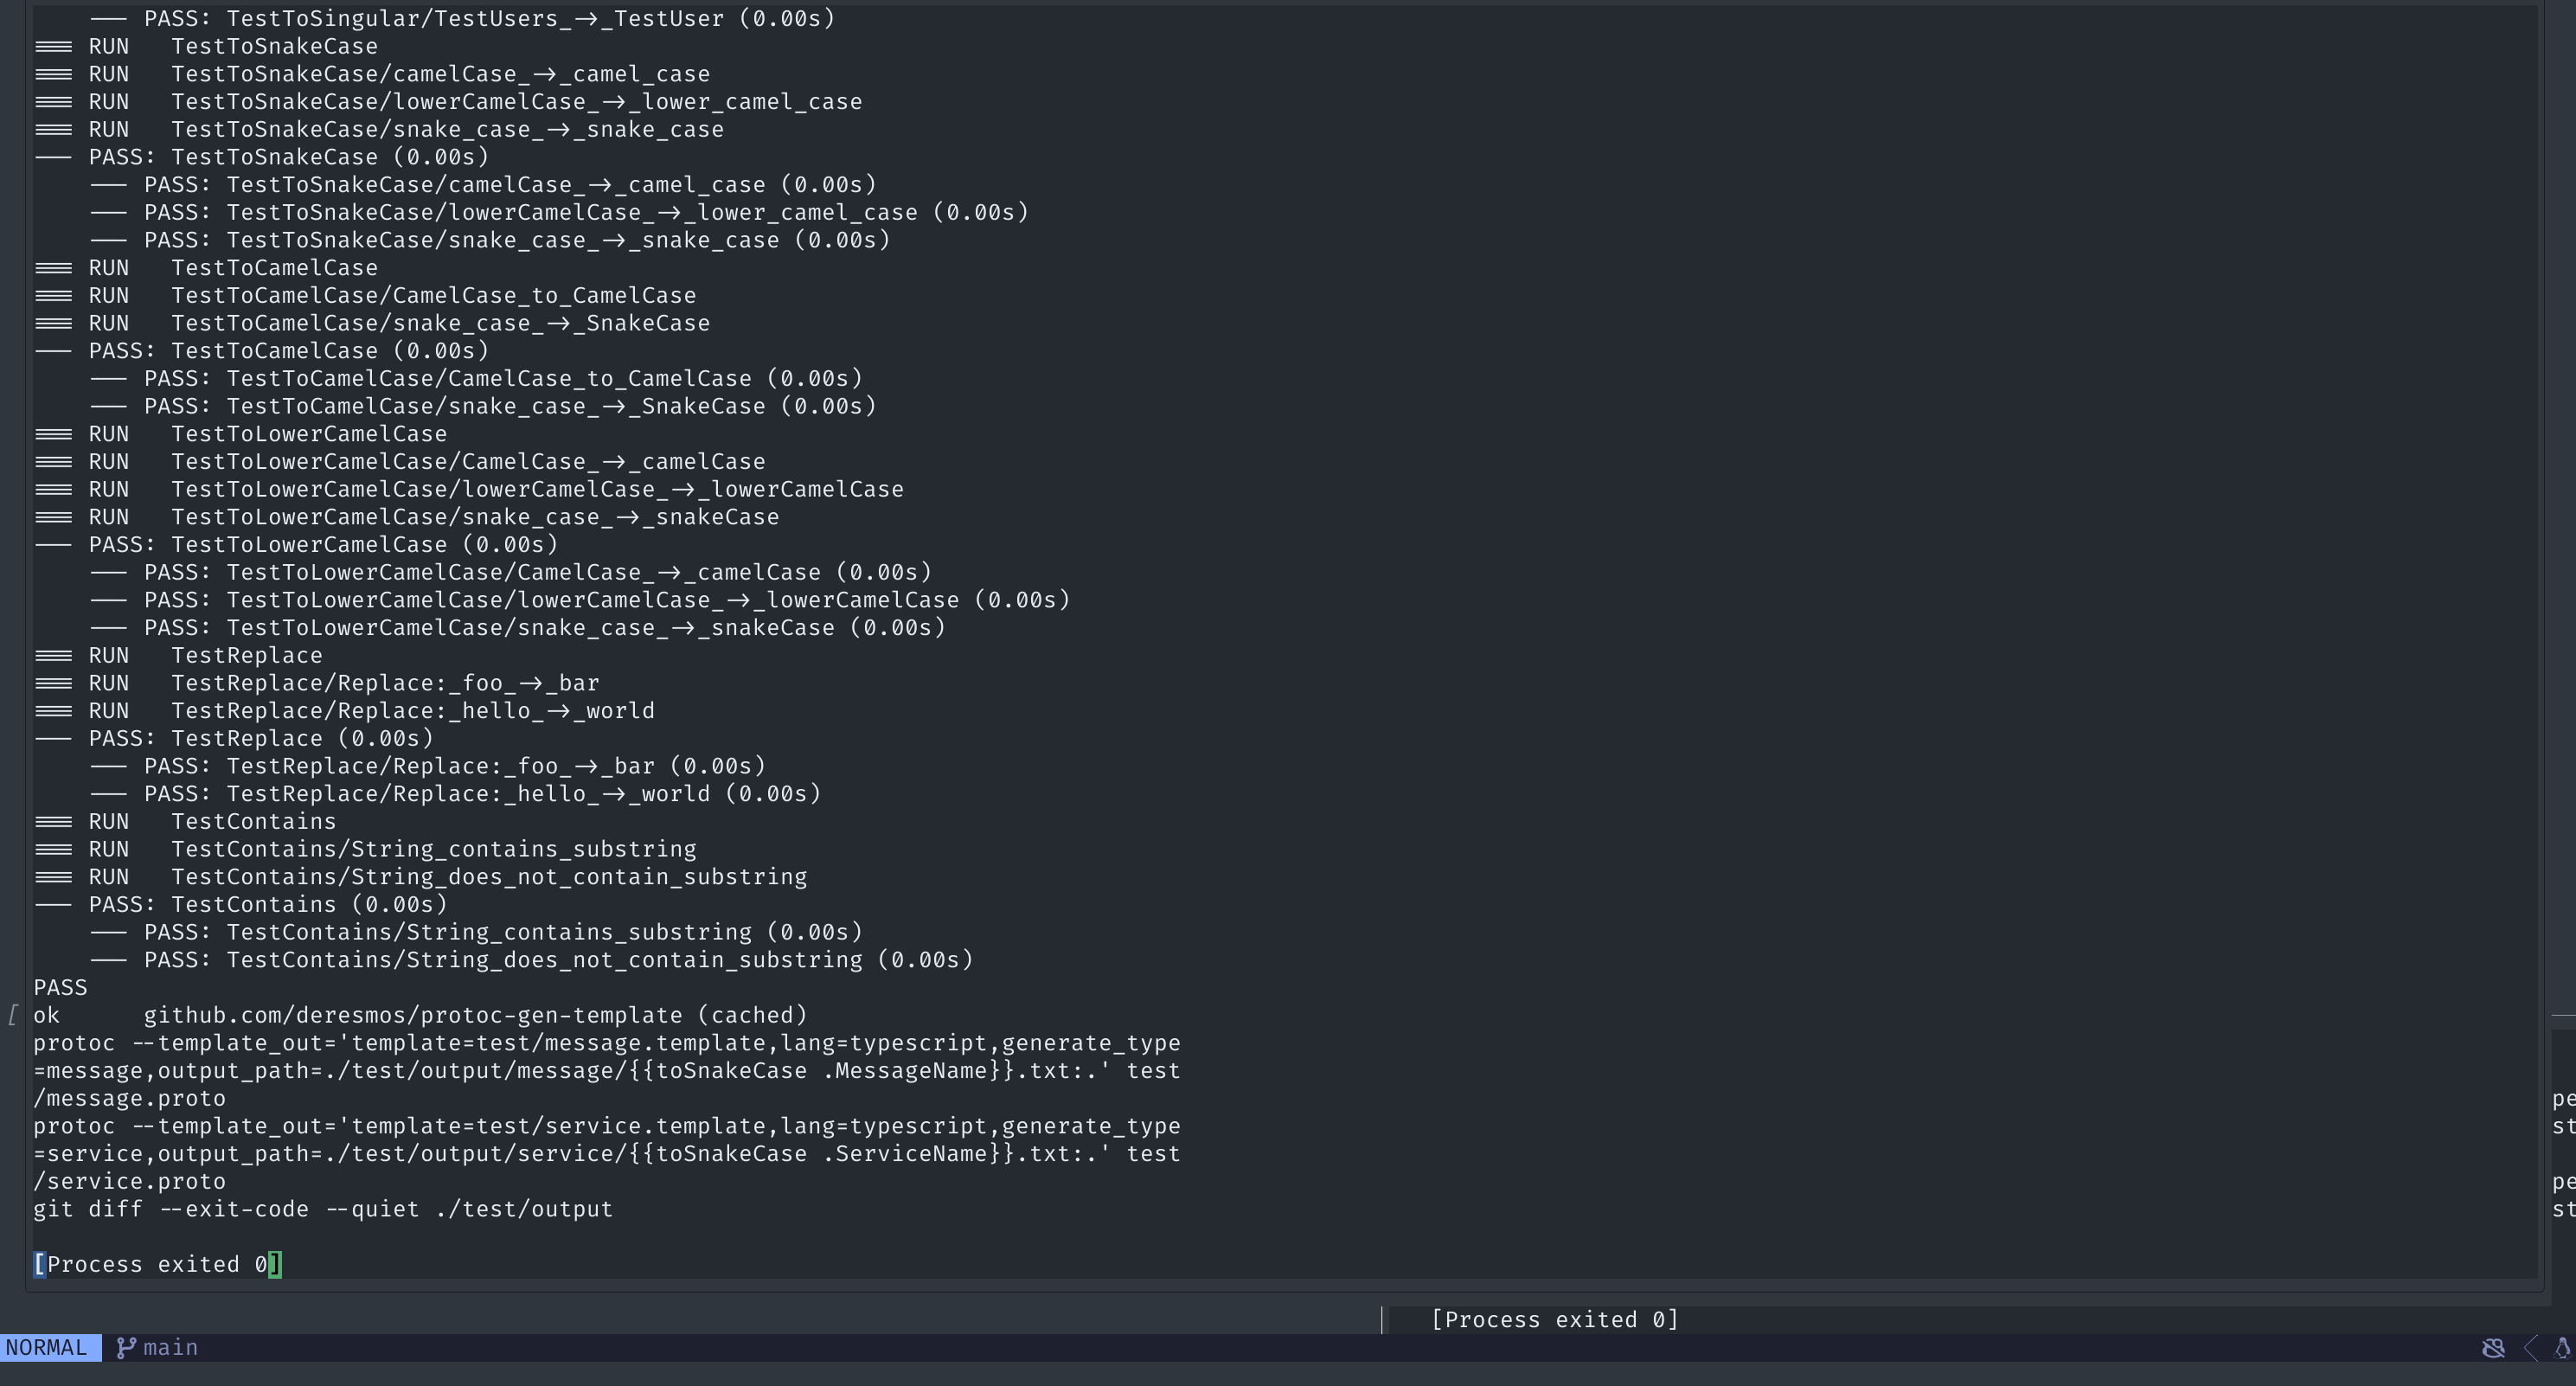
デフォルトでnvim-notifyと連携対応しているので、いい感じに実行完了などの通知表示してくれます。さらに、テスト失敗時にはquickfixやDiagnosticsに送ることもできるので、エラー対象箇所にジャンプすることもさくっとできます!
それぞれの結果も確認することができます。そのため、前回どんなエラーで落ちてたんだっけ?とかを容易に確認できます!
コーディング中は、git pushやテスト実行をよく実行しますので、その設定を紹介しようかと思います。
カスタムタスクの追加
私は、モジュールとしてカスタムタスクの追加を行なっています。
詳細は、公式Documentに詳細は記載されています。as a module
例えば、下記のようにgit pushタスクを設定しています。
return {
  name = "git push HEAD",
  builder = function()
    return {
      cmd = { "git", "push", "-v", "origin", "HEAD" },
      components = { "default" },
    }
  end,
}
return {
  "user.git_push_head",
}
setup時に、下記のようにカスタムタスクを格納しているモジュール名を指定することで、利用できるようになります。
require('overseer').setup({
  templates = {
    "builtin",
    "user",
  },
  ...
}
Neovim上では、下記コマンドを実行することで、git pushされるようになります。
:lua require("overseer").run_template({ name = "git push HEAD" })
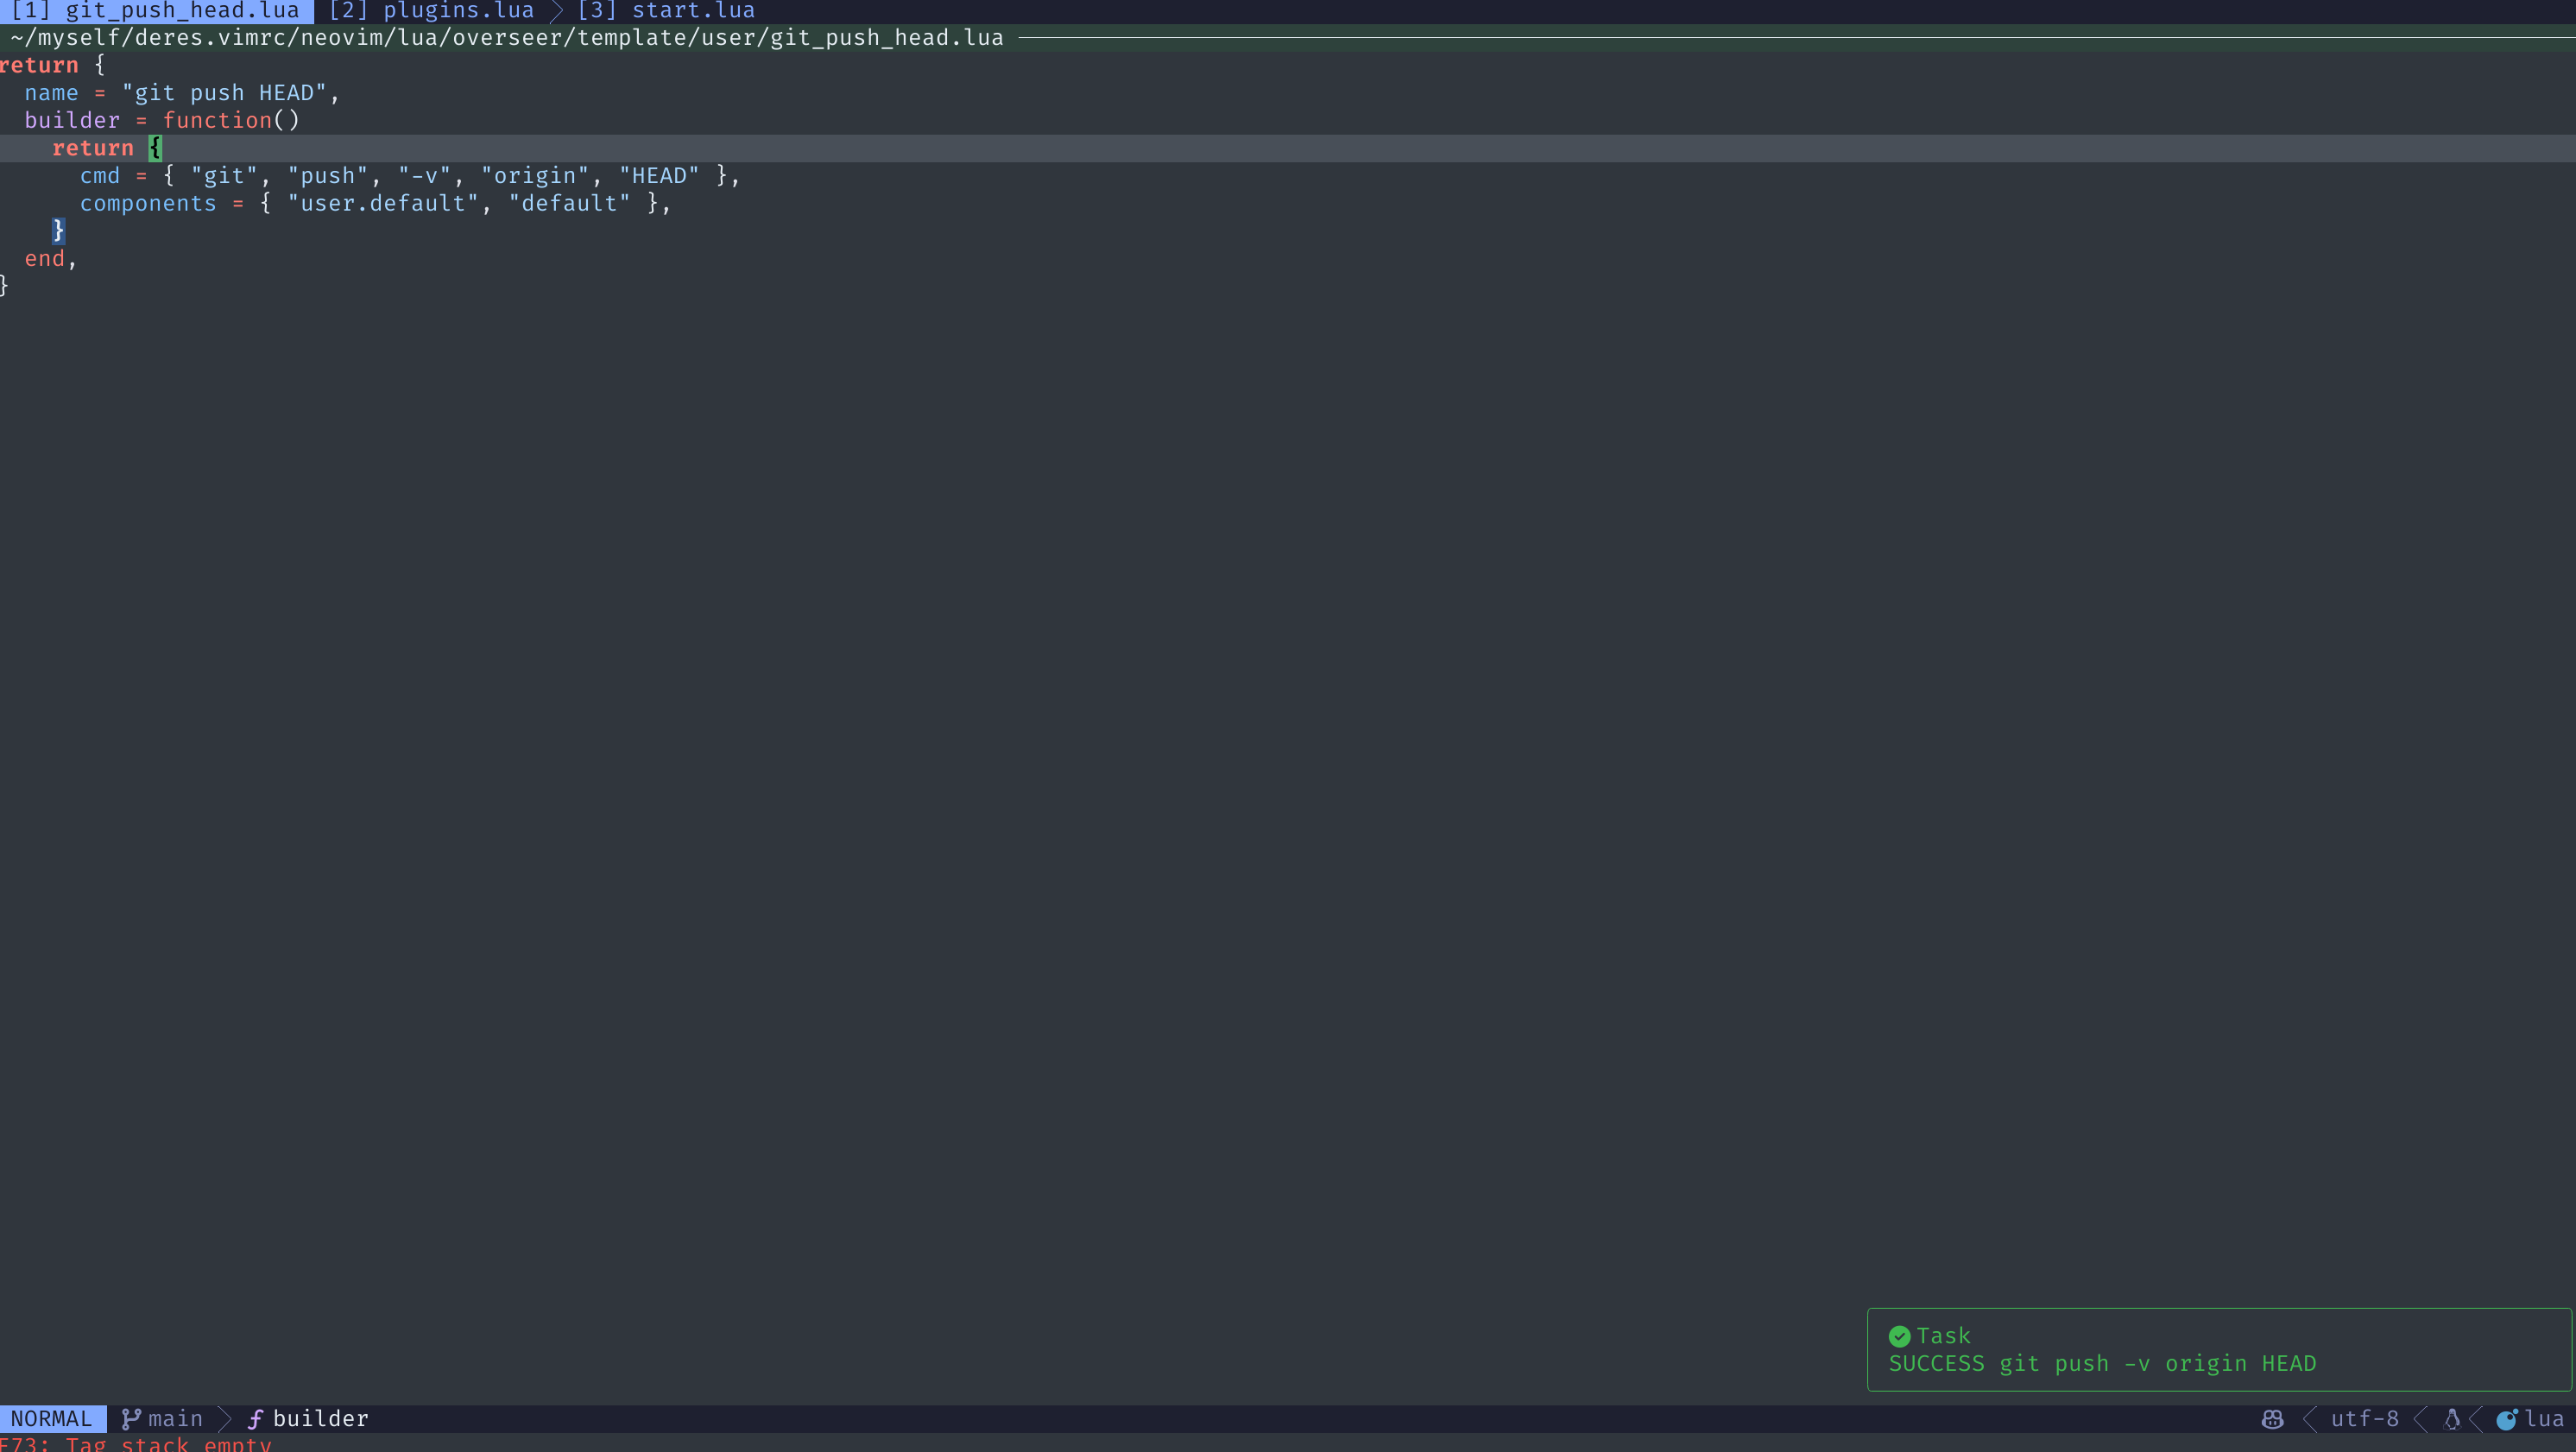
nvim-notifyを導入しているので、git push処理が完了したら下記画像のように右下付近に通知が来るようになっています。
test実行
テスト実行には、vim-testを利用しています。
vim-testのstrategyをカスタムしてoverseerと連携しています。
カスタムしたstrategyの流れのイメージとしては、実行予定のコマンド文字列を元に、いい感じにoverseerで実行させているだけです!
function OverseerStrategy(cmd)
  local args = {}
  for match in string.gmatch(cmd, "[^ ]+") do
    table.insert(args, string.match(match, "[^'].*[^']"))
  end

  local path = string.match(cmd, "[^ ]+$")
  path = string.gsub(path, "/%.%.%.", "")

  local workspace_path, _ = require("project_nvim.project").get_project_root()

  local task = require('overseer').new_task({
    cmd = args,
    cwd = workspace_path,
    components = { { 'on_output_quickfix', open = false, relative_file_root = path }, 'default' }
  })
  task:start()
end

-- カスタムstrategyを設定
vim.api.nvim_set_var("test#custom_strategies", {
  overseer = OverseerStrategy,
})
vim.api.nvim_set_var("test#strategy", "overseer")
この状態で、vim-testコマンドのTestNearestなどを実行することによって、overseer側でtestのタスクが実行されます。
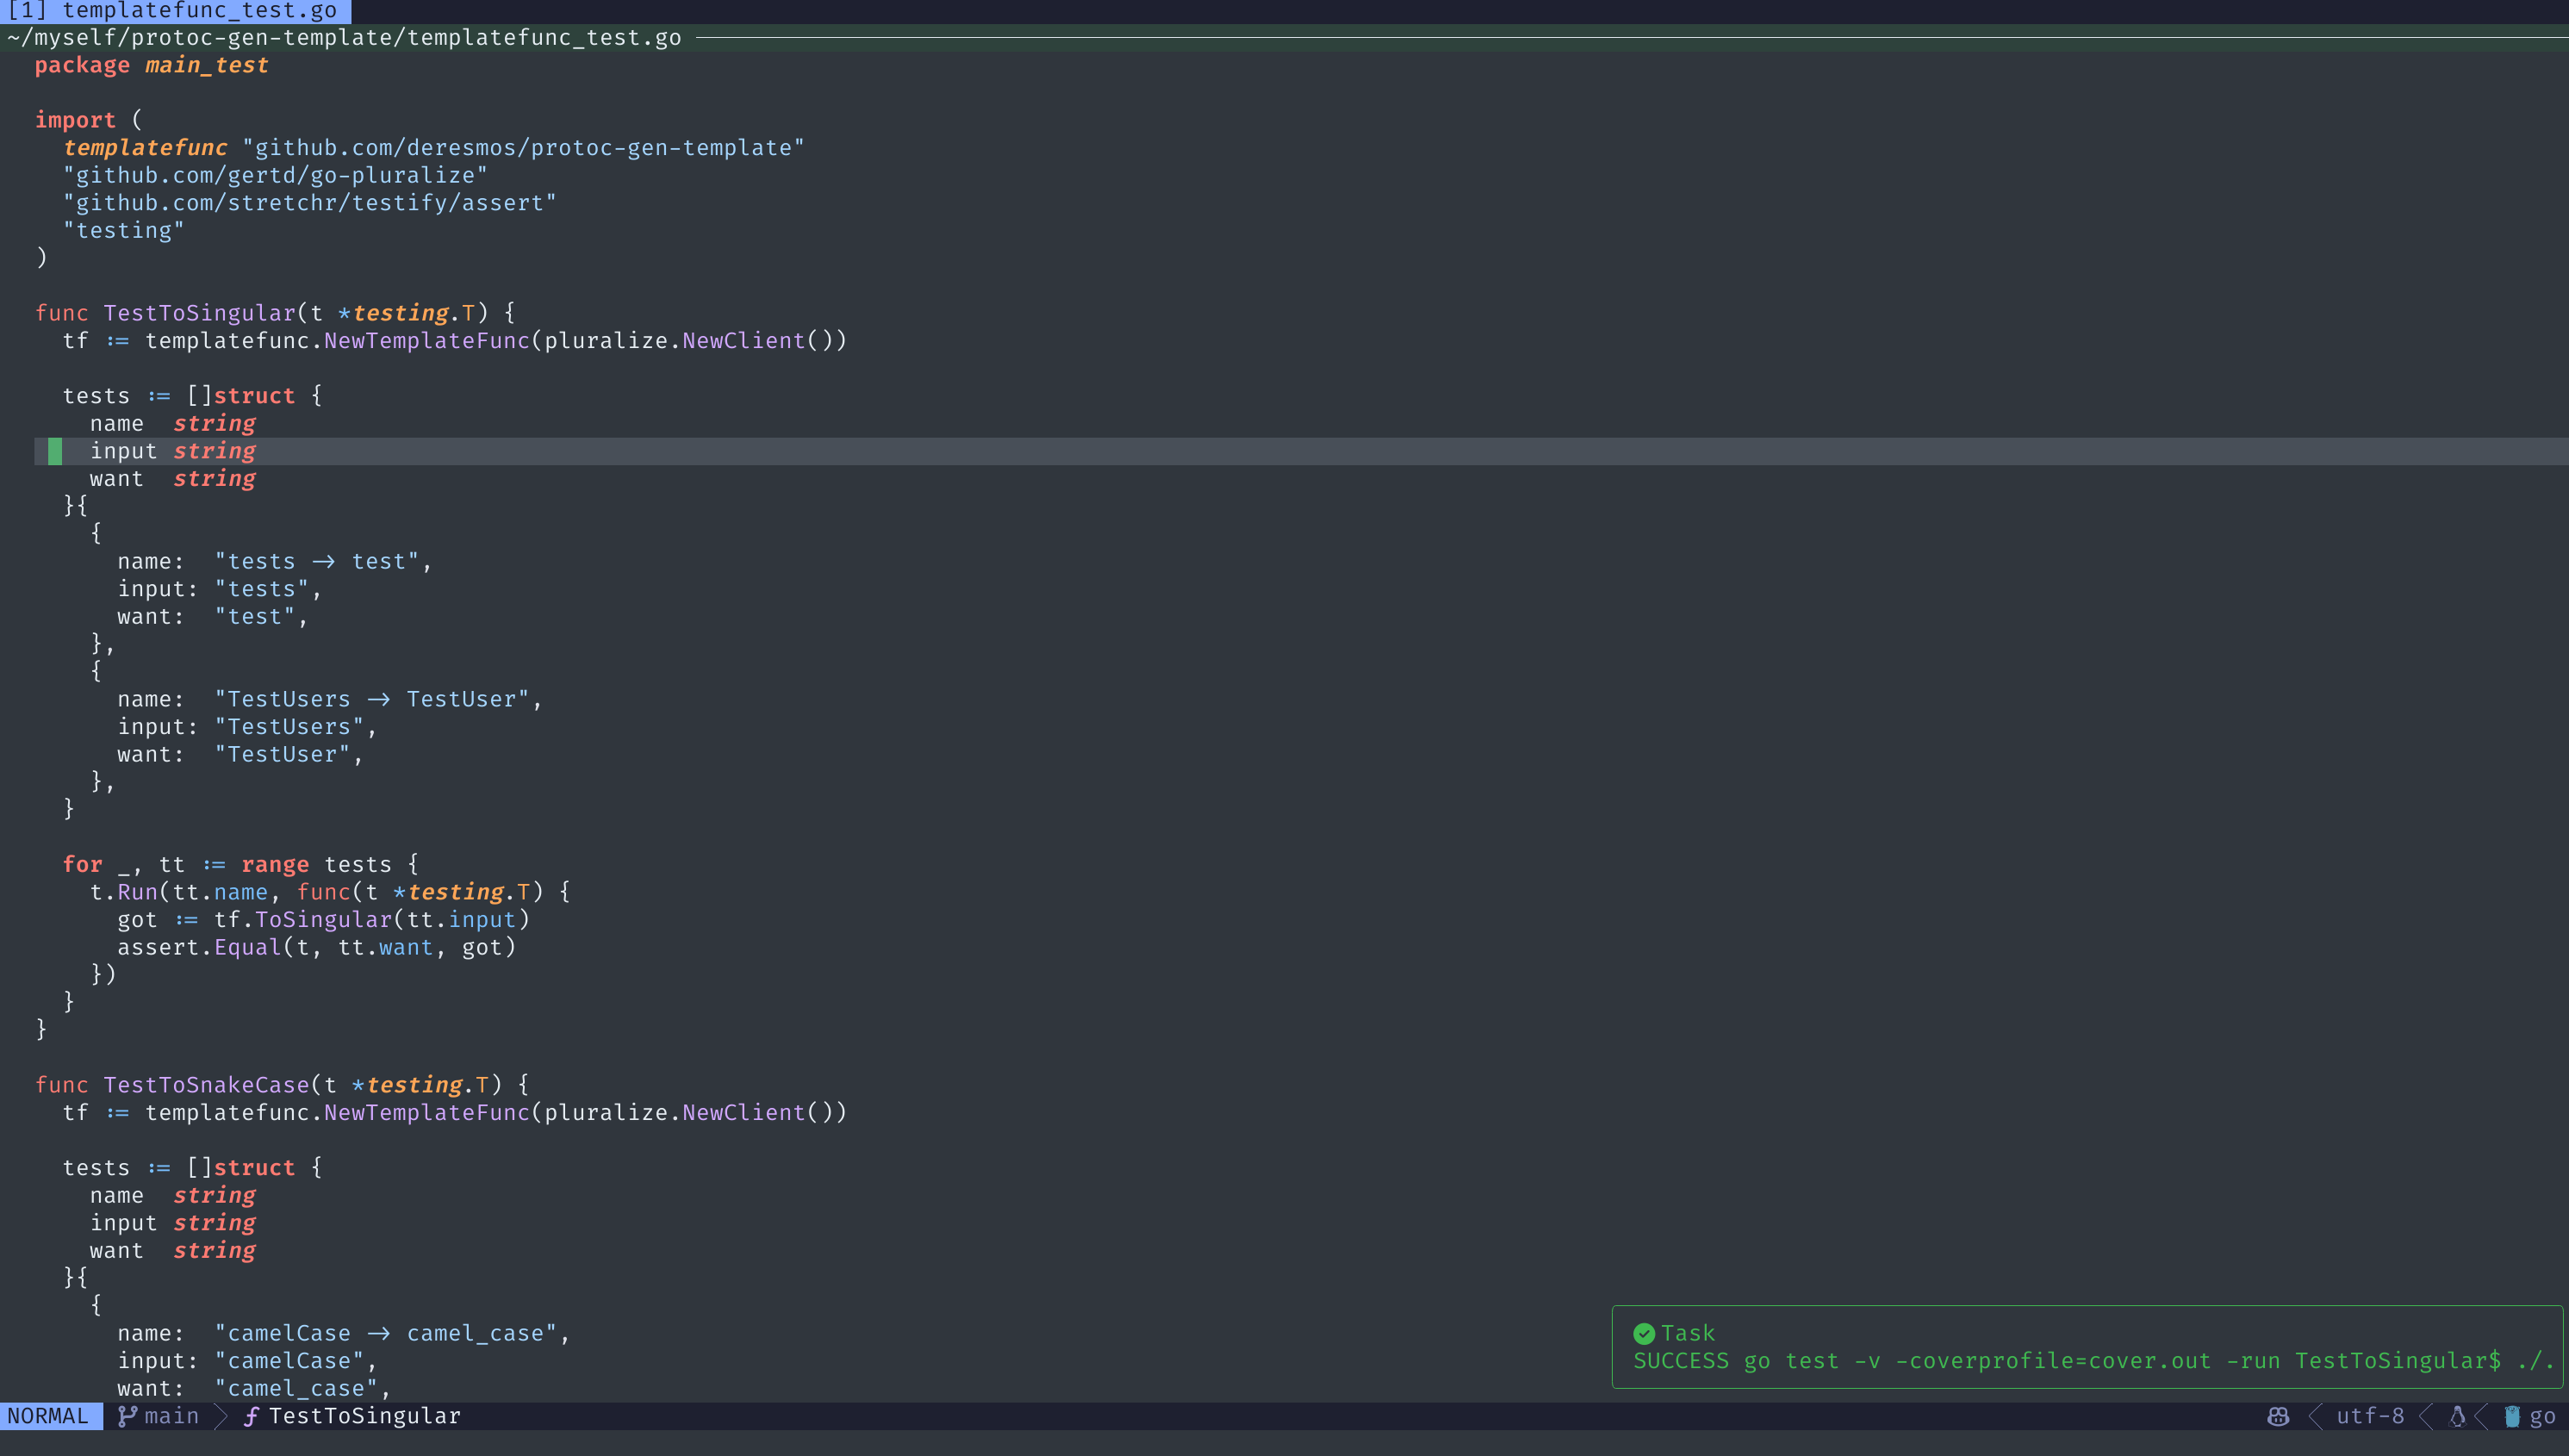
TestNearestを実行したら、下記画像の右下通知のようにtestコマンドが実行されて成功されていることが分かります!
使い慣れていたvim-testの方が調整しやすくて使い続けていますが、neotestも気になっています。今度触ってみようかと思います!
coverage
テスト実行のついでに、コードのカバレッジも確認したい場面があるかと思います。
十分なテスト書けているかな?って確認したいときには、nvim-coverageを利用しています。
私の場合は、vim-testでテスト実行する時に、coverprofile指定して作成するようにしており、nvim-coverageでそのファイルを確認するようにしています。
vim.api.nvim_set_var("test#go#gotest#options", "-v -coverprofile=cover.out")
require("coverage").setup({
  lang = {
    go = {
      coverage_file = "cover.out",
    },
  },
  ...
})
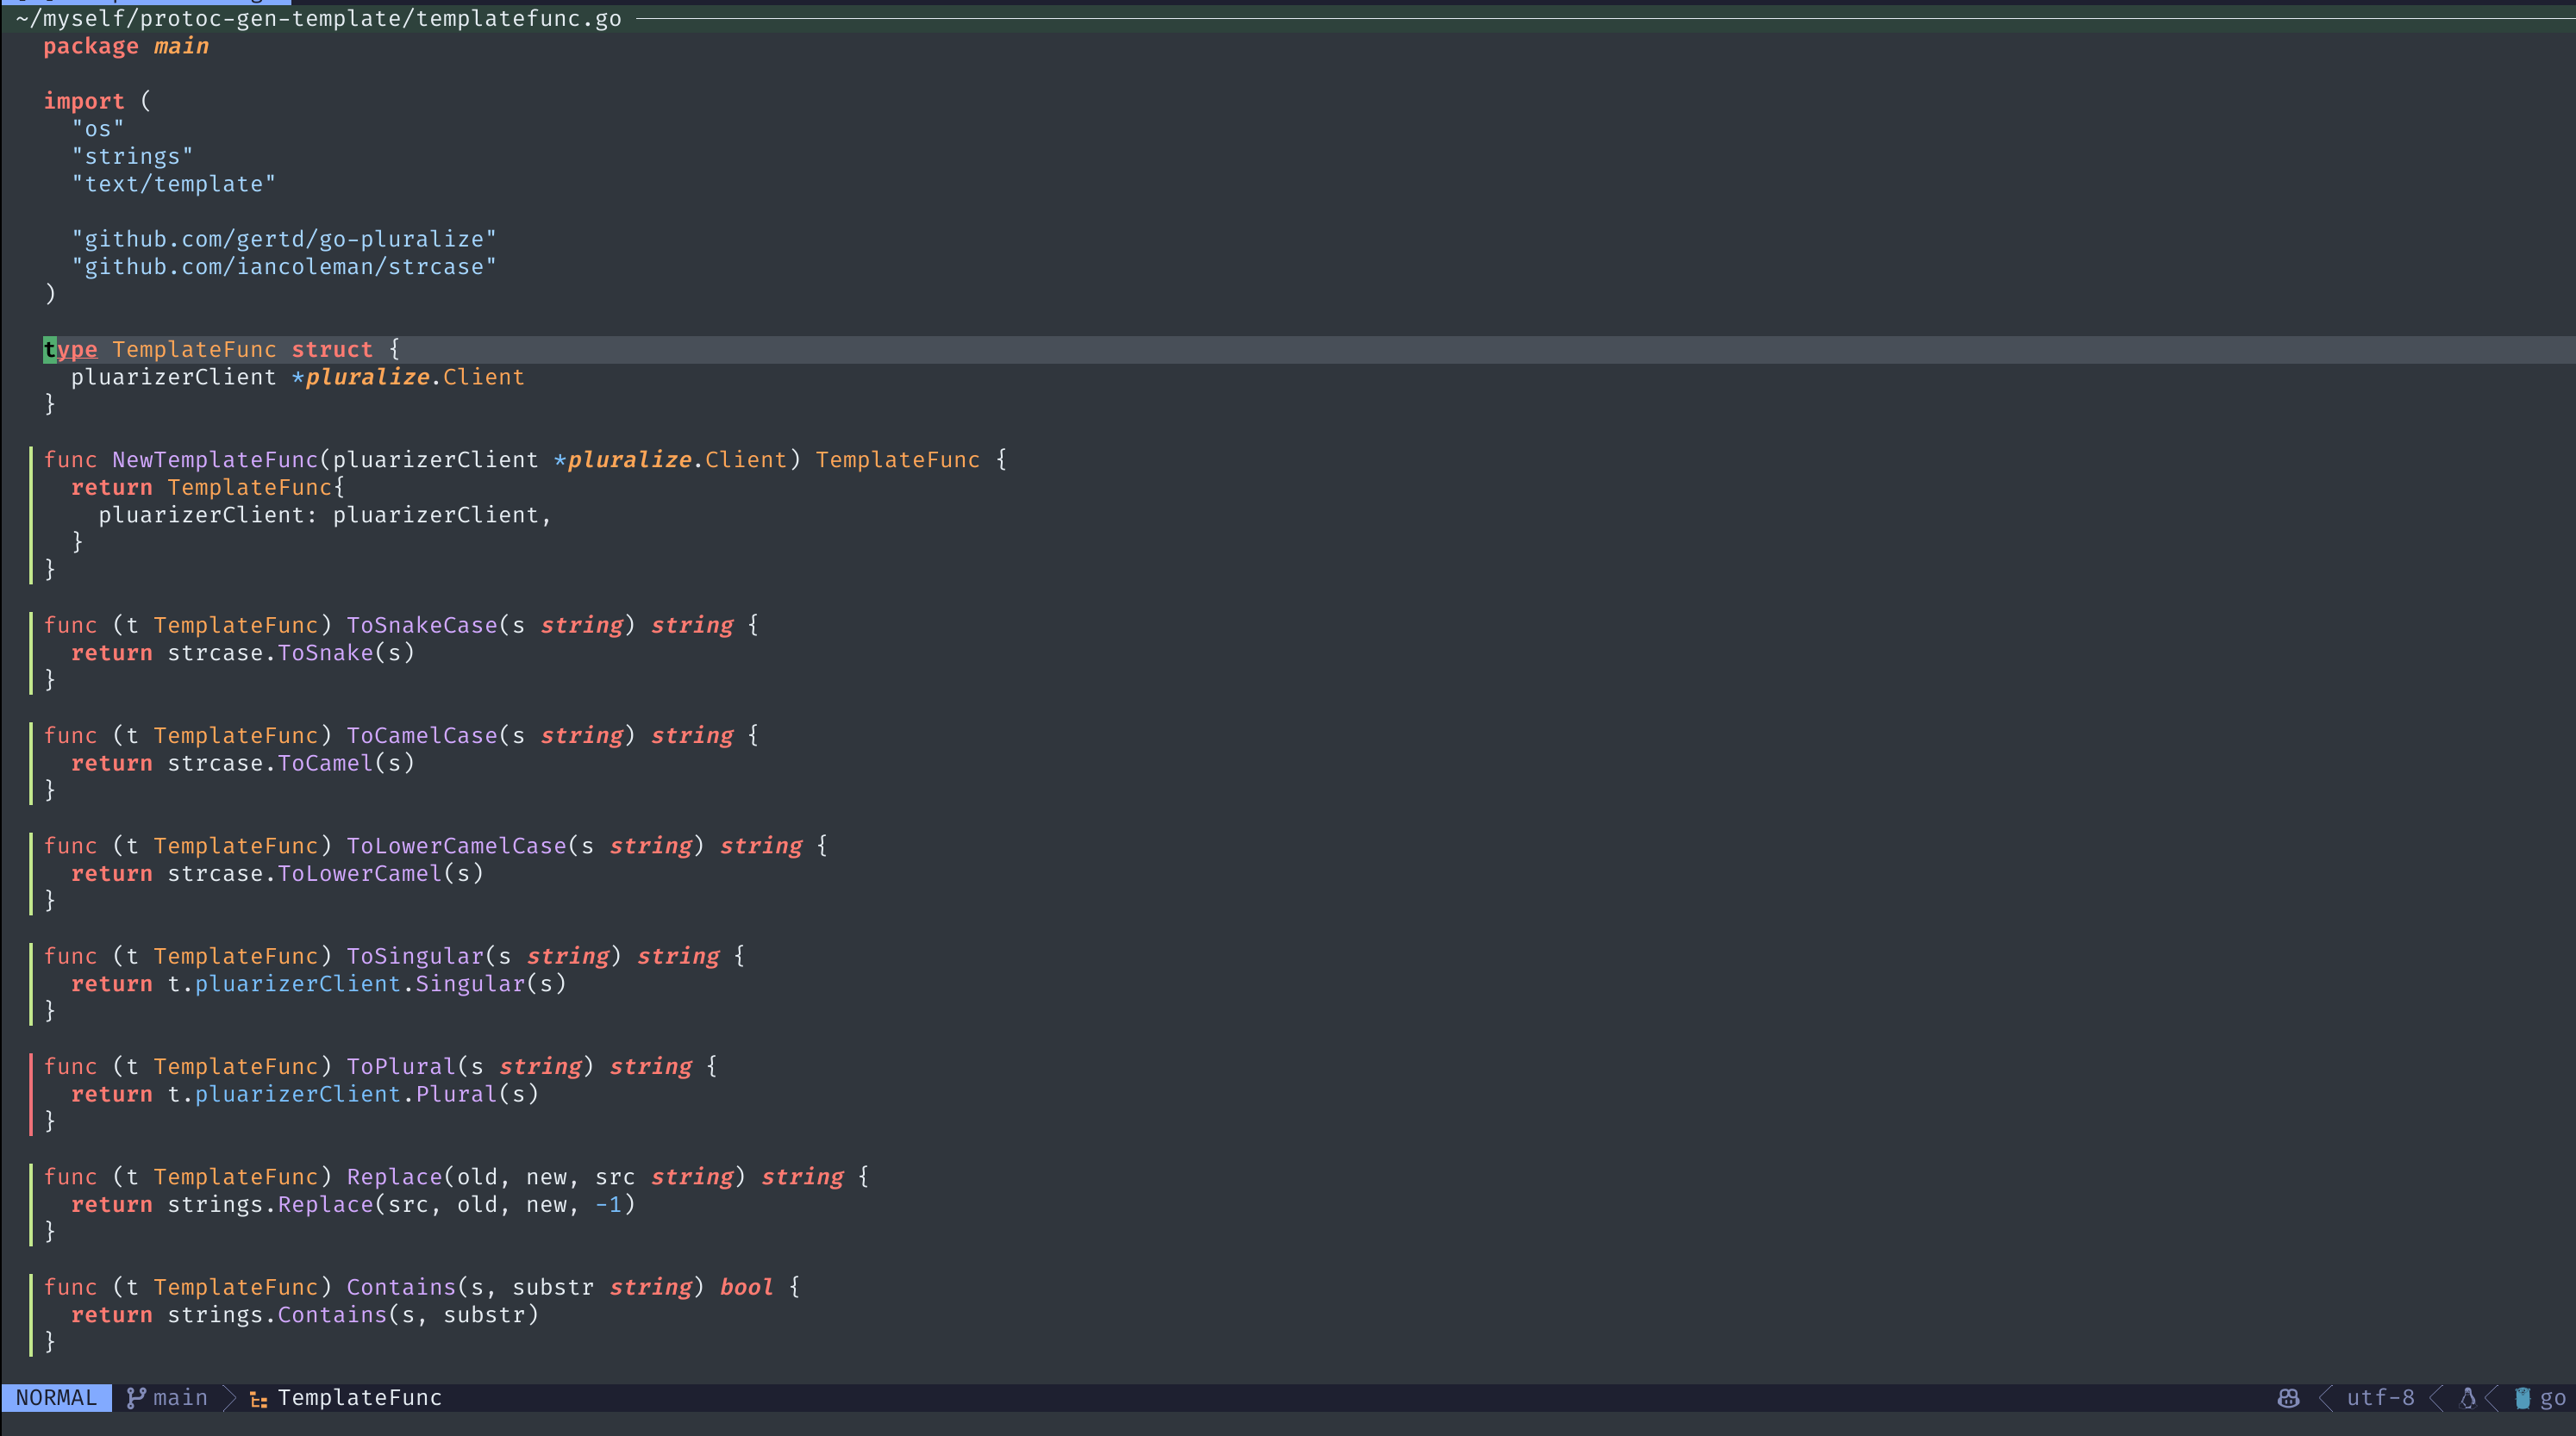
下記画像のように赤は通過していない箇所になっていますので、ToPluralメソッドのテストが存在していないことが分かりましたね!
Hydra.nvim
皆さんこういう経験はないですか?キーバインド設定したけど、どうだったけ?
設定したてのものなどの手に馴染んでいないキーバインドは忘れがちですよね!キーバインドが多くなってくるとこういうことが増えるなって思うので、それを解決してくれるプラグインの紹介です!
イメージとしては、設定したHydraを実行すると、それに紐づいたサブコマンドなどのキーバインド一覧を表示してくれるって感じです!
例えば、下記画像のようにテスト関連コマンドを設定しているHydraを実行すると、右下にキーバインド一覧を表示してくれます!そして、表示されているキーバインドを入力することで、設定した操作を行なってくれます!
これによって、滅多に使わないけどあの処理どうやるんだったけ?がメニューとして表示されるので迷子にならないですし、いつも使っているものはノールックで実行することが出来るので重宝しています!
公式のサンプル見ていただくと、凝ったこともできるようになっています。ただ、設定が面倒な部分もあったりするので、シンプルで十分なものは、楽に設定できるwrapした処理を用意して利用しています。適当な実装ですが、サクッと設定出来るようになったので満足しています!(参考程度に貼り付けておきます)
local M = {}

local SEPARATOR_LENGTH = 10

local setted_hydra_list = {}

local function make_hint(name, heads)
   local separator_space = string.rep(" ", SEPARATOR_LENGTH)
   local title = string.format("[ %s ]", name)
   local result = {string.format("%s%s%s", separator_space, title, separator_space)}
   for _, head in ipairs(heads) do
      local line = ""
      if head[3].sep then
         line = string.format("%s\n", head[3].sep)
      end

      line = string.format("%s_%s_: %s", line, head[1], head[3].desc)
      table.insert(result, line)
   end

   return table.concat(result, "\n")
end

local function set_hydra(name, heads, config)
   config = vim.tbl_deep_extend('keep', config or {}, {
      color = 'pink',
      invoke_on_body = false,
      hint = {
         position = 'bottom-right',
         border = 'rounded',
      },
   })

   local hydra = require('hydra')({
      name = name,
      hint = make_hint(name, heads),
      config = config,
      heads = heads,
   })
   setted_hydra_list[name] = hydra
   return hydra
end

function M.set_hydra(name, heads, config)
   setted_hydra_list[name] = {
      name = name,
      heads = heads,
      config = config,
      lazy = true,
   }
   return function()
      M.open(name)
   end
end

function M.get_setted_hydra_names()
  local keys = {}
  for k, _ in pairs(setted_hydra_list) do
    table.insert(keys, k)
  end

  return keys
end

function M.open(name)
   local hydra = setted_hydra_list[name]

   -- 遅延読み込み処理のため、open時にhydraを作成する
   if hydra.lazy then
      hydra = set_hydra(hydra.name, hydra.heads, hydra.config)
   end

   hydra:activate()
end

return M
設定例
下記のように設定しておくことで、上記の画像のようなリストが表示されるようになります!
local test = require('my.test')
vim.keymap.set('n', '<Space>hdt', require('my.hydra').set_hydra('Test', {
   { 'n', test.run_nearest,   { desc = 'nearest', exit = true } },
   { 'f', test.run_file,      { desc = 'file', exit = true } },
   { 'l', test.run_last,      { desc = 'last', exit = true } },
   { 's', test.suite,         { desc = 'suite', exit = true } },
   { 'D', test.debug_mode,    { desc = 'debug mode' } },
   { 'N', test.normal_mode,   { desc = 'normal mode' } },
   { 'O', test.overseer_mode, { desc = 'overseer mode' } },
   { 'q', nil,                { exit = true, nowait = true, desc = 'exit' } },
}), { silent = true, noremap = true })
hydraに設定したキーバインド自体を忘れるっていうこともあるかと思い、telescope.nvimで設定したhydraのリストを表示させて、実行してくれるピッカーを作っていて、たまに利用しています!このリスト表示のキーバインドだけど覚えていれば、設定したHydra一覧が確認できるので安心です!
local pickers = require "telescope.pickers"
local finders = require "telescope.finders"
local conf = require("telescope.config").values

local function list_hydra()
  pickers.new({}, {
    prompt_title = "Hydra List",
    finder = finders.new_table {
      results = require('my.hydra').get_setted_hydra_names(),
    },
    sorter = conf.generic_sorter(opts),
    attach_mappings = function(prompt_bufnr, map)
      actions.select_default:replace(function()
        actions.close(prompt_bufnr)
        local selection = action_state.get_selected_entry()
        require('my.hydra').open(selection.value)
      end)
      return true
    end,
  }):find()
end

vim.keymap.set('n', '<Space>hdl', list_hydra, { silent = true, noremap = true })
まとめ
他にも多数のプラグインを利用していますが、特に頻繁に利用しているプラグインに絞って紹介を行いました。そういう使い方してるんだーなど参考になる部分があれば幸いです!
