はじめに
Google Maps API の基本的な使い方を書いていこうと思います。
その中でも、Google Maps JavaScript API の基本的な使い方を書きます。
とは言っても、公式ドキュメントを読みながら「こんな感じに使うのね」と、確認の意味を込めたものです。
さらさらーと流していきますね!
基本的なGoogleMapの表示方法
基本的なGoogle Mapの表示方法は、下記のようになります。
<!DOCTYPE html>
<html>
<head>
    <title>Simple Map</title>
    <meta name="viewport" content="initial-scale=1.0">
    <meta charset="utf-8">
    <style>
        html, body {
            height: 100%;
            margin: 0;
            padding: 0;
        }
        #map {
            height: 500px;
            width: 50%;
        }
    </style>
</head>
<body>
<div id="map"></div>
<script>

    var map;
    function initMap() {
        map = new google.maps.Map(document.getElementById('map'), {
            center: {lat: 35.658581, lng: 139.745433},
            zoom: 14
        });
    }

</script>
<script src="https://maps.googleapis.com/maps/api/js?callback=initMap"></script>
</body>
</html>
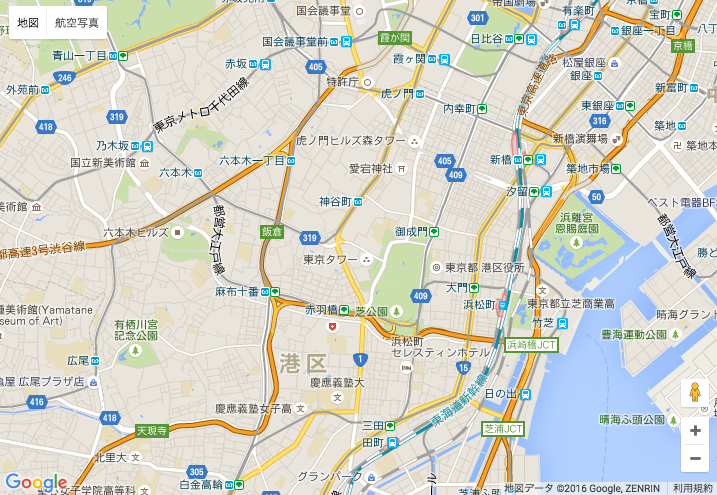
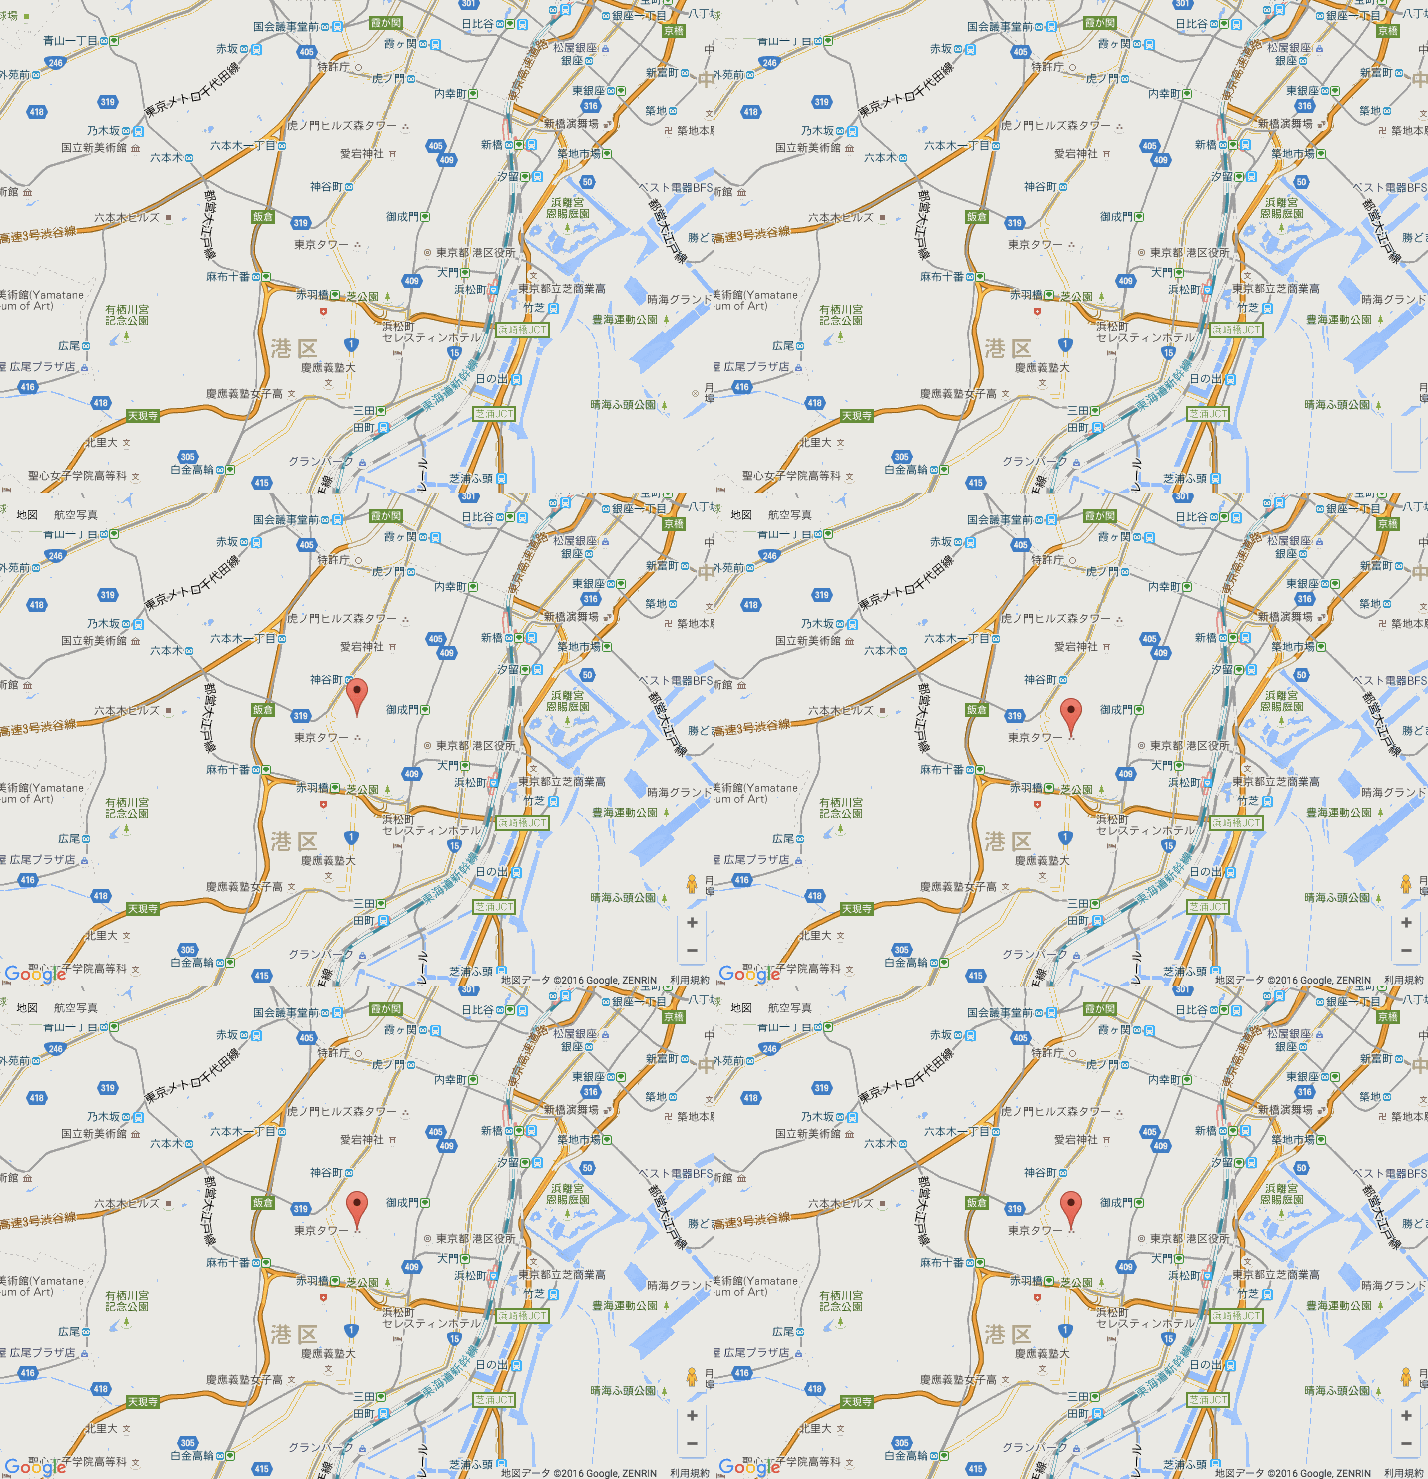
本当にシンプルに地図を表示させることができました!
マップを表示させる部分をHTMLで作成し、CSSでスタイルを適用してあげます。
あとは、Google Mapを呼び出す関数を書いてあげて、パラメータに付与してあげるだけで実行されます。
関数で何をしてるのかというと、centerにマップを表示させる場所を緯度経度で教えてあげて、zoomにどのくらいの尺度で地図を表示させるのかを指定してあげるだけです。
ちなみに、この緯度経度は東京タワーを示しています。
もちろん、パラメータに渡さず実行することも可能です。
<script src="https://maps.googleapis.com/maps/api/js"></script>
<script>

    var map;
    function initMap() {
        map = new google.maps.Map(document.getElementById('map'), {
            center: {lat: 35.658581, lng: 139.745433},
            zoom: 14
        });
    }
    initMap();

</script>
このようにすれば、好きなときに地図を表示・非表示にさせることが出来そうですね!
マーカーを表示
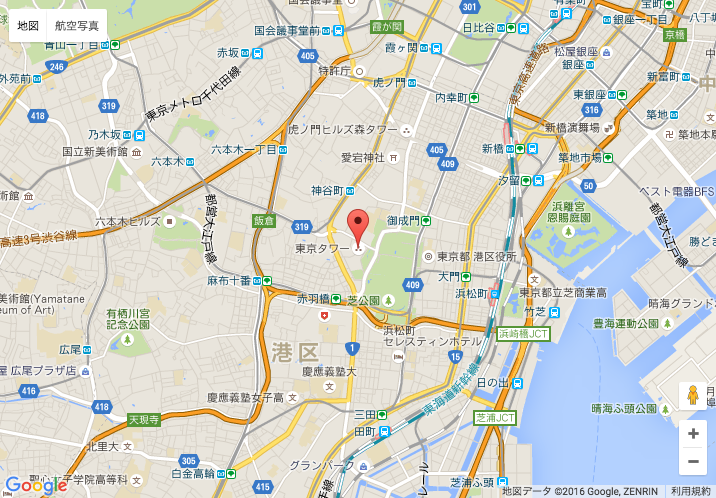
先ほど、東京タワーの緯度経度を指定してGoogle Mapを表示させたわけですが、印が無いとどこを表示しているのかが分かりませんね。
なので、マーカーを付けてあげたいと思います。
<script src="https://maps.googleapis.com/maps/api/js"></script>
<script>

    function initMap() {
        var myLatLng = {lat: 35.658581, lng: 139.745433};

        var map = new google.maps.Map(document.getElementById('map'), {
            zoom: 14,
            center: myLatLng
        });

        var marker = new google.maps.Marker({
            position: myLatLng,
            map: map
        });
    }
    initMap();

</script>
マーカーがあると、ひと目でどこを指しているのかが分かりますね!
これで、普段見ているGoogle Mapの基本的な形になったのではないのでしょうか。
アイコンの設定
マーカーを表示させることに成功しました。
しかし、自分のサイトにGoogle Mapを導入するとなったとき、オリジナルのアイコンだったりロゴだったりをマーカーにしたいと思います。
なので、アイコンの変更方法を書きますね!
<script src="https://maps.googleapis.com/maps/api/js"></script>
<script>

    function initMap() {
        var myLatLng = {lat: 35.658581, lng: 139.745433};

        var map = new google.maps.Map(document.getElementById('map'), {
            zoom: 14,
            center: myLatLng
        });

        var imagePath = '表示させたい画像パス';
        var marker = new google.maps.Marker({
            position: myLatLng,
            map: map,
            icon: imagePath
        });
    }
    initMap();

</script>
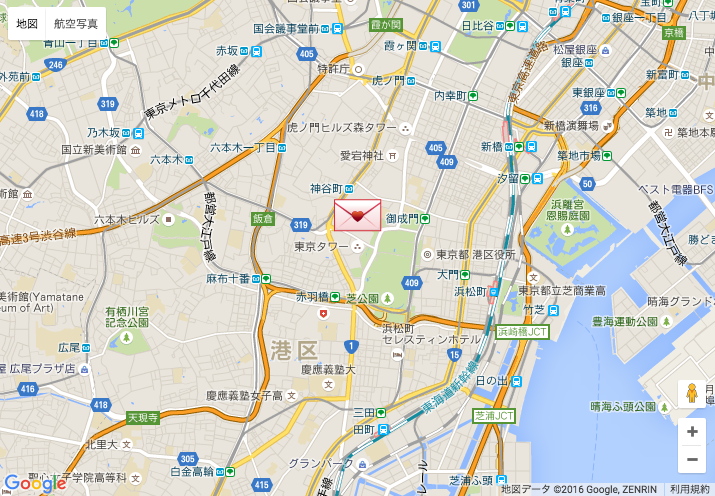
表示させたいアイコンの画像パスをmarkerに追加してあげるだけです!
わたしは、なぜかラブレター的な画像を使ってますが、愛に飢えているのでしょうか・・・。
これで、オリジナルのアイコンやロゴが使えますね!
マーカーにアニメーションをつける
マーカーに動きを付けたいときがありますよね。
ここだよ!ここ!ここなんだよ!!!と、自己主張したいとき。
Google Mapなら簡単に出来ますよ!
<script src="https://maps.googleapis.com/maps/api/js"></script>
<script>

    function initMap() {
        var myLatLng = {lat: 35.658581, lng: 139.745433};

        var map = new google.maps.Map(document.getElementById('map'), {
            zoom: 14,
            center: myLatLng
        });

        var marker = new google.maps.Marker({
            position: myLatLng,
            map: map,
            animation: google.maps.Animation.BOUNCE
        });
    }
    initMap();

</script>
animationにgoogle.maps.Animation.BOUNCEを追加するだけです。
常にバウンドしてる形です。(画像が粗いです。ごめんなさいm(_ _)m)
他にも、google.maps.Animation.DROPがあります。
<script src="https://maps.googleapis.com/maps/api/js"></script>
<script>

    function initMap() {
        var myLatLng = {lat: 35.658581, lng: 139.745433};

        var map = new google.maps.Map(document.getElementById('map'), {
            zoom: 14,
            center: myLatLng
        });

        var marker = new google.maps.Marker({
            position: myLatLng,
            map: map,
            animation: google.maps.Animation.DROP
        });
    }
    initMap();

</script>
こんな感じですね!
上からマーカーが降ってくる形になります。(画像が粗いです。ごめんなさいm(_ _)m)
これで、自己主張をするアイコンが完成しました!!
終わりに
簡単になりましたが、以上が Google Maps JavaScript API の基本的な使い方になります。
もっと詳しいことは公式ドキュメントに載ってますのでそちらをご覧ください。
基本、英語で説明されていますが、コードを読めばなんとなくわかるので問題ないかと思います!!
