やりたいこと
プロジェクトを作成しよう・workshop_tutorialJP
このサイトに沿ってアプリケーションを作る
virtualenvでなくDockerで。
環境
Docker for Windows Version 18.06.1-ce-win73(19507)
プロジェクトを作る
1.djangogirlsディレクトリを作成し、配下に以下の3ファイルを作成する
djangogirls
├── Dockerfile
├── docker-compose.yml
└── requirements.txt
FROM python:3.6
ENV PYTHONUNBUFFERED 1
RUN mkdir /code
WORKDIR /code
ADD requirements.txt /code/
RUN pip install -r requirements.txt
ADD . /code/
version: '3'

services:
  db:
    image: postgres
  web:
    build: .
    command: python3 manage.py runserver 0.0.0.0:8000
    volumes:
    - .:/code
    ports:
    - "8000:8000"
    depends_on:
    - db
Django>=1.8,<2.0
psycopg2
2.必要なディレクトリとファイルを作成する
docker-compose run web django-admin.py startproject mysite .
djangogirls
├── Dockerfile
├── docker-compose.yml
├── requirements.txt
├── manage.py
└── mysite
    ├── __init__.py
    ├── settings.py
    ├── urls.py
    └── wsgi.py
3.サービスのビルドを行う
docker-compose build
4.Dockerコンテナを起動
docker-compose up
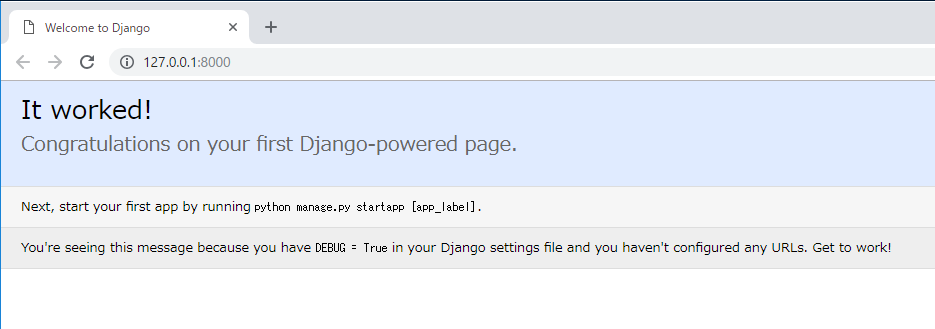
5.ブラウザで動作確認
ブラウザで http://127.0.0.1:8000/ へアクセスする

Djangoモデルを作成する
1.アプリ作成
docker-compose run web python manage.py startapp blog
blogディレクトリが作られる
djangogirls
├── blog
│   ├── __init__.py
│   ├── admin.py
│   ├── apps.py
│   ├── migrations
│   │   └── __init__.py
│   ├── models.py
│   ├── tests.py
│   └── views.py
├── db.sqlite3
├── Dockerfile
├── docker-compose.yml
├── requirements.txt
├── manage.py
└── mysite
    ├── __init__.py
    ├── settings.py
    ├── urls.py
    └── wsgi.py
2.mysite/settings.pyのINSTALLED_APPSに'blog',を追加する
INSTALLED_APPS = (
  'django.contrib.admin',
  'django.contrib.auth',
  'django.contrib.contenttypes',
  'django.contrib.sessions',
  'django.contrib.messages',
  'django.contrib.staticfiles',
  'blog',
)
3.blog/models.pyに以下の内容をコピペする
from django.db import models
from django.utils import timezone

class Post(models.Model):
    author = models.ForeignKey('auth.User')
    title = models.CharField(max_length=200)
    text = models.TextField()
    created_date = models.DateTimeField(
            default=timezone.now)
    published_date = models.DateTimeField(
            blank=True, null=True)

    def publish(self):
        self.published_date = timezone.now()
        self.save()

    def __str__(self):
        return self.title
データベースにモデル用のテーブルを作る
1.モデルをDBに追加する
docker-compose run web python manage.py makemigrations blog
2.DBに入れるための移行ファイルを実行する
docker-compose run web python manage.py migrate blog
ログインする
1.blog/admin.pyに以下の内容をコピペする
from django.contrib import admin
from .models import Post
admin.site.register(Post)
2.superuserを作成する
docker-compose run web python manage.py createsuperuser
ユーザ、メールアドレス、パスワードを聞かれるので入力する。(パスワードは簡単すぎると怒られる)
3.ログイン
http://127.0.0.1:8000/admin/ へアクセスしログインする。
4.ログインできる
やったー
(デプロイまで行ったらまた追記します)
(2018/10/30追記)herokuデプロイで永遠に詰んでいる