環境
Markdown Preview Enhanced: v0.7.10
TL;DR
エラーメッセージ
Error: plantuml.jar file not found: ""

Please download plantuml.jar from https://plantuml.com/download.


If you are using VSCode, then please set the setting "markdown-preview-enhanced.plantumlJarPath" to the absolute path of plantuml.jar file.

If you don't want to use plantuml.jar, then you can use the online plantuml server
by setting the setting "markdown-preview-enhanced.plantumlServer" to the URL of the online plantuml server, for example: https://kroki.io/plantuml/svg/
解消方法
エラーメッセージの指示通りに以下のいずれを実施する。
- オンラインのPlantUMLサーバーを指定する
- plantuml.jarをダウンロードする
事象
数ヶ月ぶりにシーケンス図を修正しようと、VSCodeでMarkdownファイルを開きました。
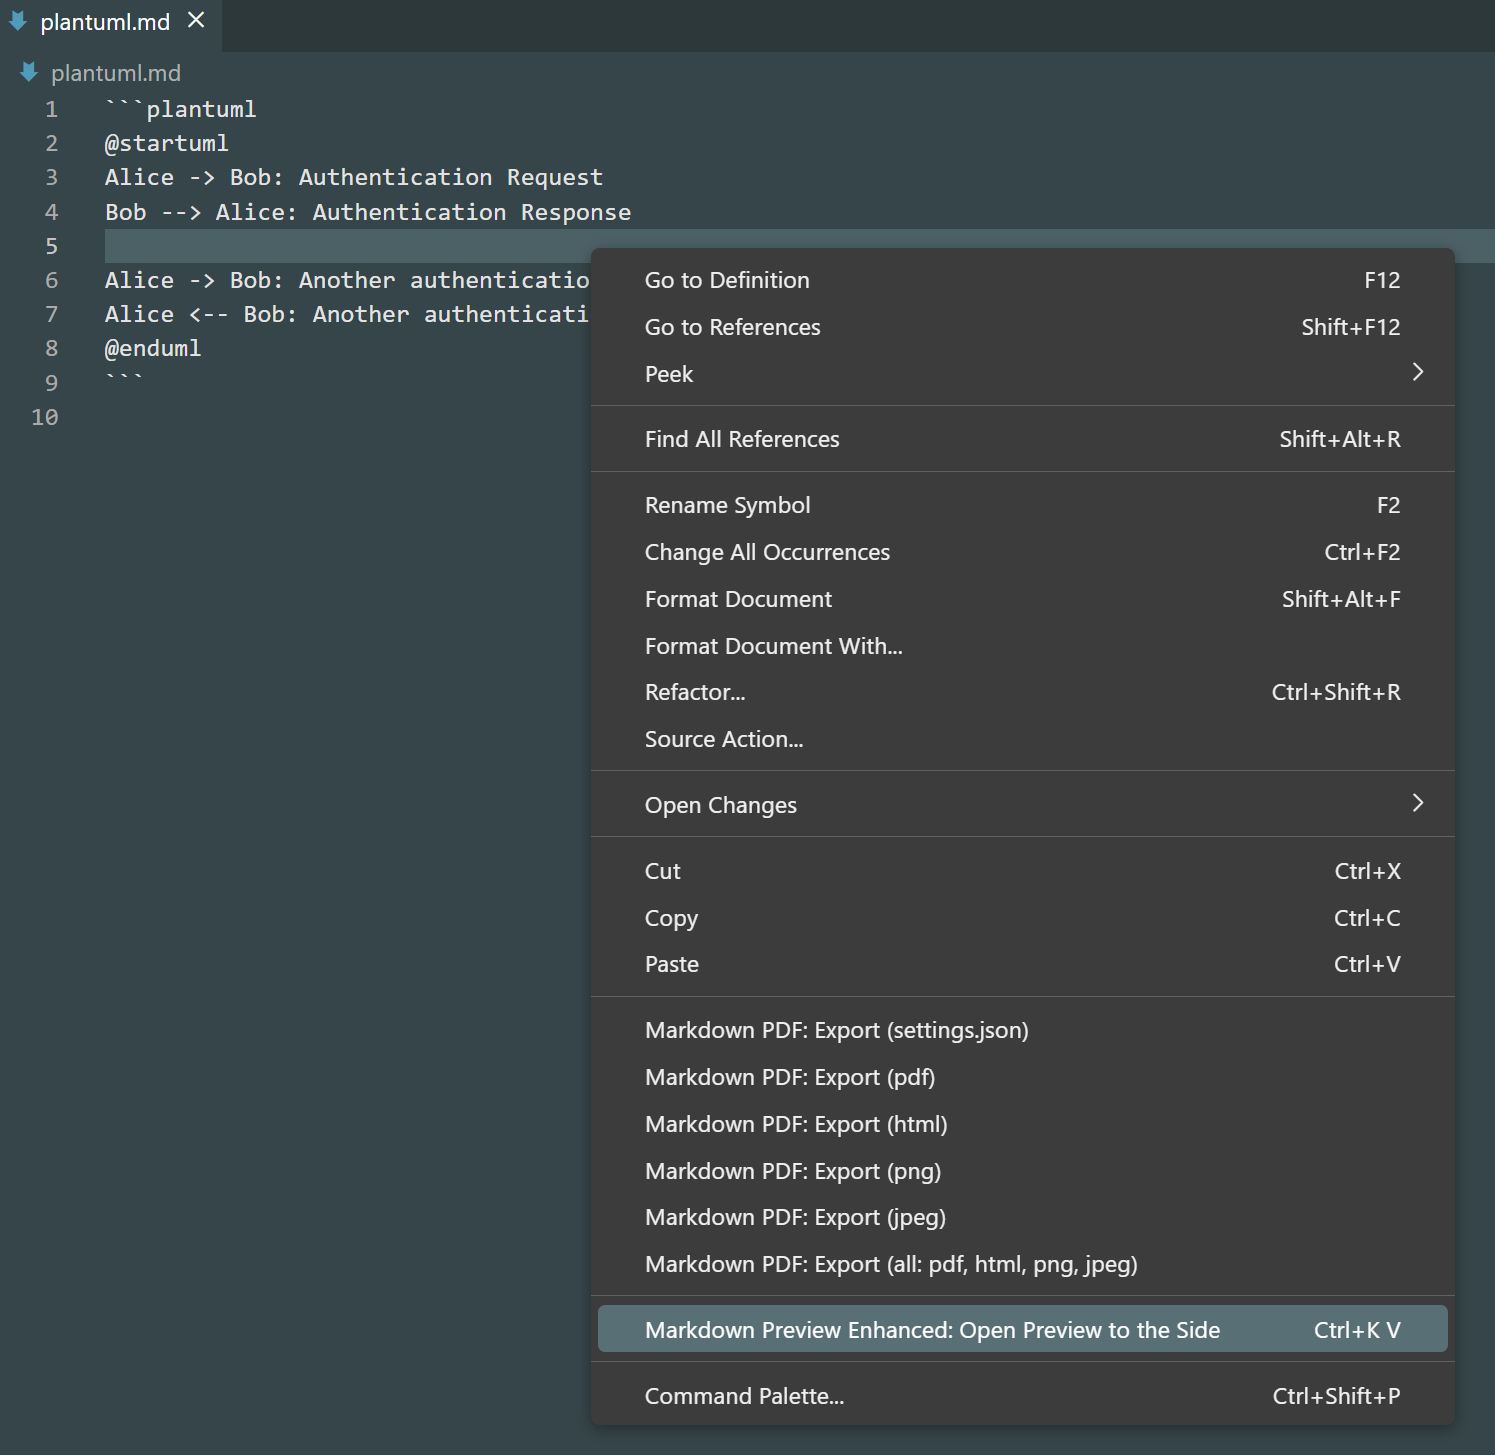
右クリック→「Markdown Preview Enhanced: Open Preview to the Side」と、
これで以前作ったシーケンス図が出て…

来ません!!!
なんじゃこりゃ…何やらエラーメッセージが表示されました。
Error: plantuml.jar file not found: ""

Please download plantuml.jar from https://plantuml.com/download.


If you are using VSCode, then please set the setting "markdown-preview-enhanced.plantumlJarPath" to the absolute path of plantuml.jar file.

If you don't want to use plantuml.jar, then you can use the online plantuml server
by setting the setting "markdown-preview-enhanced.plantumlServer" to the URL of the online plantuml server, for example: https://kroki.io/plantuml/svg/
原因
Markdown Preview Enhancedのv0.7.xからplantuml.jarを含まないようにしたのが原因です。
PlantUMLの描画に必要のplantuml.jarがないためのエラーですね。
v0.7.xは2023年9月リリースなので、それ以降にアップデートを実施した人は要注意です。
自動更新ONの人も! ←私
対処法
エラーメッセージが非常に親切で、2つの対処法が提示されました。
- オンラインのPlantUMLサーバーを指定する
- plantuml.jarをダウンロードする
PlantUMLサーバー
まずはオンラインのPlantUMLサーバーを利用する場合です。
設定項目にPlantUMLサーバーのURLを記載します。
エラーメッセージで例として挙げられたのは https://kroki.io/plantuml/svg/ です。
GitHub Issueでは https://www.plantuml.com/plantuml/svg/ も挙げられています。
PlantUMLサーバーならなんでも大丈夫だと思いますが、本記事ではKroki.io前提で進みます。
設定項目の編集方法をsettings.jsonの編集とGUI操作で分けましたので、やりやすい方をお選びください。
settings.json
VSCodeのコマンドパレットを開きます。
「settings json」などを入力して、Preference: Open User Settings (JSON)を選択します。

JSONファイルが開きましたら、PlantUMLサーバーのURLを追記して、保存します。
"markdown-preview-enhanced.plantumlServer": "https://kroki.io/plantuml/svg/",

表示されました。

GUI
拡張機能からMarkdown Preview Enhancedのページを開きます。
歯車アイコンをクリックし、Extension Settingsを選択します。

Markdown Preview Enhancedの設定項目一覧が表示されるので、スクロールしてMarkdown-preview-enhanced: Plantuml Serverを探します。

PlantUMLサーバーのURLを記入します。
https://kroki.io/plantuml/svg/

表示されました。
問題点
オンラインのPlantUMLサーバーは手軽に設定できますが、デメリットはなんと言ってもオフラインで使えないことです。
オフラインで利用しようとすると、以下のようにエラーメッセージが表示されて、描画ができません。
FetchError: request to https://kroki.io/plantuml/svg/ failed, reason: getaddrinfo ENOTFOUND kroki.io
ダウンロード
オンラインのPlantUMLサーバーのデメリットをカバーするのがplantuml.jarをダウンロードする方法です。
ローカルにplantuml.jarを配置することで、ネット環境に左右されずに利用できます。
ファイルダウンロードの後、設定項目の編集方法をsettings.jsonの編集とGUI操作で分けましたので、やりやすい方をお選びください。
ファイルダウンロード
まずはplantuml.jarをダウンロードします。
https://plantuml.com/download から最新版をダウンロードできます。
ライセンスが異なるバージョンがあるようですが、推奨バージョンはGPLです。
特にこだわりがなければGPLバージョンがいいと思います。
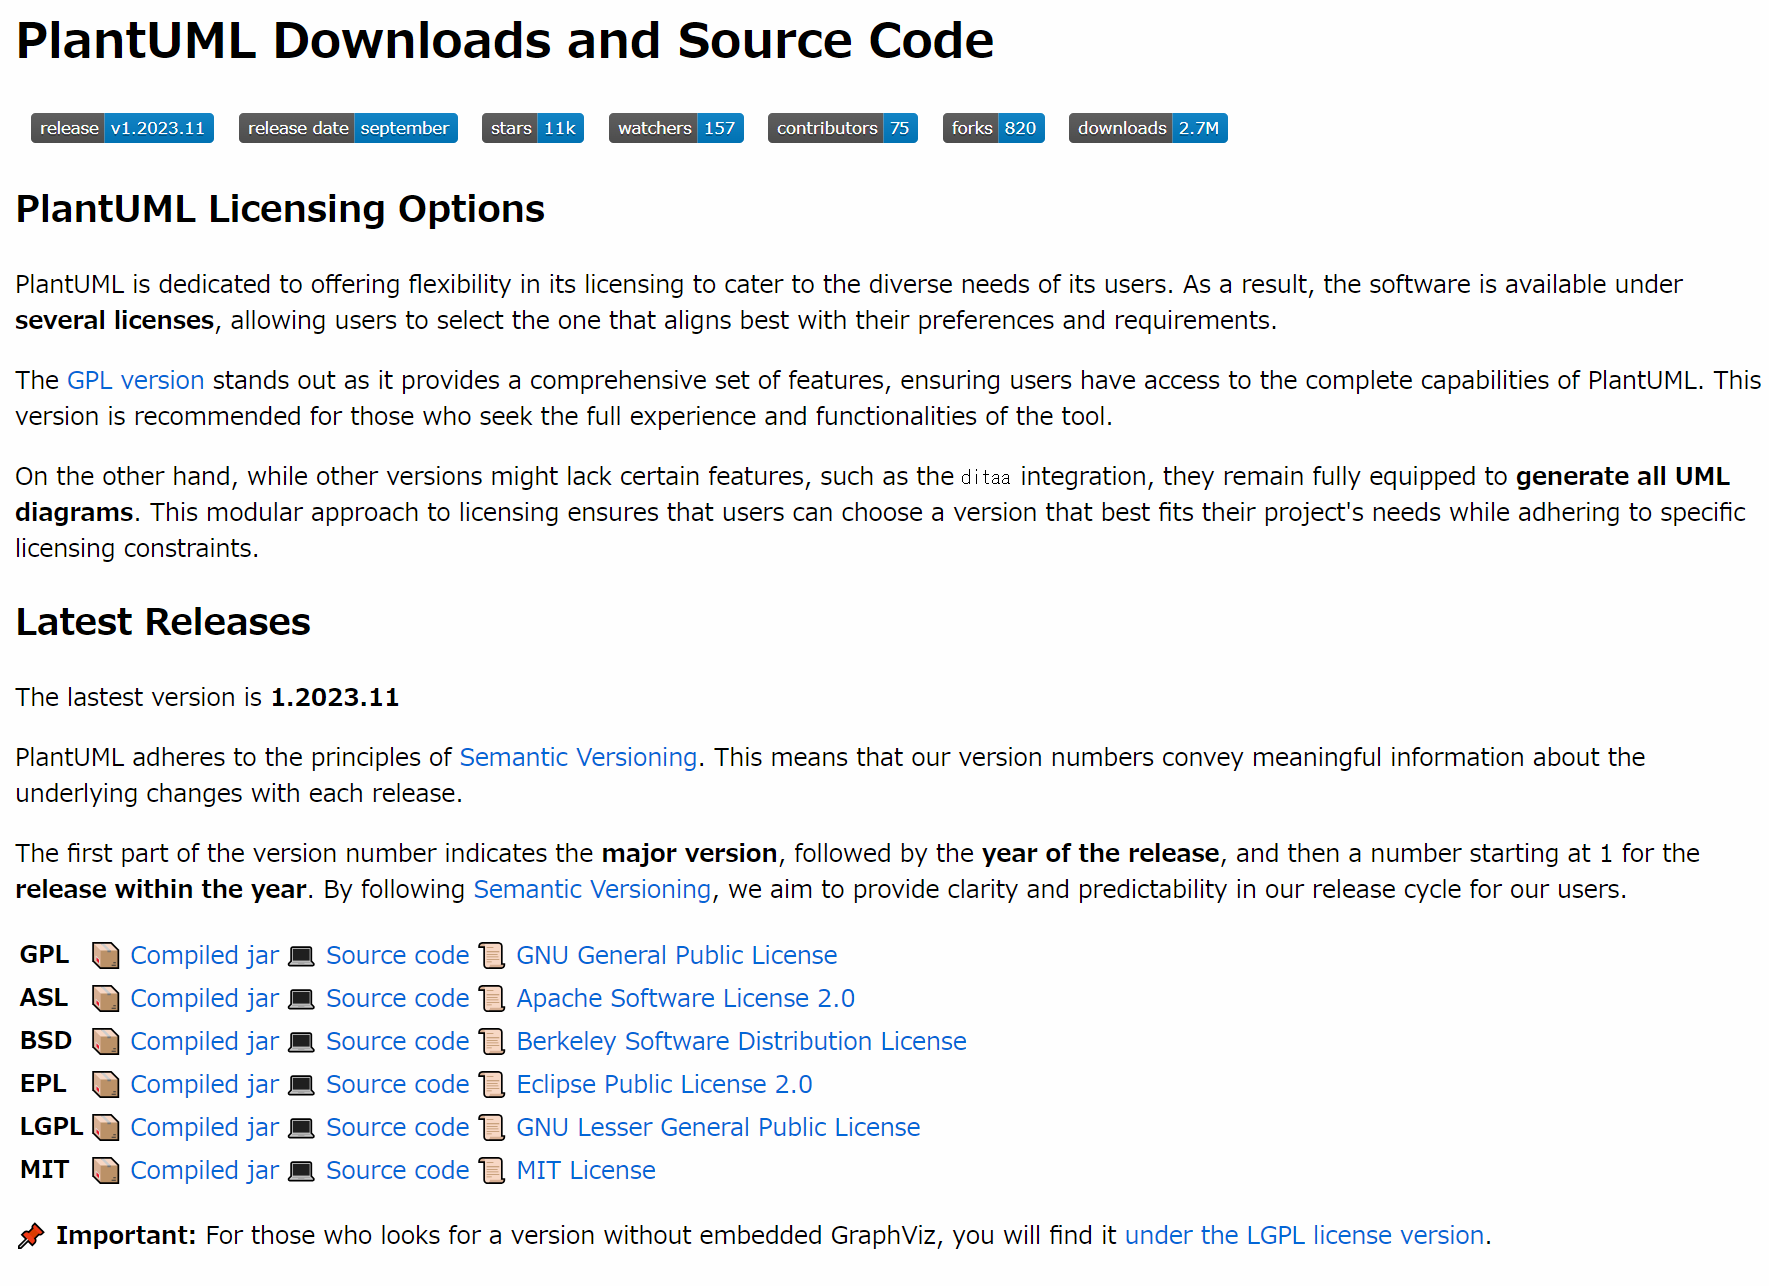
https://github.com/plantuml/plantuml/releases から過去バージョンをダウンロードすることもできます。

ローカルに適宜にファイルを配置し、絶対パスを控えておきます。
settings.json
VSCodeのコマンドパレットを開きます。
「settings json」などを入力して、Preference: Open User Settings (JSON)を選択します。
JSONファイルが開きましたら、plantuml.jarの絶対パス(適宜にエスケープ)を追記して、保存します。
"markdown-preview-enhanced.plantumlJarPath": "C:\\Users\\aaa\\bbb\\plantuml.jar",

表示されました。
GUI
拡張機能からMarkdown Preview Enhancedのページを開きます。
歯車アイコンをクリックし、Extension Settingsを選択します。
Markdown Preview Enhancedの設定項目一覧が表示されるので、スクロールしてMarkdown-preview-enhanced: Plantuml Jar Pathを探します。
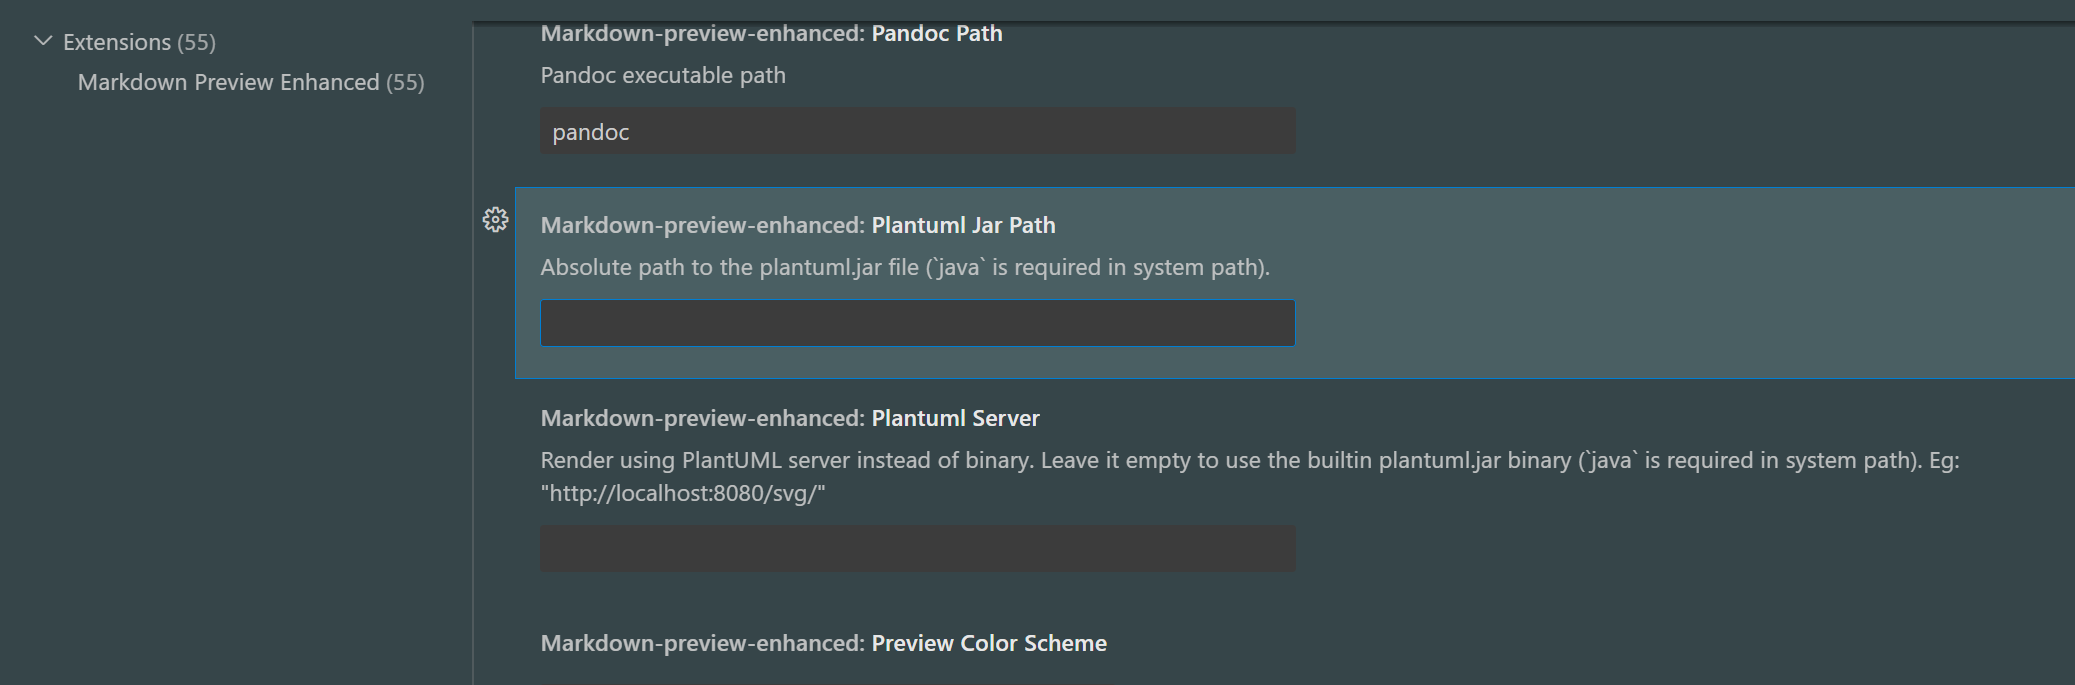
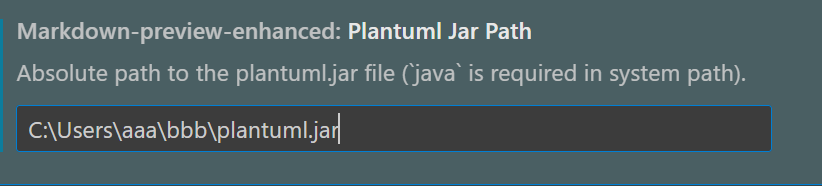
plantuml.jarの絶対パスを記入します。
C:\Users\aaa\bbb\plantuml.jar
表示されました。