はじめに
#このブログはAidemy Premiumのカリキュラムの一環で、受講修了条件を満たすために公開しています
初めてブログを書くため、読みづらい点や、フランクな文章が好きなのでところどころ変な日本語があるかもですがご了承ください。※修了期限の二日前に書いてます。
目次
1.アプリ開発の経緯
2.実行環境
3.フロント開発
4.バックエンド開発
5.動作確認
6.考察・反省
アプリ開発の経緯
Aidemyのアプリ開発講座を受講開始してもうすぐ6ヶ月が経とうとしています。
受講終了に向けてブログを作成すると共に、簡単にこれからAidemyを受講しようか迷っている方、すでに受講しているけどどうしたら良いかわからない方などに少しでもお役に立てたら嬉しいです。
実行環境
・VS Code
・Google Cloablatory
・ターミナル(M1 mac)
フロント開発
HTMLとCSSについて
「Flask入門のためのHTML&CSS」の講座を参考にしました。
<!DOCTYPE html>
<html lang="ja">
<head>
<meta charset="UTF-8">
<meta name="viewport" content="width=device-width, initial-scale=1.0">
<meta http-equiv="X-UA-Compatible" content="ie=edge">
<title>Number Classifier</title>
<link rel="stylesheet" href="./static/stylesheet.css">
</head>
<body>
<header>
<img class="header_img" src="https://aidemyexstorage.blob.core.windows.net/aidemycontents/1621500180546399.png" alt="Aidemy">
<a class="header-logo" href="#">Number Classifier</a>
</header>
<div class="main">
<h2> AIが送信された画像をグーチョキパーで識別します</h2>
<p>画像を送信してください</p>
<form method="POST" enctype="multipart/form-data">
<input class="file_choose" type="file" name="file">
<input class="btn" value="submit!" type="submit">
</form>
<div class="answer">{{answer}}</div>
</div>
<footer>
<img class="footer_img" src="https://aidemyexstorage.blob.core.windows.net/aidemycontents/1621500180546399.png" alt="Aidemy">
<small>© 2019 Aidemy, inc.</small>
</footer>
</body>
</html>
header {
    background-color: #76B55B;
    height: 60px;
    margin: -8px;
    display: flex;
    flex-direction: row-reverse;
    justify-content: space-between;
}

.header-logo {
    color: #fff;
    font-size: 25px;
    margin: 15px 25px;
}

.header_img {
    height: 25px;
    margin: 15px 25px;
}

.main {
    height: 370px;
}

h2 {
    color: #444444;
    margin: 90px 0px;
    text-align: center;
}

p {
    color: #444444;
    margin: 70px 0px 30px 0px;
    text-align: center;
}

.answer {
    color: #444444;
    margin: 70px 0px 30px 0px;
    text-align: center;
}

form {
    text-align: center;
}

footer {
    background-color: #F7F7F7;
    height: 110px;
    margin: -8px;
    position: relative;
}

.footer_img {
    height: 25px;
    margin: 15px 25px;
}

small {
    margin: 15px 25px;
    position: absolute;
    left: 0;
    bottom: 0;
}
バックエンド開発
CNNモデルを作成し、実際に学習させていきます。
学習するための画像は全てkaggleにて収集して、GoogleDrive上に保存し、学習はGoogle Cloablatoryにて行いました。まず、データを分割していきます。
import os
import cv2
import numpy as np
import matplotlib.pyplot as plt
from tensorflow.keras.utils import to_categorical
from tensorflow.keras.layers import Dense, Dropout, Flatten, Input
from tensorflow.keras.applications.vgg16 import VGG16
from tensorflow.keras.models import Model, Sequential
from tensorflow.keras import optimizers
from google.colab import files

# ファイルパスの指定。
path_rock = os.listdir('/content/drive/MyDrive/seikabutu/image/0_rock')
path_scissors = os.listdir('/content/drive/MyDrive/seikabutu/image/1_scissors')
path_paper = os.listdir('/content/drive/MyDrive/seikabutu/image/2_paper')

img_rock = []
img_scissors = []
img_paper = []

for i in range(len(path_rock)):
  img = cv2.imread('/content/drive/MyDrive/seikabutu/image/0_rock/' + path_rock[i])
  #print('/content/drive/MyDrive/seikabutu/image/0_rock' + path_rock[i])
  b,g,r = cv2.split(img)
  img = cv2.merge([r,g,b])
  img = cv2.resize(img, (50,50))
  img_rock.append(img)


for i in range(len(path_scissors)):
    img = cv2.imread('/content/drive/MyDrive/seikabutu/image/1_scissors/' + path_scissors[i])
    b,g,r = cv2.split(img)
    img = cv2.merge([r,g,b])
    img = cv2.resize(img, (50,50))
    img_scissors.append(img)

for i in range(len(path_paper)):
    img = cv2.imread('/content/drive/MyDrive/seikabutu/image/2_paper/' + path_paper[i])
    b,g,r = cv2.split(img)
    img = cv2.merge([r,g,b])
    img = cv2.resize(img, (50,50))
    img_paper.append(img)

X = np.array(img_rock + img_scissors + img_paper)
y =  np.array([0]*len(img_rock) + [1]*len(img_scissors) + [2]*len(img_paper))

rand_index = np.random.permutation(np.arange(len(X)))
X = X[rand_index]
y = y[rand_index]

# データの分割
X_train = X[:int(len(X)*0.8)]
y_train = y[:int(len(y)*0.8)]
X_test = X[int(len(X)*0.8):]
y_test = y[int(len(y)*0.8):]

# 正解ラベルをone-hotの形にします
y_train = to_categorical(y_train)
y_test = to_categorical(y_test)
分割し終えたら、今度は転移学習をしていきます。
転移学習にはVGG16を使いました。
# モデルにvggを使います
input_tensor = Input(shape=(50, 50, 3))
vgg16 = VGG16(include_top=False, weights='imagenet', input_tensor=input_tensor)

# vggのoutputを受け取り、3クラス分類する層を定義します
# その際中間層を下のようにいくつか入れると精度が上がります
top_model = Sequential()
top_model.add(Flatten(input_shape=vgg16.output_shape[1:]))
top_model.add(Dense(256, activation='relu'))
top_model.add(Dropout(0.5))
top_model.add(Dense(3, activation='softmax'))

# vggと、top_modelを連結します
model = Model(vgg16.inputs, top_model(vgg16.output))

# vggの層の重みを変更不能にします
for layer in model.layers[:19]:
    layer.trainable = False

# コンパイルします
model.compile(loss='categorical_crossentropy',
              optimizer=optimizers.SGD(lr=1e-4, momentum=0.9),
              metrics=['accuracy'])

# 学習を行います
history = model.fit(X_train, y_train, batch_size=100, epochs=10, validation_data=(X_test, y_test))

# 画像を一枚受け取り、グーチョキパーを判定する関数
def rock(img):
    img = cv2.resize(img, (50, 50))
    pred = np.argmax(model.predict(np.array([img])))
    if pred == 0:
        return 'rock'
    elif pred == 1:
        return 'scissors'
    else:
        return 'paper'


# 精度の評価
scores = model.evaluate(X_test, y_test, verbose=1)
print('Test loss:', scores[0])
print('Test accuracy:', scores[1])

#--- 学習状況の表示
# 学習の経過を出力
print("Train Accuracy per epoch:", history.history['accuracy'])
print("Validation Accuracy per epoch:", history.history['val_accuracy'])
print("Train Loss per epoch:", history.history['loss'])
print("Validation Loss per epoch:", history.history['val_loss'])


# 学習の経過を出力・プロット
plt.figure(figsize=(12, 4))

# accuracy
plt.subplot(1, 2, 1)
plt.plot(history.history['accuracy'], label='Train Accuracy')
plt.plot(history.history['val_accuracy'], label='Validation Accuracy')
plt.legend()
plt.title('Epoch vs Accuracy')
plt.xlabel('Epochs')
plt.ylabel('Accuracy')

# loss
plt.subplot(1, 2, 2)
plt.plot(history.history['loss'], label='Train Loss')
plt.plot(history.history['val_loss'], label='Validation Loss')
plt.legend()
plt.title('Epoch vs Loss')
plt.xlabel('Epochs')
plt.ylabel('Loss')

plt.tight_layout()
plt.show()

#resultsディレクトリを作成
result_dir = 'results'
if not os.path.exists(result_dir):
    os.mkdir(result_dir)

#モデルを保存。
model.save(os.path.join(result_dir, 'model.h5'))

files.download( '/content/results/model.h5' )
動作確認
実際に作ったアプリで動作確認をしてみます。

Aidemyの修了ブログにてよく見るサイト...
この画像で試してみます。
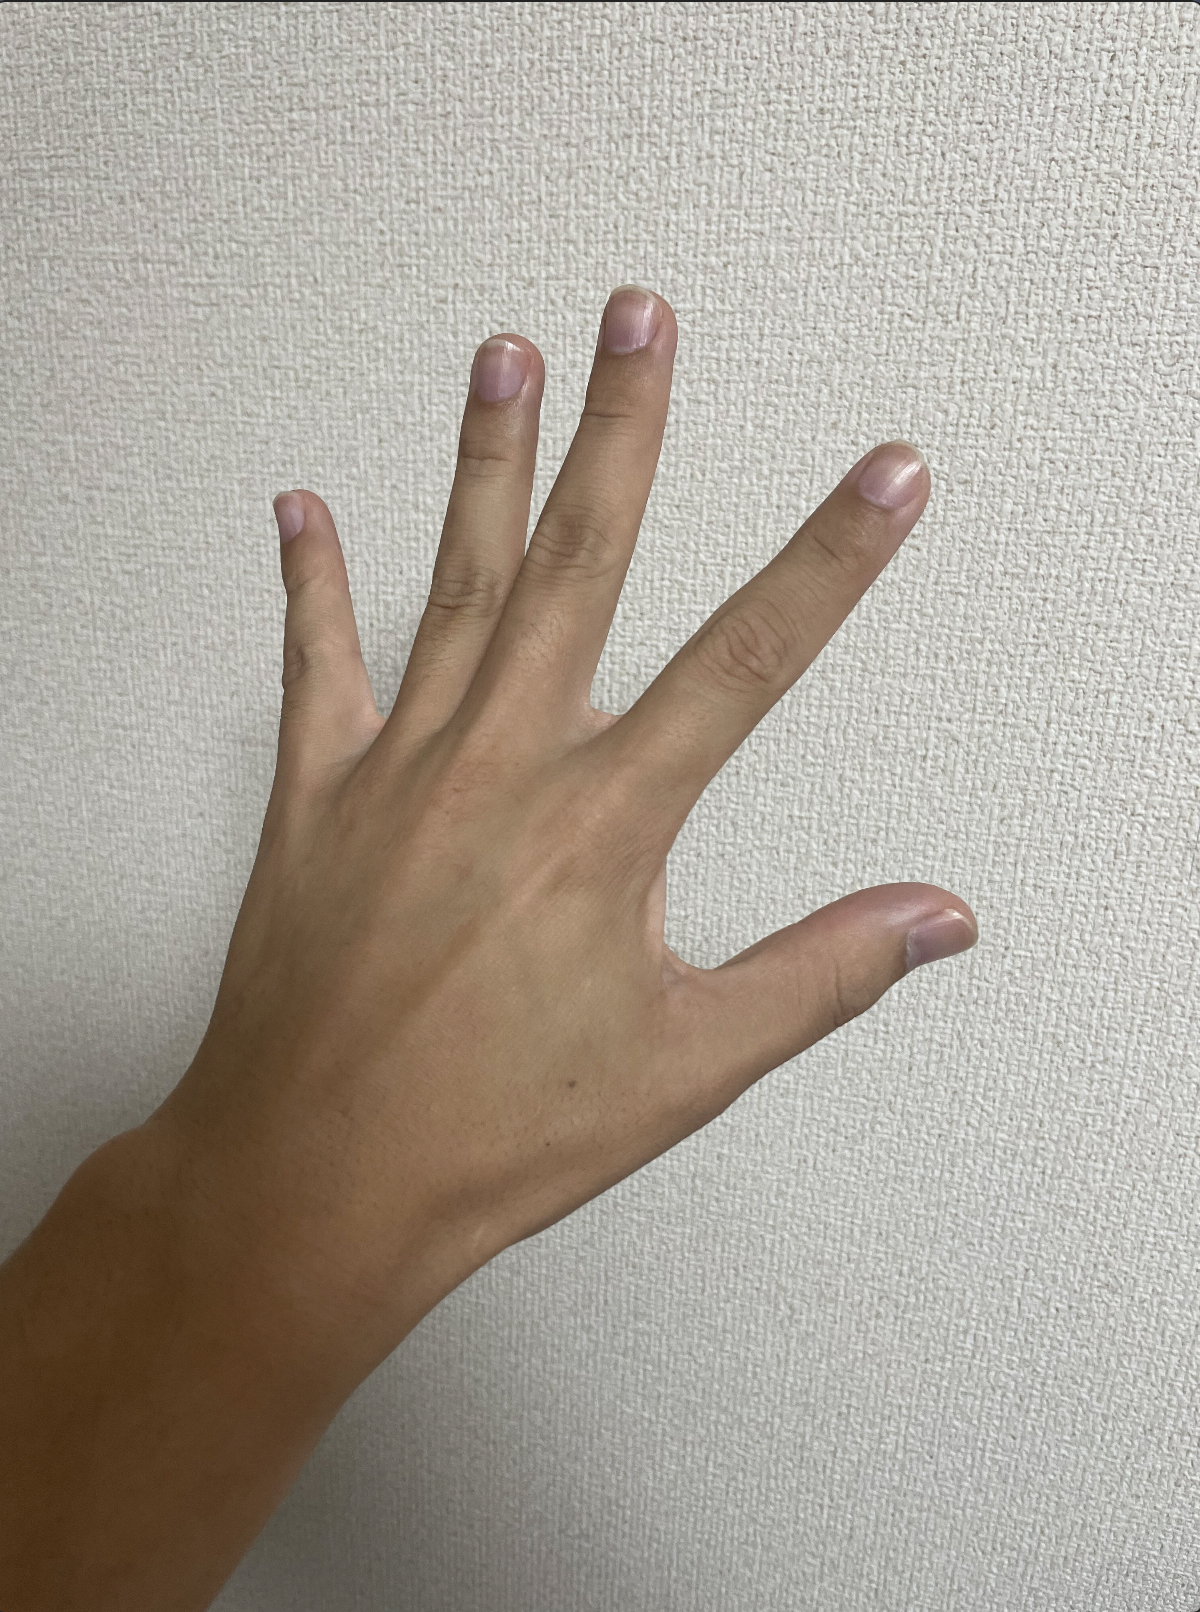
頼むから、動いてくれよ?
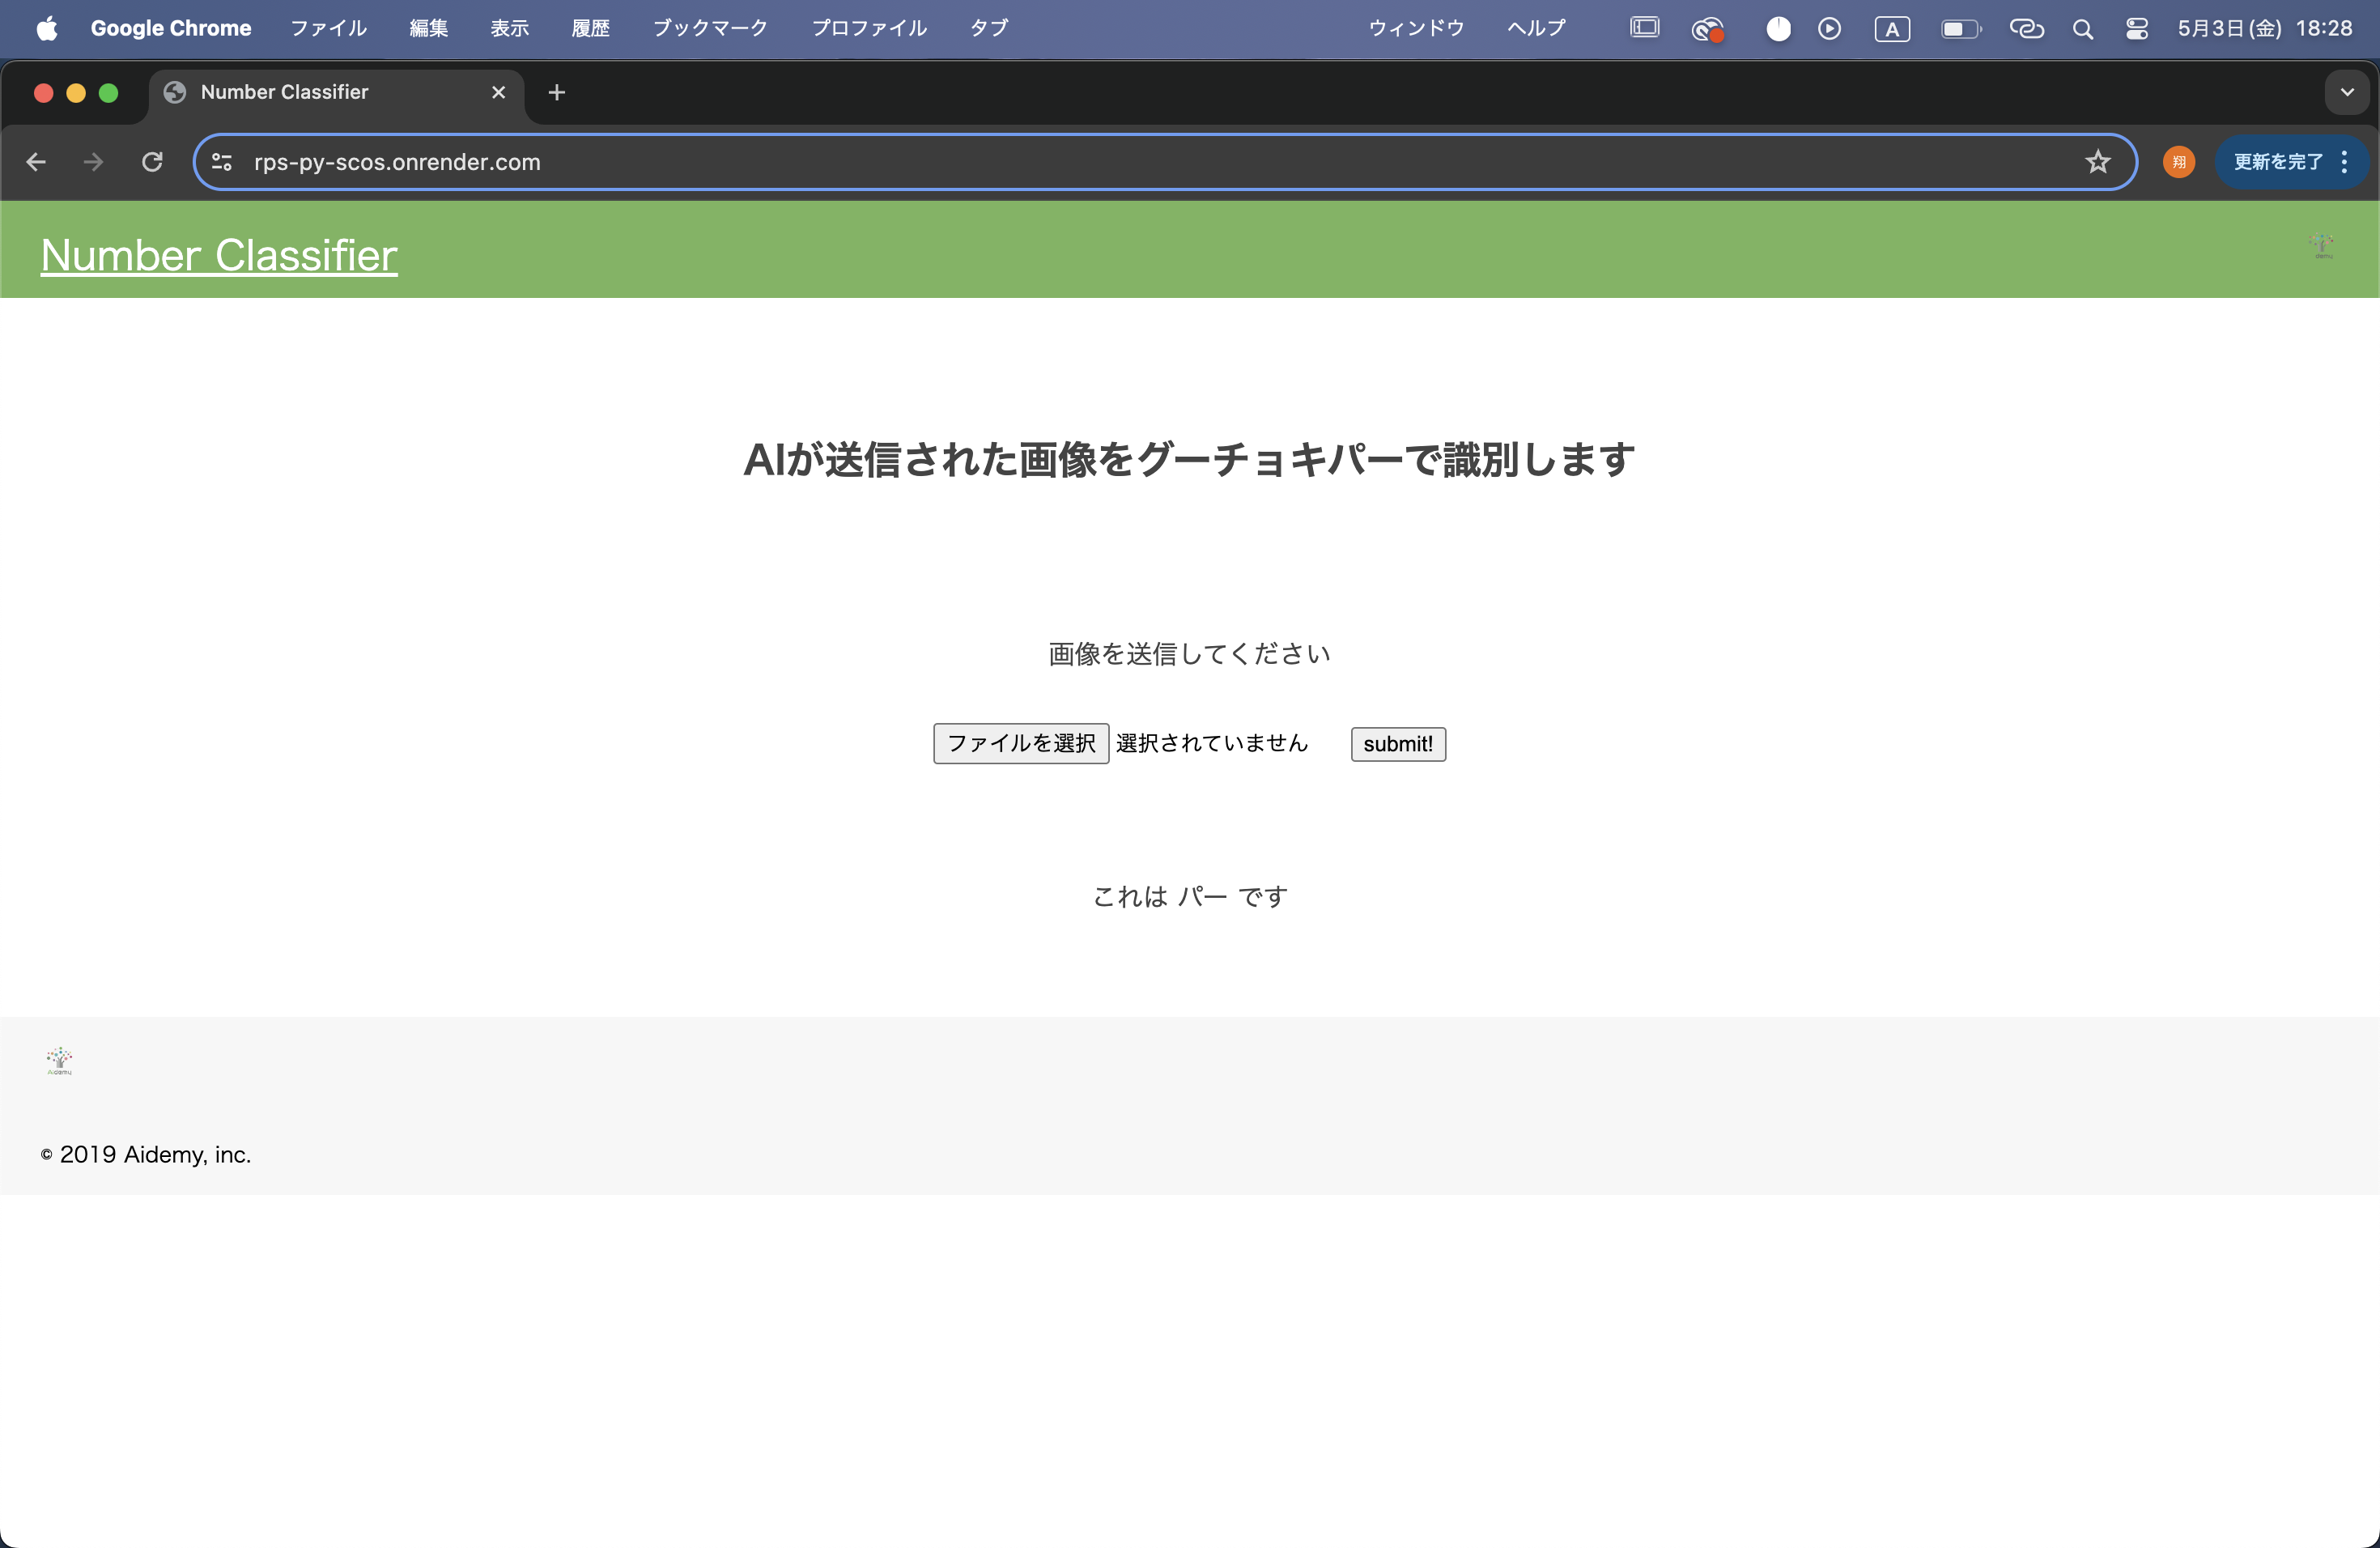
よ、良かった...動いた...。
反省
今回のアプリ開発において受講期間の都合上、せっかく学んだのに色々と試すことが出来ず「もっとこうしたら良いのでは?」といった試行錯誤が出来ずに終わってしまった。学習した内容を忘れずに、またこれからも学習を続けていきたいです!
おわりに
最後に今回Aidemyを受講してみた感想ですが。
・チューターさんに頼りましょう。(このチューターさんは苦手かもって思っても、色んなチューターさんがいらっしゃいますので安心)
・添削課題は難しいと感じるところがあっても、繰り返しやっていれば何とかなります。(ならなければチュータ−さんに...)
・なるべく修了期限までに余裕を持って取り組む方が良いです。(当たり前ですが、アプリ開発とかは早ければ早い方が面白いの作れそうです。)
以上にてこのブログを締め括らせていただきます。
ぜひ、これから受講される方・現在受講されている方で進捗具合に不安のある方(ちなみに私はかなり不安がありましたが、何とかなりました笑)にとって参考になれば嬉しいです。