はじめに
こんにちは、SmartHR Advent Calendar 9日目の @aomoriringo です。
みなさん、E2E テストしてますか? (ここで言う E2E テストは、ブラウザを介したテストのことを言っています)
E2E テストって、テストが失敗したときの原因を突き詰めるまでが結構大変なことがあります。この原因究明の時間を短縮するため、レポートの出力や失敗のスクリーンショット・動画撮影などの環境があるととても便利です。
この記事では、 Selenium + RSpec + Google Chrome + CircleCI という環境で回っている自動テストに Allure Framework (以下 Allure) を導入し、さらに失敗時のスクリーンショットが見られる環境を作る方法を具体的に書いていこうと思います。
Allure の導入
まず、皆さんお手元に Selenium + RSpec + Google Chrome の E2E テスト が CircleCI で動く環境をご用意ください。
Allure の Documentation には、環境ごとの設定方法が詳しく記されています。
今回は RSpec の項目を参考に導入をしましょう。
私の環境の場合手を加えたのは Gemfile, spec/helpers/capybara.rb, spec/spec_helper.rb の3ファイルでした。
以下は Allure 自体の設定に加えて、テスト失敗時にスクリーンショットを取得して Allure に紐づける設定をしている例です。
# Gemfile

gem 'allure-rspec'
gem 'rspec_junit_formatter'
gem 'capybara-screenshot'
# spec/helpers/capybara.rb

Capybara.configure do |config|
  (省略)
  config.save_path = 'tmp/screenshots'
end

(省略)

Capybara::Screenshot.register_driver :chrome do |driver, path|
  driver.browser.save_screenshot(path)
end
# spec/spec_helper.rb

require 'capybara-screenshot/rspec'
require 'allure-rspec'
require 'rspec/retry'

(省略)

RSpec.configure do |config|
  (省略)
  config.after do |example|
    if example.exception
      # テストが失敗したらスクリーンショットを取得し、 Allure に紐付ける
      Capybara::Screenshot::RSpec.after_failed_example(example)
      puts example.metadata[:screenshot][:image]
      Allure.add_attachment(
        name: 'Screenshot on Failed Timing',
        source: File.open(example.metadata[:screenshot][:image]),
        type: Allure::ContentType::PNG,
        test_case: true
      )
    end
  end
end
この設定を行うことで、以下のようにして RSpec を実行することで Allure のレポートを出力することができます。
$ bundle exec rspec --format AllureRspecFormatter
$ allure serve reports/allure-results
デフォルトだと reports/allure-results ディレクトリにレポートの json ファイルが生成されるので、allure serve コマンドを使うことでレポートを HTML ファイルとして見ることができます。
Allure を CircleCI で動くようにする
次に、Allure レポートを CircleCI 上で生成し、 artifacts で見られるようにしましょう。
ローカルでは allure serve で HTML ファイルを配信するサーバをたてることができるのですが、 artifacts に置く場合は serve は必要なく、かわりにレポートの json ファイルを元に HTML ファイルを生成する必要があり、これは allure generate コマンドでできます。
# .circleci/config.yml より一部抜粋

commands:
  build-and-run:
    steps:
      - (省略)
      # allure コマンドを使用するために Java をインストール
      - run:
          name: install Java
          command: |
            sudo apt update
            sudo apt install default-jre
      # allure コマンドをインストール
      - allure/install
      # RSpec を実行
      - run:
          name: run tests
          command: |
            bundle exec rspec \
            --format progress \
            --format AllureRspecFormatter
          environment:
            HEADLESS_MODE: true
            LANG: ja_JP.UTF-8
      - store_test_results:
          path: reports
      # スクリーンショットを artifact に保存
      - store_artifacts:
          path: tmp/screenshots
      # しっかりわかっていないのですが、このディレクトリを削除しないとうまく生成できないことがありました
      - run:
          name: clean Allure report generation path
          command: rm -rf reports/allure-report
      # レポート HTML ファイルを生成
      - run:
          name: Allure report generation
          command: |
            allure generate \
            --report-dir reports/allure-report \
            --clean \
            reports/allure-results
          when: always
      # 生成された HTML ファイルを artifact に保存
      - store_artifacts:
          path: reports/allure-report
          destination: Report/Allure
          when: always
やりましたね
やりましたね。
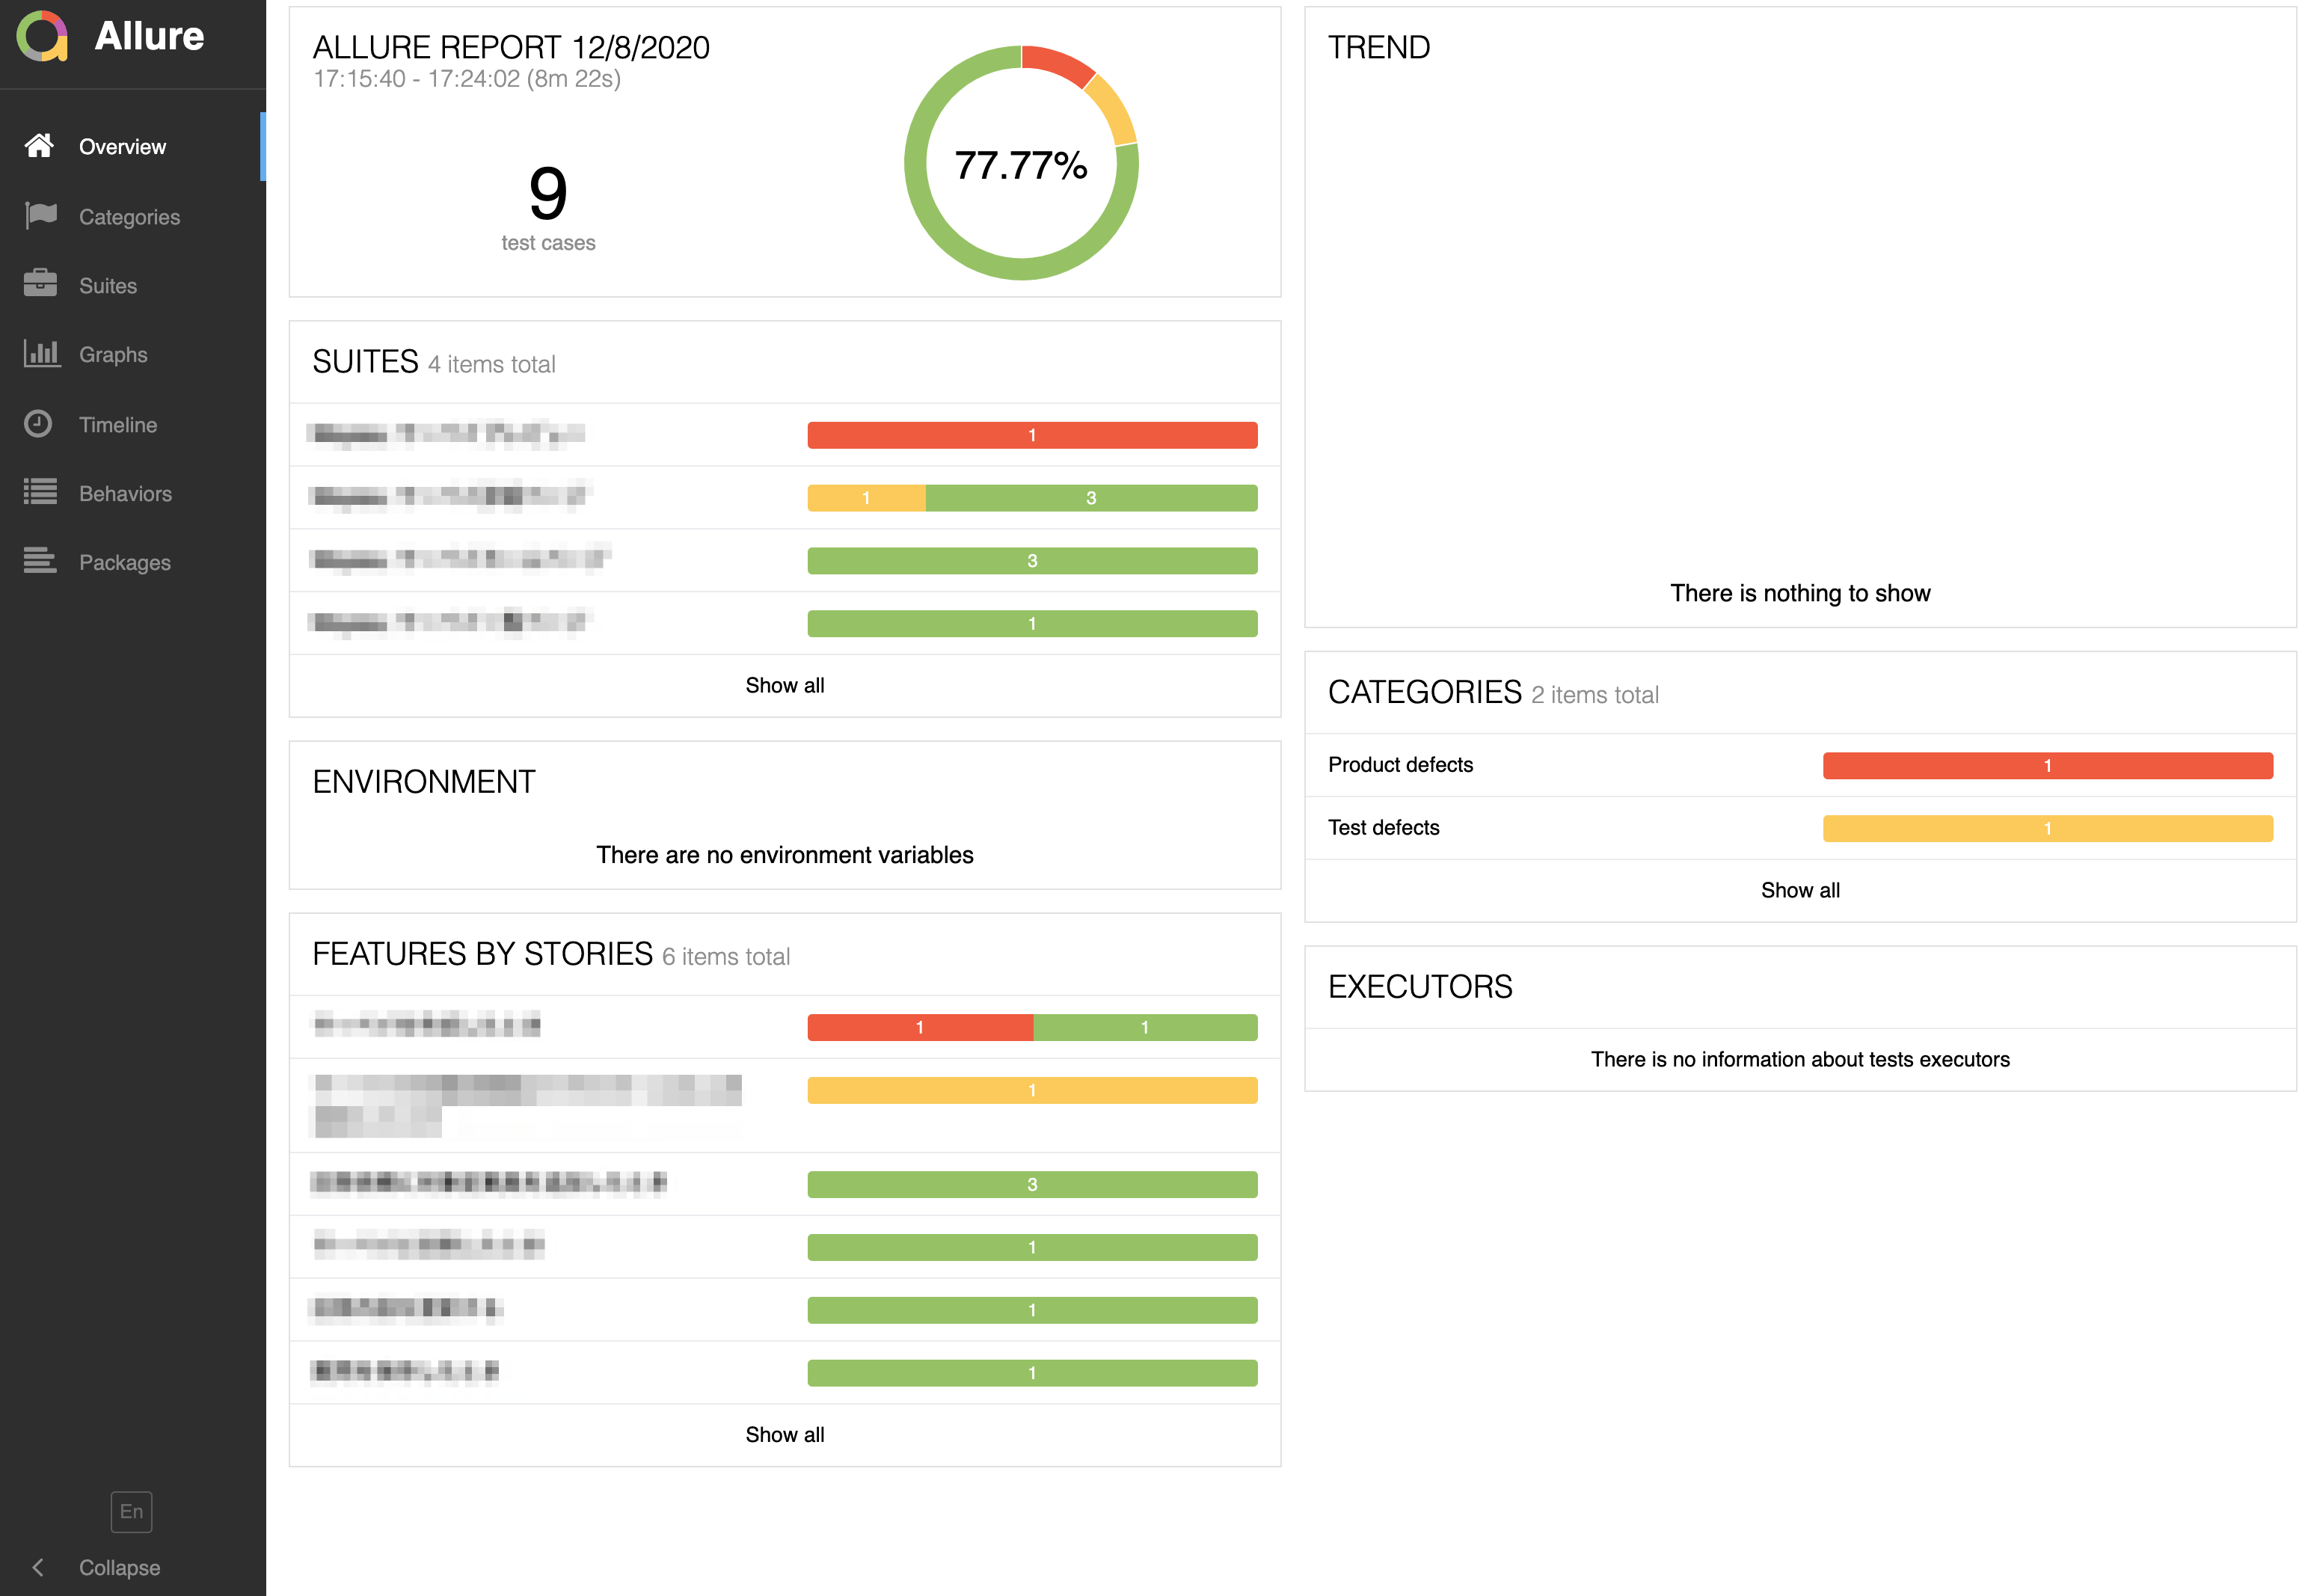
これで Allure で生成されたレポートが CircleCI 上で確認できるようになりました ![]()
しかし、これを運用に載せたところ、早速問題が発生してしまいました。
テストが失敗してアラートが発生すると、 Slack には以下のような通知がされ、 View Job ボタンが CircleCI の Job へのリンクになっています。
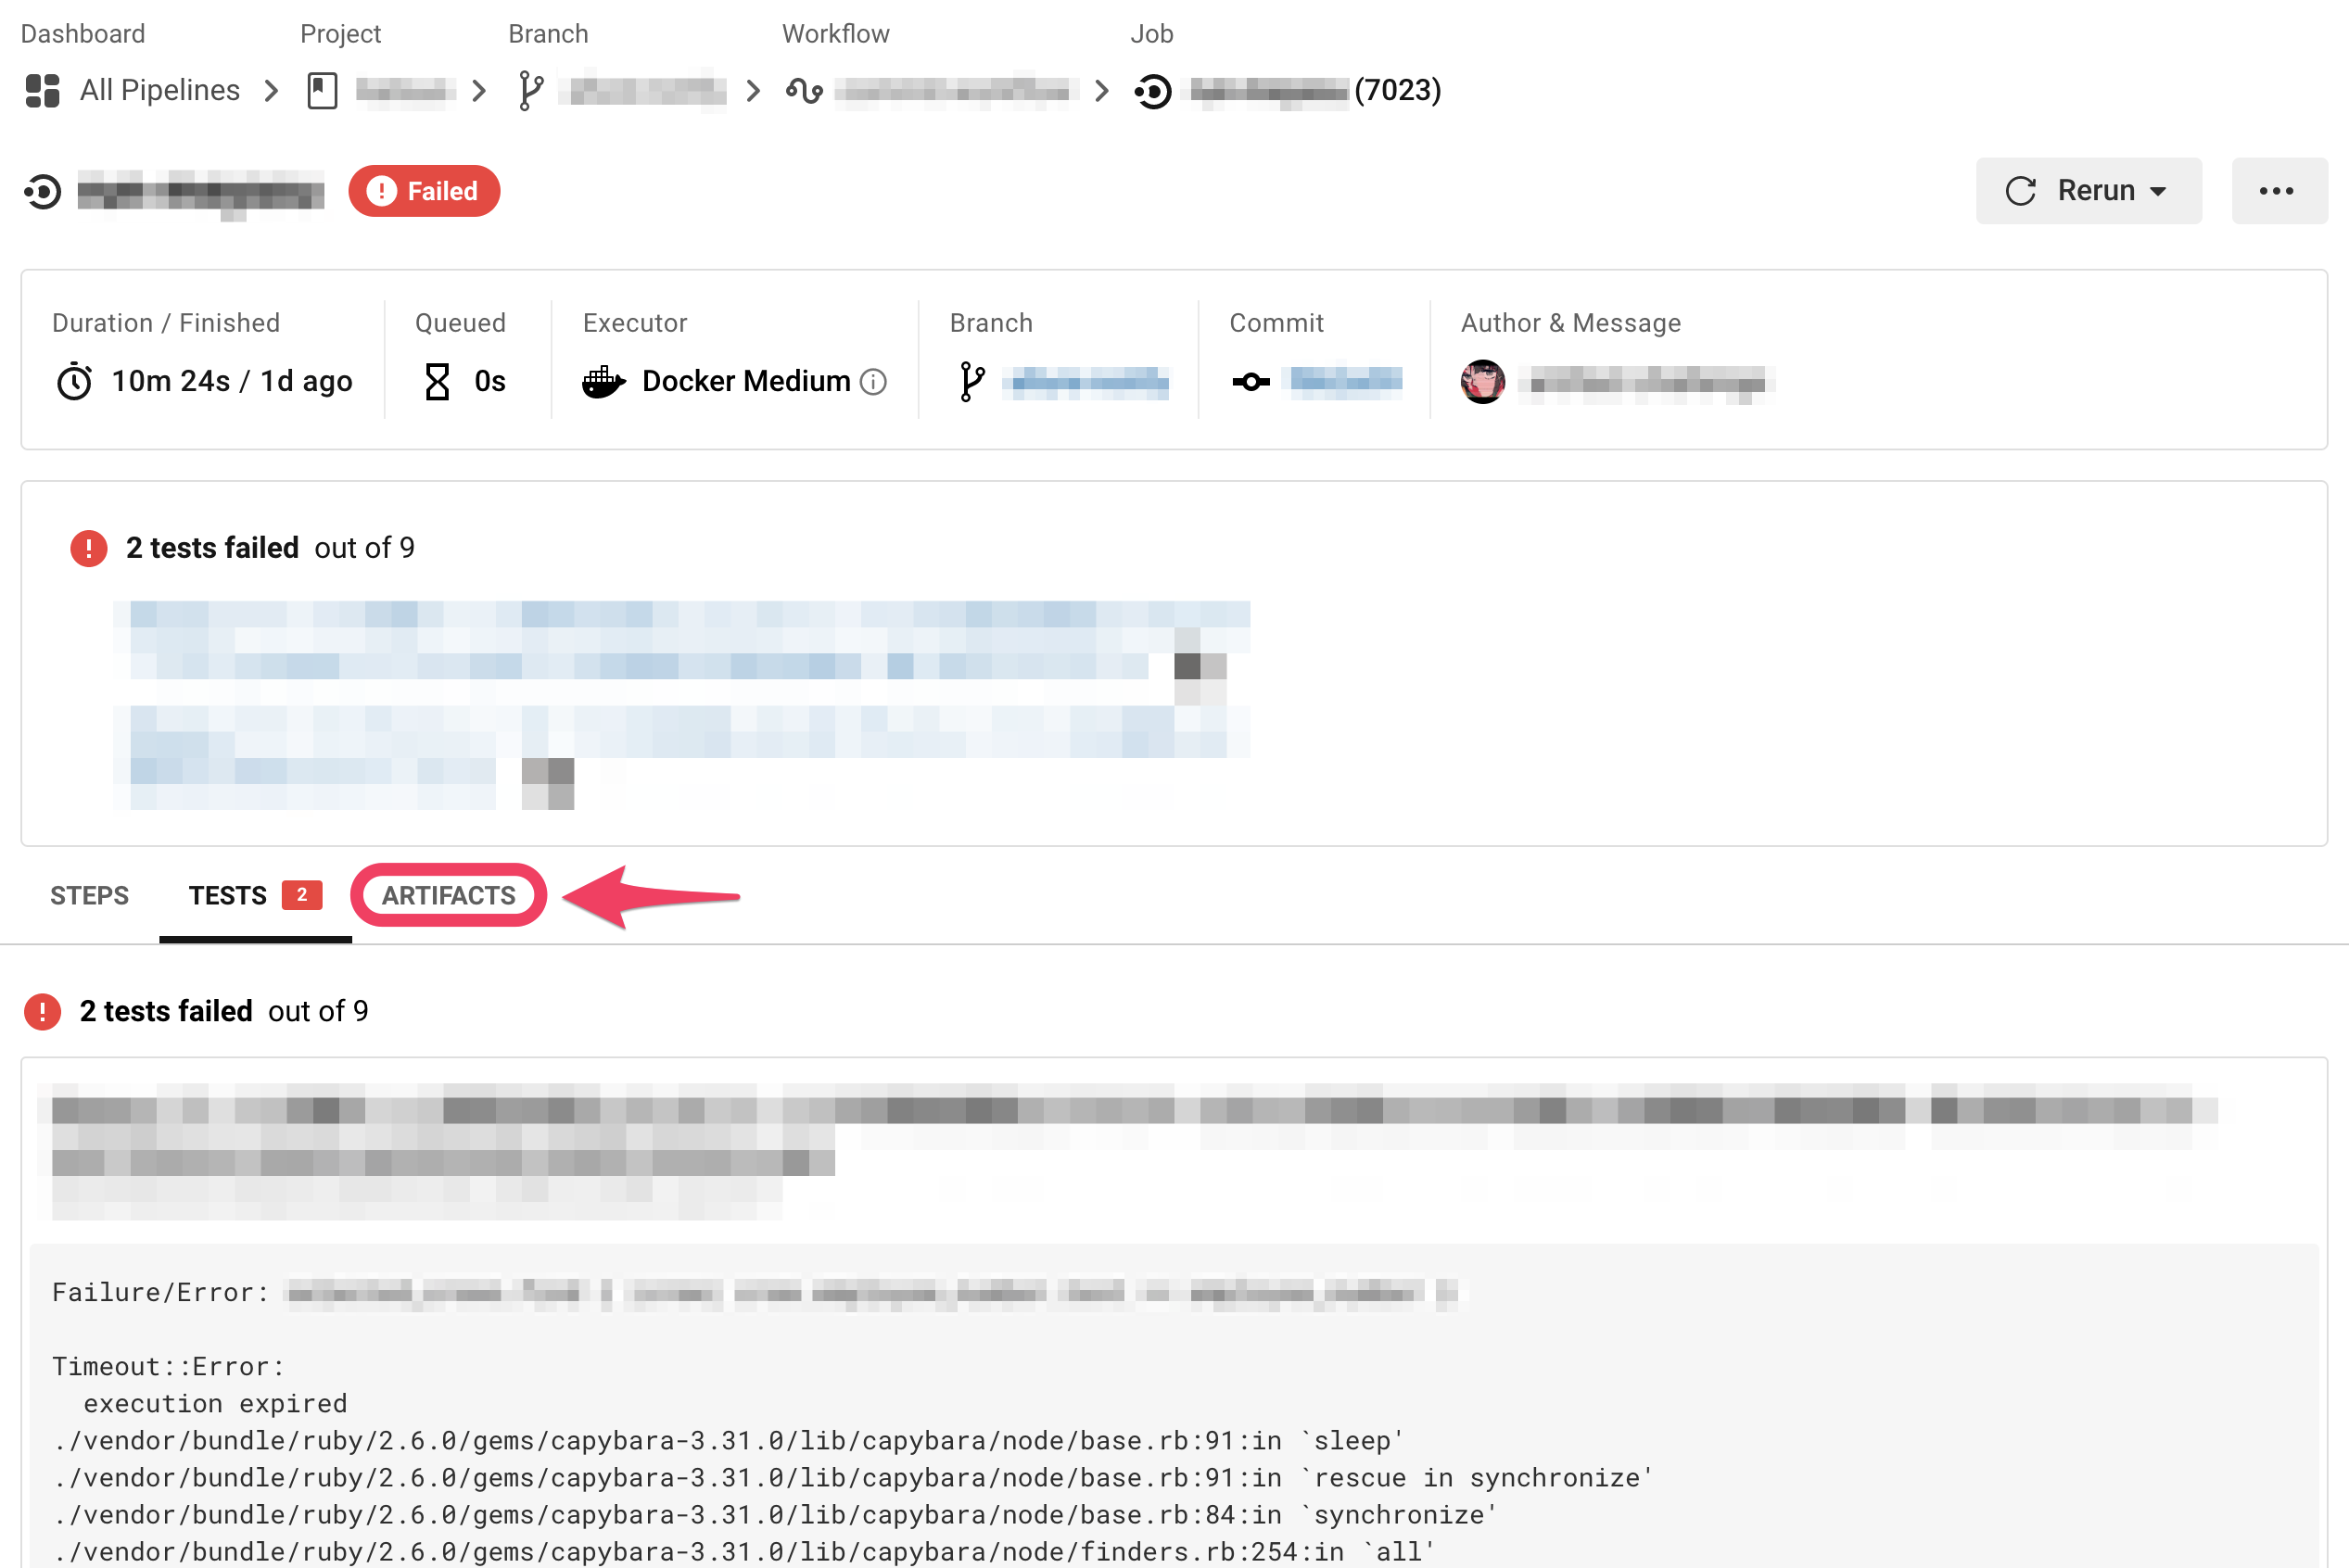
ここから CircleCI の Job のページに飛んで、
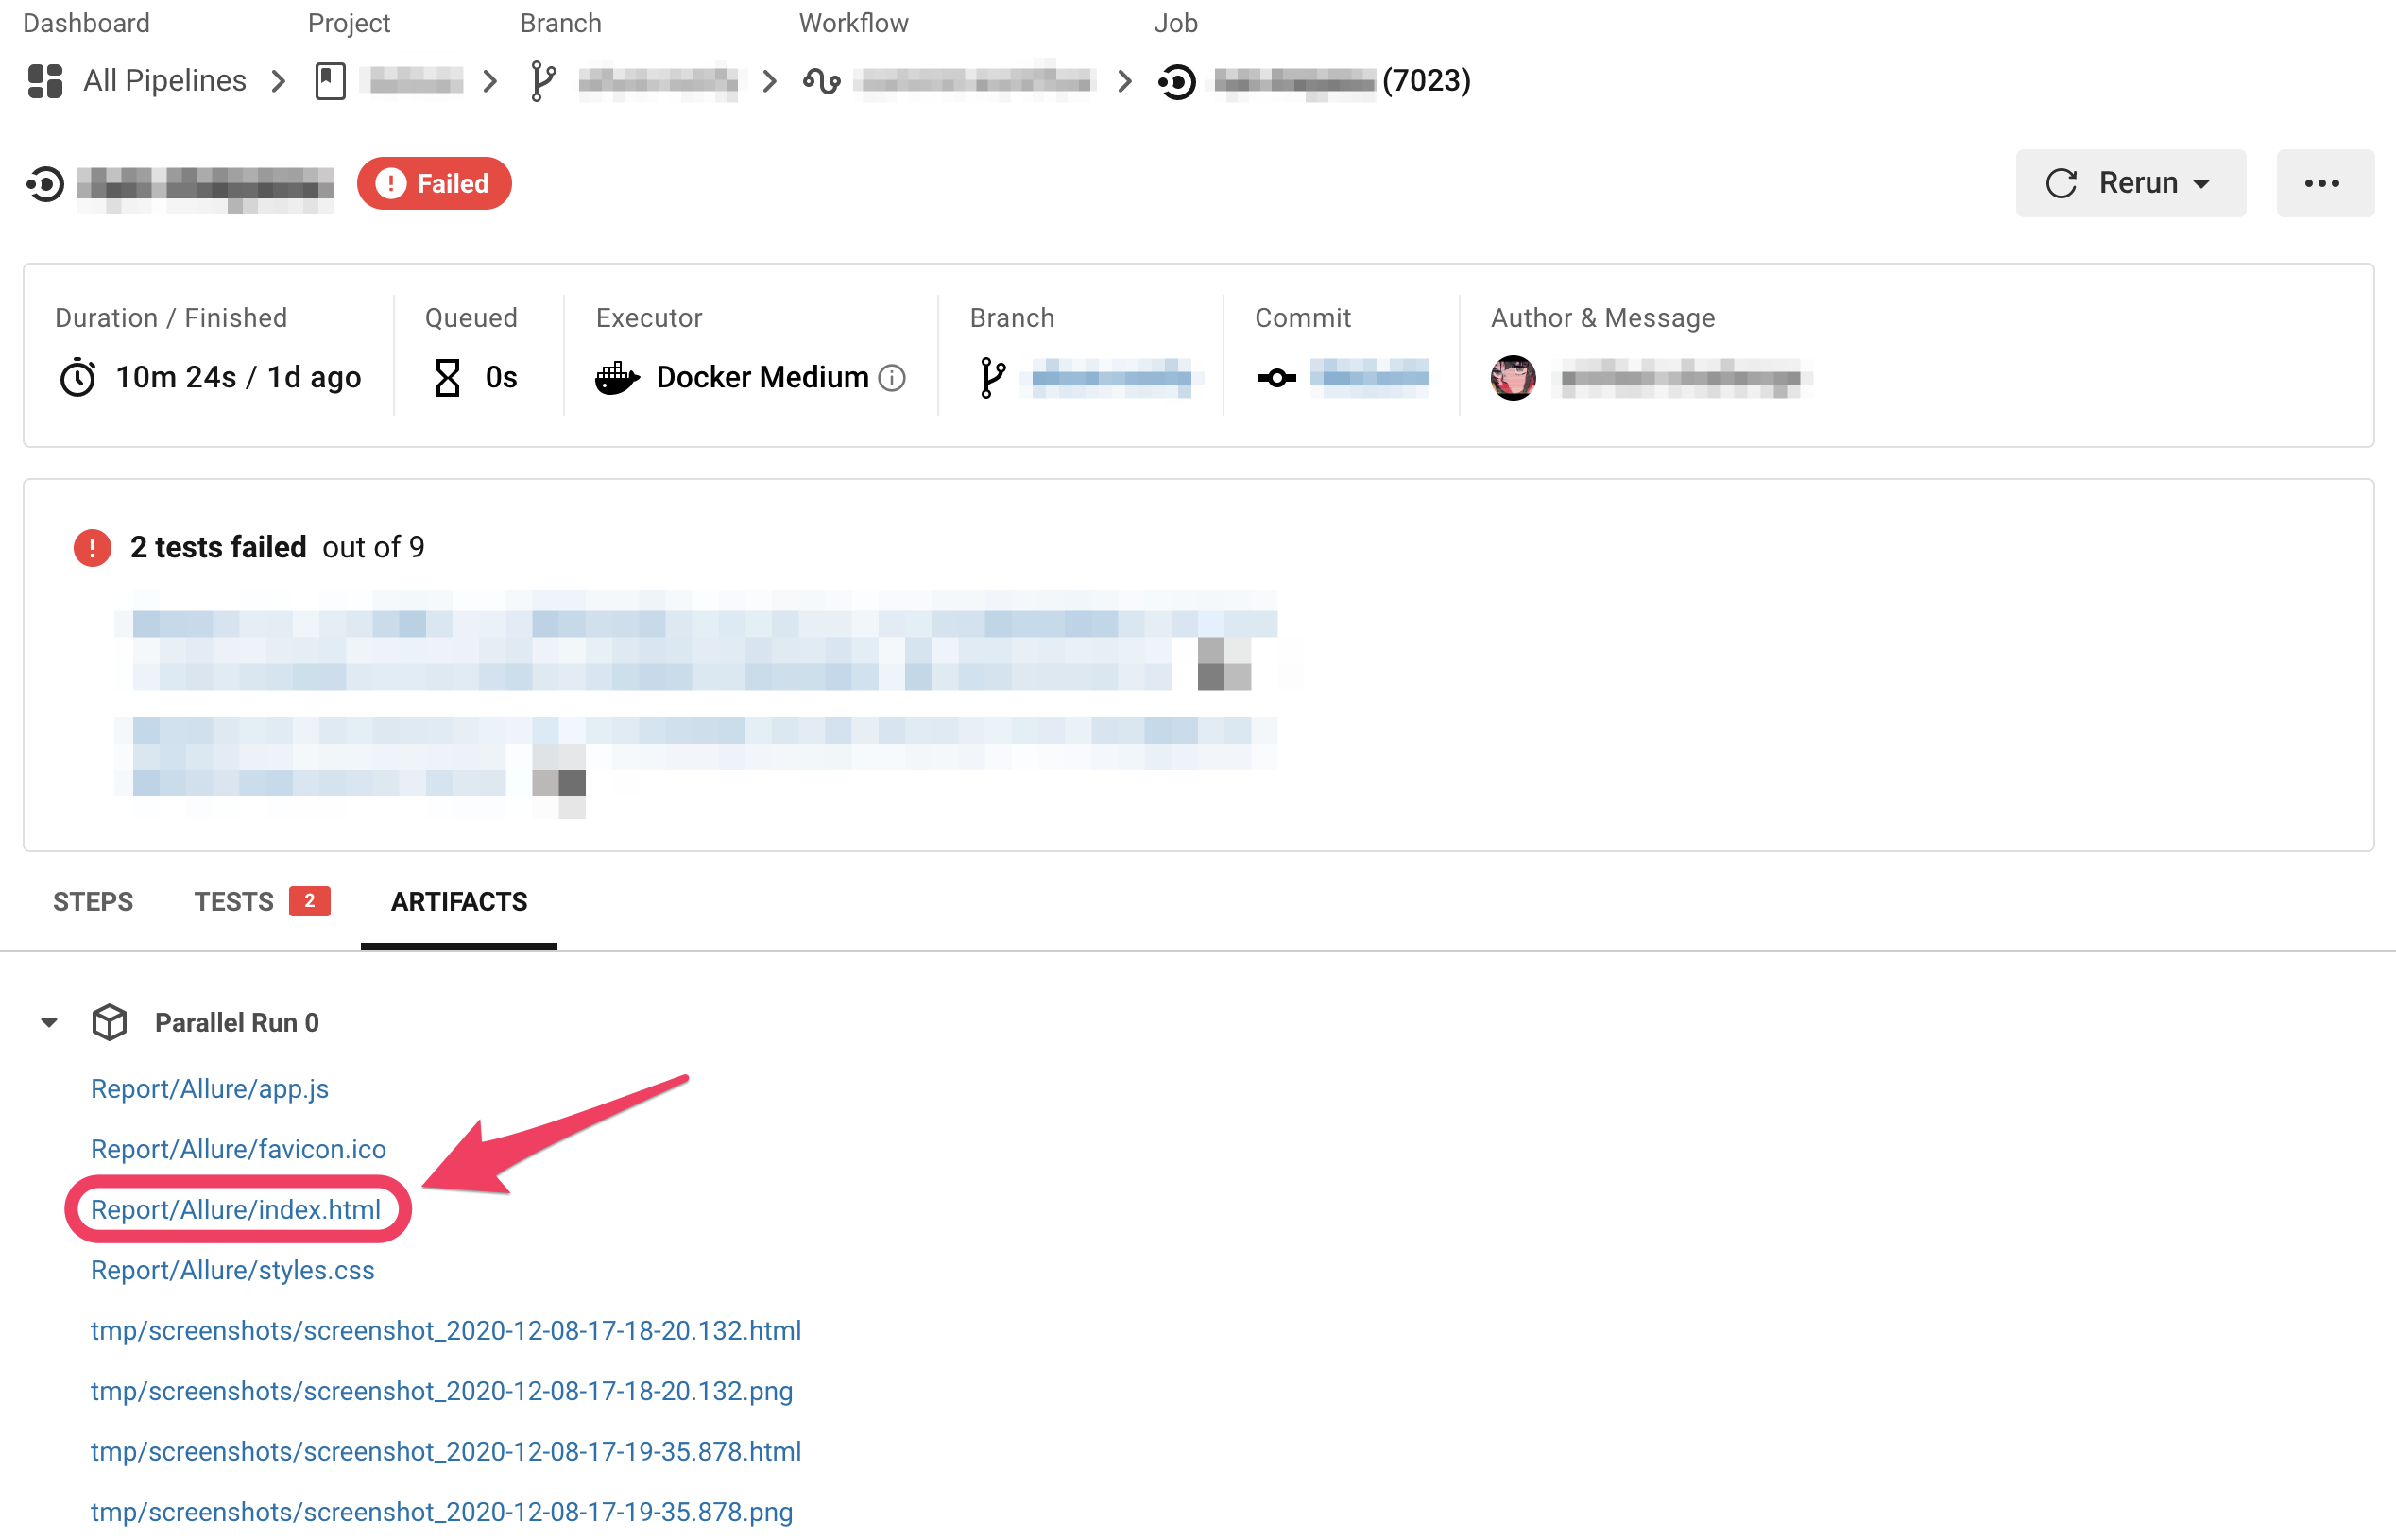
ARTIFACTS タブを選択して、
Report/Allure/index.html を選択すると、
Allure のレポートにたどり着きます。
長い。 この導線、ここまでの話を知らずにいきなり Slack の通知を見た人がたどり着くのはほぼ不可能です。
というわけで、もっとわかりやすくするために、この Allure のレポート URL を Slack 通知に直接貼れるようにしてみましょう。
Slack 通知に Allure レポート URL を入れる
CircleCI の中での Slack 通知は circleci/slack Orb を使うことで割と簡単にできます。
ここに Allure レポートの URL を入れるためには、 Job の中の Artifact 情報を取得する必要があります。
Artifact の URL 情報が環境変数から取得できればいいのですが、一覧にはありません。いろいろ試行錯誤したのですが、最終的には CircleCI API v1.1 を使うことにしました。
以下のように、 artifacts を使うことで artifacts 情報一覧を取得することができます。
$ curl -X GET "https://circleci.com/api/v1.1/project/github/aomoriringo/hello-allure/15/artifacts" -u xxxx0e7axxxxa8d0xxxxbb10xxxx8d0fxxxx77d4:
[ {
  "path" : "Report/Allure/app.js",
  "pretty_path" : "Report/Allure/app.js",
  "node_index" : 0,
  "url" : "https://15-240125765-gh.circle-artifacts.com/0/Report/Allure/app.js"
}, {
  "path" : "Report/Allure/favicon.ico",
  "pretty_path" : "Report/Allure/favicon.ico",
  "node_index" : 0,
  "url" : "https://15-240125765-gh.circle-artifacts.com/0/Report/Allure/favicon.ico"
}, {
  "path" : "Report/Allure/index.html",
  "pretty_path" : "Report/Allure/index.html",
  "node_index" : 0,
  "url" : "https://15-240125765-gh.circle-artifacts.com/0/Report/Allure/index.html"
}
(中略)
]
ただし、この API を Allure のレポートデータが Artifacts に保存されたあとに呼び出す必要があります。
以下では、 reports/allure-report 以下に保存されているレポートのファイルを store_artifacts で artifacts に保存し、その後に CircleCI API を使って ALLURE_INDEX_URL という環境変数に Report/Allure/index.html の url 情報を保存しています。
(jq コマンドで値を抜き出しているのですが、 Report/Allure/index.html が今回のやり方だと毎回3番目に位置しているので、.[2]["url"] という脆弱な指定方法に甘んじています...)
こうすると、これ以降の step で ${ALLURE_INDEX_URL} と書くことで Allure の index.html の URL を使うことができます。
- store_artifacts:
    path: reports/allure-report
    destination: Report/Allure
    when: always
- run:
    name: Get allure index URL from artifacts API
    command: |
      artifacts=$(curl -X GET "https://circleci.com/api/v1.1/project/github/kufu/katsuo/${CIRCLE_BUILD_NUM}/artifacts" \
      -u ${CIRCLE_API_TOKEN}:)
      allure_index_url=$(echo ${artifacts} | jq '.[2]["url"]')
      echo "export ALLURE_INDEX_URL=${allure_index_url}" >> $BASH_ENV
    when: always
    environment:
      # Circle CI の Project Settings/API Permissions で作成したトークンを設定
      CIRCLE_API_TOKEN: <YOUR_CIRCLECI_API_TOKEN_STRING>
あとはこれを Slack 通知に混ぜ込むことで、はれて Slack 通知に Allure レポートへのリンクを追加することができました ![]()
![]()
![]()
よかったですね
よかったですね。
最後に、ここまでの設定を全部行った .circleci/config.yml を載せておきます。
version: 2.1
orbs:
  ruby: circleci/ruby@0.2.1
  browser-tools: circleci/browser-tools@0.1.4
  allure: ayte/allure@0.1.3
  slack: circleci/slack@4.1.3

commands:
  build-and-run:
    description: E2Eに必要な環境を構築し、実行する
    steps:
      - run:
          name: set timezone
          command: |
            sudo ln -fs /usr/share/zoneinfo/Asia/Tokyo /etc/localtime &&
            sudo dpkg-reconfigure -f noninteractive tzdata
      - checkout
      - browser-tools/install-chrome
      - run:
          # for Allure Framework
          name: install Java
          command: |
            sudo apt update
            sudo apt install default-jre
      - run:
          name: install japanese font
          command: |
            sudo apt install fonts-migmix
      - allure/install
      - ruby/install-deps
      - run:
          name: run tests
          command: |
            bundle exec rspec \
            --format progress \
            --format AllureRspecFormatter \
            --format RspecJunitFormatter -o reports/junit.xml
          environment:
            HEADLESS_MODE: true
            LANG: ja_JP.UTF-8
      - store_test_results:
          path: reports
      - store_artifacts:
          path: tmp/screenshots
      - run:
          name: clean Allure report generation path
          command: rm -rf reports/allure-report
      - run:
          name: Allure report generation
          command: |
            allure generate \
            --report-dir reports/allure-report \
            --clean \
            reports/allure-results
          when: always
      - store_artifacts:
          path: reports/allure-report
          destination: Report/Allure
          when: always
      - run:
          name: Get allure index URL from artifacts API
          command: |
            artifacts=$(curl -X GET "https://circleci.com/api/v1.1/project/github/kufu/katsuo/${CIRCLE_BUILD_NUM}/artifacts" \
            -u ${CIRCLE_API_TOKEN}:)
            allure_index_url=$(echo ${artifacts} | jq '.[2]["url"]')
            echo "export ALLURE_INDEX_URL=${allure_index_url}" >> $BASH_ENV
          when: always
          environment:
            # Circle CI の Project Settings/API Permissions で作成したトークンを設定
            CIRCLE_API_TOKEN: <YOUR_CIRCLECI_API_TOKEN_STRING>

  slack-notify:
    description: Slack に通知する
    parameters:
      channel:
        type: string
    steps:
      - slack/notify:
          channel: << parameters.channel >>
          event: fail
          custom: |
            {
              "blocks": [
                {
                  "type": "section",
                  "text": {
                    "type": "mrkdwn",
                    "text": "Your job *${CIRCLE_JOB}* has failed :warning:"
                  },
                  "fields": [
                    {
                      "type": "mrkdwn",
                      "text": "*Project*: ${CIRCLE_PROJECT_REPONAME}"
                    },
                    {
                      "type": "mrkdwn",
                      "text": "*Branch*: ${CIRCLE_BRANCH}"
                    },
                    {
                      "type": "mrkdwn",
                      "text": "*Author*: ${CIRCLE_USERNAME}"
                    }
                  ]
                },
                {
                  "type": "actions",
                  "elements": [
                    {
                      "type": "button",
                      "text": {
                        "type": "plain_text",
                        "text": "View Job"
                      },
                      "url": "${CIRCLE_BUILD_URL}"
                    },
                    {
                      "type": "button",
                      "text": {
                        "type": "plain_text",
                        "text": "View Report"
                      },
                      "url": "${ALLURE_INDEX_URL}"
                    }
                  ]
                }
              ]
            }

executors:
  ruby:
    docker:
      - image: circleci/ruby:2.6.5-stretch-node

jobs:
  run-test:
    executor: ruby
    steps:
      - build-and-run
      - slack-notify:
          # カンマ区切りで複数チャンネルを指定可能
          channel: "notify_channel_name1, notify_channel_name2"

workflows:
  version: 2
  commit-workflow:
    jobs:
      - run-test
その他の便利情報
- CircleCI の config.yml を書くときは、
circleci config validateコマンドを使うことでスタイルをチェックできます。 - 上の例で Slack の通知を
customで指定しているのですが、このblocksのフォーマットをよく間違えて苦労しました。- Slack の Block Kit Builder を使ってフォーマットをチェックするのがおすすめです。


