この記事は富士通クラウドテクノロジーズ Advent Calendar 2022の 19 日目の記事です。
昨日は @yu_uni の パキラ君の成長日記(自動水やり編) でした。
自分も最近はやってませんが電子工作は結構好きで、入社してからも同期と一緒にマイコンで遊んだりしてました。(まだその時の残骸が残ってるな…。)
電子工作でライフハックするの楽しいですよね!!
はじめに
富士通クラウドテクノロジーズでも DevOps 基盤として活用しています GitLab は、近年 Kubernetes との連携機能が強化されつつあります。従来でも GitLab から対象の Kubernetes クラスターの kube-apiserver へリクエストを送ることによる連携方法がありましたが、現在は GitLab agent for Kubernetes という Kubernetes クラスターに専用のエージェントをインストールして連携する方法へと切り替わりました。
この方式では、 GitLab に搭載されている Kubernetes Agent Server (kas) と GitLab agent for Kubernetes を使うことによって、 GitLab CI のジョブ内から kubectl コマンドが使えるようになる (= kube-apiserver にリクエストできる) というものがメインの機能のようです。
(この機能は @ynott さんによる GitLab Agent for Kubernetesを使ってみる(GitLab Kubernetes Agent改め) の記事がとても参考になります。)
また、このエージェント方式では新たに GitOps 機能が GitLab 本体に追加され、今までは ArgoCD 等を使って実現していた GitOps が GitLab 単体で実現できるようになってきています。ただしこの機能は現状まだ発展途上感がありまして、少し前までは Helm Chart や kustomize 等が使えなく素の manifest ファイルを管理する必要があり、まだ採用するには厳しいかなという印象がありました。
というところに GitLab 15.4 からこの GitOps 機能で Helm Chart がデプロイできる機能がアルファ版として実装されました。
ということで、今回はこの GitLab agent for Kubernetes の GitOps 機能を使った Helm Chart デプロイ機能を実際に試してみたいと思います。
※この機能は2022年12月現在、アルファ版の機能であるため、今後大きく仕様が変更される可能性が大いにあります。
環境
本記事執筆時点で使用した各コンポーネントのバージョンは下記になります。
- GitLab 15.7.0-pre
- kind 0.17.0
- Kubernetes 1.25.3
- Helm 3.10.3
サンプルアプリ
まず、デプロイ対象となる簡単なサンプルのアプリケーションを用意します。アプリケーションと書きましたが、今回は単純に html を返却する Golang 製の Web サーバーとします。
サンプルコードは下記においてあります。
下記コマンドでサーバーを立ち上げることができます。
$ docker run --rm -d -p 8080:8080 registry.gitlab.com/aokuma-gitops-samples/sample-app:v0.1.0
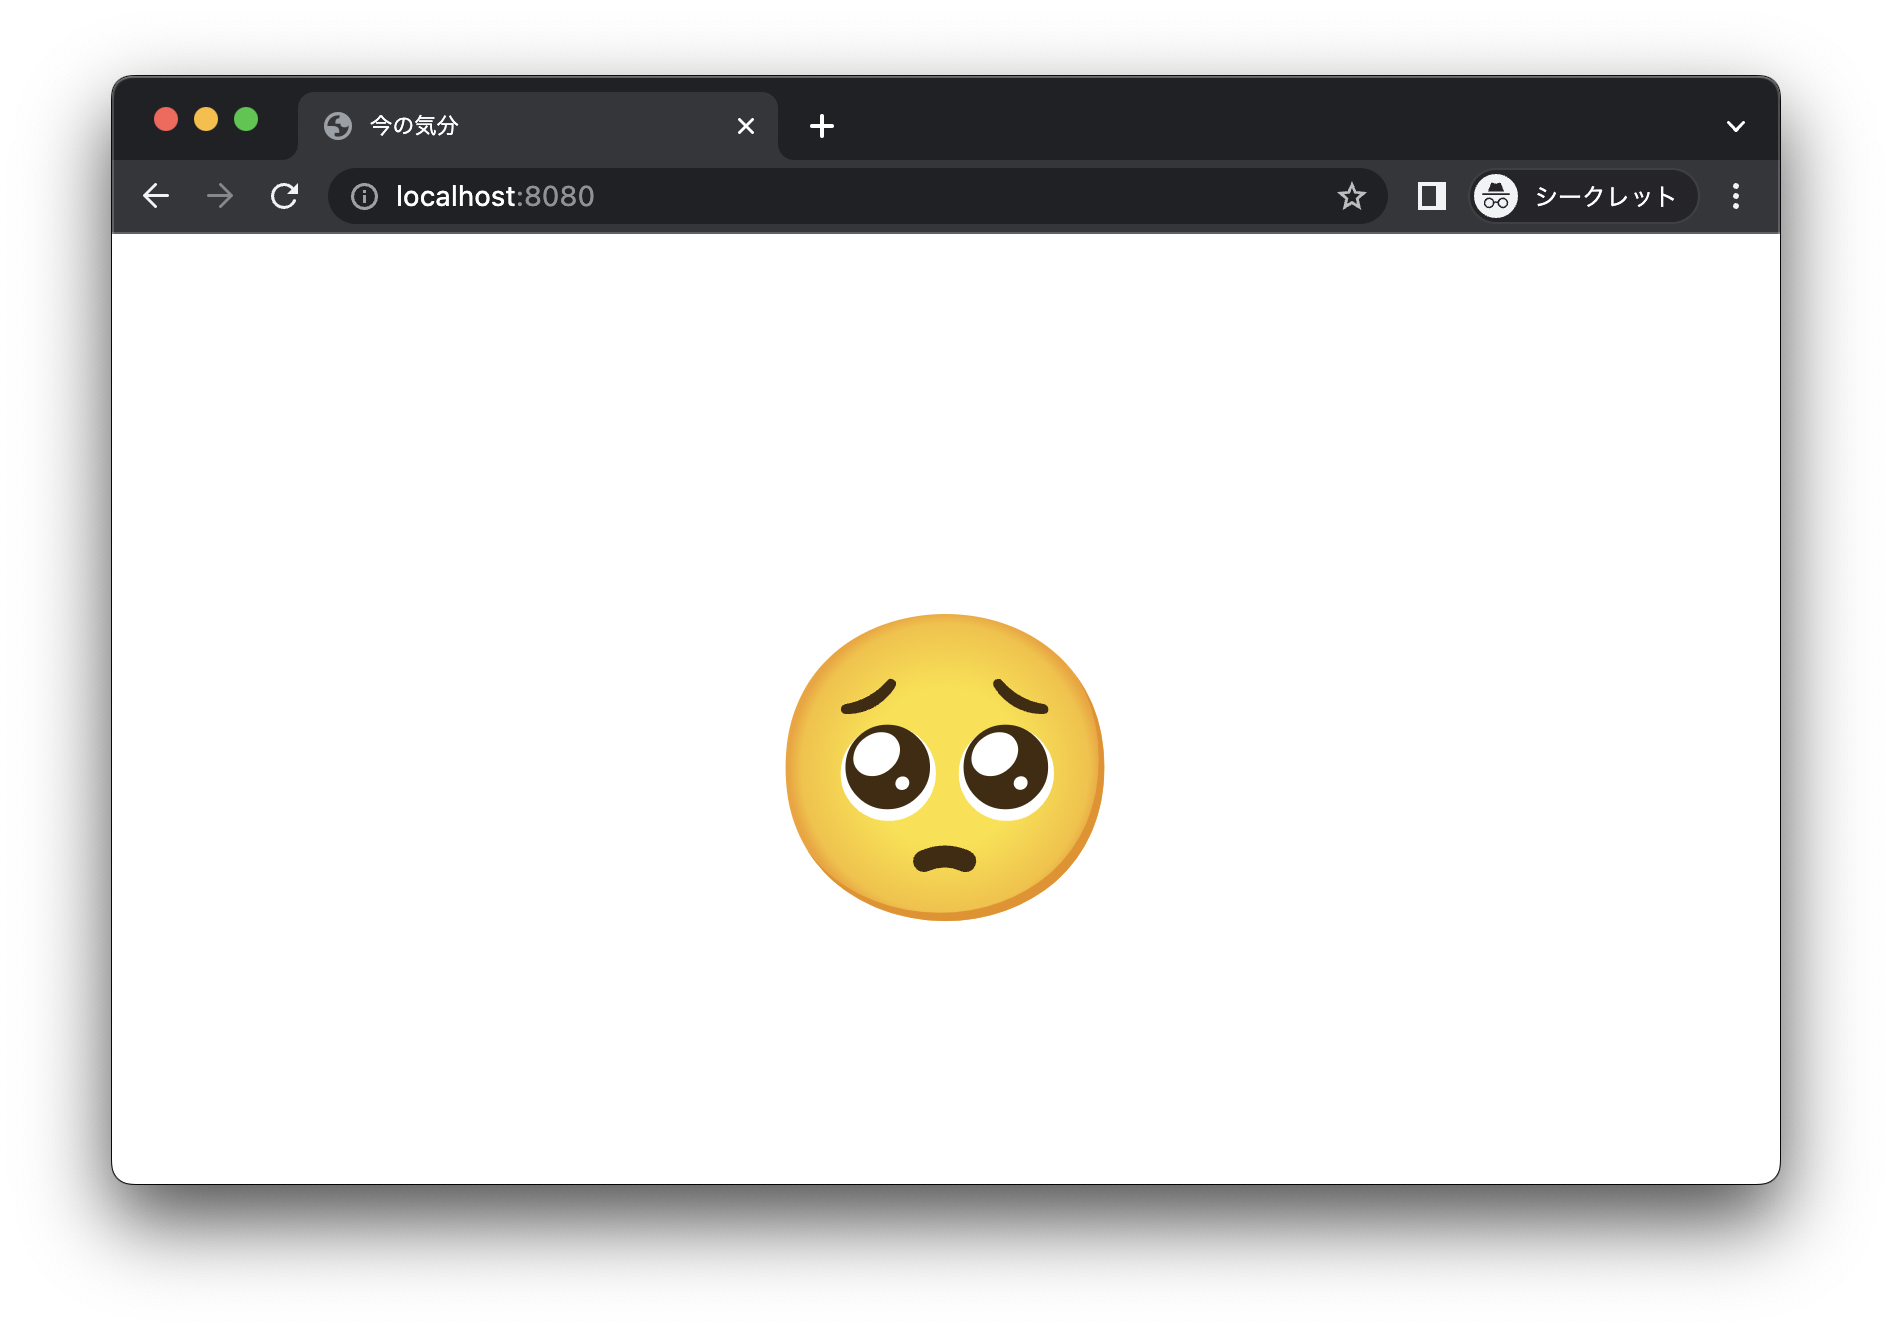
ブラウザで http://localhost:8080 を開くと、下記のような🥺が画面にデカデカと表示されるはずです。
また、このアプリケーションを Kubernetes へデプロイするときに必要になる Helm Chart も下記のリポジトリに作成しました。
Kubernetes クラスターの準備
次に、 GitLab と連携する Kubernetes クラスターを用意します。このクラスターはサンプルアプリを動かすためのクラスターになります。
今回は単なる実験なので、 kind を使ってローカルに Kubernetes クラスターを立ててみようと思います。kind は各々ドキュメントに従いインストールしてください。
ではクラスターを作成します。特に設定をいじるところもないので、デフォルトのクラスターを作成します。
$ kind create cluster
次のような表示になればクラスターの作成が完了しているはずです。
Creating cluster "kind" ...
 ✓ Ensuring node image (kindest/node:v1.25.3) 🖼
 ✓ Preparing nodes 📦
 ✓ Writing configuration 📜
 ✓ Starting control-plane 🕹️
 ✓ Installing CNI 🔌
 ✓ Installing StorageClass 💾
Set kubectl context to "kind-kind"
You can now use your cluster with:

kubectl cluster-info --context kind-kind

Thanks for using kind! 😊
表示されているコマンドの通り、クラスターの情報を取得してみます。
$ kubectl cluster-info --context kind-kind

Kubernetes control plane is running at https://127.0.0.1:64356
CoreDNS is running at https://127.0.0.1:64356/api/v1/namespaces/kube-system/services/kube-dns:dns/proxy

To further debug and diagnose cluster problems, use 'kubectl cluster-info dump'.
正しく動いていそうです。
この先の手順簡略化のため、 --context オプションを使わないでも、今作成した kind のクラスターに接続できるように接続先の情報を設定しておきます。
$ kubectl config set-context kind-kind
試しのノードの情報を取得してみます。
$ kubectl get nodes
NAME                 STATUS   ROLES           AGE     VERSION
kind-control-plane   Ready    control-plane   3h59m   v1.25.3
一旦、これで準備は OK そうです。
プロジェクトに GitLab agent for Kubernetes を登録する
次に sample-app リポジトリに Agent を登録していきます。
左ペイン > Infrastructure > Kubernetes clusters から Connect a cluster のボタンを押します。
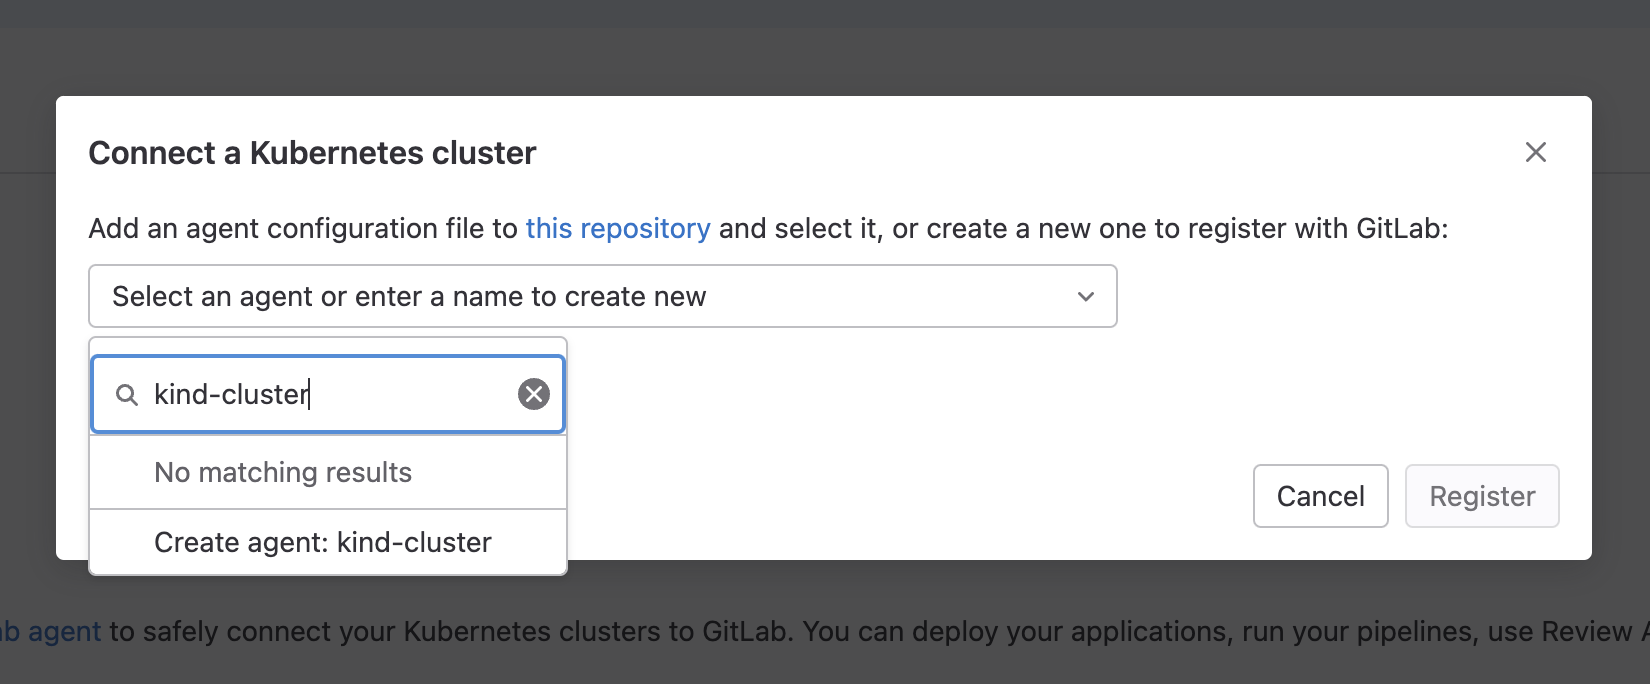
すると、下記のようなダイアログが表示されるので、Select an agent or enter a name to create new という欄があるので、作成したい agent の名前 (任意) を入力し、 Create agent ボタンをクリック、そして Register ボタンを押して登録を実行します。ここでは kind-clster という名前の agent を作成することにします。
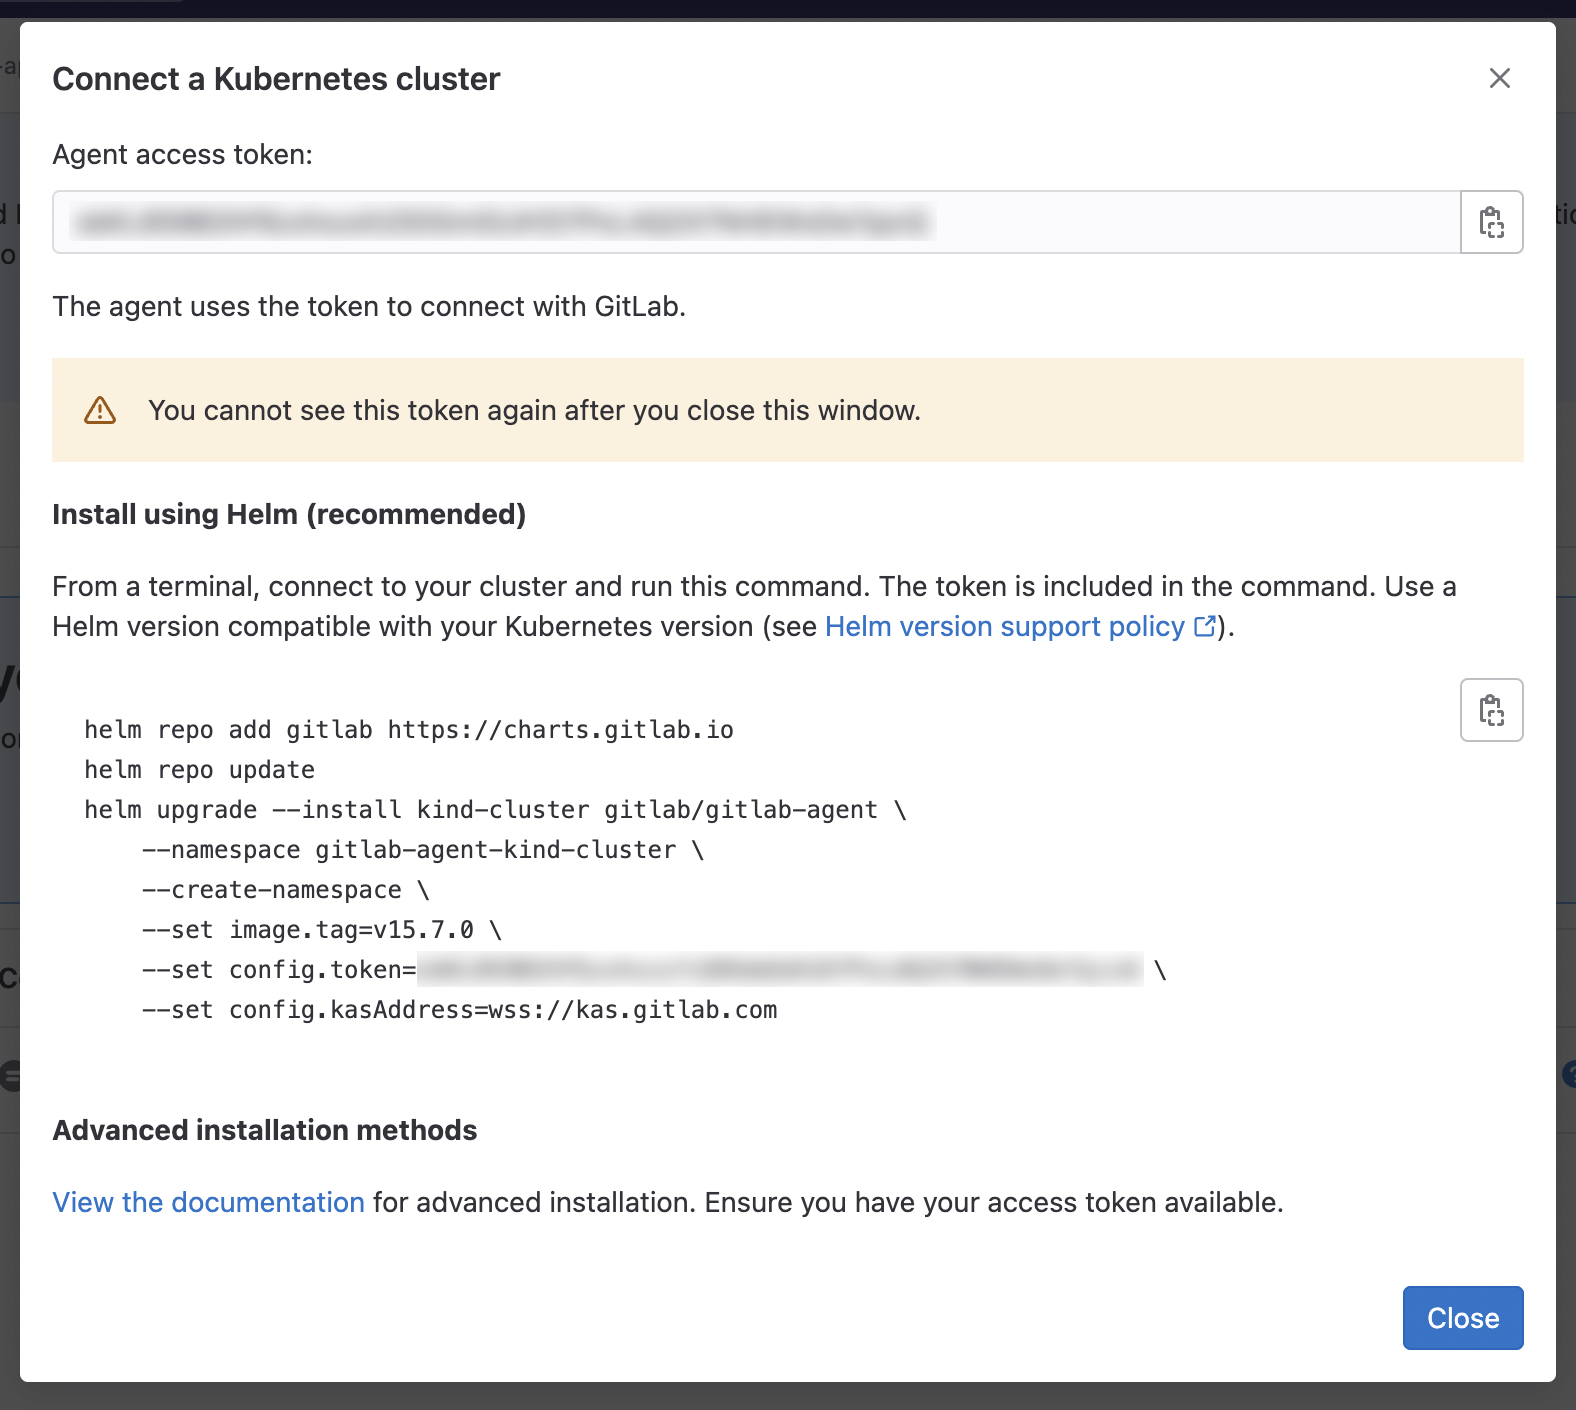
Register をクリックすると、 agent が Kubernetes Agent Server (kas) と通信するためのトークンや helm コマンドが表示されます。
agent を自力でインストールする方法もありますが、ここでは GitLab 推奨の Helm を使ったインストール方法を使います。
表示されているコマンドをコピーして、ターミナルにペーストして実行します。
次のように表示されれば、インストールは完了です。
Update Complete. ⎈Happy Helming!⎈
Release "kind-cluster" does not exist. Installing it now.
NAME: kind-cluster
LAST DEPLOYED: Mon Dec 19 16:04:48 2022
NAMESPACE: gitlab-agent-kind-cluste
STATUS: deployed
REVISION: 1
TEST SUITE: None
試しに Pod が稼働しているかチェックしてみましょう。下記のコマンドを実行してみます。(ネームスペースはエージェント名によって変わるはずです)
$ kubectl -n gitlab-agent-kind-cluster get po
NAME                                       READY   STATUS    RESTARTS   AGE
kind-cluster-gitlab-agent-87495b9b-k624g   1/1     Running   0          94s
ここまでくれば GitLab の UI からも Agent が確認できるはずです。
Agent の設定
さて、 Agent のデプロイが完了したので次は Agent をどのように稼働させるか設定していきます。
設定は対象リポジトリ (今回は sample-app) 内の .gitlab/agents/${agentname}/config.yaml に書いていきます。
例えば Helm Chart を使ってアプリケーションをデプロイするような場合は下記のような設定になります。
gitops:
  charts:
  - release_name: gitops-sample
    source:
      project:
        id: aokuma-gitops-samples/charts
        path: charts/sample-app
    namespace: sample-app
これは、 GitLab 内の aokuma-gitops-samples/charts というリポジトリ内の charts/sample-app というパスに存在している chart を sample-app という namespace にデプロイしてね!という設定になります。
さらに詳細な設定も可能です。詳しくは下記の公式ドキュメントをご確認ください。
設定ファイルを記述したら commit & push して、デフォルトブランチ (main) へ反映されている状態にしてください。この config.yaml はデフォルトブランチに存在しているものしか設定が読み込まれません。
初期デプロイの確認
さて、実はここまで来ると sample-app が Kubernetes クラスター上ですでに稼働しているはずです。
というのも sample-app のデフォルトブランチの所定のパスへ config.yaml が配置されたために、 Agent がデプロイ対象の Helm Chart を見つけ、対象の Kubernetes クラスターとの差分を見つけてデプロイ処理をしてくれているためです。
試しに sample-app namespace の Pod を見てみましょう。
$ kubectl -n sample-app get po
NAME                                       READY   STATUS    RESTARTS   AGE
gitops-sample-sample-app-648c4f5f7-xvc52   1/1     Running   0          7s

$ kubectl -n sample-app get po -o jsonpath="{.items[].spec.containers[].image}"
registry.gitlab.com/aokuma-gitops-samples/sample-app:v0.1.0
このように sample-app が稼働しているはずです。稼働していない場合はしばらく待ってみるか、 Pod の状態を確認する、 Agent のログを見てみるなどしてみると良いでしょう。
試しに port-forward してブラウザからアプリケーションにアクセスしてみましょう。
$ kubectl -n sample-app port-forward ${podname} 3000:8080
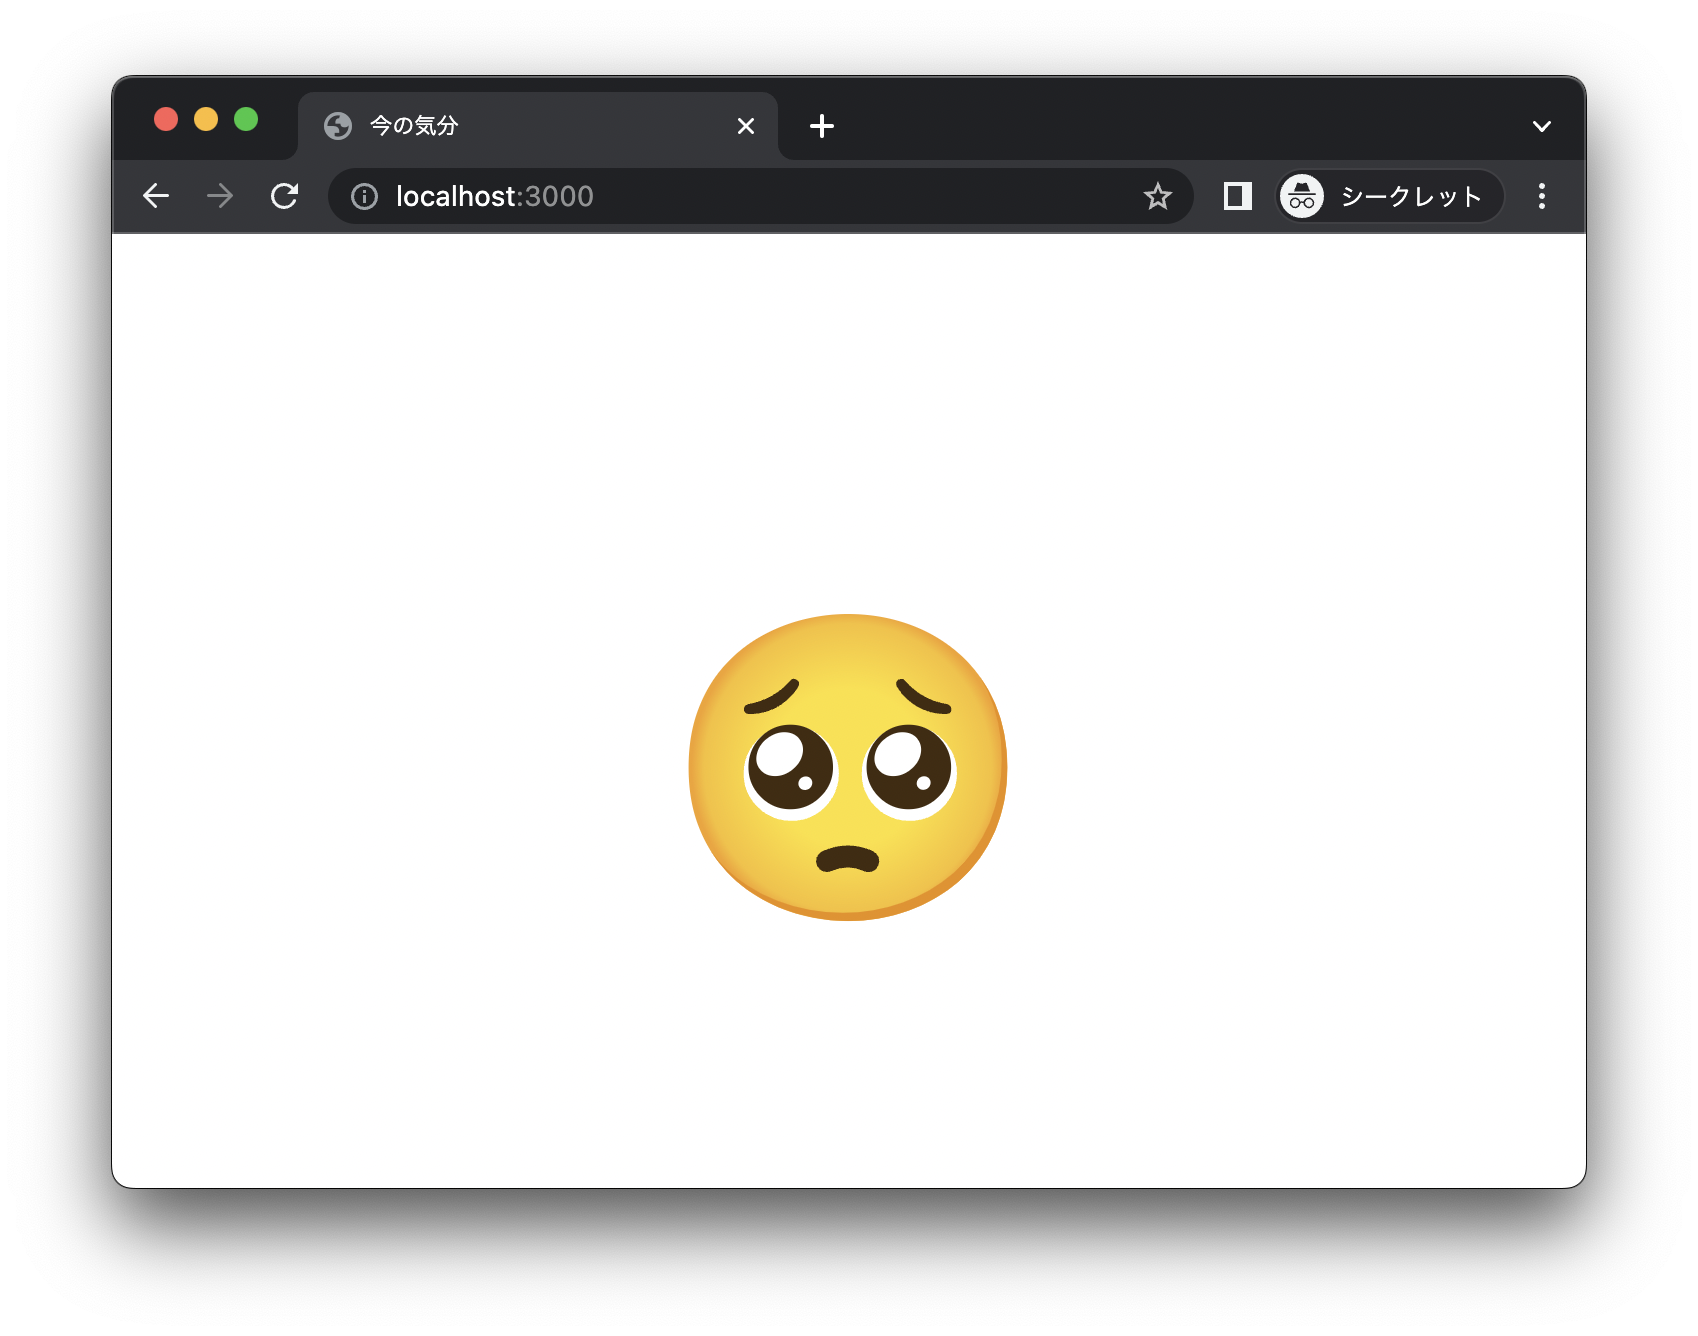
ブラウザで http://localhost:3000 を開くと、先程と同じく🥺が画面にデカデカと表示されるはずです。これは今デプロイされた Kubernetes クラスター上で稼働しているものになります。
アプリケーションの更新
さて、ではここから本題の Git 操作によってアプリケーションを更新する手順を踏んでいきましょう。
ここでは下記のような手順を順に実行していきます。
- sample-app: 適当にコードに修正を加えて、マージリクエストを作成し main へマージ
- sample-app: main マージ後に v0.2.0 のタグを作成
- sample-app: sample-app v0.2.0 のコンテナイメージを作成
- charts:
Chart.yamlのバージョンを v0.2.0 へ修正し、マージリクエスト作成 - charts: マージリクエストをマージする
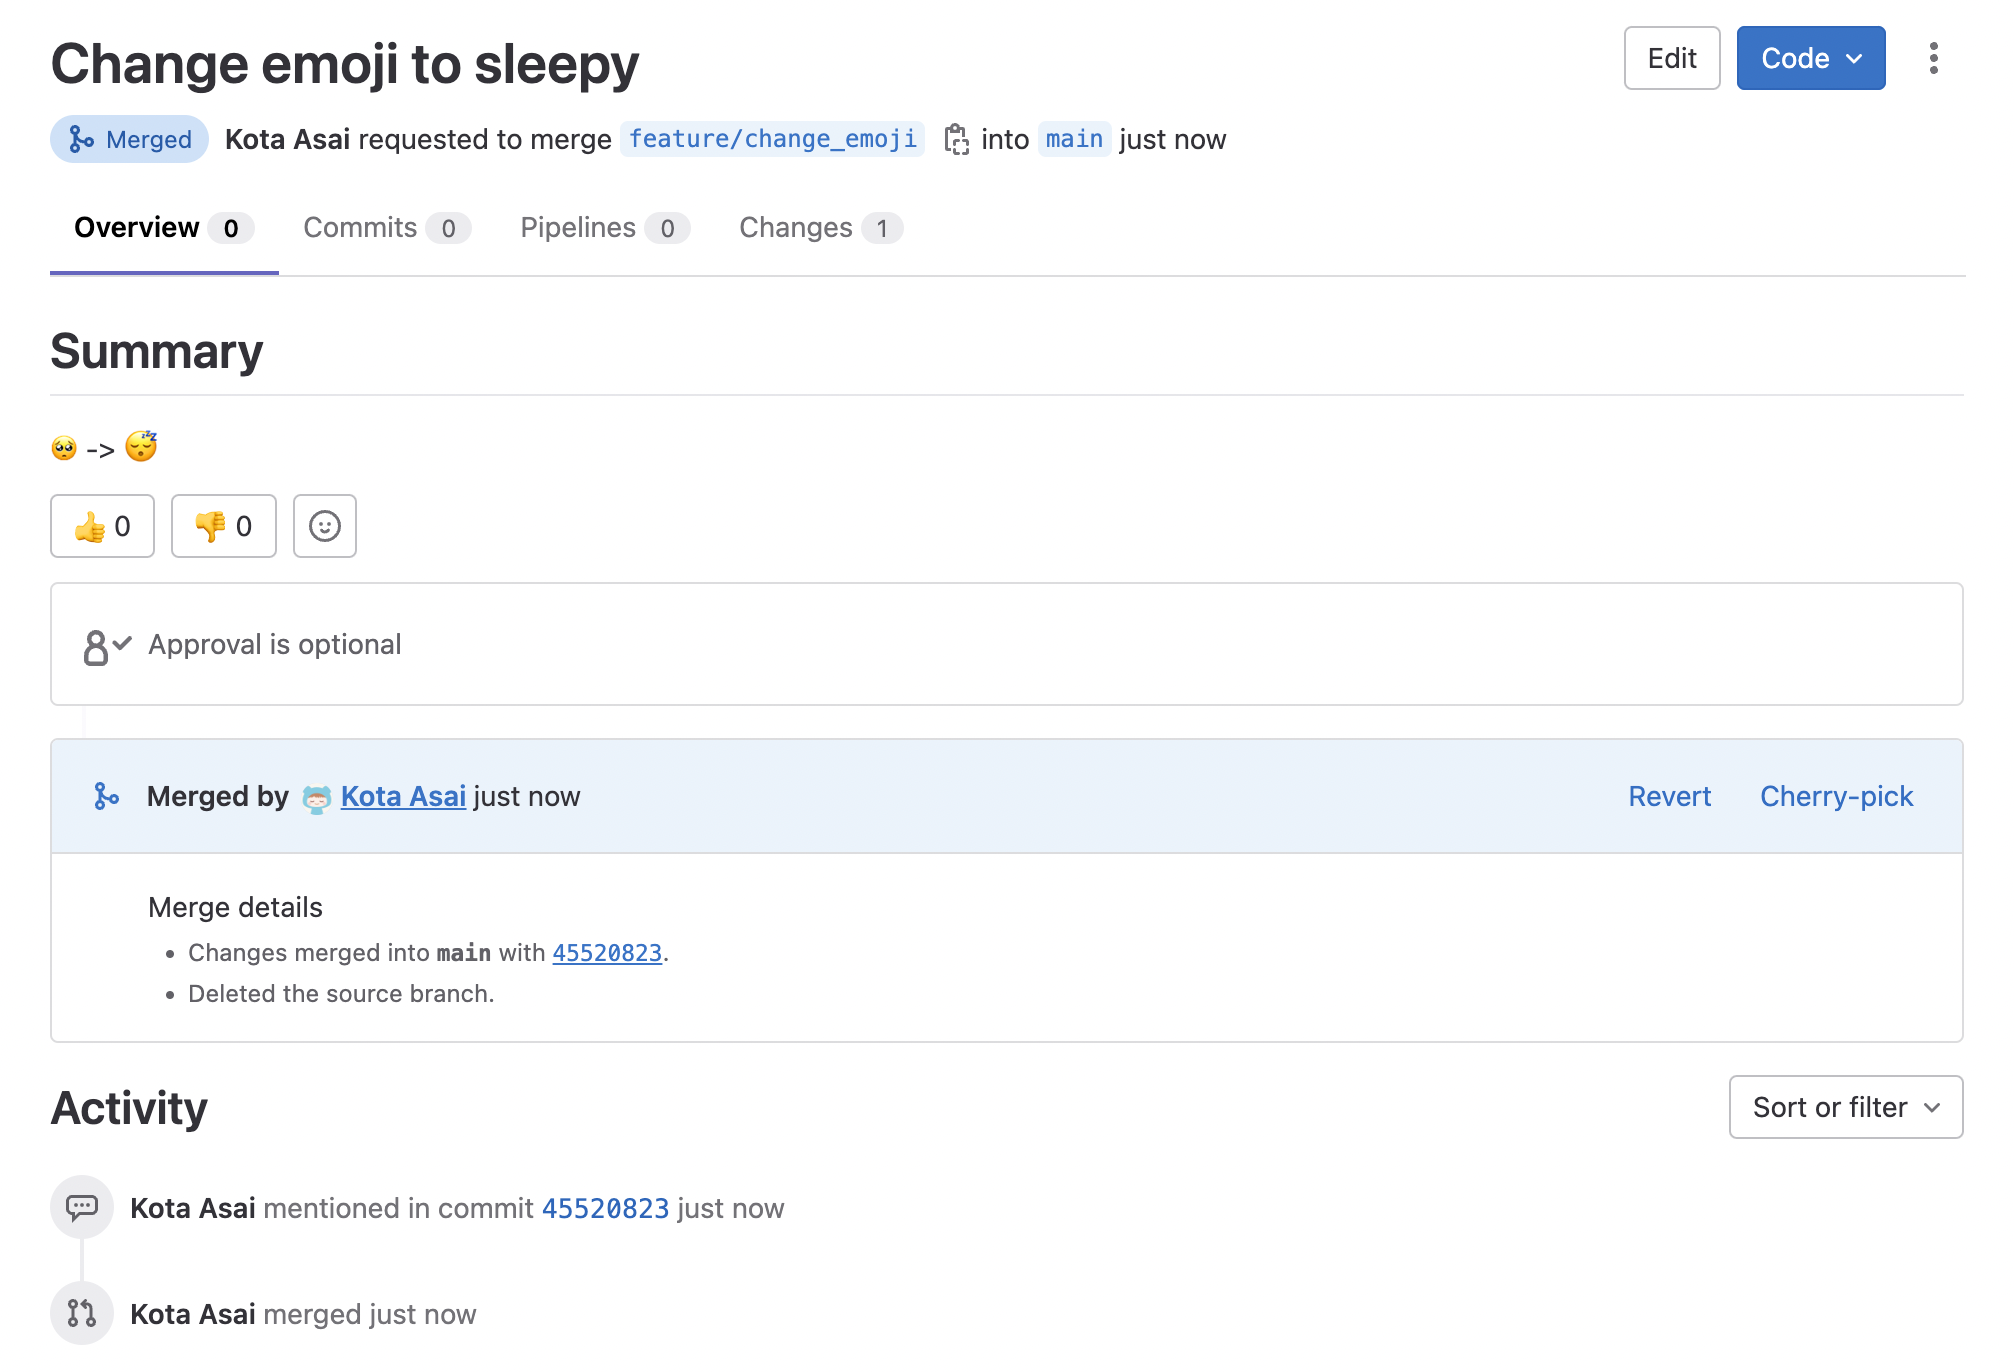
sample-app: 適当にコードに修正を加えて、マージリクエストを作成し main へマージ
適当に sample-app に修正を加えます。ここでは画面に表示される🥺を😴に変更してみます。(Unicode 直書きしています。)
diff --git a/public/index.html b/public/index.html
index 5fdb7b5..f467073 100644
--- a/public/index.html
+++ b/public/index.html
@@ -17,6 +17,6 @@
</head>
<body>
<!-- See https://unicode.org/emoji/charts/full-emoji-list.html -->
- <p class="emoji">🥺</p>
+ <p class="emoji">😴</p>
</body>
</html>
ブランチを切って、 commit & push します。
$ git switch -c feature/change_emoji
$ git add public/index.html
$ git commit -m "Change emoji to sleepy"
$ git push
GitLab からマージリクエストを作成し、 main へマージしてしまいます。
sample-app: main マージ後に v0.2.0 のタグを作成
main へマージ完了後に、アプリケーションのバージョンを v0.2.0 へと上げます。
ここでは git のタグを作成するだけにします。
$ git switch main
$ git pull
$ git tag v0.2.0
$ git push origin v0.2.0
sample-app: sample-app v0.2.0 のコンテナイメージを作成
続いて、 sample-app v0.2.0 のコンテナイメージを作成します。このような操作は本来 GitLab CI に任せるべきですが、今回は CI 動かすの面倒なので手動で…😇
$ make image-build
$ make image-push
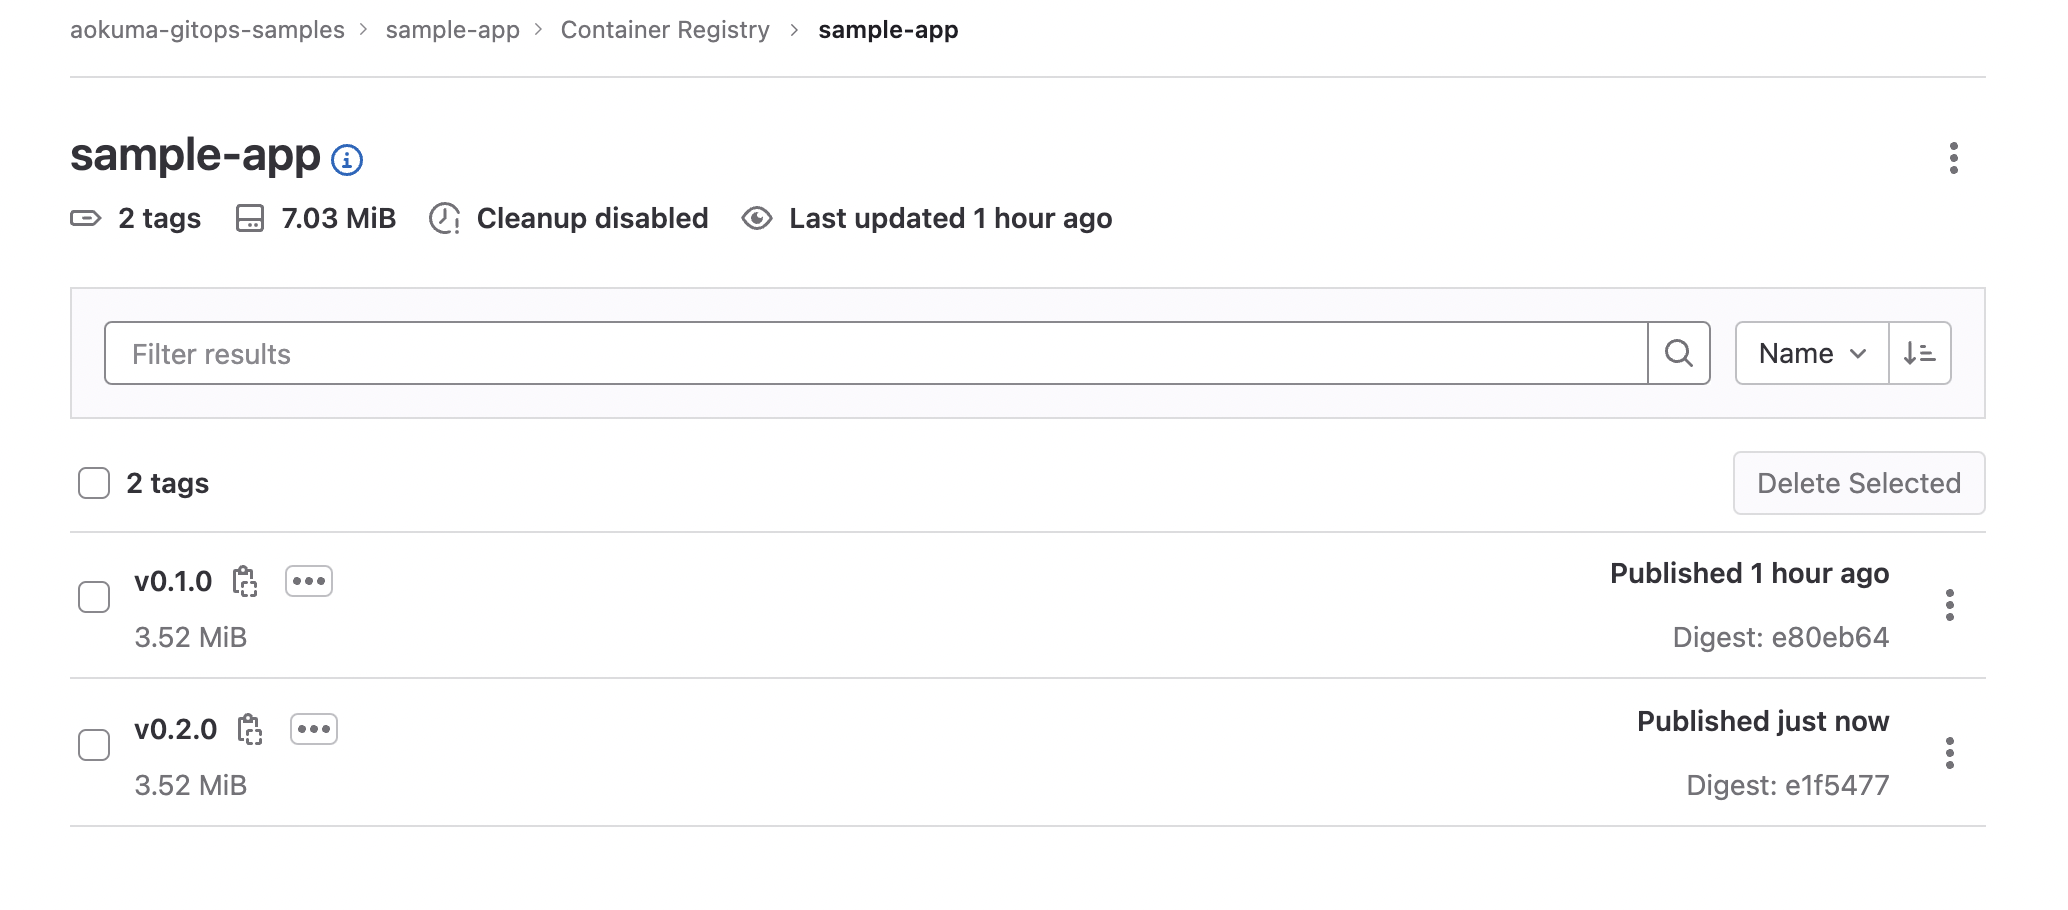
push 完了後に、 左ペイン > Packages and registries > Container Registry から v0.2.0 の sample-app のコンテナイメージが見えていれば OK です。
charts: Chart.yaml のバージョンを v0.2.0 へ修正し、マージリクエスト作成
次に charts リポジトリの作業に移ります。charts/sample-app/Chart.yaml 内に記載されている version と appVersion の値を修正します。
diff --git a/charts/sample-app/Chart.yaml b/charts/sample-app/Chart.yaml
index 88f0045..9ceb0e2 100644
--- a/charts/sample-app/Chart.yaml
+++ b/charts/sample-app/Chart.yaml
@@ -15,10 +15,10 @@ type: application
 # This is the chart version. This version number should be incremented each time you make changes
 # to the chart and its templates, including the app version.
 # Versions are expected to follow Semantic Versioning (https://semver.org/)
-version: 0.1.0
+version: 0.2.0

 # This is the version number of the application being deployed. This version number should be
 # incremented each time you make changes to the application. Versions are not expected to
 # follow Semantic Versioning. They should reflect the version the application is using.
 # It is recommended to use it with quotes.
-appVersion: "v0.1.0"
+appVersion: "v0.2.0"
こちらもブランチを切って、 commit & push しておきます。
$ git switch -c feature/bump_version_up_to_0.2.0
$ git add charts -p
$ git commit -m "Bump version up to v0.2.0"
$ git push
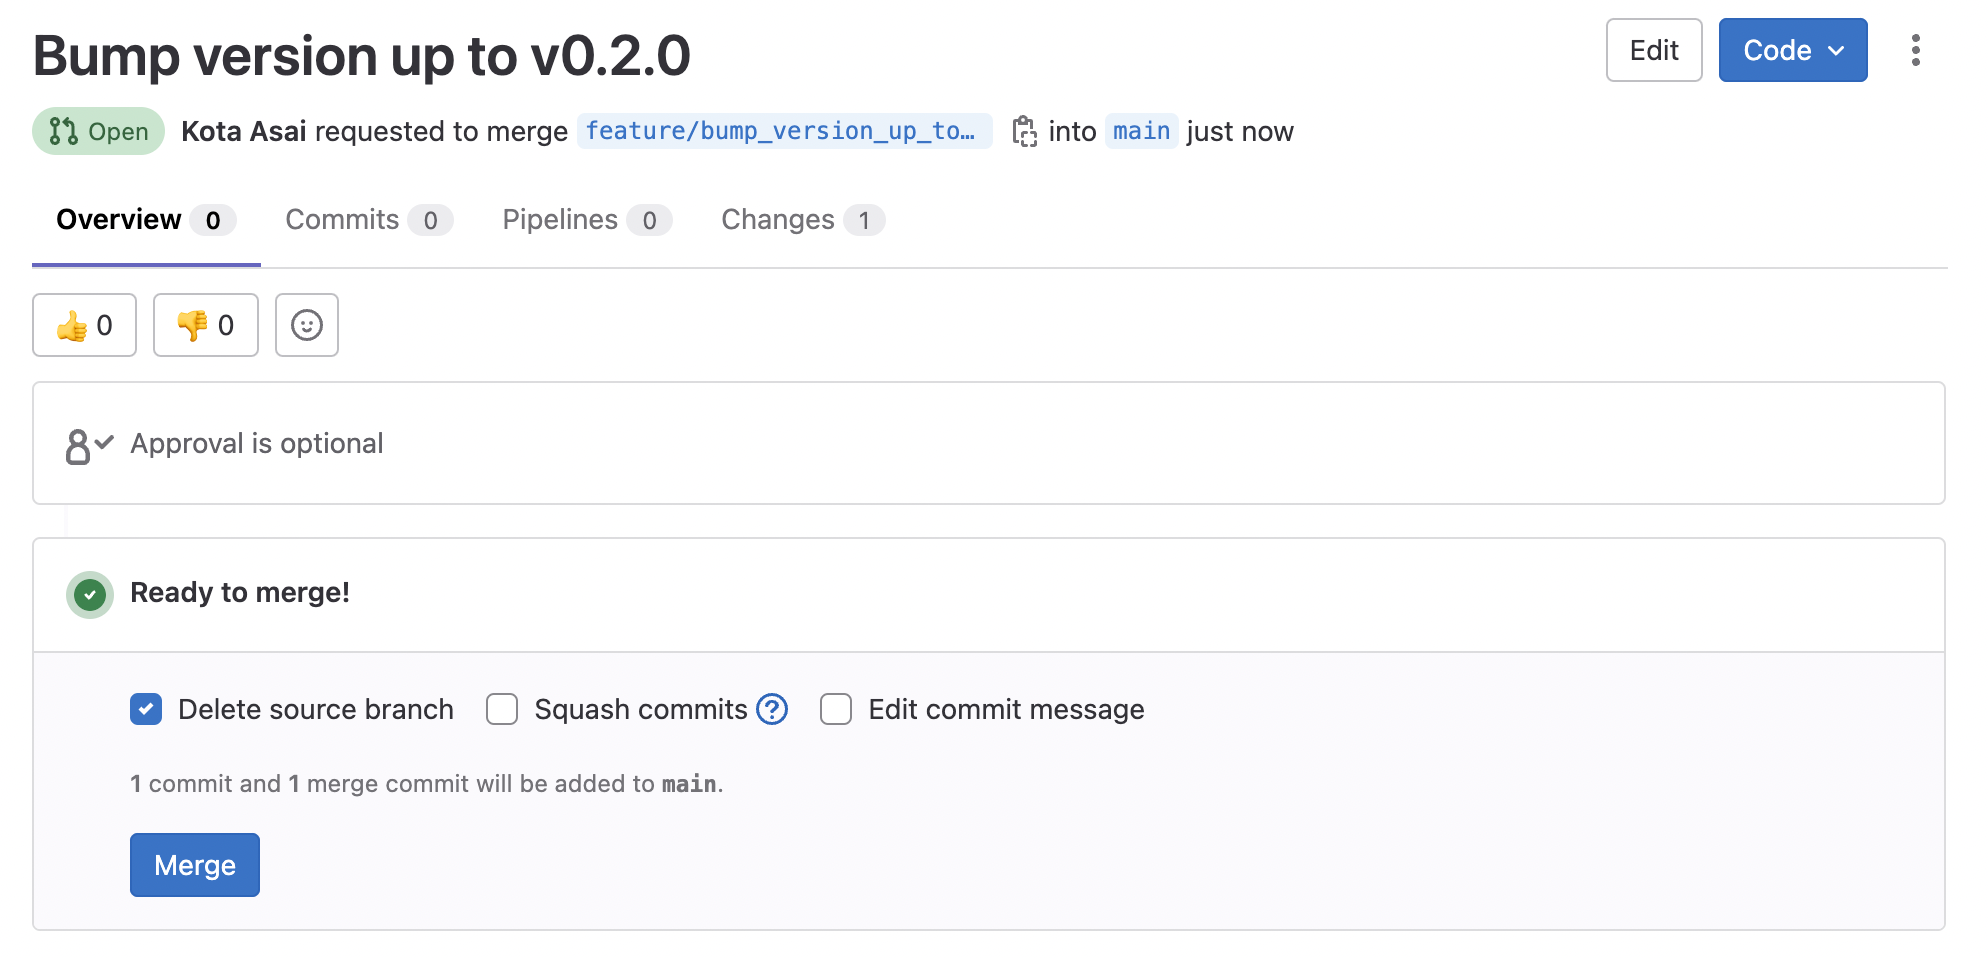
push したら GitLab からマージリクエストを作成しておきましょう。(マージはまだ)
charts: マージリクエストをマージする
1 つ前の手順で作成したマージリクエストを main へマージしましょう。
このマージがきっかけとなり、 Kubernetes にデプロイされている sample-app が GitLab agent によって v0.1.0 から v0.2.0 に更新されます。
kubectl get po -w で watch しておくと、コンテナイメージ切り替わりのタイミングが見れます。
$ kubectl -n sample-app get po -w
NAME                                       READY   STATUS    RESTARTS   AGE
gitops-sample-sample-app-648c4f5f7-clwp2   1/1     Running   0          30m
gitops-sample-sample-app-55dc46d55b-ls97q   0/1     Pending   0          0s
gitops-sample-sample-app-55dc46d55b-ls97q   0/1     Pending   0          0s
gitops-sample-sample-app-55dc46d55b-ls97q   0/1     ContainerCreating   0          0s
gitops-sample-sample-app-55dc46d55b-ls97q   0/1     Running             0          6s
gitops-sample-sample-app-55dc46d55b-ls97q   1/1     Running             0          6s
gitops-sample-sample-app-648c4f5f7-clwp2    1/1     Terminating         0          31m
gitops-sample-sample-app-648c4f5f7-clwp2    0/1     Terminating         0          31m
gitops-sample-sample-app-648c4f5f7-clwp2    0/1     Terminating         0          31m
gitops-sample-sample-app-648c4f5f7-clwp2    0/1     Terminating         0          31m
コンテナイメージのバージョンを確認すると、無事に v0.2.0 へ切り替わっています ![]()
$ kubectl -n sample-app get po -o jsonpath="{.items[].spec.containers[].image}"
registry.gitlab.com/aokuma-gitops-samples/sample-app:v0.2.0
再度 port-forward してブラウザからアプリケーションにアクセスしてみましょう。
$ kubectl -n sample-app port-forward ${podname} 3000:8080
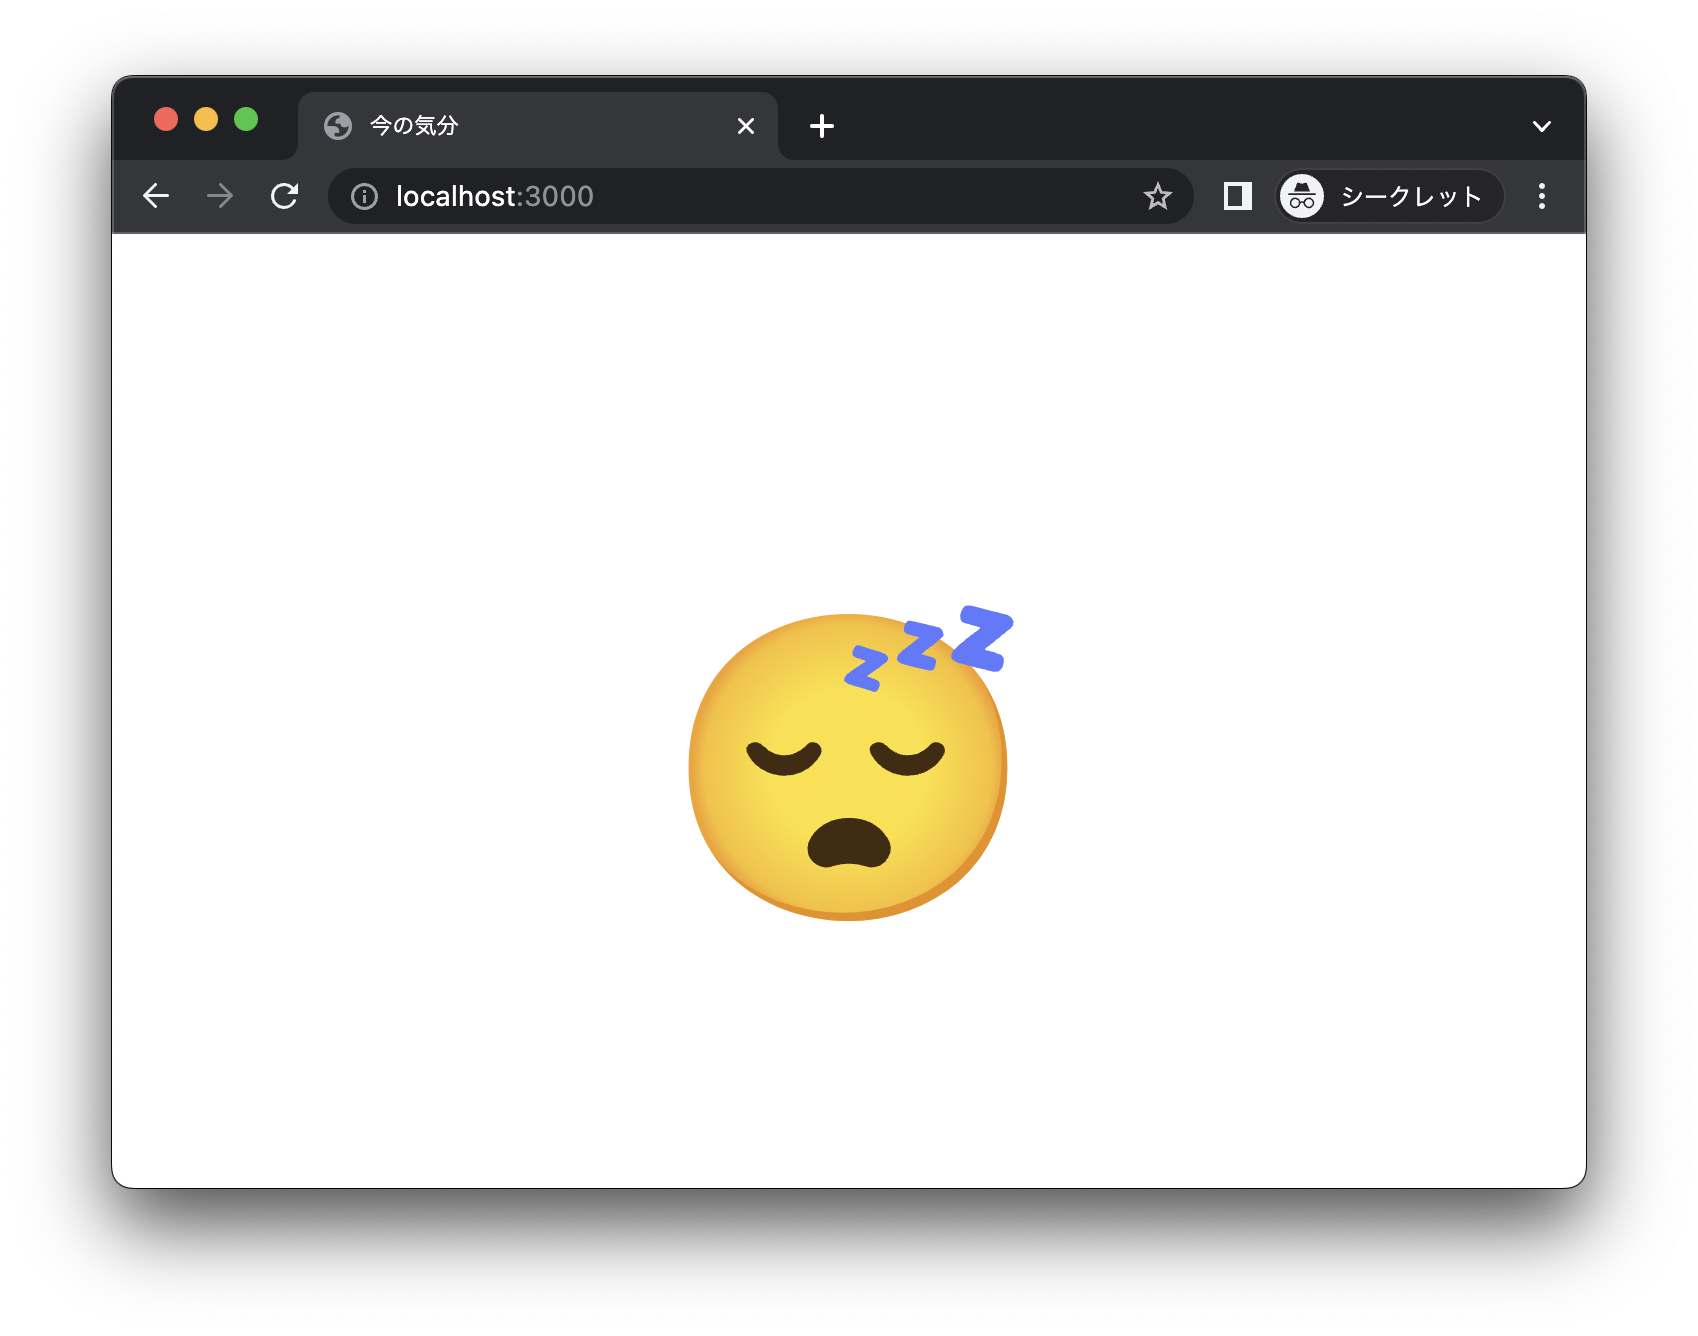
ブラウザで http://localhost:3000 を開くと、今度は😴が画面にデカデカと表示されるはずです。
これで無事に git 操作だけでアプリケーションが更新できました ![]()
おわりに
今回は GitLab 15.4 で導入された、 Kubernetes Agent の GitOps 機能で Helm Chart をデプロイする機能を試してみました。
まだアルファ版ということもあって、 GitOps ツールとしては不足している機能もたくさんあると思います。が、今後 GitLab でできるようになる世界を見るのにはちょうど良かったです。もう少し機能が充実してきたらまた試してみようかなと思いました。
さて、明日は @yaaamaaaguuu が「golang net/url の話をする」そうです。一体どんなマニアックなネタが待っているのか楽しみですね…![]() それでは!
それでは!
