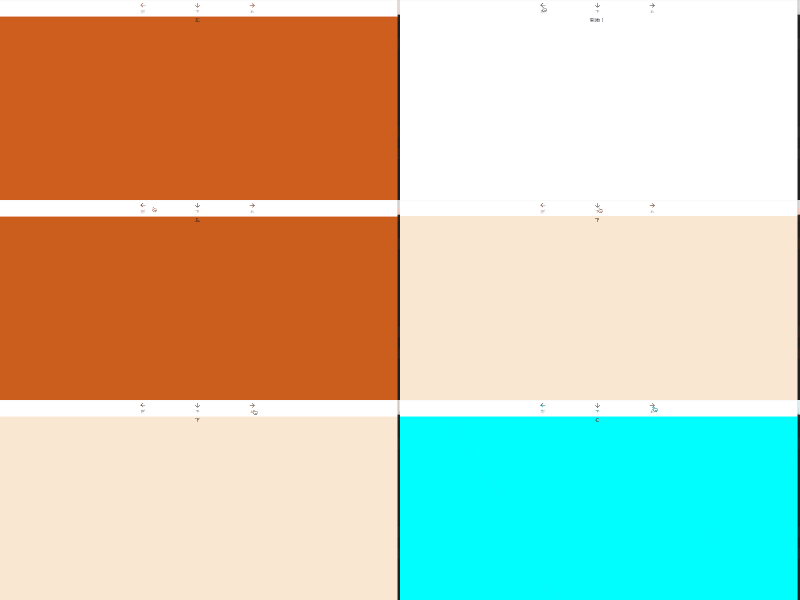
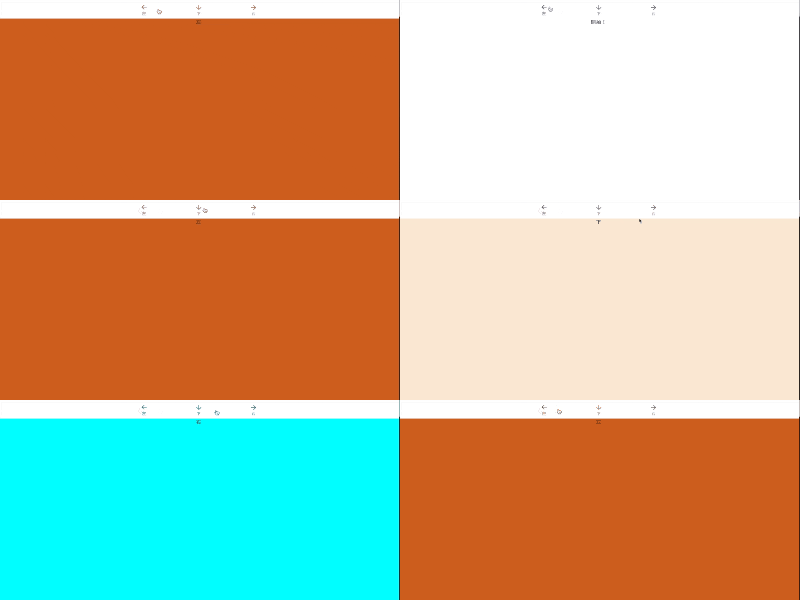
react-router-domとframer-motionを組み合わせていい感じのページ遷移を
実装できたので記事にします!
今回の目的
前提
React + typeScriptのプロジェクトを作成できる環境を作成できること
プロジェクト作成
create-react-app page-motion-sample-app --typescript
必要なパッケージのインストール
yarn add react-router-dom
yarn add @material-ui/core
yarn add framer-motion
ページを作成
src配下にpagesフォルダを作成して、今回使用するページを作成
src/pages/Left.tsx
import React from "react";

const Left = () => {
  return (
    <div>
      <div
        style={{
          width: "100%",
          height: 800,
          background: "chocolate",
          textAlign: "center"
        }}
      >
        左
      </div>
    </div>
  );
};

export default Left;
src/pages/Under.tsx
import React from "react";

const Under = () => {
  return (
    <div>
      <div
        style={{
          width: "100%",
          height: 800,
          background: "antiquewhite",
          textAlign: "center"
        }}
      >
        下
      </div>
    </div>
  );
};

export default Under;
src/pages/Right.tsx
import React from "react";

const Right = () => {
  return (
    <div>
      <div
        style={{
          width: "100%",
          height: 800,
          background: "aqua",
          textAlign: "center"
        }}
      >
        右
      </div>
    </div>
  );
};

export default Right;
ルーティング作成
src/App.tsx のファイルを下記の様に変更
import React from "react";
import { BrowserRouter as Router, Route, Switch } from "react-router-dom";
import None from "./pages/None";
import Left from "./pages/Left";
import Right from "./pages/Right";
import Under from "./pages/Under";

const App: React.FC = () => {
  return (
    <div className="App">
      <Router>
        <main role="main" className="pt-5">
          <Switch>
            <Route exact path="/" component={None} />
            <Route exact path="/left" component={Left} />
            <Route exact path="/right" component={Right} />
            <Route exact path="/under" component={Under} />
          </Switch>
        </main>
      </Router>
    </div>
  );
};

export default App;
移動用のナビバーを作成
src配下にcomponentsフォルダを作成して、ナビバーを作成
src/components/NavBar.tsx
import React from "react";
import { makeStyles } from "@material-ui/core/styles";
import BottomNavigation from "@material-ui/core/BottomNavigation";
import BottomNavigationAction from "@material-ui/core/BottomNavigationAction";
import ArrowForward from "@material-ui/icons/ArrowForward";
import ArrowBack from "@material-ui/icons/ArrowBack";
import ArrowDownward from "@material-ui/icons/ArrowDownward";
import { Grid } from "@material-ui/core";
import { withRouter } from "react-router";

const useStyles = makeStyles({
  root: {
    width: 500
  }
});

const NavBar = (props: any) => {
  const classes = useStyles();
  const [value, setValue] = React.useState(0);

  return (
    <Grid container alignItems="center" justify="center">
      <BottomNavigation
        value={value}
        showLabels
        className={classes.root}
        style={{
          width: "100%"
        }}
      >
        <BottomNavigationAction
          label="左"
          icon={<ArrowBack />}
          onClick={() => {
            props.history.push("/left");
          }}
        />
        <BottomNavigationAction
          label="下"
          icon={<ArrowDownward />}
          onClick={() => {
            props.history.push("/under");
          }}
        />
        <BottomNavigationAction
          label="右"
          icon={<ArrowForward />}
          onClick={() => {
            props.history.push("/right");
          }}
        />
      </BottomNavigation>
    </Grid>
  );
};

export default withRouter(NavBar);
NabBarを各Pageに組み込む
こんな感じで上で作成したNabBarを全ページに組み込んでいきます
import React from "react";
{/*  ここから */}
import NavBar from "../components/NavBar";
{/*  ここからここまで追加 */}

const Left = () => {
  return (
    <div>
      {/*  ここから */}
      <NavBar />
      {/*  ここからここまで追加 */}
      <div
        style={{
          width: "100%",
          height: 800,
          background: "chocolate",
          textAlign: "center"
        }}
      >
        左
      </div>
    </div>
  );
};

export default Left;
次は動きを追加します!
ページ遷移時に動きをつけるファイルを作成
src/components/motion配下に、ページ遷移時に動きをつけるファイルを作成
src/components/motion/LeftMotion.tsx
import React from "react";
import { motion } from "framer-motion";

const LeftMotion: React.FC<{
  children: JSX.Element;
}> = ({ children }) => {
  return (
    <motion.div
      animate={{
        x: 0,
        opacity: 1
      }}
      initial={{
        x: -500,
        opacity: 0
      }}
      exit={{
        x: 0,
        opacity: 0
      }}
      transition={{
        duration: 0.3
      }}
    >
      {children}
    </motion.div>
  );
};

export default LeftMotion;
src/components/motion/RightMotion.tsx
import React from "react";
import { motion } from "framer-motion";

const RightMotion: React.FC<{
  children: JSX.Element;
}> = ({ children }) => {
  return (
    <motion.div
      animate={{
        x: 0,
        opacity: 1
      }}
      initial={{
        x: 500,
        opacity: 0
      }}
      exit={{
        x: 0,
        opacity: 0
      }}
      transition={{
        duration: 0.3
      }}
    >
      {children}
    </motion.div>
  );
};

export default RightMotion;
src/components/motion/UnderMotion.tsx
import React from "react";
import { motion } from "framer-motion";

const UnderMotion: React.FC<{
  children: JSX.Element;
}> = ({ children }) => {
  return (
    <motion.div
      animate={{
        y: 0,
        opacity: 1
      }}
      initial={{
        y: 500,
        opacity: 0
      }}
      exit={{
        y: 0,
        opacity: 0
      }}
      transition={{
        duration: 0.3
      }}
    >
      {children}
    </motion.div>
  );
};

export default UnderMotion;
ページ遷移時の動きを各Pageに組み込む
こんな感じで上で作成したファイルを全ページに組み込んでいきます
import React from "react";
{/* ここから */}
import UnderMotion from "../components/motion/UnderMotion";
{/* ここまで変更 */}
import NavBar from "../components/NavBar";

const Under = () => {
  return (
    <div>
      <NavBar />
      {/* ここから */}
      <UnderMotion>
        <div
          style={{
            width: "100%",
            height: 800,
            background: "antiquewhite",
            textAlign: "center"
          }}
        >
          下
        </div>
      </UnderMotion>
      {/* ここまで変更 */}
    </div>
  );
};

export default Under;
上記の追加が終わればいい感じのページ遷移が確認できます!
Gifがいまいちなので実際の動きを正確に確認したい方は、GitHubからコードを落として確認してください!
https://github.com/aokisinn/page-motion-sample-app
あと、Macでいい感じのGif作成できるアプリ知っている方いたらコメントで教えてください!!!


