はじめに
- これまで、ローカル通知にはUIUserNotificationを利用してきました
- が、iOS 10ではdeprecatedになりました
- ここでは、iOS 10以降のローカル通知の方法の基本を記載します
- プッシュ通知も同様のAPIを使ってますが、今回はより仕組みの単純なローカル通知で説明します
検証環境
- Xcode 8.2.1
- iOS 10.2
- Swift 3
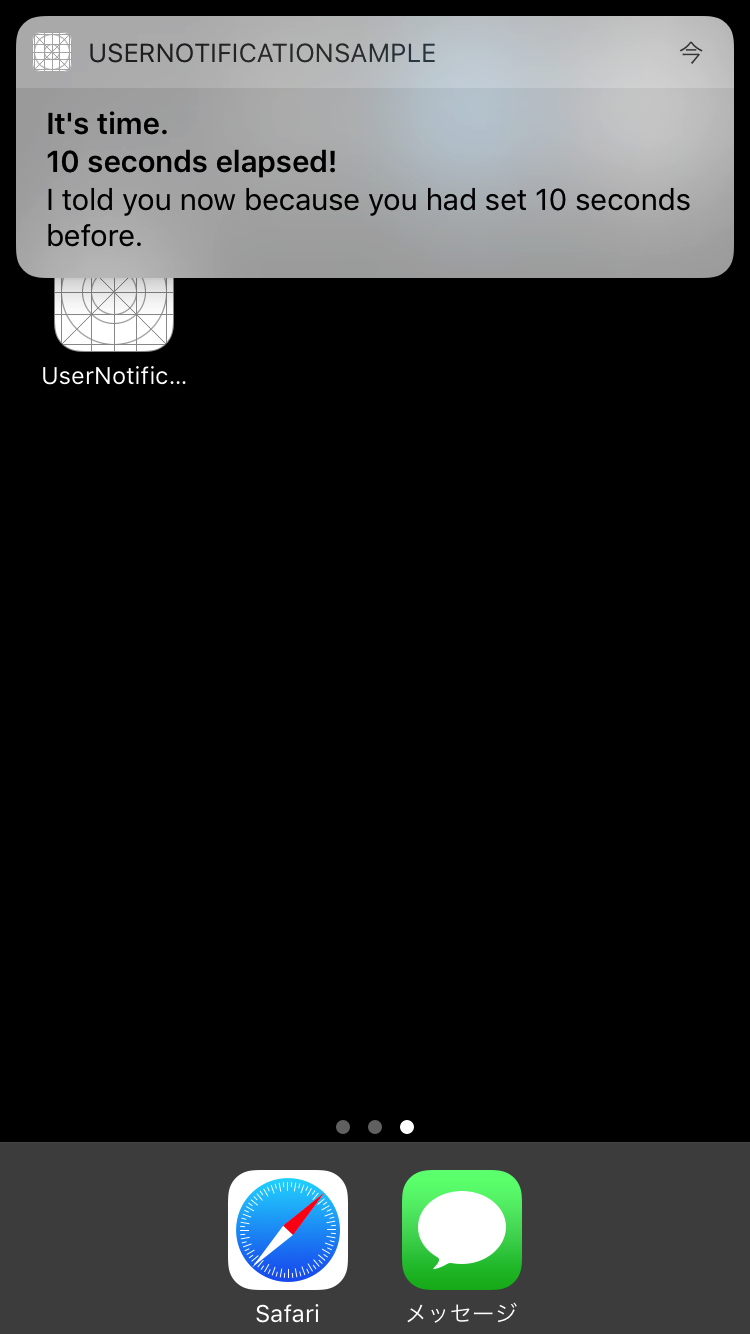
大きく変わった見た目
-
ダイアログ形式はなくなって、見た目上はバナーもアラートも画面上部の表示に変わりました
- バナーは5秒程度でHOME画面から表示が消える
- アラートはユーザが何らかのアクションを取るまでHOME画面に残る
登場するコンポーネント
- これらはUIKitではなくUserNotificationsフレームワークに含まれるので、利用にはimportが必要です
| コンポーネント | 説明 |
|---|---|
| UNUserNotificationCenter | 通知関連の機能を管理する |
| UNNotificationRequest | 通知の内容や、配送のトリガーを内包する |
| UNNotificationAction | 通知内で表示されるボタン |
| UNNotificationCategory | 通知の方法や表示されるアクションの設定をまとめたもの |
| UNNotificationSettings | 通知の設定情報を保持 |
| UNMutableNotificationContent | 通知する内容 |
| UNCalendarNotificationTrigger | 指定日時で通知を発行するトリガー |
| UNTimeIntervalNotificationTrigger | 指定時間後に通知を発行するトリガー |
| UNLocationNotificationTrigger | 指定場所で通知を発行するトリガー |
通知を行うための準備
ユーザへ通知許可を要求
- これまでと同様、通知を行うためにはユーザに許可を得る必要があります
- 場所的には、アプリ起動時に呼ばれるapplication(_:didFinishLaunchingWithOptions:)がよいでしょう
AppDelegate.swift(抜粋)
func application(_ application: UIApplication, didFinishLaunchingWithOptions launchOptions: [UIApplicationLaunchOptionsKey: Any]?) -> Bool {

    // notification center (singleton)
    let center = UNUserNotificationCenter.current()

    // ------------------------------------
    // 前準備: ユーザに通知の許可を求める
    // ------------------------------------

    // request to notify for user
    center.requestAuthorization(options: [.alert, .badge, .sound]) { (granted, error) in
        if granted {
            print("Allowed")
        } else {
            print("Didn't allowed")
        }
    }

    return true
}
(オプション)カテゴリを用意
- 単純な通知は、ただのバナー状であり、タップすると対象のアプリが起動します
- が、カスタムAction(ボタンだと思えばOK)を用意した雛形を準備しておくと、通知を発行する際に利用できます
- 別の記事で、いずれ書きたいと思います
ローカル通知を登録
- 通知自体は、UNNotificationRequestとして作成します(以下request)
- requestには、以下の情報を含めます
- 通知の内容
- UNMutableNotificationContent
- 通知のタイミング(When/Where)
- UN○○○○NotificationTriggerシリーズ
- 通知の内容
- requestをUNUserNotificationCenterにadd(_:withCompletionHandler:)することで、ローカル通知を登録します
- 指定の時間や場所で、通知されるようになる
ViewController.swift(抜粋)
@IBAction func setNotification(_ sender: UIButton) {

    let seconds = Int(segment.titleForSegment(at: segment.selectedSegmentIndex)!)!

    // ------------------------------------
    // 通知の発行: タイマーを指定して発行
    // ------------------------------------

    // content
    let content = UNMutableNotificationContent()
    content.title = "It's time."
    content.subtitle = "\(seconds) seconds elapsed!"
    content.body = "I told you now because you had set \(seconds) seconds before."
    content.sound = UNNotificationSound.default()

    // trigger
    let trigger = UNTimeIntervalNotificationTrigger(timeInterval: Double(seconds),
                                                    repeats: false)

    // request includes content & trigger
    let request = UNNotificationRequest(identifier: "TIMER\(seconds)",
                                        content: content,
                                        trigger: trigger)

    // schedule notification by adding request to notification center
    let center = UNUserNotificationCenter.current()
    center.add(request) { (error) in
        if let error = error {
            print(error.localizedDescription)
        }
    }
}
(オプション)カスタムAction選択時の処理を実装
- 通知をタップしたらアプリが表示されるだけであれば、これは不要です
- UNUserNotificationCenterDelegateを利用すると、カスタムActionに対する処理が実装できます
- 通常、該当アプリがフォアグラウンドの場合には通知は表示されませんが、表示できるようにすることも可能です
- これも、別記事でまとめる予定です
まとめ
- APIが整理されて、使いやすくなりました
- delegateとの組み合わせで、コードも整理できそうです
- Extension Pointも追加されているので、通知済みの内容を更新もできるようになりました
- 今回は単純に通知を出すだけでしたが、カスタマイズなどもまたまとめたいと思います
- 今回作成したサンプルコードは、GitHubに置きました