株式会社アクシスのアドベンチャーカレンダー19日目の@aokisinn1192です。
最近業務で使ったGatsby.jsとmicroCMSとFireBaswを使った構成が
来年流行りそうな気がするので今回はこちらのGatsby.jsとmicroCMSの連携方法を紹介しますー
Gatsby.jsとmicroCMSがそもそもなんなのかわからない人は以下の記事をみると
わかるようになると思います。
Gatsby.js インストール
npm install -g gatsby-cli
gatsby new gatsby-microCms-site
cd gatsby-microCms-site
gatsby develop
※ node.jsを事前にインストールしておいてください
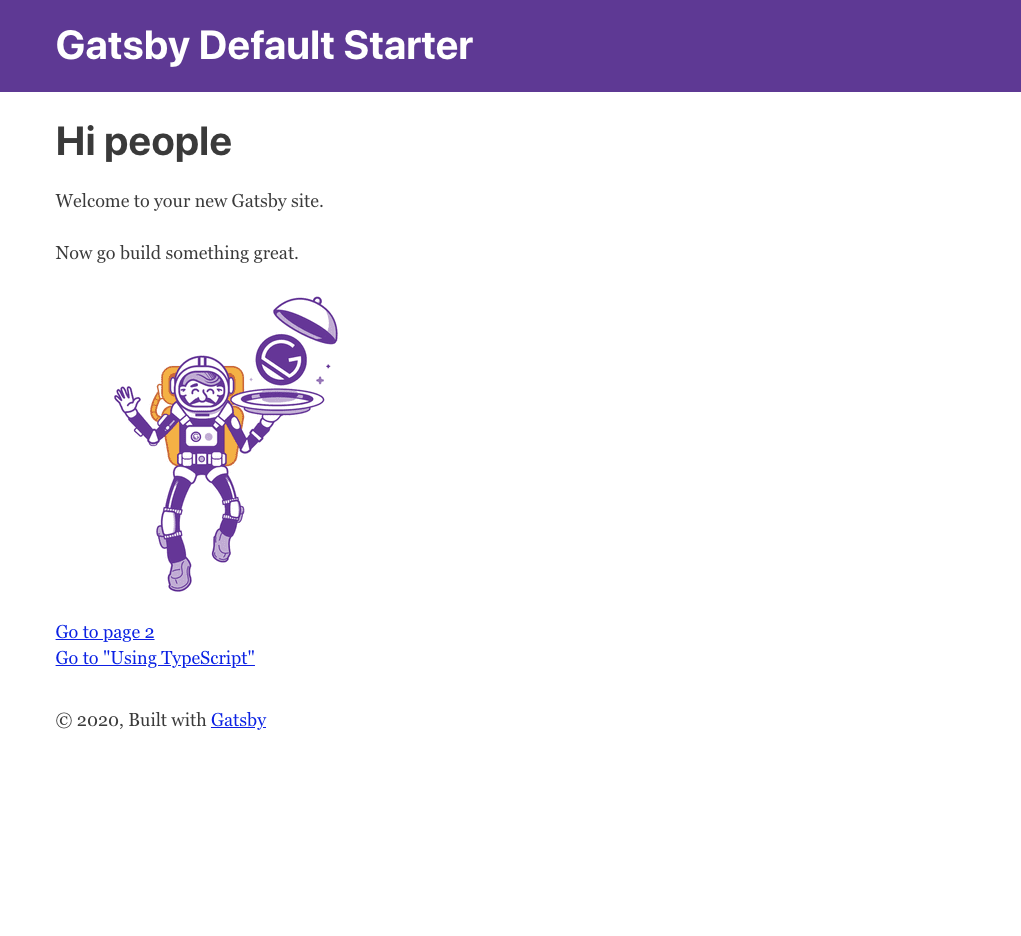
最後のコマンドを実行後 http://localhost:8000 にアクセスして、
以下の画面が表示されればインストールとプロジェクトの作成は完了です。
microCMS
アカウント登録
microCMSのページからアカウント登録をします。
アカウント登録までの流れは次のページを参考にしてください
サービス登録
-
アカウント登録後 サービス登録画面に遷移するので適当な値を入力して登録を済ませます
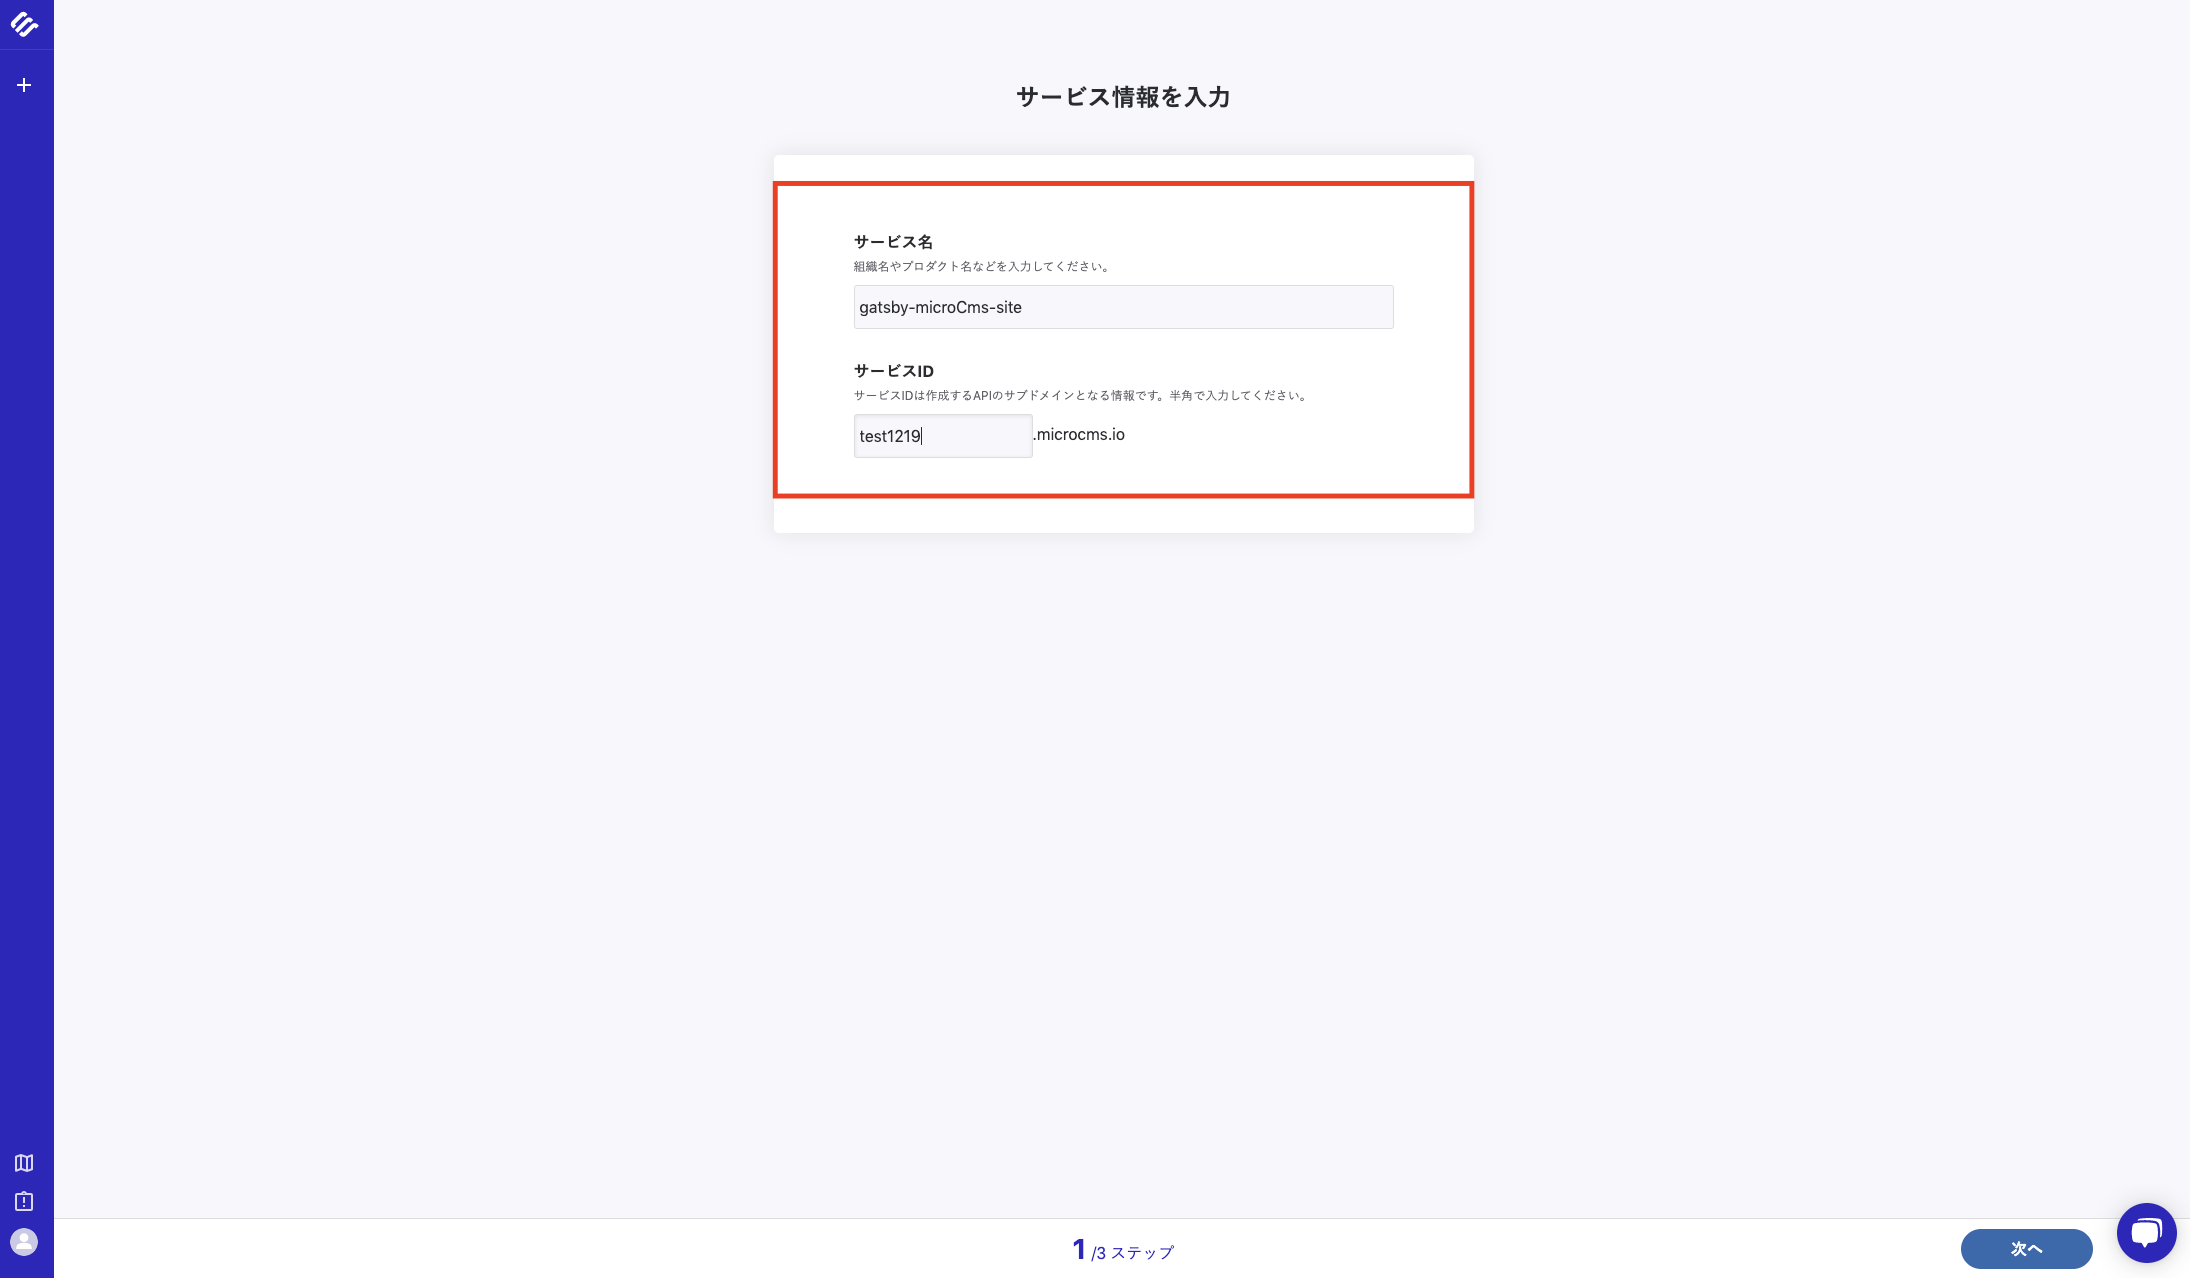
※ 入力後 プランの選択画面に遷移しますが無料プランを選択してください -
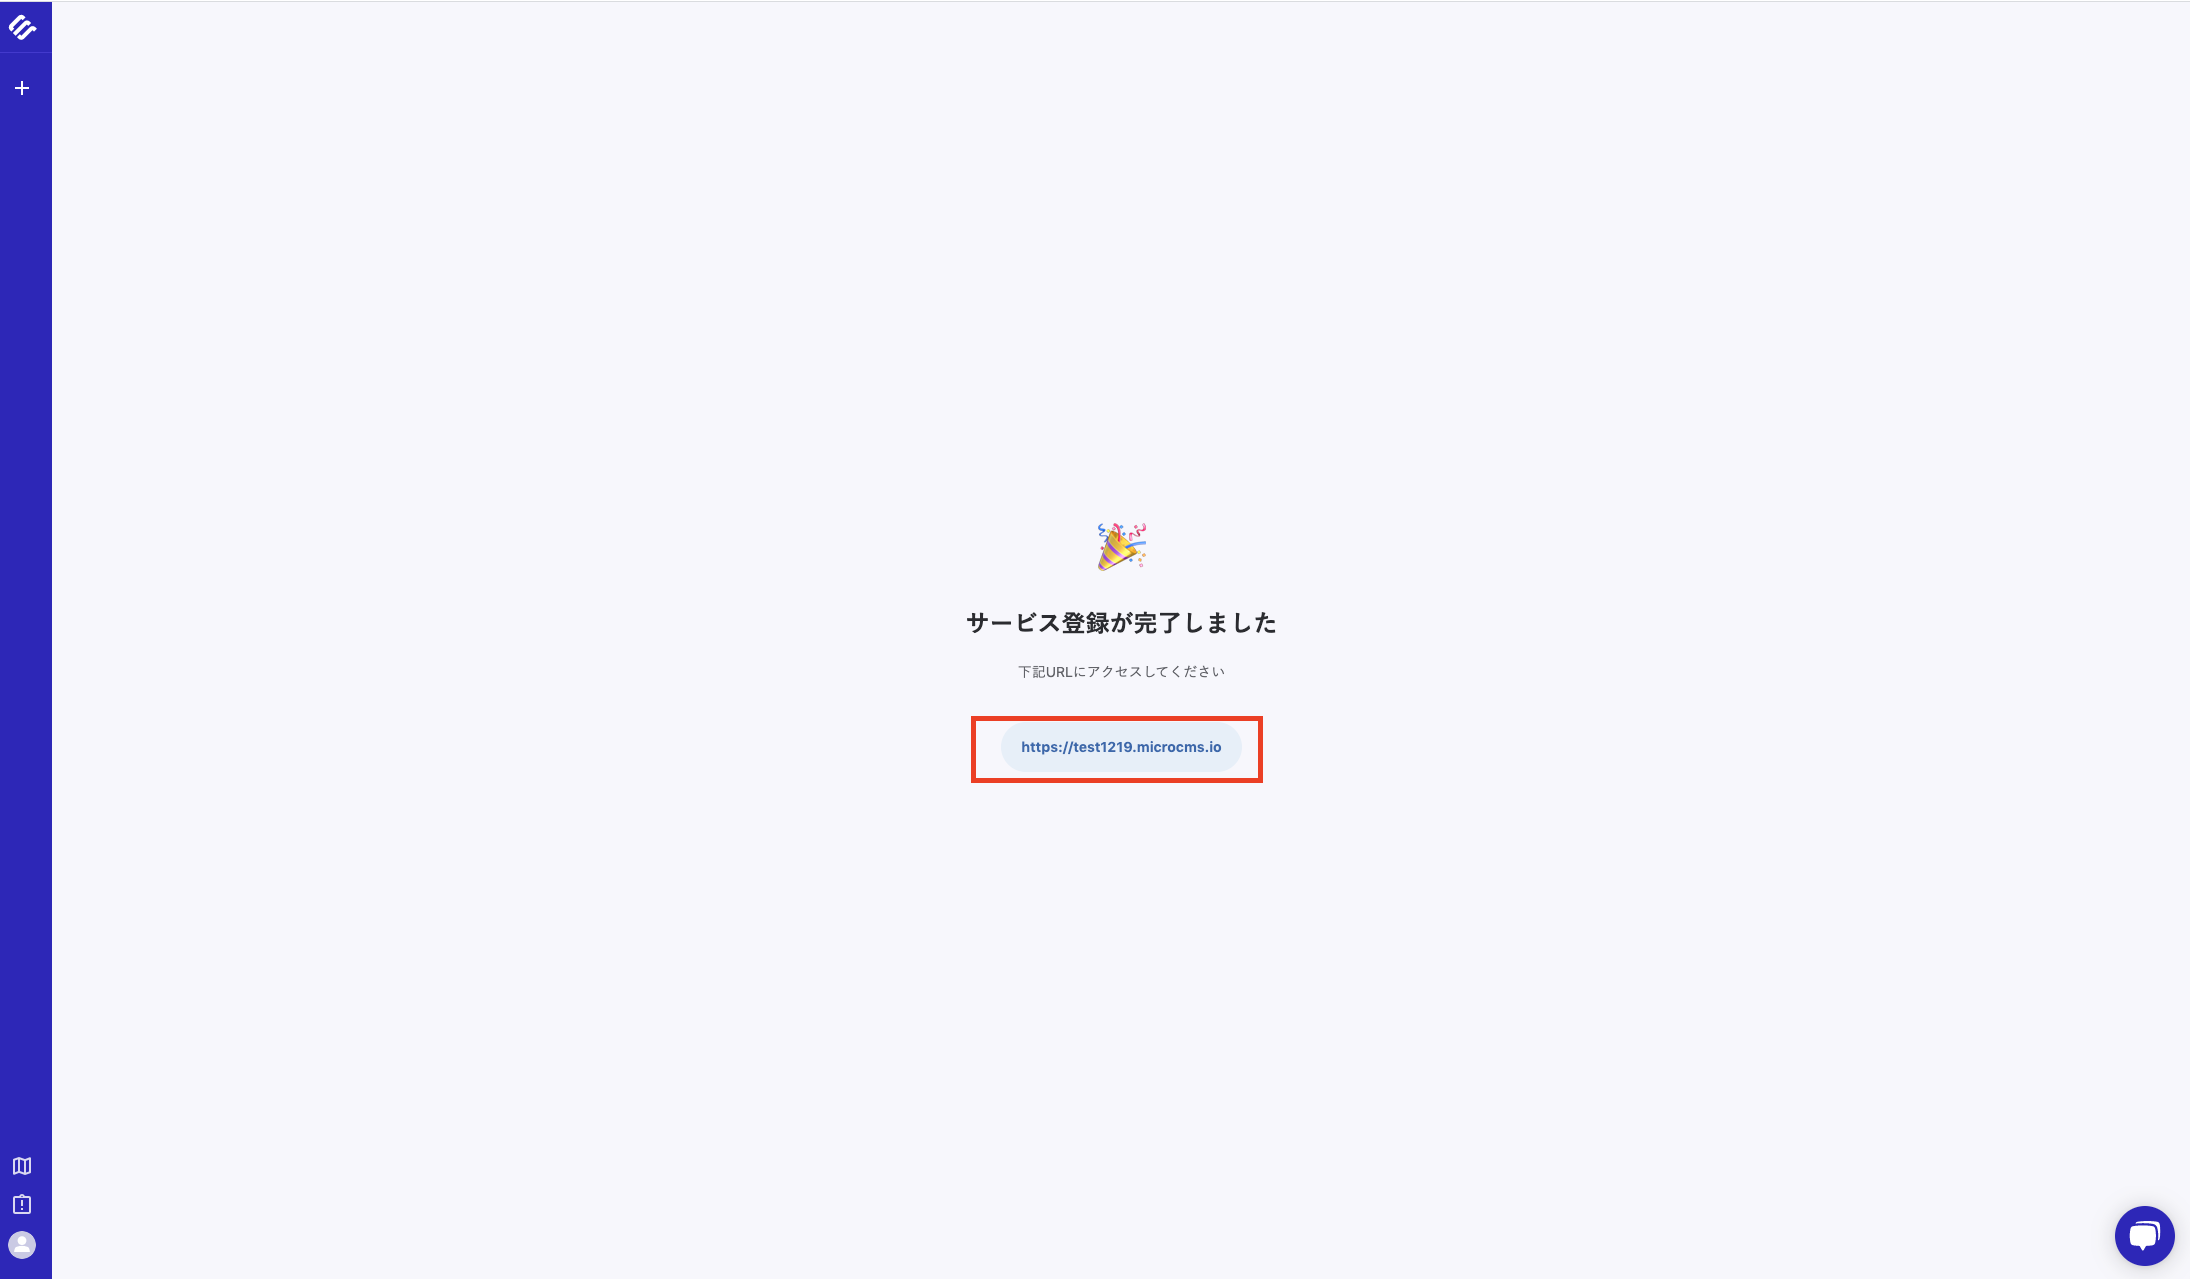
サービスの登録が完了したら次のページが表示されるので、赤ワクの箇所をクリックして
登録したサービスのダッシュボードに行ってみましょう!
Api登録
-
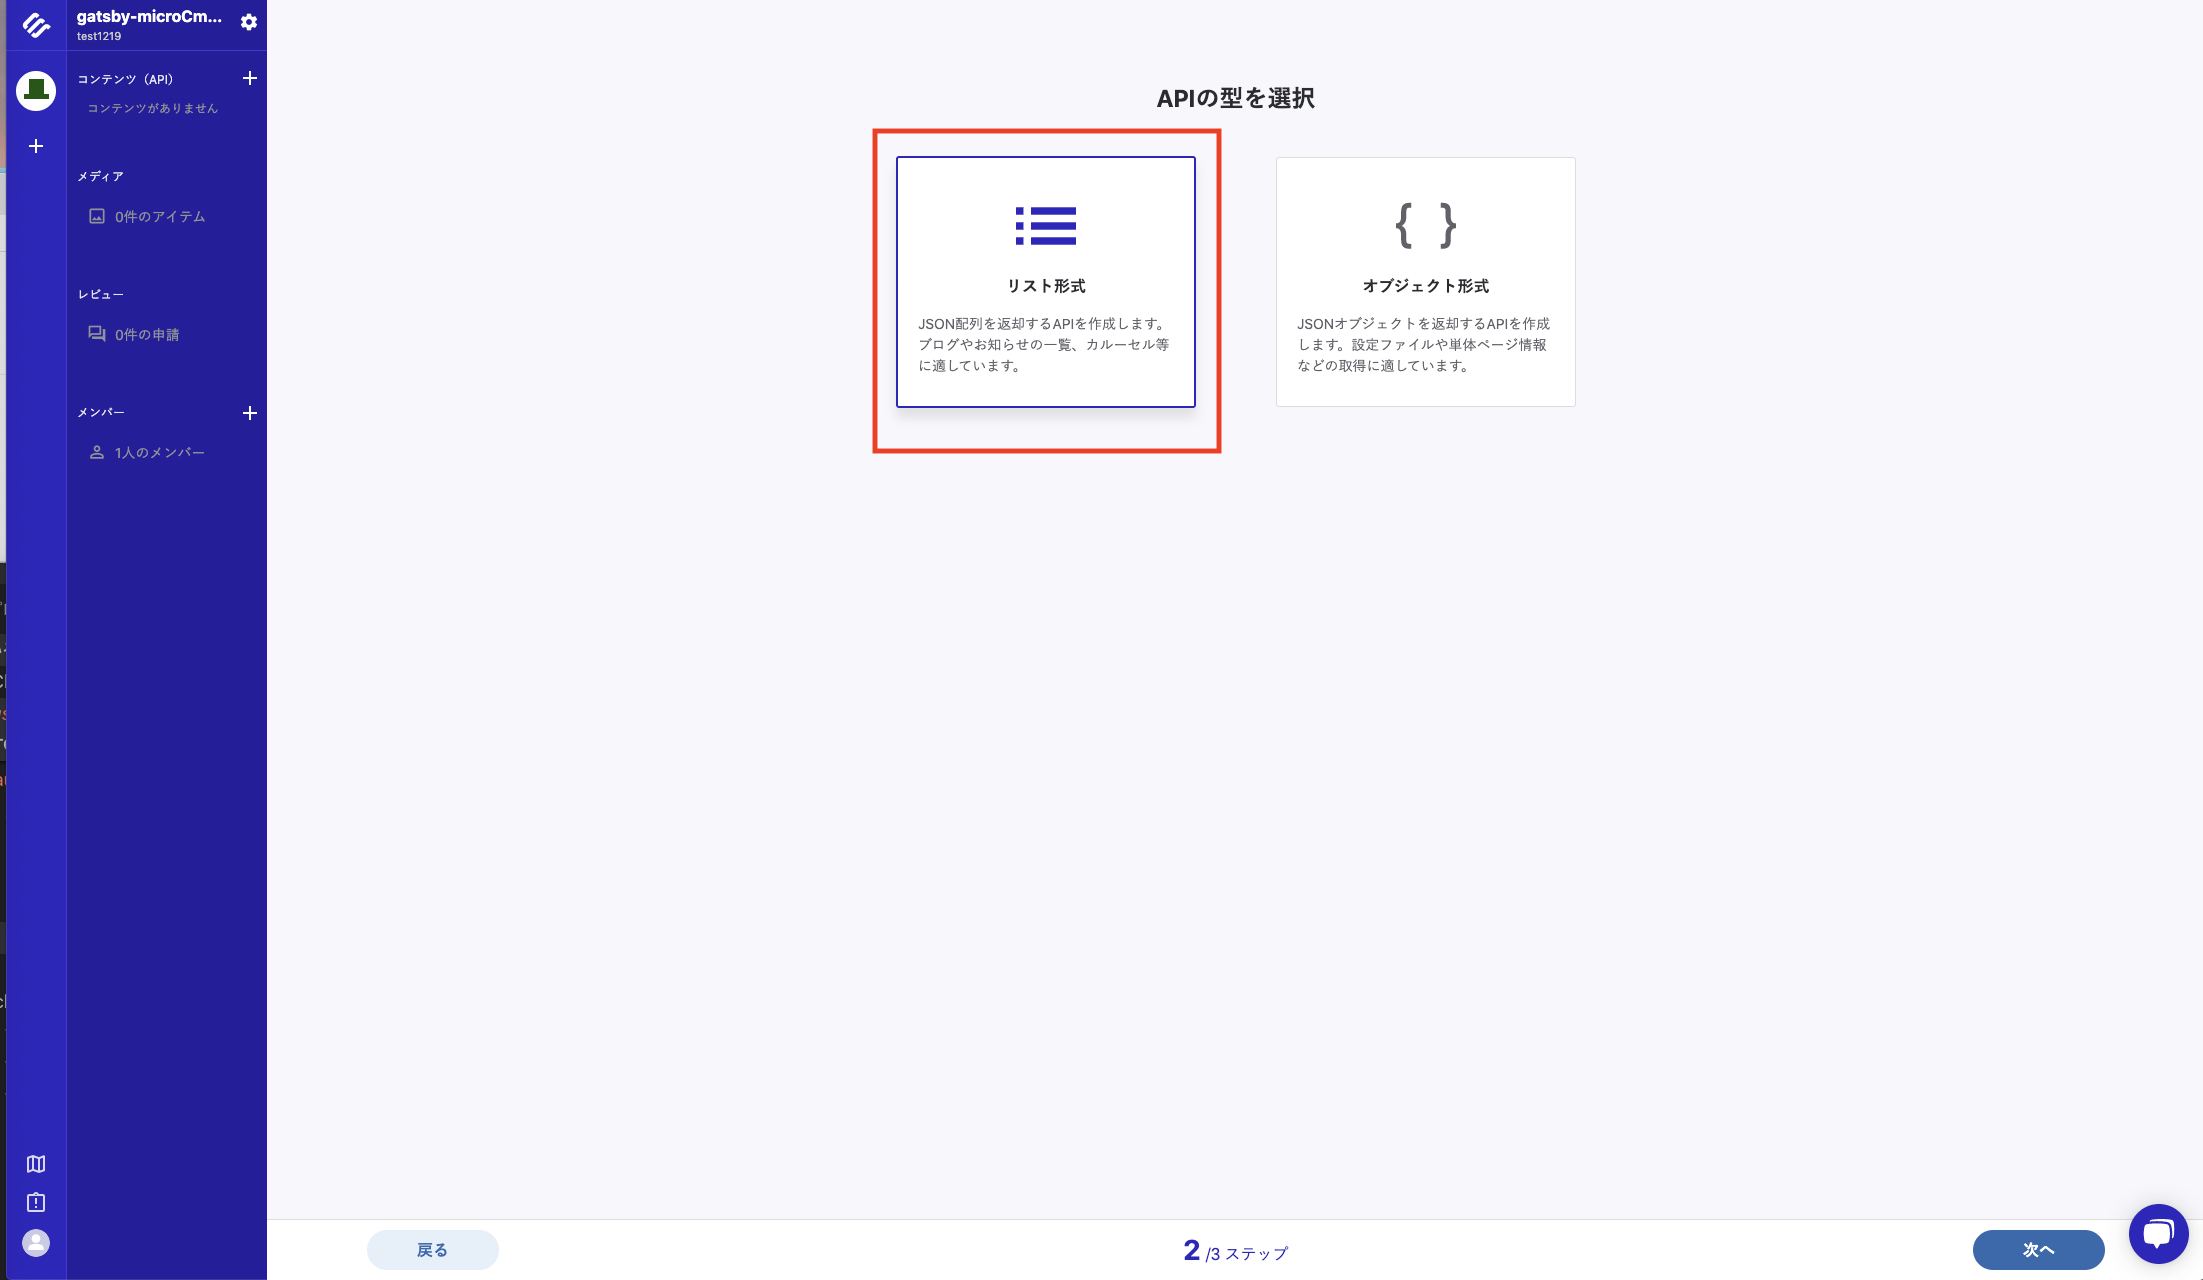
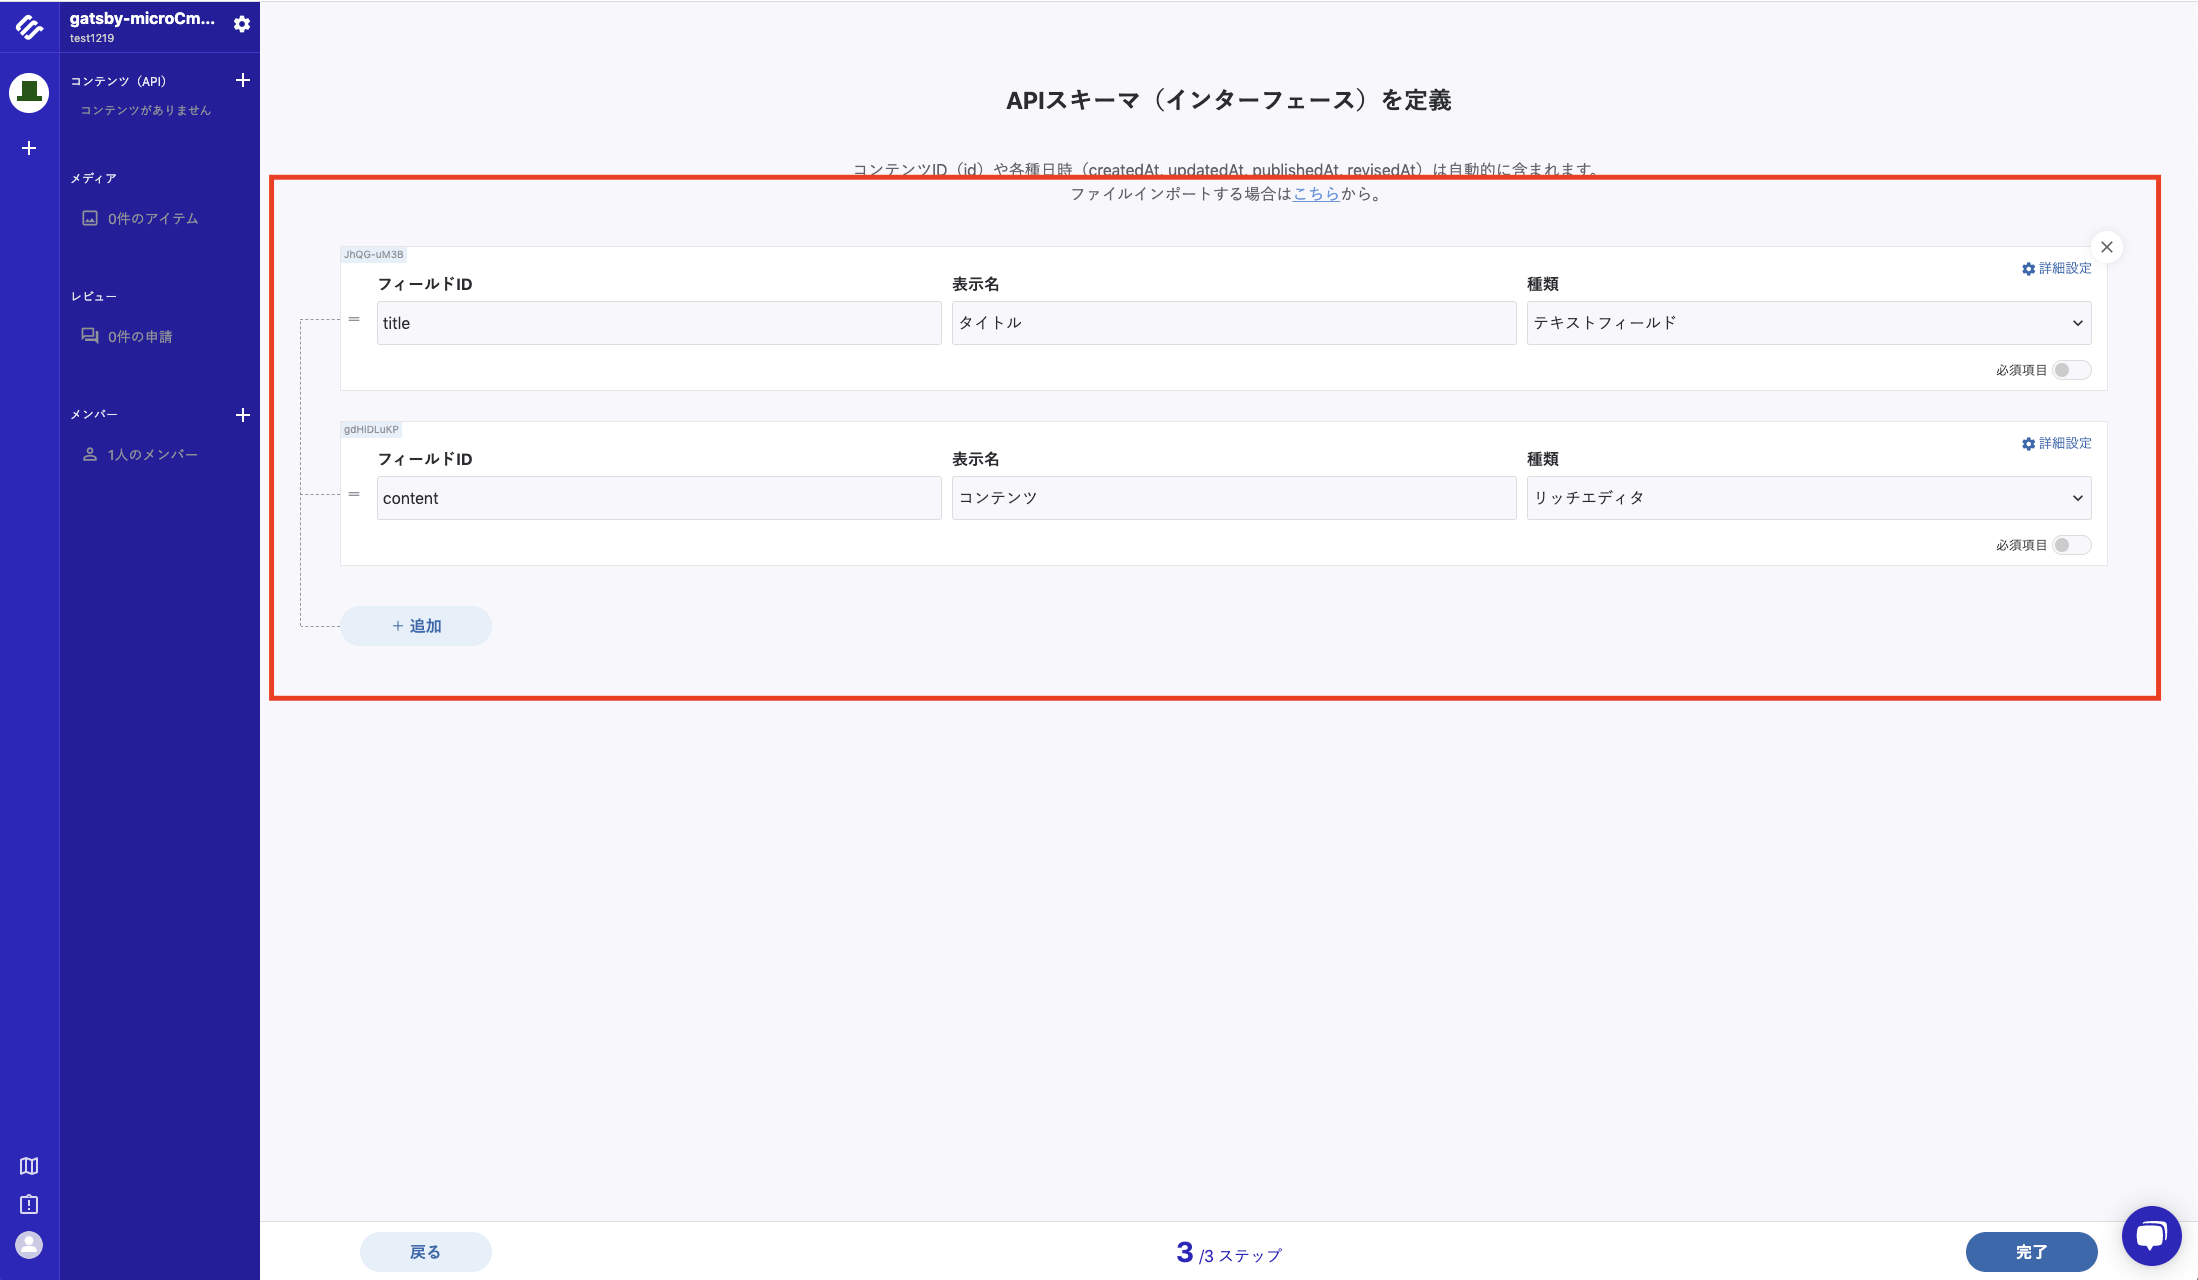
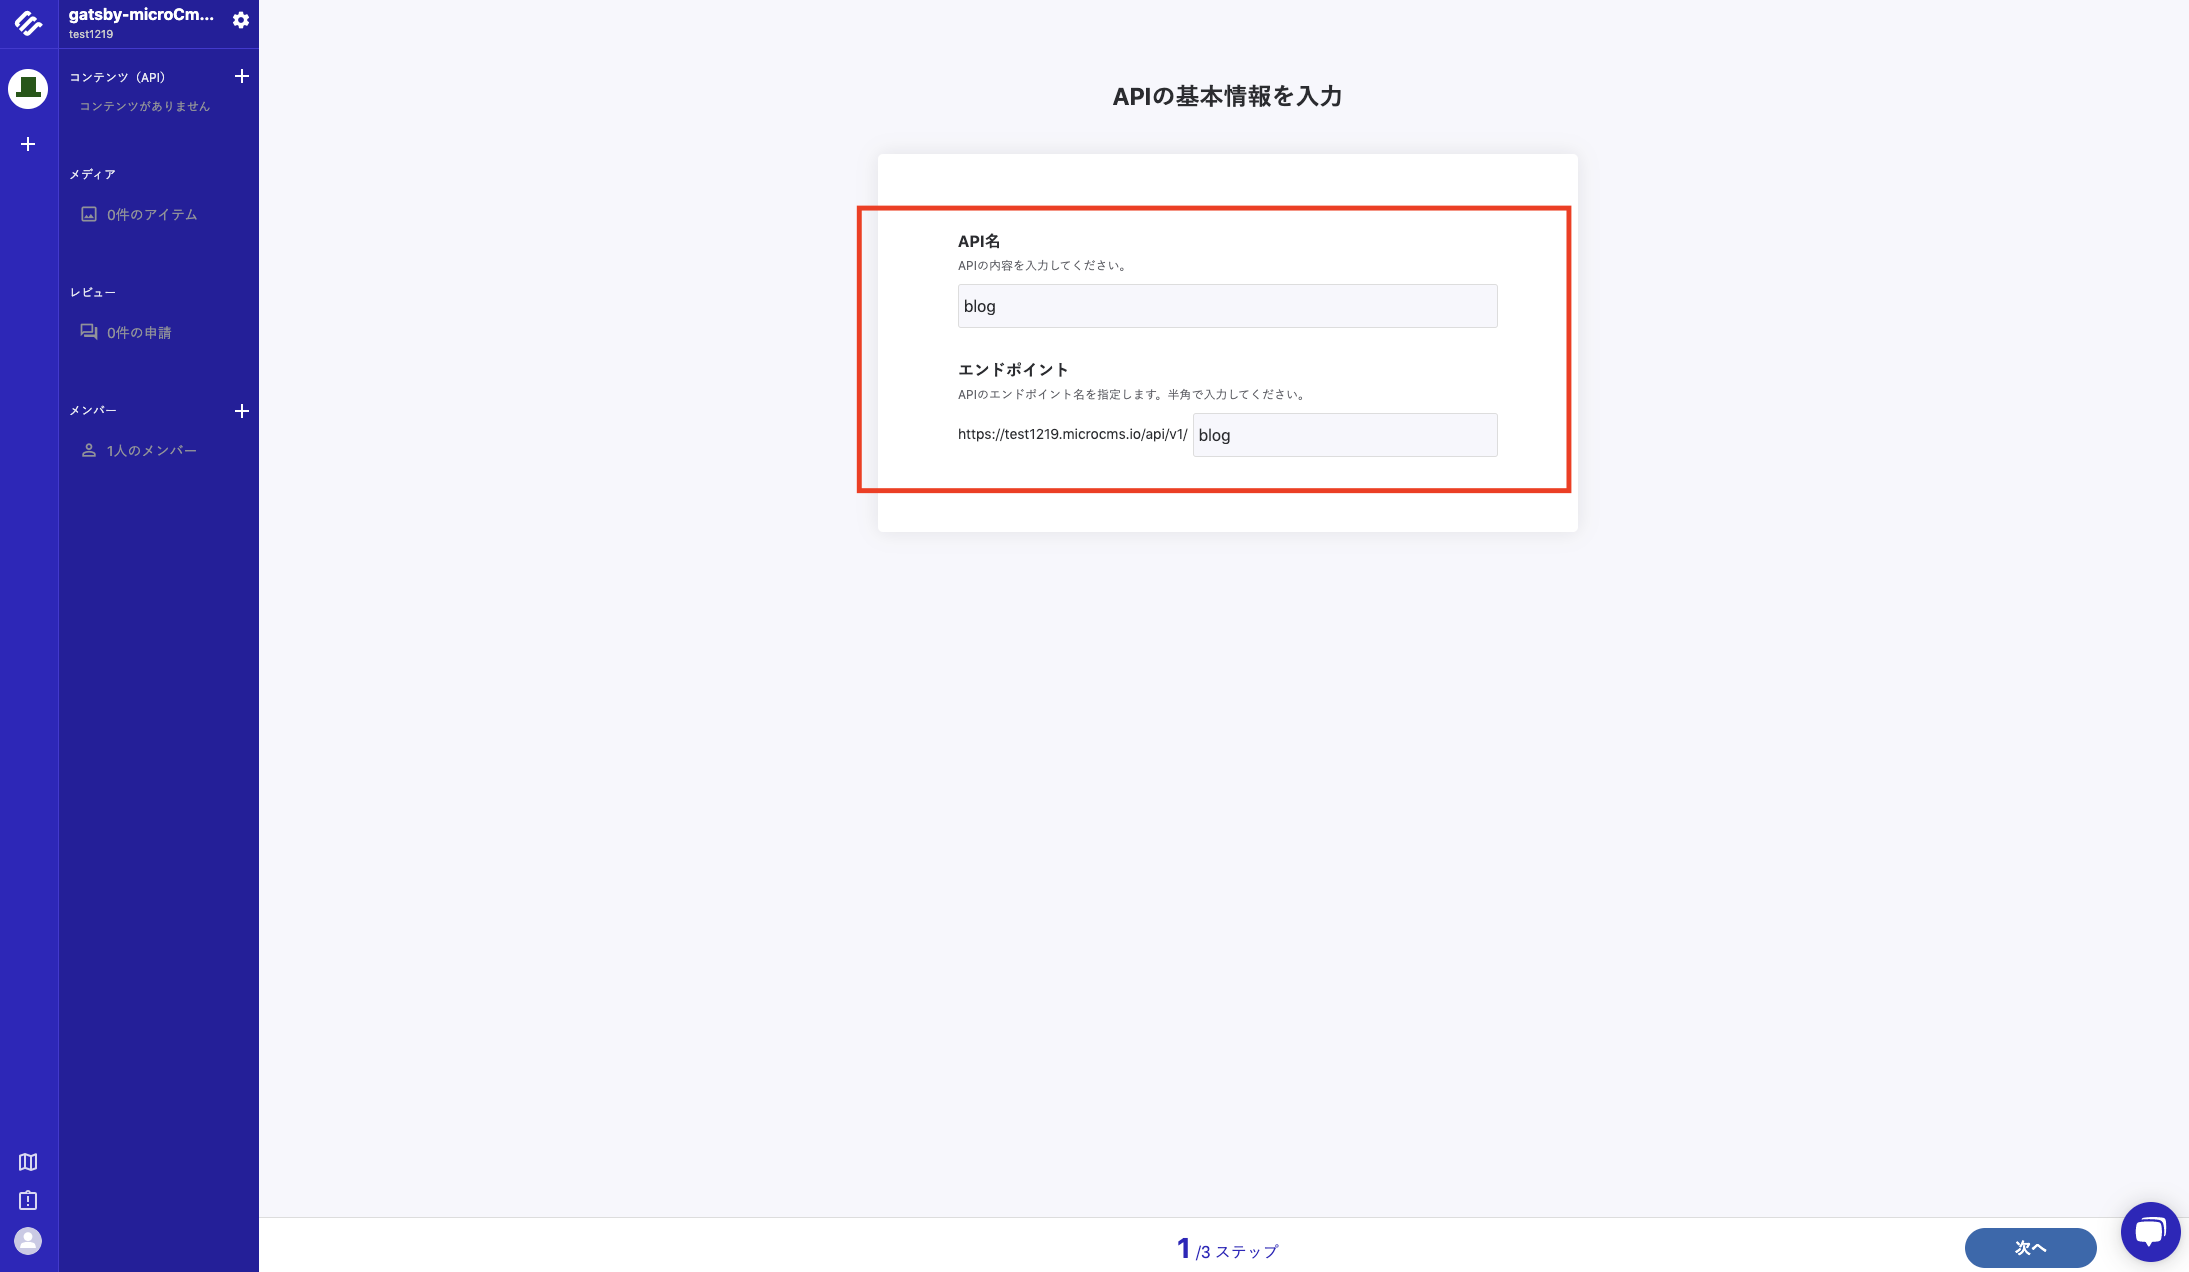
登録したサービスのダッシュボードに遷移すると、今回使用するAPIの登録が可能になるので、
こちらも適当な値を入力して登録します
-
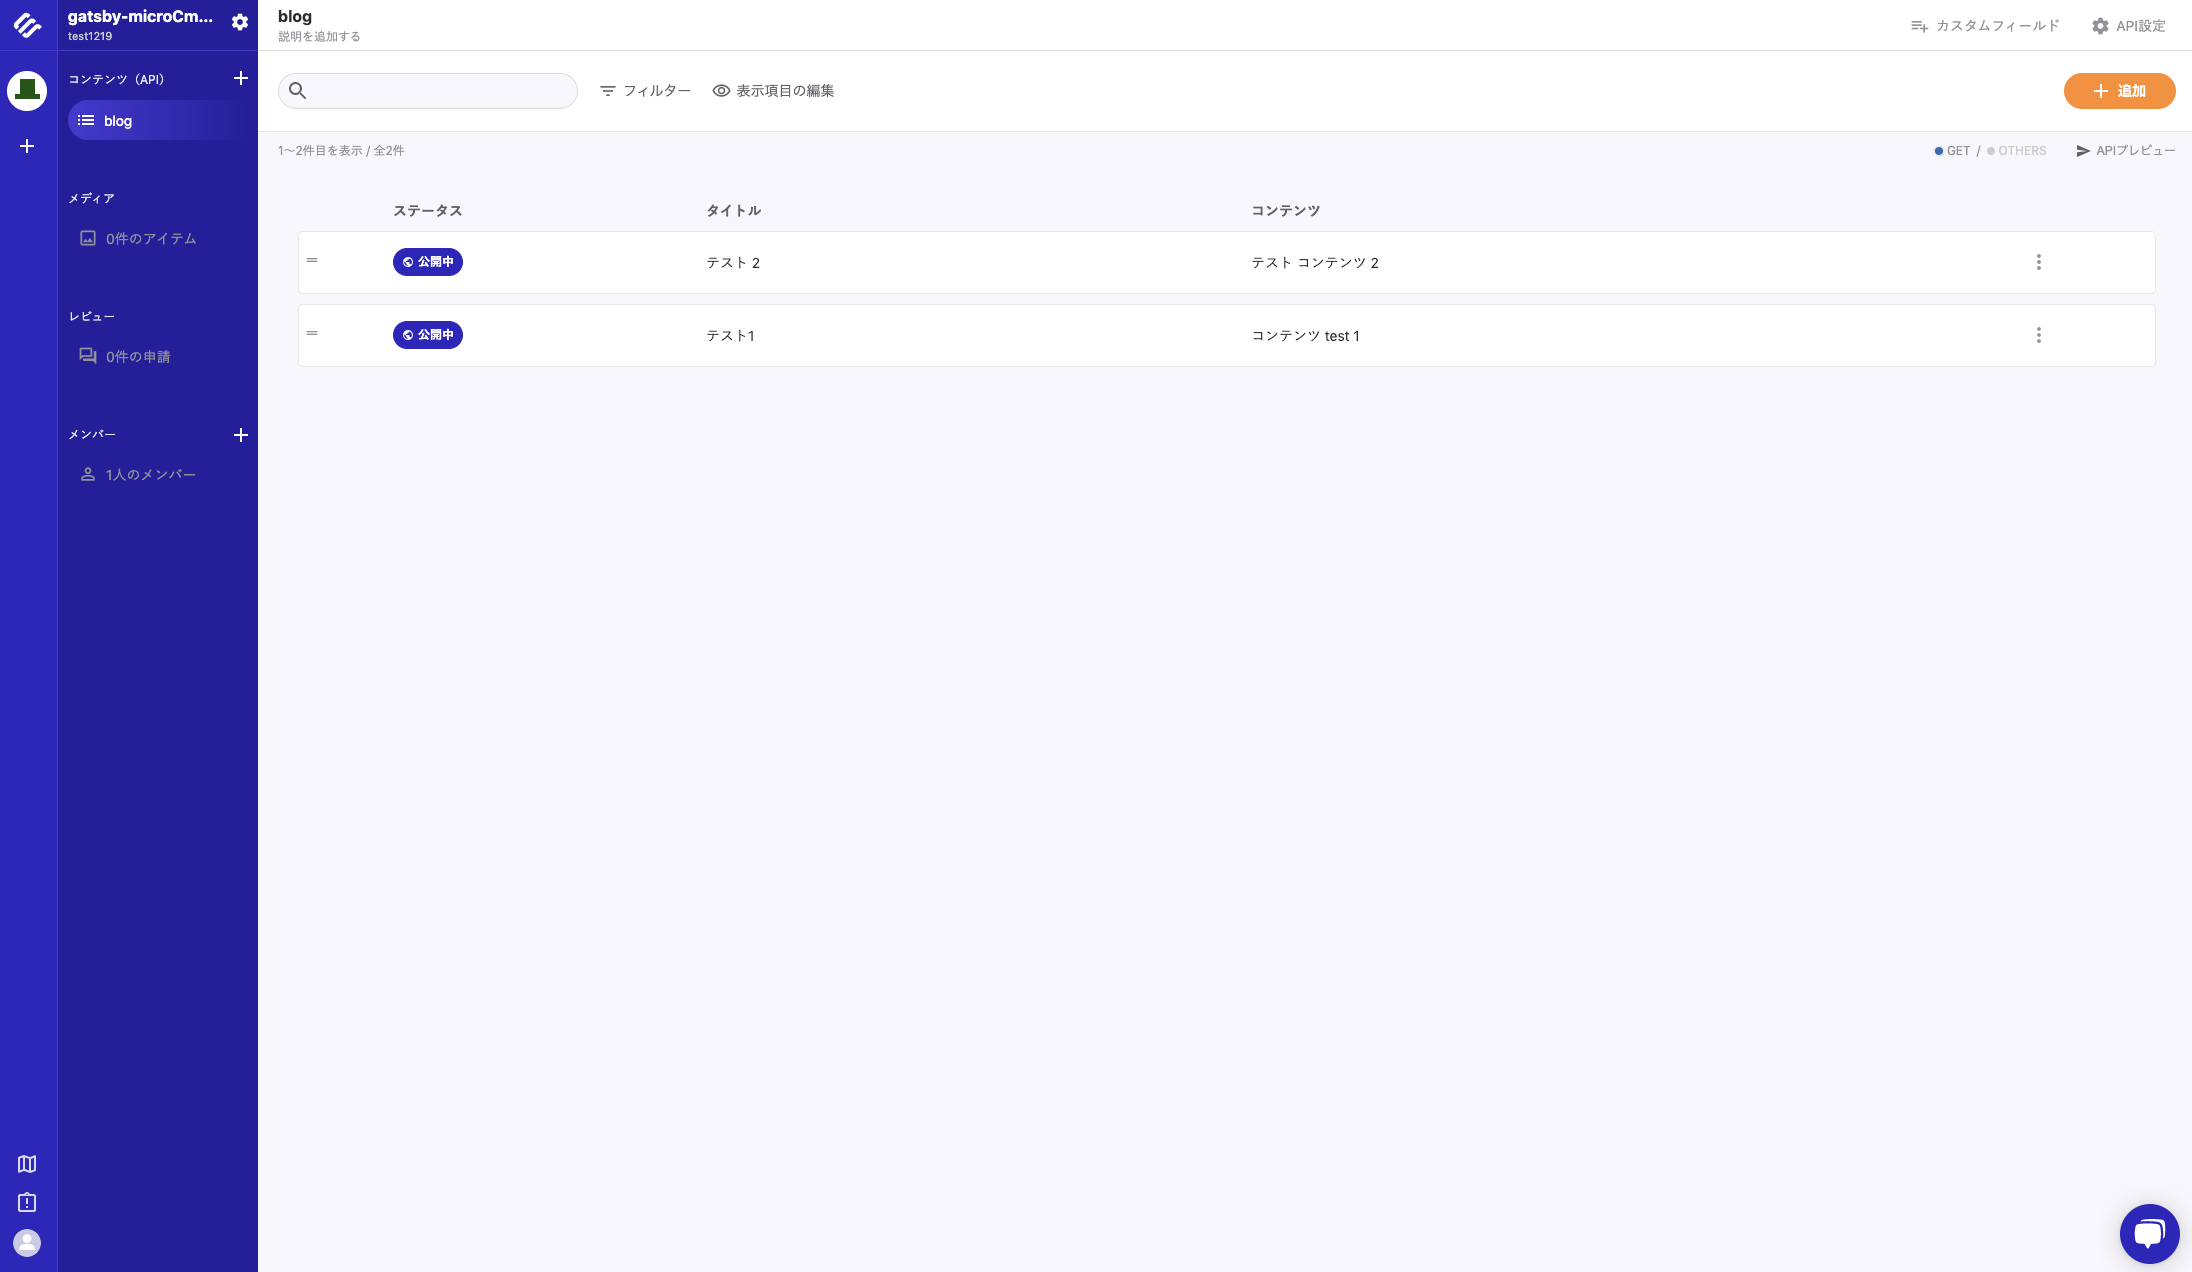
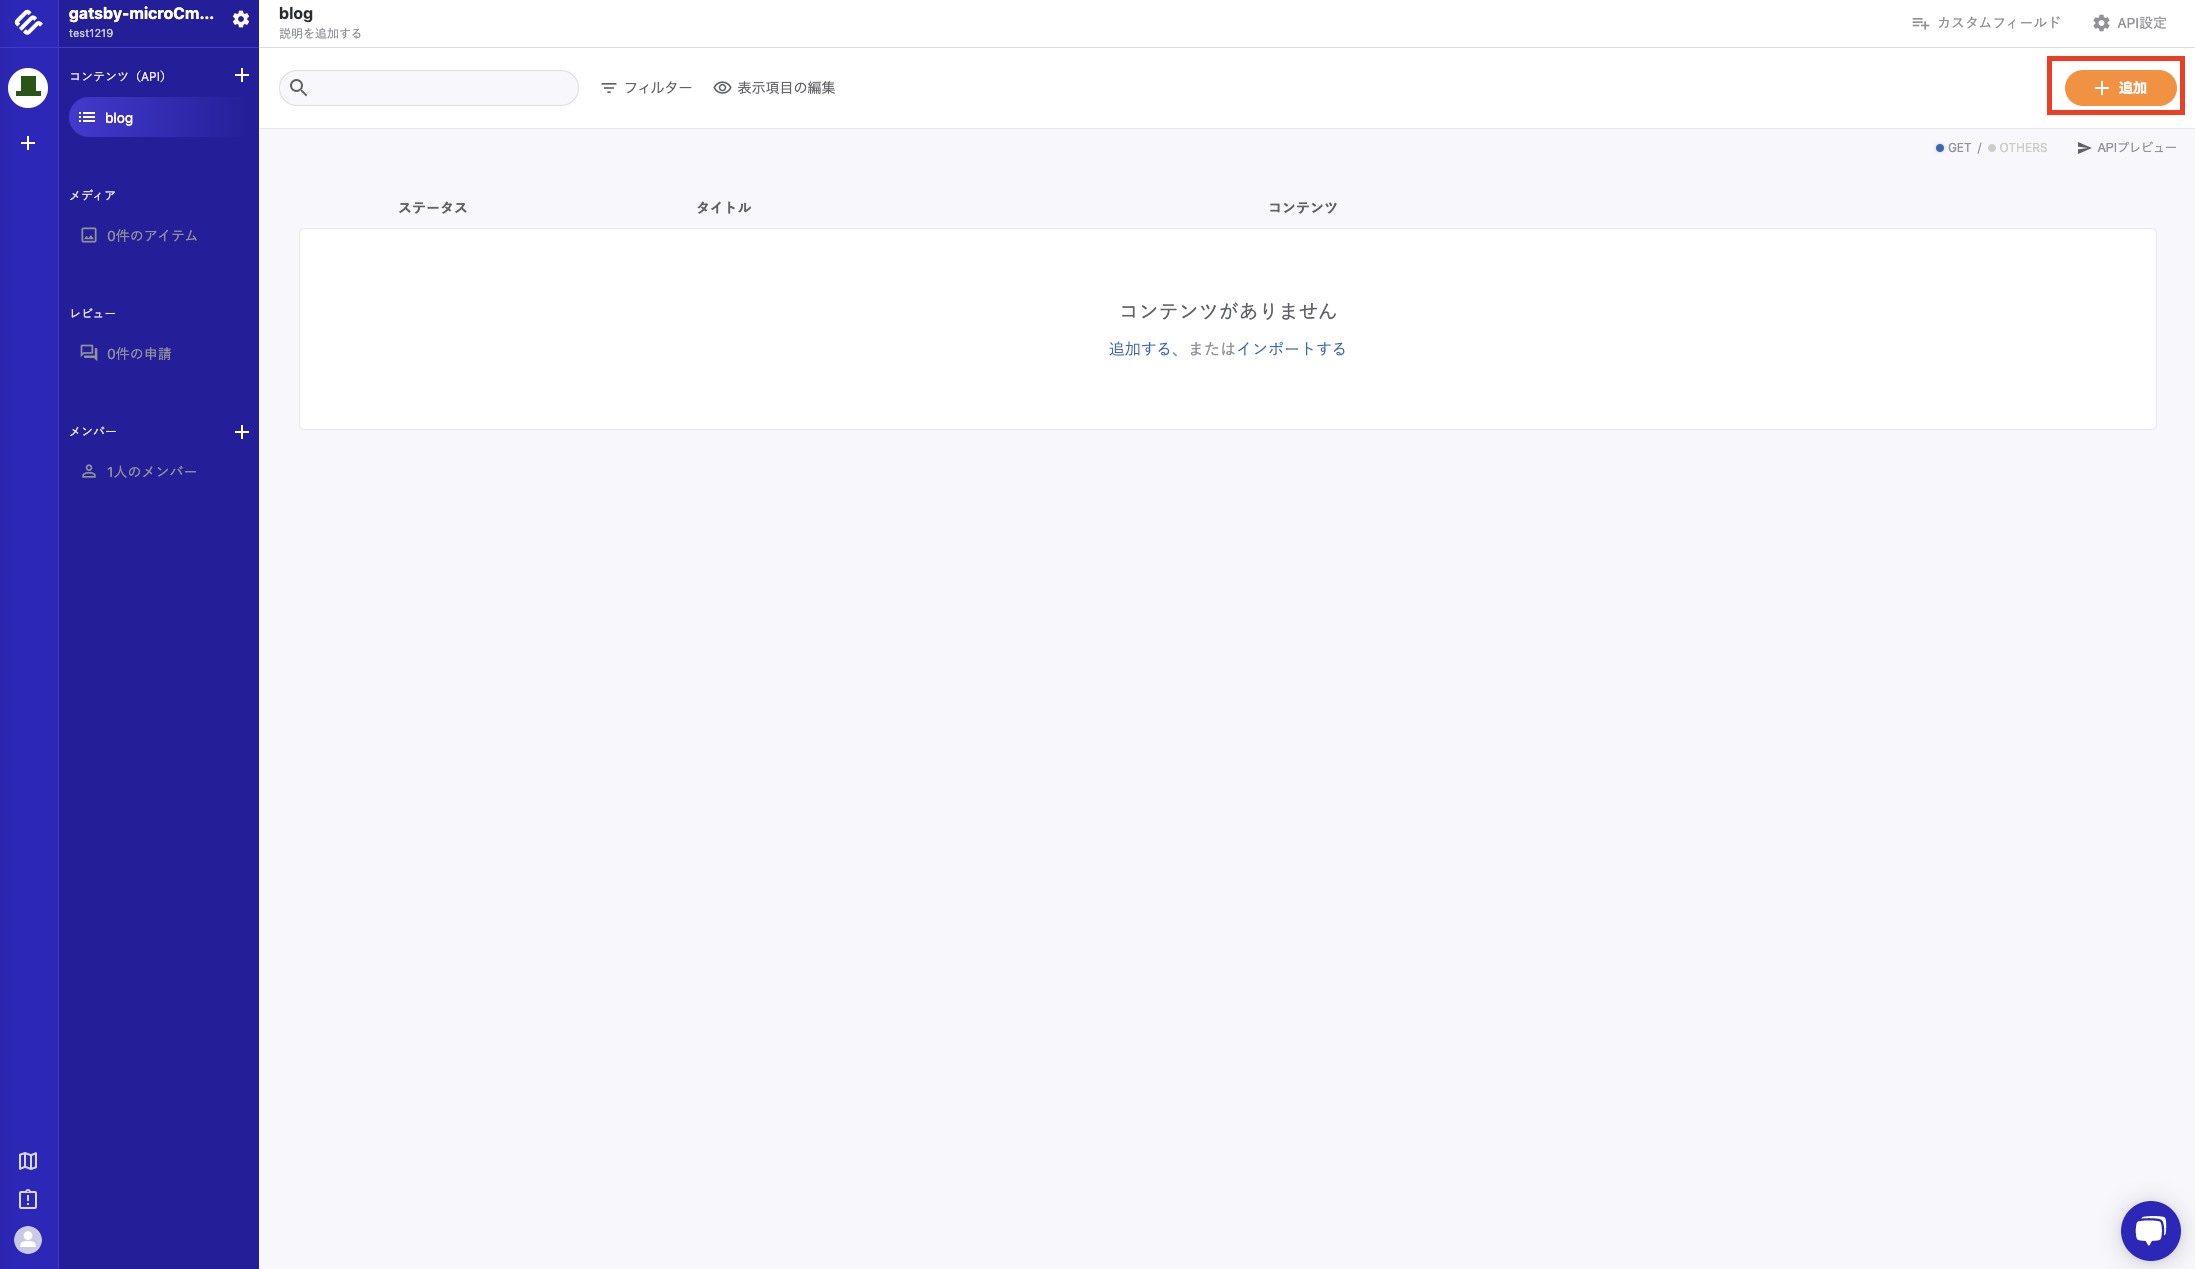
API登録が完了しました! 登録後はGatsby.jsと連携した時に表示するコンテンツを各自
右上の追加ボタンで登録をしときます
Gatsby.js * microCMS 連携
Gatsby.js のプロジェクトに戻り microCmsの連携に必要なプラグインをインストール
yarn add gatsby-source-microcms
プロジェクトの設定ファイル(gatsby-config.js)にMicroCmsの接続情報を入力
module.exports = {
  siteMetadata: {
    title: `Gatsby Default Starter`,
    description: `Kick off your next, great Gatsby project with this default starter. This barebones starter ships with the main Gatsby configuration files you might need.`,
    author: `@gatsbyjs`,
  },
  plugins: [
    `gatsby-plugin-react-helmet`,
    {
      resolve: `gatsby-source-filesystem`,
      options: {
        name: `images`,
        path: `${__dirname}/src/images`,
      },
    },
    `gatsby-transformer-sharp`,
    `gatsby-plugin-sharp`,
    {
      resolve: `gatsby-plugin-manifest`,
      options: {
        name: `gatsby-starter-default`,
        short_name: `starter`,
        start_url: `/`,
        background_color: `#663399`,
        theme_color: `#663399`,
        display: `minimal-ui`,
        icon: `src/images/gatsby-icon.png`, // This path is relative to the root of the site.
      },
    },
    // ---------- microCms ----------  ここから
    {
      resolve: "gatsby-source-microcms",
      options: {
        apiKey: '{api_key}',
        serviceId: '{serviceId}',
        apis: [{
          endpoint: '{endpoint}',
          query: {
            limit: 100,
          },
        }],
      },
    },
    // ---------- microCms ---------- ここまで
  ],
}
{api_key}は、次のページ をみて設定してください
{serviceId}と{endpoint}は、上で登録したサービスのidとApiのidです。
設定後
gatsby develop
を実行してBuildが完了されれば連携は完了です。
microCMSで登録したコンテンツをページに表示してみる
gatsby-microCms-site/src/pages/ 配下に次の名前 blogList.js という名前でファイルを作成
ファイルの内容を次のように変更
import React from "react"

export default ({ data }) => {
    console.log(data)
    return (<>
        <h1>blogList</h1>
        <ul className="blog_list">
            {data.allMicrocmsBlog.edges.map(({ node }) => {
                return (
                    <li>{node.title}</li>
                );
            })}
        </ul>
    </>
    )
}

export const query = graphql`
query {
    allMicrocmsBlog(filter: {}) {
        edges {
            node {
                id
                title
            }
        }
    }
  }
`;
変更後、
http://localhost:8000/blogList にアクセスしてmicroCMSで登録した内容が表示されていれば完了です。
まとめ
かなりざっくり説明しましたが、Gatsby.jsとmicroCMSの連携方法とデータの表示方法がわかったと思います。
来年再来年あたり流行る気がするので、興味のある方はこれからも触ってみてください。
おすすめの書籍 : https://www.amazon.co.jp/dp/B088WJWJK9/ref=dp-kindle-redirect?_encoding=UTF8&btkr=1
