今回は自分がopen-interpereterを使った時の手順を紹介します
事前確認
今回GPUを用いてopen-interpreterを動かすので、ホストOSでGPUが利用できることを確認してください
(自分はnvidiaのGPUを使用していたので、intelの場合は確認方法が異なります)
確認方法
コマンドプロンプトにて以下のコマンドを実行
nvidia-smi
手順1 Docker desktopをダウンロード
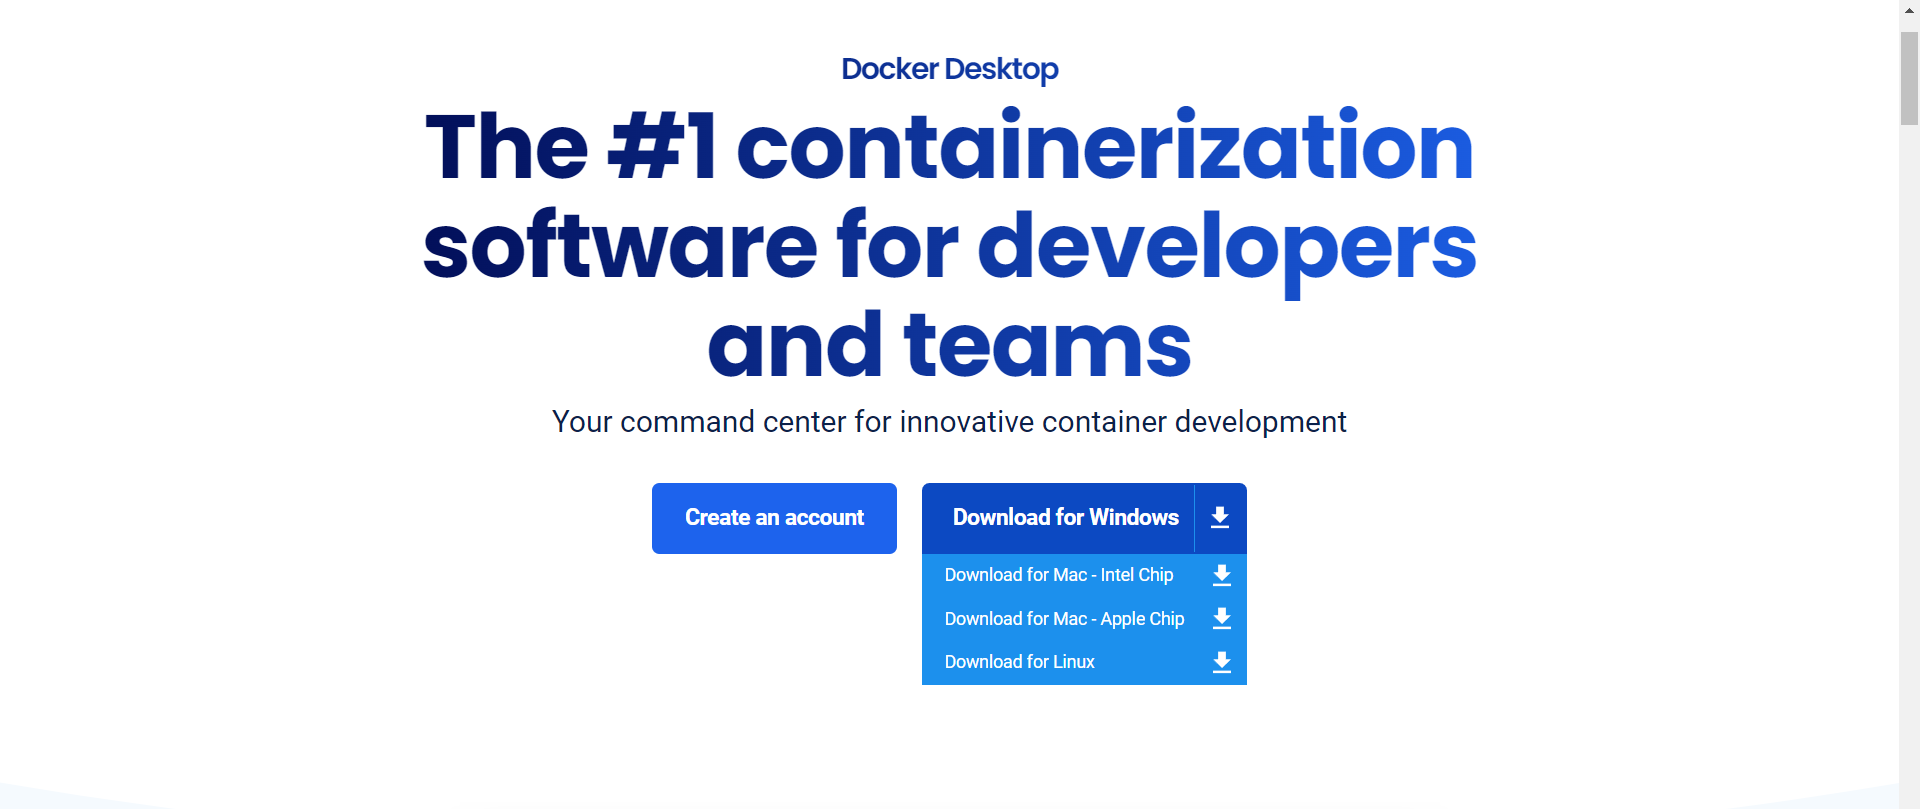
以下のリンクからDocker Desktopをダウンロードしましょう
リンクに飛んだらお使いのOSに合わせてダウンロードしてください

installerは特別な手順はないので流れにそってください。
Docker Desktop起動後、お好きなアカウントでsign inしてください
手順2 Dockerfileからイメージを作成
今回はopen-interpreterを動かす際にnvidiaのGPUを使うのでベースとなるモデルは以下のものを使用します
FROM nvidia/cuda:12.2.0-devel-ubuntu22.04
インストールのためのコマンドを揃えます
RUN apt-get update && apt-get upgrade -y
RUN apt-get install -y git build-essential cmake python3 python3-pip python-is-python3
RUN apt-get update && apt-get install -y x11-apps qtbase5-dev sudo
環境変数の設定とopen-interpreterに用いるパッケージをインストール
RUN CUDA_PATH=/usr/local/cuda FORCE_CMAKE=1 CMAKE_ARGS='-DLLAMA_CUBLAS=on' \
pip install llama-cpp-python --force-reinstall --upgrade --no-cache-dir -vv
次にopen-interpreterのインストール
RUN pip install open-interpreter
※openaiのvision機能を使いたい場合は、バージョンは0.1.12以上で行ってください
RUN pip install open-interpreter==0.1.12
最後にworkdirectoryを設定
WORKDIR /root
以下は上記のコマンドをまとめたものです
FROM nvidia/cuda:12.2.0-devel-ubuntu22.04

RUN apt-get update && apt-get upgrade -y
RUN apt-get install -y git build-essential cmake python3 python3-pip python-is-python3
RUN apt-get update && apt-get install -y x11-apps qtbase5-dev sudo

RUN CUDA_PATH=/usr/local/cuda FORCE_CMAKE=1 CMAKE_ARGS='-DLLAMA_CUBLAS=on' \
pip install llama-cpp-python --force-reinstall --upgrade --no-cache-dir -vv

RUN pip install open-interpreter

WORKDIR /root
dockerfileを作成したら、イメージとして保存しましょう
docker build -t image_name:tag_name .
image_name・・・自分で保存したいイメージ名にしてください
tag_name・・・image_nameと同様に自分の好きなtagにしてください
手順3 イメージからコンテナの作成
イメージ作成が終わったら、次はイメージからコンテナを作成します
先ほど保存したイメージ名を使います
docker run -it docker run -it -e=DISPLAY -v /tmp/.X11-unix:/tmp/.X11-unix -v C:/root --gpus all image_name:tag_name
手順4 コンテナ上で実際に動かす
ディレクトリはどこでも良いので以下のコマンドを実行
interpreter -y
入力後、openaiのAPI keyを求められますが、なにも入力せずにEnterを押せばlocalモデルであるCodeLlamaを使用できます。
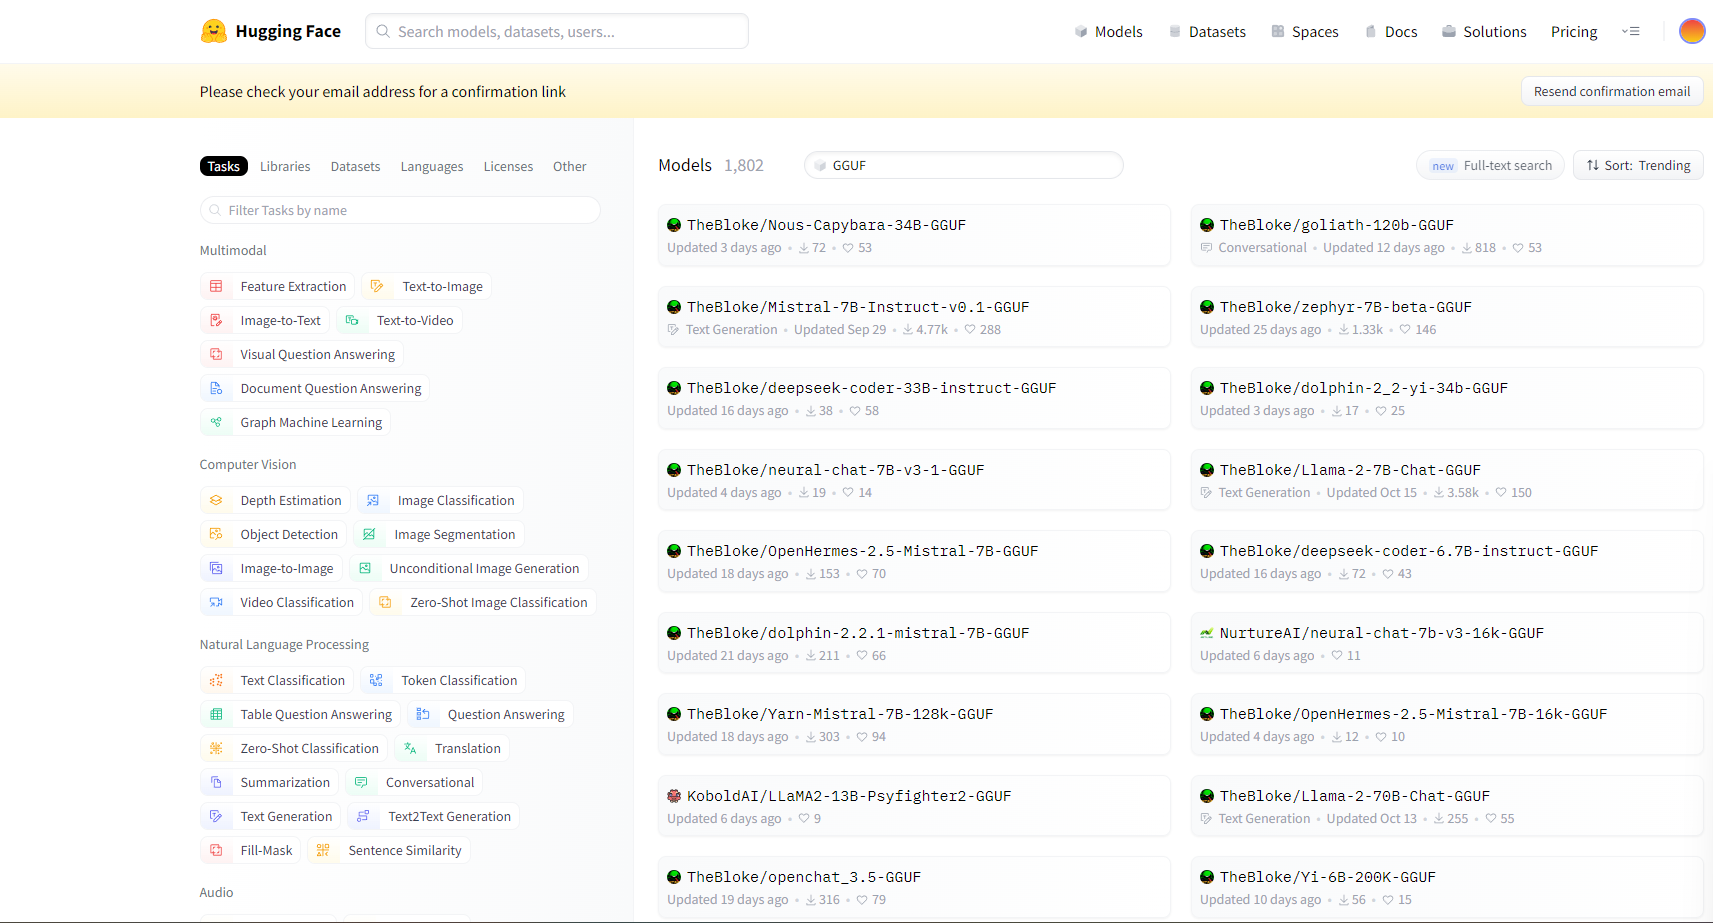
また、別のlocalモデルを試したい場合はHugging Faceからダウンロードすることができます
Hugging Faceから使う方法
先ほどのURLからGGUFと検索するとopen-interpreterで使用可能なフォーマットで記述されたものが見つかります

モデルを決めたら以下のコマンドを入力してください
(実行タイミングは先ほどのinterpreter -yの時です)
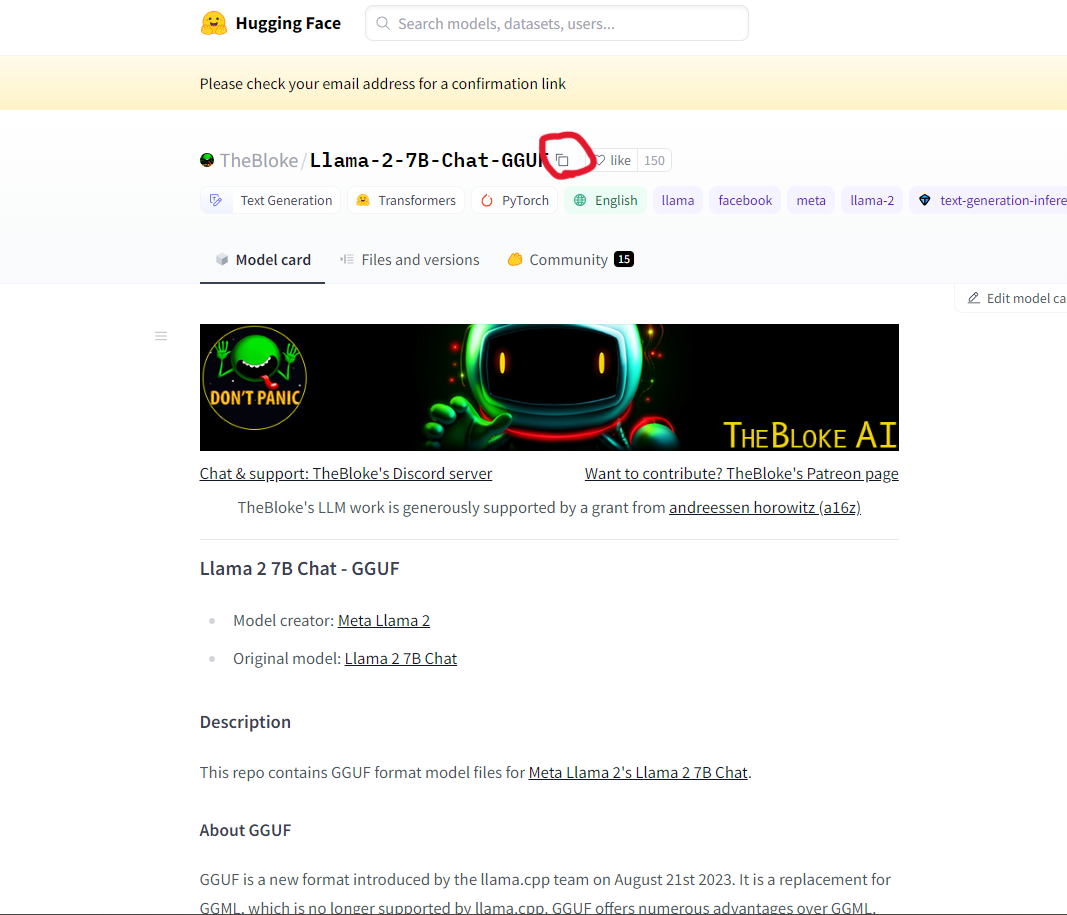
interpreter --model paste_model_name
paste_model_name・・・下記画像の赤丸をコピペ

tips
interpreterのコマンドについて
-h, --help
-s SYSTEM_MESSAGE, --system_message SYSTEM_MESSAGE
-l, --local
-y, --auto_run
-d, --debug_mode
-m MODEL, --model MODEL
-c CONTEXT_WINDOW, --context_window CONTEXT_WINDOW
-x MAX_TOKENS, --max_tokens MAX_TOKENS
-xo MAX_OUTPUT, --max_output MAX_OUTPUT
--version
| option | 説明 |
|---|---|
| -h | open-interpreterのオプションを表示するためのコマンド |
| -s SYSTEM_MESSAGE | カスタム指示や言語モデル用のプロンプト |
| -l | 言語モデルをローカルで実行 |
| -y | 生成コードがユーザの許可を取らずに実行 |
| -d | デバッグモードで実行 |
| -m MODEL | Hugging Faceやopenaiで特定のモデルを使用する |
| -c CONTEXT_WINDOW | コンテキストウィンドウサイズの設定 |
| -x MAX_TOKENS | 最大tokenの設定 |
| -xo MAX_OUTPUT | 最大文字数の設定 |
| --version | open-interpreterのバージョン確認 |
最後に
Qiita記事投稿初めてなので、分かりずらい場所などありましたら教えて頂けると助かります
