この記事は、私の個人ブログ「クラウド時代のシステム管理」の記事を転記したものです。
Chefを含め、最近のMicrosoftはオープンソースソフトウェアに対して非常に友好的になってきました。いろんなOSSとの連携にリソースを注ぎ込んでいます。Chefもその一つで、Chef ClientやWorkstationとしてWindowsが使えるようになってきました。今回はWindows 10でCygwinなどのエミュレータを使わずにWorkstation環境を構築してみます。
1. Chef Development Kit (Chef DK)のインストール
Chef本家サイトのWindows用Chef DKダウンロードサイトからWindows用のChef DKインストーラーをダウンロードします。(317MBくらいのサイズがあります。)ダウンロード後、インストーラーファイルをダブルクリックしてインストールを開始します。ウィザードではライセンス規約に承諾したうえで、基本的にすべてデフォルトのオプションでインストールします。
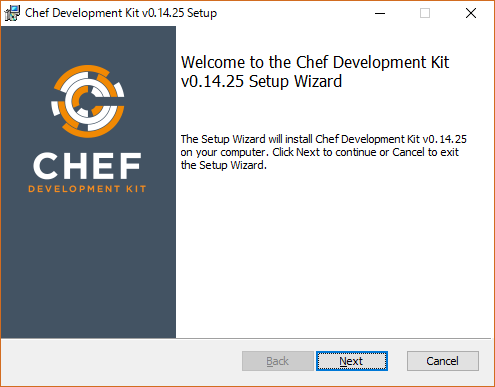
まずはインストーラーを起動し、「Next」をクリックします。
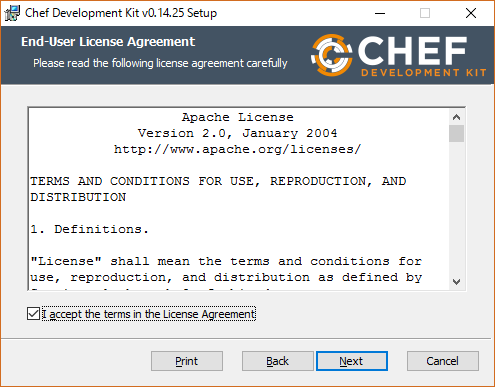
次に、ライセンスに許諾する旨のチェックボックスをクリックした後、「Next」をクリックします。
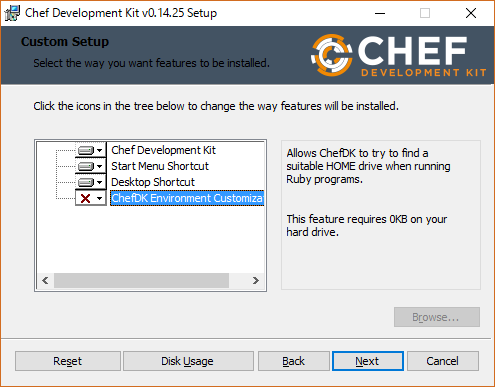
次に、インストールするコンポーネントを選択します。ここではデフォルト設定のまま「Next」をクリックします。
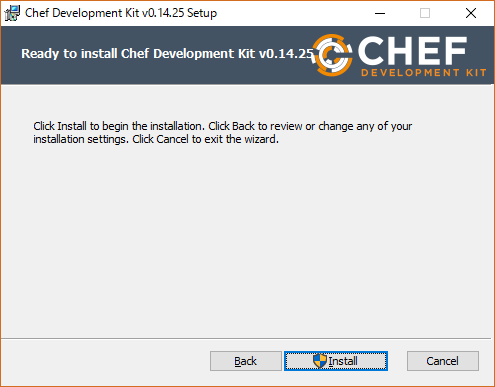
最後に、「Install」をクリックしてインストールを開始します。UACによる管理者権限を求められた際は「Yes」と答えるもしくは管理者ユーザーのID/パスワードを入力します。
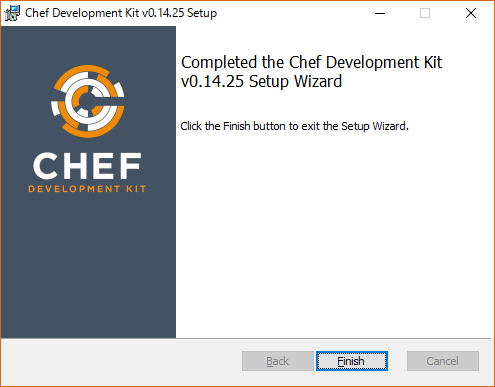
インストールが完了したら「Finish」をクリックしてインストールを終了します。
2. Chef開発用の環境設定
WindowsではPowerShellを用いてChef Workstation環境を設定します。まず、スタートメニューから「Windows PowerShell」>「Windows PowerShell」をクリックしてPowerShellを開始します。そして、Scriptの実行ポリシーが「RemoteSigned」になっていることを確認します。
PS C:\> Get-ExecutionPolicy
RemoteSigned
次に、現在のセッションでChef Workstation用の環境変数を設定するためのコマンドを実行します。
PS C:\> chef shell-init powershell | Invoke-Expression次回以降PowerShellを起動した際に常に環境変数が設定されるようにするために、プロファイルに各種変数を追加する設定を行います。
if(Test-Path $PROFILE){ chef shell-init powershell | Add-Content $PROFILE } else { New-Item -Force -ItemType File $PROFILE; chef shell-init powershell | Add-Content $PROFILE }このコマンドでは、プロファイルの実体であるC:\Users\(ユーザー名)\Documents\WindowsPowerShell\Microsoft.PowerShell_profile.ps1に以下のような内容を追記しています。
$env:PATH="C:/opscode/chefdk/bin;C:/Users/(UserName)/AppData/Local/chefdk/gem/ruby/2.1.0/bin;C:/opscode/chefdk/embedded/bin;C:/opscode/chefdk/bin;C:/Users/(UserName)/AppData/Local/chefdk/gem/ruby/2.1.0/bin;C:/opscode/chefdk/embedded/bin;C:\ProgramData\Oracle\Java\javapath;C:\Windows\system32;C:\Windows;C:\Windows\System32\Wbem;C:\Windows\System32\WindowsPowerShell\v1.0\;C:\Program Files (x86)\NVIDIA Corporation\PhysX\Common;C:\Users\(UserName)\.dnx\bin;C:\Program Files\Microsoft DNX\Dnvm\;C:\Program Files (x86)\Windows Kits\10\Windows Performance Toolkit\;C:\Program Files (x86)\Skype\Phone\;C:\WINDOWS\system32;C:\WINDOWS;C:\WINDOWS\System32\Wbem;C:\WINDOWS\System32\WindowsPowerShell\v1.0\;C:\opscode\chefdk\bin\;C:\Users\(UserName)\AppData\Local\Microsoft\WindowsApps;;C:\Program Files (x86)\Microsoft VS Code\bin"
$env:GEM_ROOT="C:/opscode/chefdk/embedded/lib/ruby/gems/2.1.0"
$env:GEM_HOME="C:/Users/(UserName)/AppData/Local/chefdk/gem/ruby/2.1.0"
$env:GEM_PATH="C:/Users/(UserName)/AppData/Local/chefdk/gem/ruby/2.1.0;C:/opscode/chefdk/embedded/lib/ruby/gems/2.1.0"
3. GitHub Desktopのインストールと設定
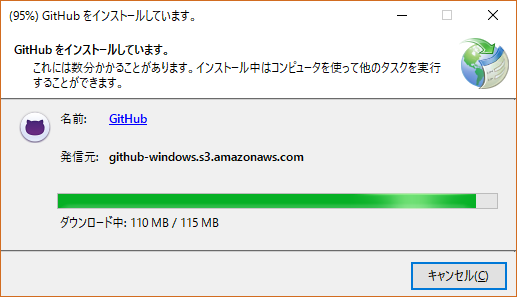
WindowsでもCookbookの管理にはGitを利用するため、GitHub Desktopをインストールします。こちらのサイトからインストーラーをダウンロードします。
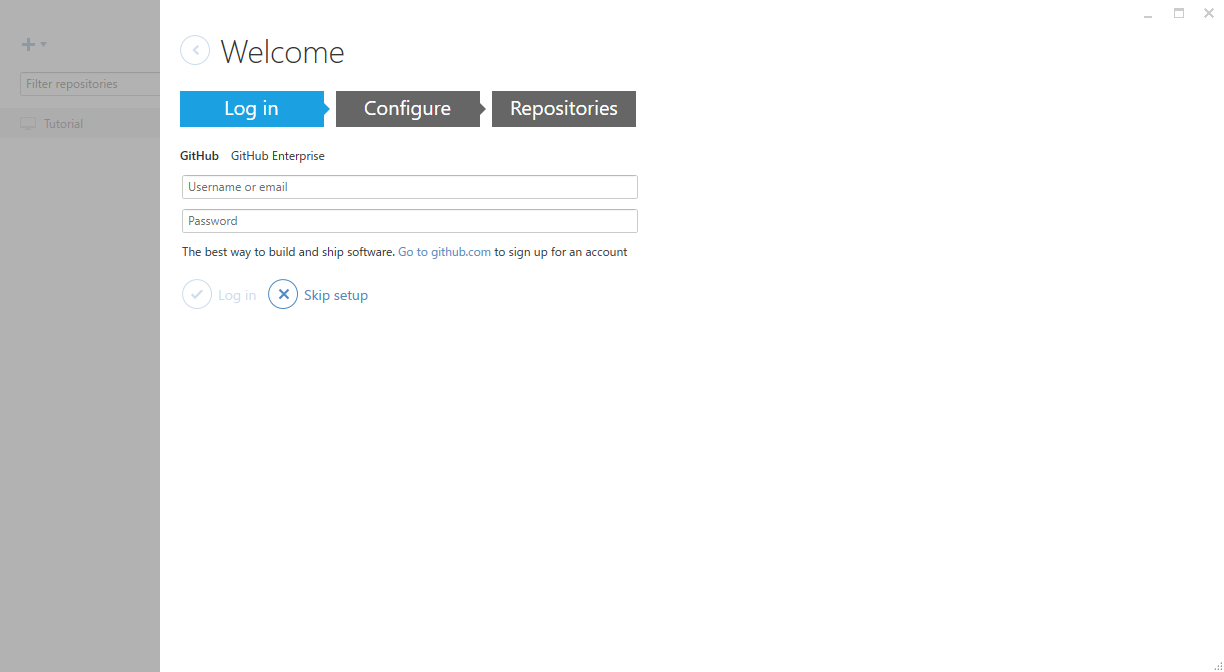
ダウンロードが完了すると自動的にアプリケーションが起動しますので、「Skip Setup」をクリックします。
4. Starter Kitの展開とChef Serverとの接続設定
必要なアプリケーションのインストールが完了したら、CentOS7版のChef Workstation構築手順に従って、Chef Starter Kitをダウンロードし、ZIPファイルを展開します。展開するとchef-repoフォルダが作られるので、C:\Users(ユーザー名)配下に移動します。その後、Cookbookを管理できるよう、初期化コマンドを実行します。
PS C:\Users\(ユーザー名)> chef generate app chef-repo
Installing Cookbook Gems:
Compiling Cookbooks...
Recipe: code_generator::app
  * directory[C:/Users/aniku/chef-repo] action create (up to date)
  * template[C:/Users/aniku/chef-repo/.kitchen.yml] action create
    - create new file C:/Users/aniku/chef-repo/.kitchen.yml
    - update content in file C:/Users/aniku/chef-repo/.kitchen.yml from none to 990d40
    (diff output suppressed by config)
  * directory[C:/Users/aniku/chef-repo/test/integration/default/serverspec] action create
    - create new directory C:/Users/aniku/chef-repo/test/integration/default/serverspec
  * directory[C:/Users/aniku/chef-repo/test/integration/helpers/serverspec] action create
    - create new directory C:/Users/aniku/chef-repo/test/integration/helpers/serverspec
  * cookbook_file[C:/Users/aniku/chef-repo/test/integration/helpers/serverspec/spec_helper.rb] actio
n create_if_missing
    - create new file C:/Users/aniku/chef-repo/test/integration/helpers/serverspec/spec_helper.rb
    - update content in file C:/Users/aniku/chef-repo/test/integration/helpers/serverspec/spec_helpe
r.rb from none to d85df4
    (diff output suppressed by config)
  * template[C:/Users/aniku/chef-repo/test/integration/default/serverspec/default_spec.rb] action cr
eate_if_missing
    - create new file C:/Users/aniku/chef-repo/test/integration/default/serverspec/default_spec.rb
    - update content in file C:/Users/aniku/chef-repo/test/integration/default/serverspec/default_sp
ec.rb from none to 680eed
    (diff output suppressed by config)
  * template[C:/Users/aniku/chef-repo/README.md] action create
    - update content in file C:/Users/aniku/chef-repo/README.md from 2b98f1 to 89b1cf
    (diff output suppressed by config)
  * directory[C:/Users/aniku/chef-repo/cookbooks] action create (up to date)
  * directory[C:/Users/aniku/chef-repo/cookbooks/chef-repo] action create
    - create new directory C:/Users/aniku/chef-repo/cookbooks/chef-repo
  * template[C:/Users/aniku/chef-repo/cookbooks/chef-repo/metadata.rb] action create
    - create new file C:/Users/aniku/chef-repo/cookbooks/chef-repo/metadata.rb
    - update content in file C:/Users/aniku/chef-repo/cookbooks/chef-repo/metadata.rb from none to c
ca490
    (diff output suppressed by config)
  * cookbook_file[C:/Users/aniku/chef-repo/cookbooks/chef-repo/chefignore] action create
    - create new file C:/Users/aniku/chef-repo/cookbooks/chef-repo/chefignore
    - update content in file C:/Users/aniku/chef-repo/cookbooks/chef-repo/chefignore from none to 15
fac5
    (diff output suppressed by config)
  * cookbook_file[C:/Users/aniku/chef-repo/cookbooks/chef-repo/Berksfile] action create
    - create new file C:/Users/aniku/chef-repo/cookbooks/chef-repo/Berksfile
    - update content in file C:/Users/aniku/chef-repo/cookbooks/chef-repo/Berksfile from none to 9f0
8dc
    (diff output suppressed by config)
  * directory[C:/Users/aniku/chef-repo/cookbooks/chef-repo/recipes] action create
    - create new directory C:/Users/aniku/chef-repo/cookbooks/chef-repo/recipes
  * template[C:/Users/aniku/chef-repo/cookbooks/chef-repo/recipes/default.rb] action create
    - create new file C:/Users/aniku/chef-repo/cookbooks/chef-repo/recipes/default.rb
    - update content in file C:/Users/aniku/chef-repo/cookbooks/chef-repo/recipes/default.rb from no
ne to e5be2c
    (diff output suppressed by config)
  * directory[C:/Users/aniku/chef-repo/cookbooks/chef-repo/spec/unit/recipes] action create
    - create new directory C:/Users/aniku/chef-repo/cookbooks/chef-repo/spec/unit/recipes
  * cookbook_file[C:/Users/aniku/chef-repo/cookbooks/chef-repo/spec/spec_helper.rb] action create_if
_missing
    - create new file C:/Users/aniku/chef-repo/cookbooks/chef-repo/spec/spec_helper.rb
    - update content in file C:/Users/aniku/chef-repo/cookbooks/chef-repo/spec/spec_helper.rb from n
one to 587075
    (diff output suppressed by config)
  * template[C:/Users/aniku/chef-repo/cookbooks/chef-repo/spec/unit/recipes/default_spec.rb] action
create_if_missing
    - create new file C:/Users/aniku/chef-repo/cookbooks/chef-repo/spec/unit/recipes/default_spec.rb
    - update content in file C:/Users/aniku/chef-repo/cookbooks/chef-repo/spec/unit/recipes/default_
spec.rb from none to 708af0
(diff output suppressed by config)そして、~\chef-repo</code>以下にある.chefフォルダをGit管理対象外にするよう~\chef-repo.gitignoreの最終行に.chefと追記します。
次に、Chef ServerのSSL証明書を信頼するよう設定します。
PS C:\Users\(ユーザー名)> cd .\chef-repo\
PS C:\Users\(ユーザー名)\chef-repo> knife ssl fetch
WARNING: Certificates from chefserver will be fetched and placed in your trusted_cert
directory (c:\users\(ユーザー名)\chef-repo\.chef\trusted_certs).

Knife has no means to verify these are the correct certificates. You should
verify the authenticity of these certificates after downloading.

Adding certificate for chefserver in c:\users\(ユーザー名)\chef-repo\.chef\trusted_certs/chefserver.crt
以上で、Chef Serverと接続する準備が完了しました。
5. Chef Serverとの接続確認
CentOS7の時と同じknifeコマンドで接続確認を実施します。
PS C:\Users\(ユーザー名)\chef-repo> knife user list
chef-admin
PS C:\Users\(ユーザー名)\chef-repo> knife client list
takanyan-validator
これで、Windows端末からでもChefのCookbook開発や管理ができる環境が整いました。
