はじめに
iPadの画面サイズを最大限に利用するために、1つの画面に複数の階層を作成するのが理想です。
今回のはiPhoneだけじゃなく、iPadでもスライダーバーとラベルも作成していきます。
目次
SlidebarとLabel
・cmd Nで新しいファイルSlidebarを作成します。
・前回の記事と同じくListを使い、LabelをGroup化します。
・前回のlistStyleはInsetGroupedListStyle()を使いましたが、今回はSidebarListStyle()を使います。
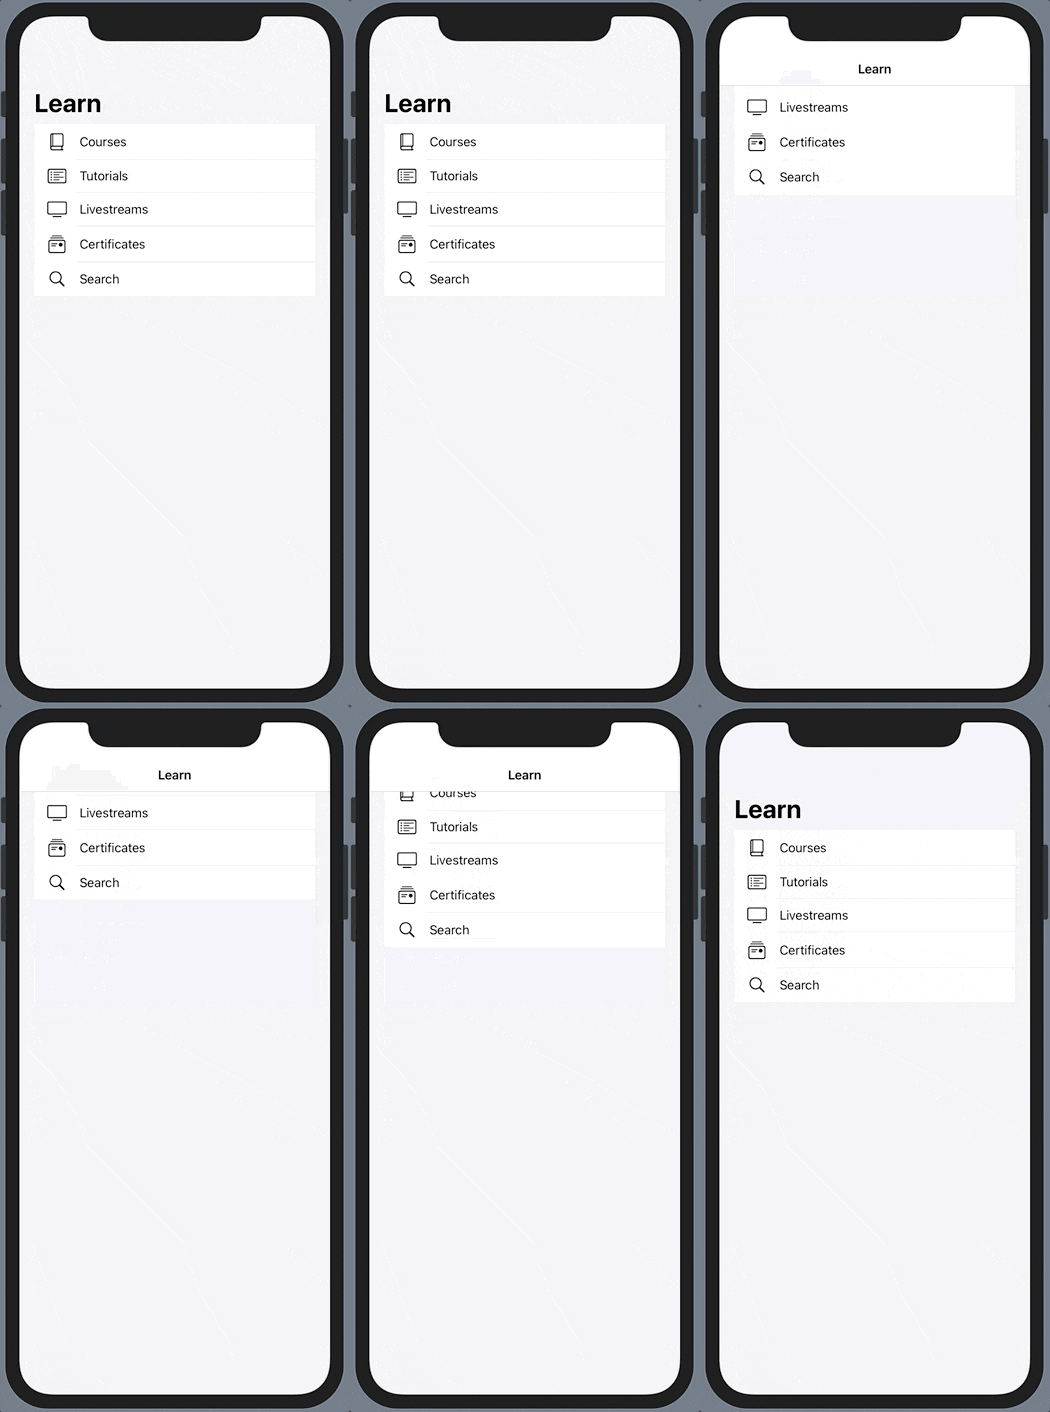
・ListごとをNavigationViewに取り込んで、navigationTitleでタイトルを追加します。navBarにタイトルは自動生成されます。
NavigationView {
   Label("Tutorials", systemImage: "list.bullet.rectangle")
   Label("Livestreams", systemImage: "tv")
   Label("Certificates", systemImage: "mail.stack")
   Label("Search", systemImage: "magnifyingglass")
}
   .listStyle(SidebarListStyle())
   .navigationTitle("Learn")

NavigationLink
・UIKitではボタンなどaddTargetを使って画面遷移しますが、SwiftUIではNavigationLinkを使います。
・とてもシンプルで、引数に遷移先のViewを指定し、クロージャー内でトリガーを定義します。
遷移先はCoursesView()を指定します。
NavigationView {
    List {
        NavigationLink(destination: CoursesView()) {
              Label("Courses", systemImage: "book.closed")
     }
}
iPad
・iPadで実行する際に、デフォルトの画面はCouresesView()が表示されません。暫定的な解決方法は一番最初に一回CouresesView()を実行してもらいます。

まとめ
・SnapKitとAutoLayoutに全然負けない気がしました。
・styleまわりは馴染みがなくて、覚えていくしかありません。
ソースコードGithub


