概要
自己学習で、Flutterを触ってみました。
サンプルアプリ&スプラッシュ起動までの環境構築手順となります。
Flutter is何?
Flutter は Google 社が開発しているオープンソースのアプリケーションフレームワークです。
クロスプラットフォームに対応しており、ワンソースで複数のプラットフォーム(iOS、Android、Web、Windows、Mac、Linux)に対応したアプリケーションを開発することができます。
また、マテリアルデザインによる美しい UI を利用することができます。
だそうです。
逆にオリジナリティー溢れるデザインは適応しずらいって事ですかね。
そのほかにFlutterは以下の特徴があります。
- Dart 言語 による開発
- ホットリロード(記述したコードをリアルタイムに反映)
- 高速な動作
環境
- macOS Catalina version 10.15.1
- Flutter v1.9.1+hotfix.6 // Stable版
- Android Studio 3.5.2 for Mac
- Android SDK version 29.0.2
- Xcode 11.1
- VSCode version 1.40.1
手順
https://flutter.dev/
ここの「Getstarted」から対象のOSを選択します。
私の場合はmacOSなのでここからはmacの手順となります。
基本的に公式docに記載されている通りに進行してみます。
ではやっていきましょ。
Flutter SDK をダウンロード
https://flutter.io/sdk-archive/#macos からSDKをダウンロードします。
このときダウンロード指定先は「ダウンロード」フォルダにします。
その後unzipコマンドでダウンロードしたzipファイルを展開します。
公式では cd ~/developmentとなっていますがなんか嫌なんで、自分はホームディレクトリにて実行しました。
$ unzip ~/Downloads/flutter_macos_v1.9.1+hotfix.6-stable.zip
つぎにflutterのパスを通します。
私はzshを利用しているので.zshrcに下記を追記しました。
$ export PATH="$PATH:$HOME/flutter/bin"
公式通りにすると下記のようになるかと思います。間違ってたらごめんなさい。
$ export PATH="$PATH:$HOME/development/flutter/bin"
追記したら下記コマンドを実行して有効化するかターミナルの再起動を行ってください。
$ exec $SHELL -l
Fluuterの開発用バイナリをダウンロード
必要に応じてプラットフォーム固有の開発バイナリをダウンロードするそうです。
不安定なネットワーク環境化で開発を行う場合はオプションとして実行しとくといいよ!っていう認識です。よくわからんですけどとりあえず入れときます。
$ flutter precache
依存ツールのチェック
このコマンドを実行するとflutterを利用する上で正しい設定が完了しているか否かをチェックできるのです!
$ flutter doctor
あぁ...![]() なんかバッテン付いてる
なんかバッテン付いてる![]() 絶望の始まり
絶望の始まり![]()
![]()
![]()
と思ってよく見てみたらそんなに難しいエラーではないですねこれ。ふざけんな。
Doctor summary (to see all details, run flutter doctor -v):
[✓] Flutter (Channel stable, v1.9.1+hotfix.6, on Mac OS X 10.15.1 19B88, locale ja-JP)
[✗] Android toolchain - develop for Android devices
    ✗ Unable to locate Android SDK.
      Install Android Studio from: https://developer.android.com/studio/index.html
      On first launch it will assist you in installing the Android SDK components.
      (or visit https://flutter.dev/setup/#android-setup for detailed instructions).
      If the Android SDK has been installed to a custom location, set ANDROID_HOME to that location.
      You may also want to add it to your PATH environment variable.


[!] Xcode - develop for iOS and macOS (Xcode 11.1)
    ✗ CocoaPods not installed.
        CocoaPods is used to retrieve the iOS and macOS platform side's plugin code that responds to your plugin usage on the Dart side.
        Without CocoaPods, plugins will not work on iOS or macOS.
        For more info, see https://flutter.dev/platform-plugins
      To install:
        sudo gem install cocoapods
[!] Android Studio (not installed)
[!] VS Code (version 1.40.1)
    ✗ Flutter extension not installed; install from
      https://marketplace.visualstudio.com/items?itemName=Dart-Code.flutter
[!] Connected device
    ! No devices available

! Doctor found issues in 5 categories.
[✗]と[!]になってる箇所を対応していきます。
まずは下記から片付けてきましょ。
✗ Unable to locate Android SDK.
Android SDKが必要らしいですね。
下部のほうでも[!] Android Studio (not installed)とか言われているので
下記からAndroid Studioのインストーラをダウンロードし実行しました。
https://developer.android.com/studio
適当にnext, next, テーマは...Darculaにしてからの〜Finish!!!![]()

再度、flutter doctorを実行すると下記のように言われました。ふざけんな。
[!] Android toolchain - develop for Android devices (Android SDK version 29.0.2)
    ✗ Android licenses not accepted.  To resolve this, run: flutter doctor --android-licenses
ライセンスを有効化してくれってことなんで言われた通りのコマンドを実行します。
$ flutter doctor --android-licenses
全部鬼神の如く y エンター!!
これで一個解決。チェックマークが付きました。![]()
[✓] Android toolchain - develop for Android devices (Android SDK version 29.0.2)
ついでに下のほうでも下記のようにバッテンになっているのでこちらも対応していきます。
✗ Flutter plugin not installed; this adds Flutter specific functionality.
✗ Dart plugin not installed; this adds Dart specific functionality.
Android StudioでFlutterとDartのプラグインをインストールします。
preferences -> Plugins と移動しMarketPlaceでFlutterと検索してFlutterをインストールしてIDEを再起動します。
※Flutterをインストールしたら一緒にDartもインストールされました。
再起動しおわったら「Start a new Flutter project」が追加されてます!!

次は下記の対応です。
✗ CocoaPods not installed.
記載されている通り下記コマンドを実行でOK
$ sudo gem install cocoapods
次はVS Codeの拡張機能にFlutterを入れましょうとのことなのでインストールして有効化しました。
こちらに関しては説明を省略します。
[!] VS Code (version 1.40.1)
    ✗ Flutter extension not installed; install from
      https://marketplace.visualstudio.com/items?itemName=Dart-Code.flutter
あとはスマホ実機とmacを接続してflutter doctorを実行するとすべてチェックされているはずです!
Xcodeのセットアップ
次にXcodeをゴニョゴニョしていきます。
(Xcodeをインストールされていない方はWebダウンロードまたは App Storeからインストールしておきましょう。私はすでにXcode 11.1がインストールされている状況です。)
公式で下記のように記載されていたのでその通り実行していきます。
- Xcodeの最新の安定バージョンをインストールします(WebダウンロードまたはMac App Storeを使用)。
- コマンドラインから次を実行して、新しくインストールされたバージョンのXcodeを使用するようにXcodeコマンドラインツールを設定します。
$ sudo xcode-select --switch /Applications/Xcode.app/Contents/Developer
$ sudo xcodebuild -runFirstLaunch
(注意)これは、Xcodeの最新バージョンを使用する場合のほとんどの場合に正しいパスです。別のバージョンを使用する必要がある場合は、代わりにそのパスを指定してください。
そしてXcodeライセンス契約に署名します。
$ sudo xcodebuild -license
ここまでで一旦macOSでのFlutter開発環境は完了しました!
プロジェクトを作る
下記コマンドを実行する事でflutterのスターターアプリ(カウントアップアプリ)が生成されます。
my_appは生成されるディレクトリ名です。変更してもよきです。
$ flutter create my_app
$ cd my_app
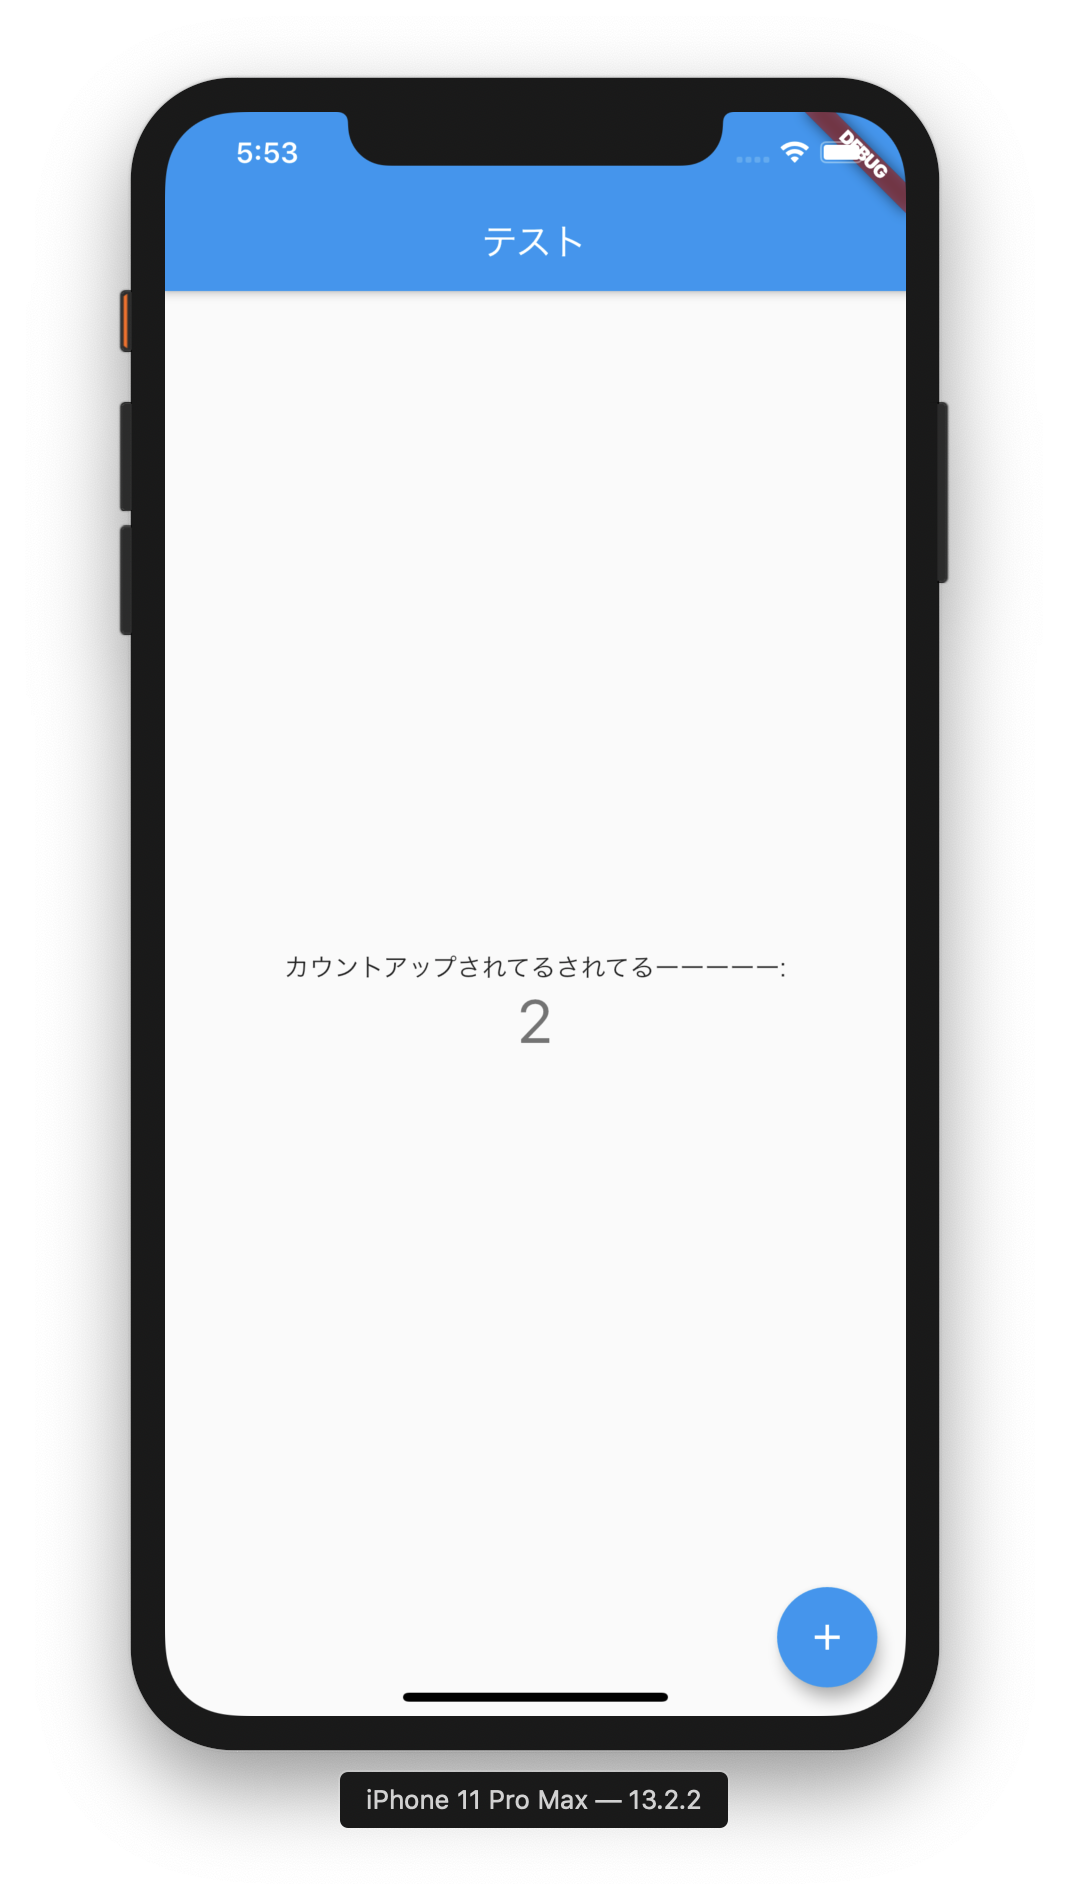
プロジェクトディレクトリに移動して下記を入力する事でシミュレータが立ち上がります。
$ flutter run
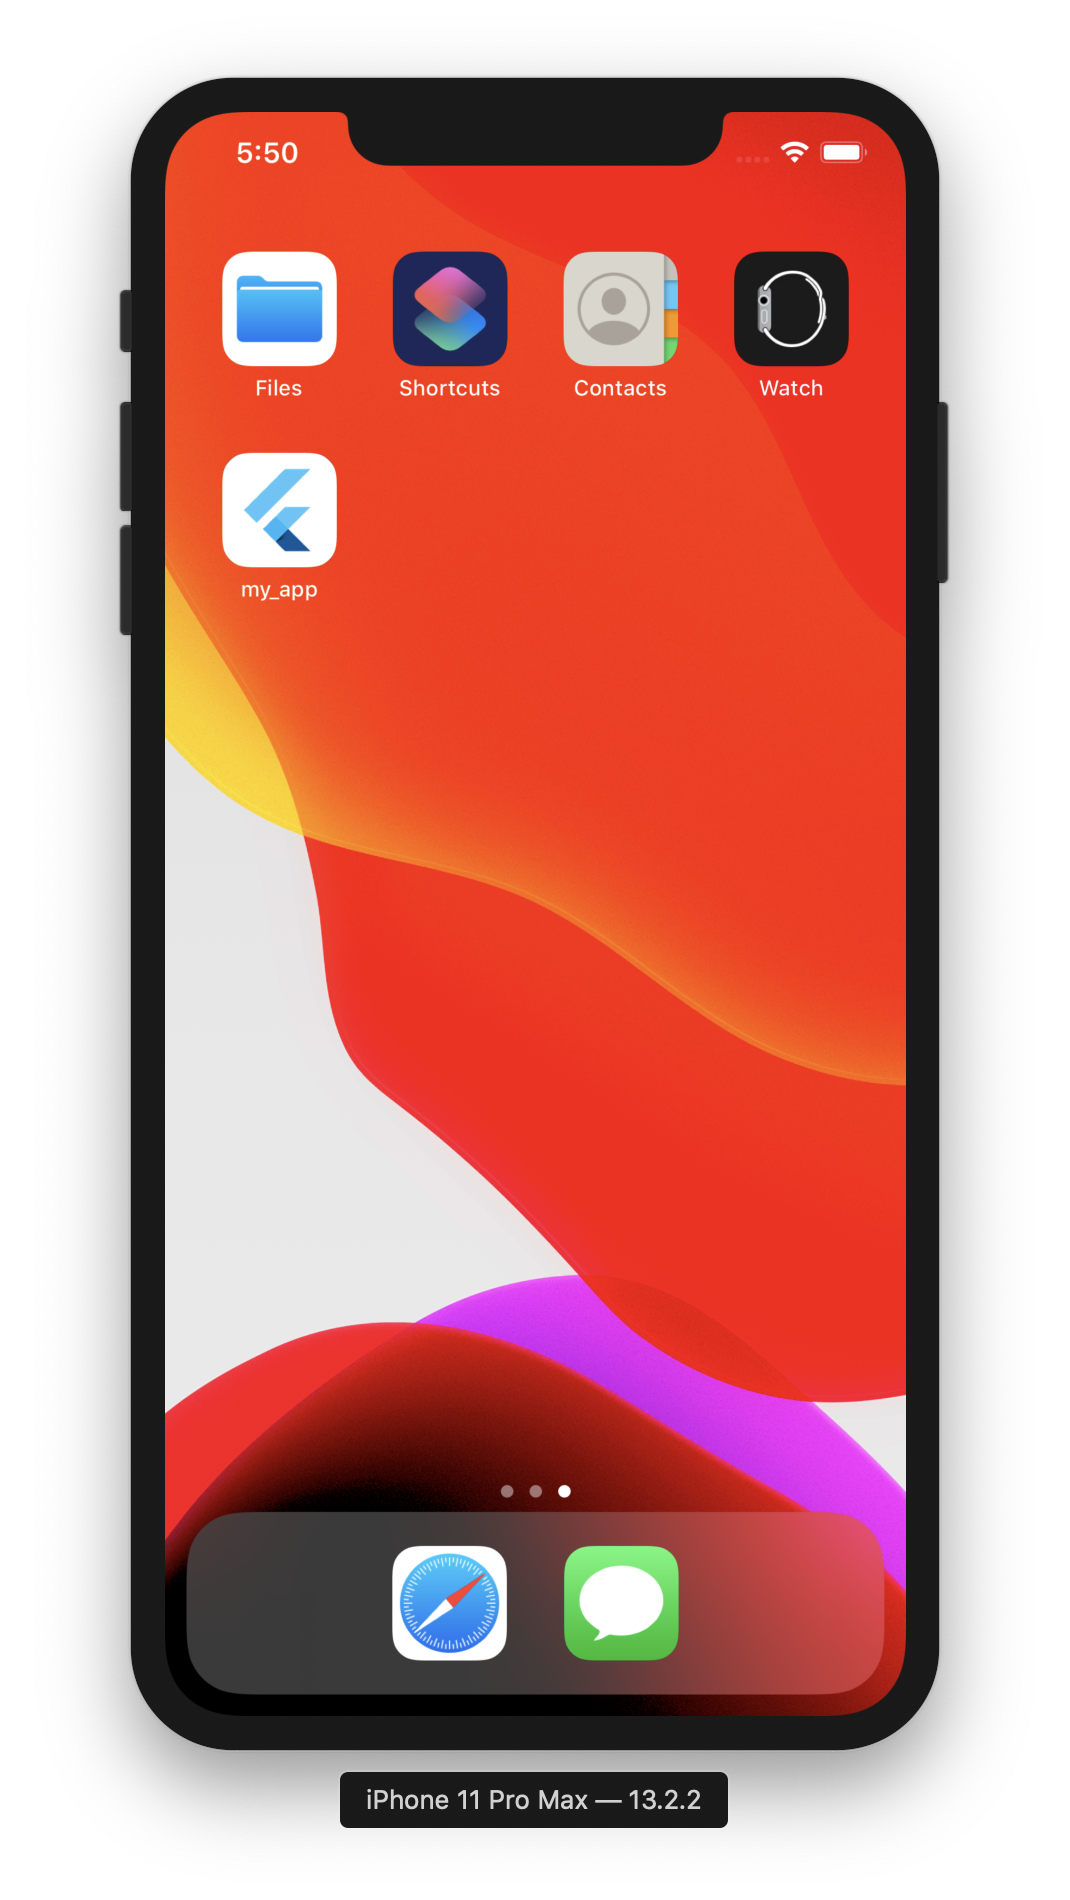
アプリにフラッターのアイコンで「my_app」があると思うのでタップしてみましょう。
次回はiOSとandroidでスプラッシュを作成してみます。![]()
ありがとうございました。