Movement of Player
In this chapter, we create the movement of the player. We have to think about the operation below to move the Player.
- Create a Player
- Add a movement function into Player
We add a function that adjust position into Player with physical operation.
1. Add a Player
At first, we create a Player.
- Click the “Create” button in Hierarchy view
- Select "3D Object" -> "Sphere"
- Change a name into "Player" in Inspector view

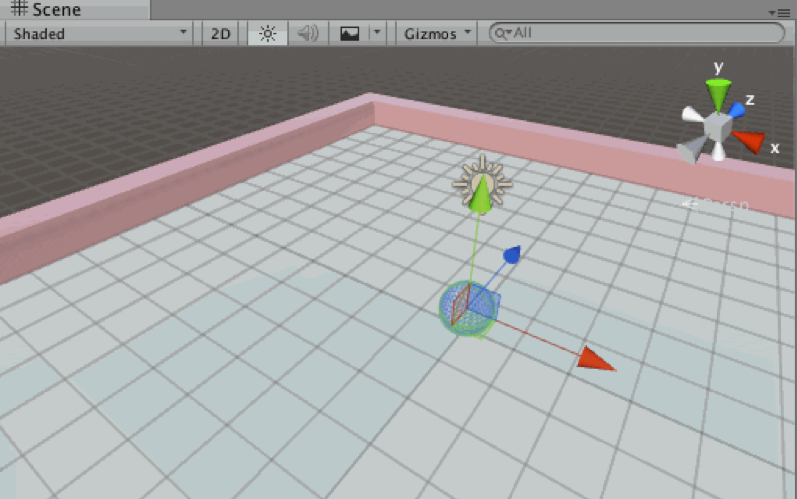
Locate Position at central high in the stage
Position(x:0, y:1.5, z:0)
2. Reproduce a Game
Confirm current function before adding a component confirm a current function. In Unity, we can confirm the actions of the current game by clicking the “reproduce a game” button. Click on the button. While a game-playing “reproduce a game” button be bright blue. After confirming actions click “reproduce a game” button again to stop a game.

3. Add a component
Next, add a component. Component constructs GameObject. GameObject be able to make its own operations and affect other objects in accordance with the actions of a component. We can confirm in the Inspector view by selecting Component Game Object. For example, the following picture shows “Sphere Collider”

And then add a component into the Player with the “Add Component” button in the Inspector view.
- Select Player in Hierarchy view
- Click the “Add Component” button in the Inspector view.
- Select Physics > Rigidbody

And reproduce a game after adding a component. Because added a function of physical operation we can confirm movement in which Player object falls.

4. Add a function that makes Player roll to the direction you want to roll
We need a function that makes Player roll as a result of input to add a rolling game. This function is not prepared in Unity so you need to make it yourself. We code this component with C# or UnityScript.
At first, add a component into the Player object.
- Select Player object in Hierarchy view
- Click the “Add Component” button in Inspector view
- Click New Script
- Select “PlayerController” as Name and “CSharp” as Script
- Click “Create And Add”
A component that doesn’t have function anything has added a component in this process.

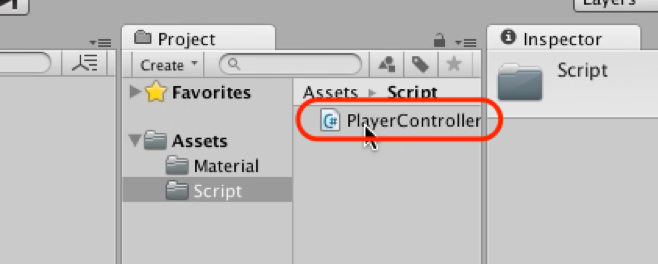
As well as "PlayerController.cs" file has made in the Assets folder ->Project browser. This file became the main script. Because it is not good to be untidy in folder we create “Script Folder” and then make it move into this folder.
- Click the “Create” button in Project browser
- Edit folder name to” Script”
- Select “PlayerController” and drag&drop to Assets/Script folder

5.Alteration of the script in component
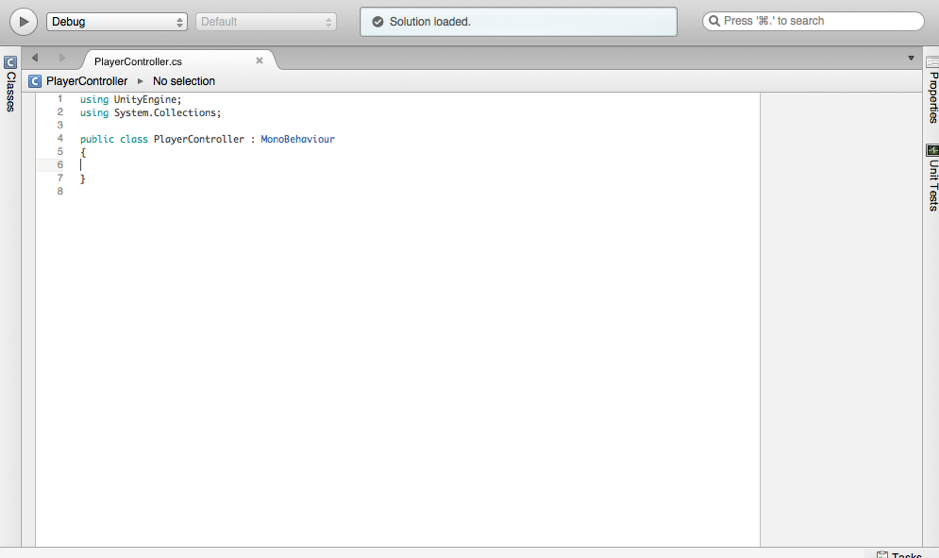
The next step is editing the script in the component. To edit script double click "PlayerController.cs" which created previously and then boot Monodevelop.

At first delete a simple code.

using UnityEngine;
using System.Collections;

public class PlayerController : MonoBehaviour
{
}
A script that creates in this time has a function that “when clicking a button, it rolls”. If analyze steps as function it becomes likes below.
- Every flame, accept inputs
- Before move by physical operation add power to Player’s rigid-body based on input
6. Add an input function
At first, we must resolve ‘Every flame, accept inputs’. Unity script call method automatically when defining a specific method. For example when coding “ void Update(){} ” in class Unity script call processing written in ‘ {} ‘ at every time when the flame is renewed. If we code “ void FixedUpdate(){} ” we can set processing which is called whenever the character moves with the physical operation. Because use physical operation, we code likes below in FixedUpdate.
using UnityEngine;
using System.Collections;

public class PlayerController : MonoBehaviour
{
    void FixedUpdate ()
    {
    }
}
Next, we acquire ‘input’ in FixedUpdate. If we code likes below, it can substitution ‘input’ into x,z
using UnityEngine;
using System.Collections;

public class PlayerController : MonoBehaviour
{
    void FixedUpdate ()
    {
        //  substitution ‘input’ into x,z
        float x = Input.GetAxis("Horizontal");
        float z = Input.GetAxis("Vertical");
    }
}
7. Add a physical operation function
Next, we add power into a rigid body component based on acquired input. We use “GetComponent” to acquire the same object component. We need ‘Rigidbody’ so code “GetComponent()”.
using UnityEngine;
using System.Collections;

public class PlayerController : MonoBehaviour
{
    void FixedUpdate ()
    {
        float x =  Input.GetAxis("Horizontal");
        float z = Input.GetAxis("Vertical");

        // acquire Rigidbody component which same Game object owned
        Rigidbody rigidbody = GetComponent<Rigidbody>();
    }
}
At last we add an input function into a rigid body that acquired previously. We select ”AddForce”.
using UnityEngine;
using System.Collections;

public class PlayerController : MonoBehaviour
{
    void FixedUpdate ()
    {
        float x =  Input.GetAxis("Horizontal");
        float z = Input.GetAxis("Vertical");

        Rigidbody rigidbody = GetComponent<Rigidbody>();

        // add a power to x(side),z(depth) in rigidbody
        rigidbody.AddForce(x, 0, z);
    }
This chapter has done. Let’s reproduce a game. And Players move slowly because we set weak power right now.

So we strengthen power in rigid-body. Add Force
using UnityEngine;
using System.Collections;

public class PlayerController : MonoBehaviour
{
    void FixedUpdate ()
    {
        float x =  Input.GetAxis("Horizontal");
        float z = Input.GetAxis("Vertical");

        Rigidbody rigidbody = GetComponent<Rigidbody>();

       //strengthen power of x,z to 10times
        rigidbody.AddForce(x * 10, 0, z * 10);
    }
}
If we code, we can adjust ball speed easily. First add a ‘speed variable’ to the PlayerController class in Inspector.And edit likes below.
using UnityEngine;
using System.Collections;

public class PlayerController : MonoBehaviour
{
   // Control speed
   public float speed = 10;

   void FixedUpdate ()
   {
       float x =  Input.GetAxis("Horizontal");
       float z = Input.GetAxis("Vertical");

       Rigidbody rigidbody = GetComponent<Rigidbody>();

       // Multiply  x,y by speed
       rigidbody.AddForce(x * speed, 0, z * speed);
   }
}
And then added control speed item in Inspector view. We can adjust speed anytime.
The next chapter explain how to operate a camera.
