自身の知識の整理と備忘録も兼ねて「Swift UI × MVVMアーキテクチャ」でログイン機能を実装する流れをまとめてみます。
間違っている点やこうした方が良くなるなどの意見がありましたらコメントくださると嬉しいです。完成したものはGitHubにて公開しています!
環境
- Swift UI
- Xcode
- Firebase
- Cocoa Pods
- MVVMアーキテクチャ
ログイン機能を実装するにあたって全て自分で実装したわけではなくGoogleが提供しているクラウドサービスであるFirebaseのAuthenticationを利用していきます。
Authentication(以下Auth)を組み込むだけでユーザー情報の登録や操作、ログイン状態の管理、確認メールやリセットメールなどのメール送信機能を簡単に実装でき、かつ無料の範囲でも1日3000人まで利用可能になっています。
【Swift UI/Firebase】Authentication導入方法と使い方!ログイン機能の実装
概要
今回作成するログイン機能は以下の3つのプロバイダアカウントを使用できるように実装します。もしiOSアプリを公開するならAppleアカウントでのログインを実装しないとリジェクトされることもあるので注意してください。
- E-mail/パスワード
- Googleアカウント
- Appleアカウント
またログイン機能を実装するにあたって必要になりそうな機能を洗い出してみます。
- 新規登録
- ログイン(サインイン)
- ログアウト(サインアウト)
- 退会
- パスワードリセット
英語の意味的にログインではなく「サインイン」が正しいようなのでサインインを使います。
設計
正しいかどうかわかりませんがMVVMアーキテクチャに倣って整理してみました。
M:Models
- Auth操作モデル
- 各プロバイダ操作モデル
モデルとして切り出すのはAuthの操作です。ユーザー登録やサインイン、退会処理などAuthを直接操作するようなAPIを実装します。
V:View
- サインイン画面
- 新規登録画面
- パスワードリセット画面
- Googleアカウントでの登録
- Appleアカウントでの登録
- サインイン時のみ表示される画面
- サインアウト&退会画面
必要となる画面は上記の通りです。
VM: ViewModel
- Auth絡みのモデルを操作するViewModel
- バリデーション
モデルを操作するためのViewModelとバリデーションロジック用のViewModelを実装します。
前準備
まずは「Firebase × Xcode」のセットアップを行います。流れだけざっと確認しておきます。
- プロジェクトの作成
- Firebaseのセットアップ
- FirebaseプロジェクトにiOSアプリを追加
- Cocoa Podsの組み込み&ライブラリ導入
- エントリーポイントに初期化コードを記載
- 各プロバイダを使用可能にする
プロジェクトの作成
まずはXcodeよりSwiftプロジェクトを作成します。
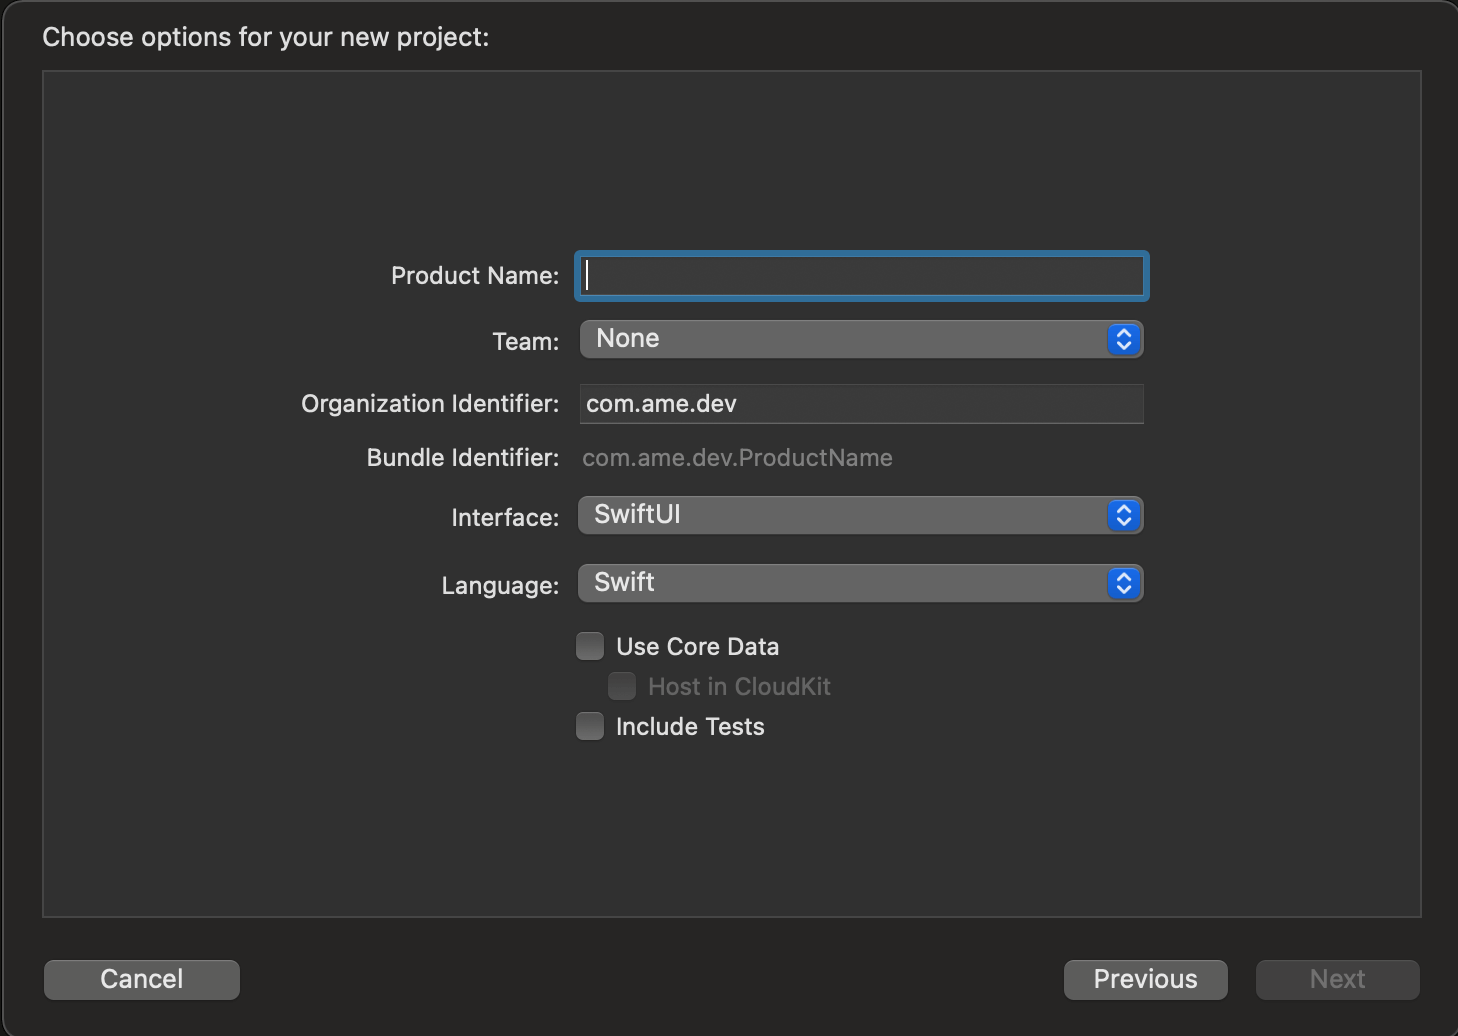
今回はインターフェースをSwift UIで構築していきます。
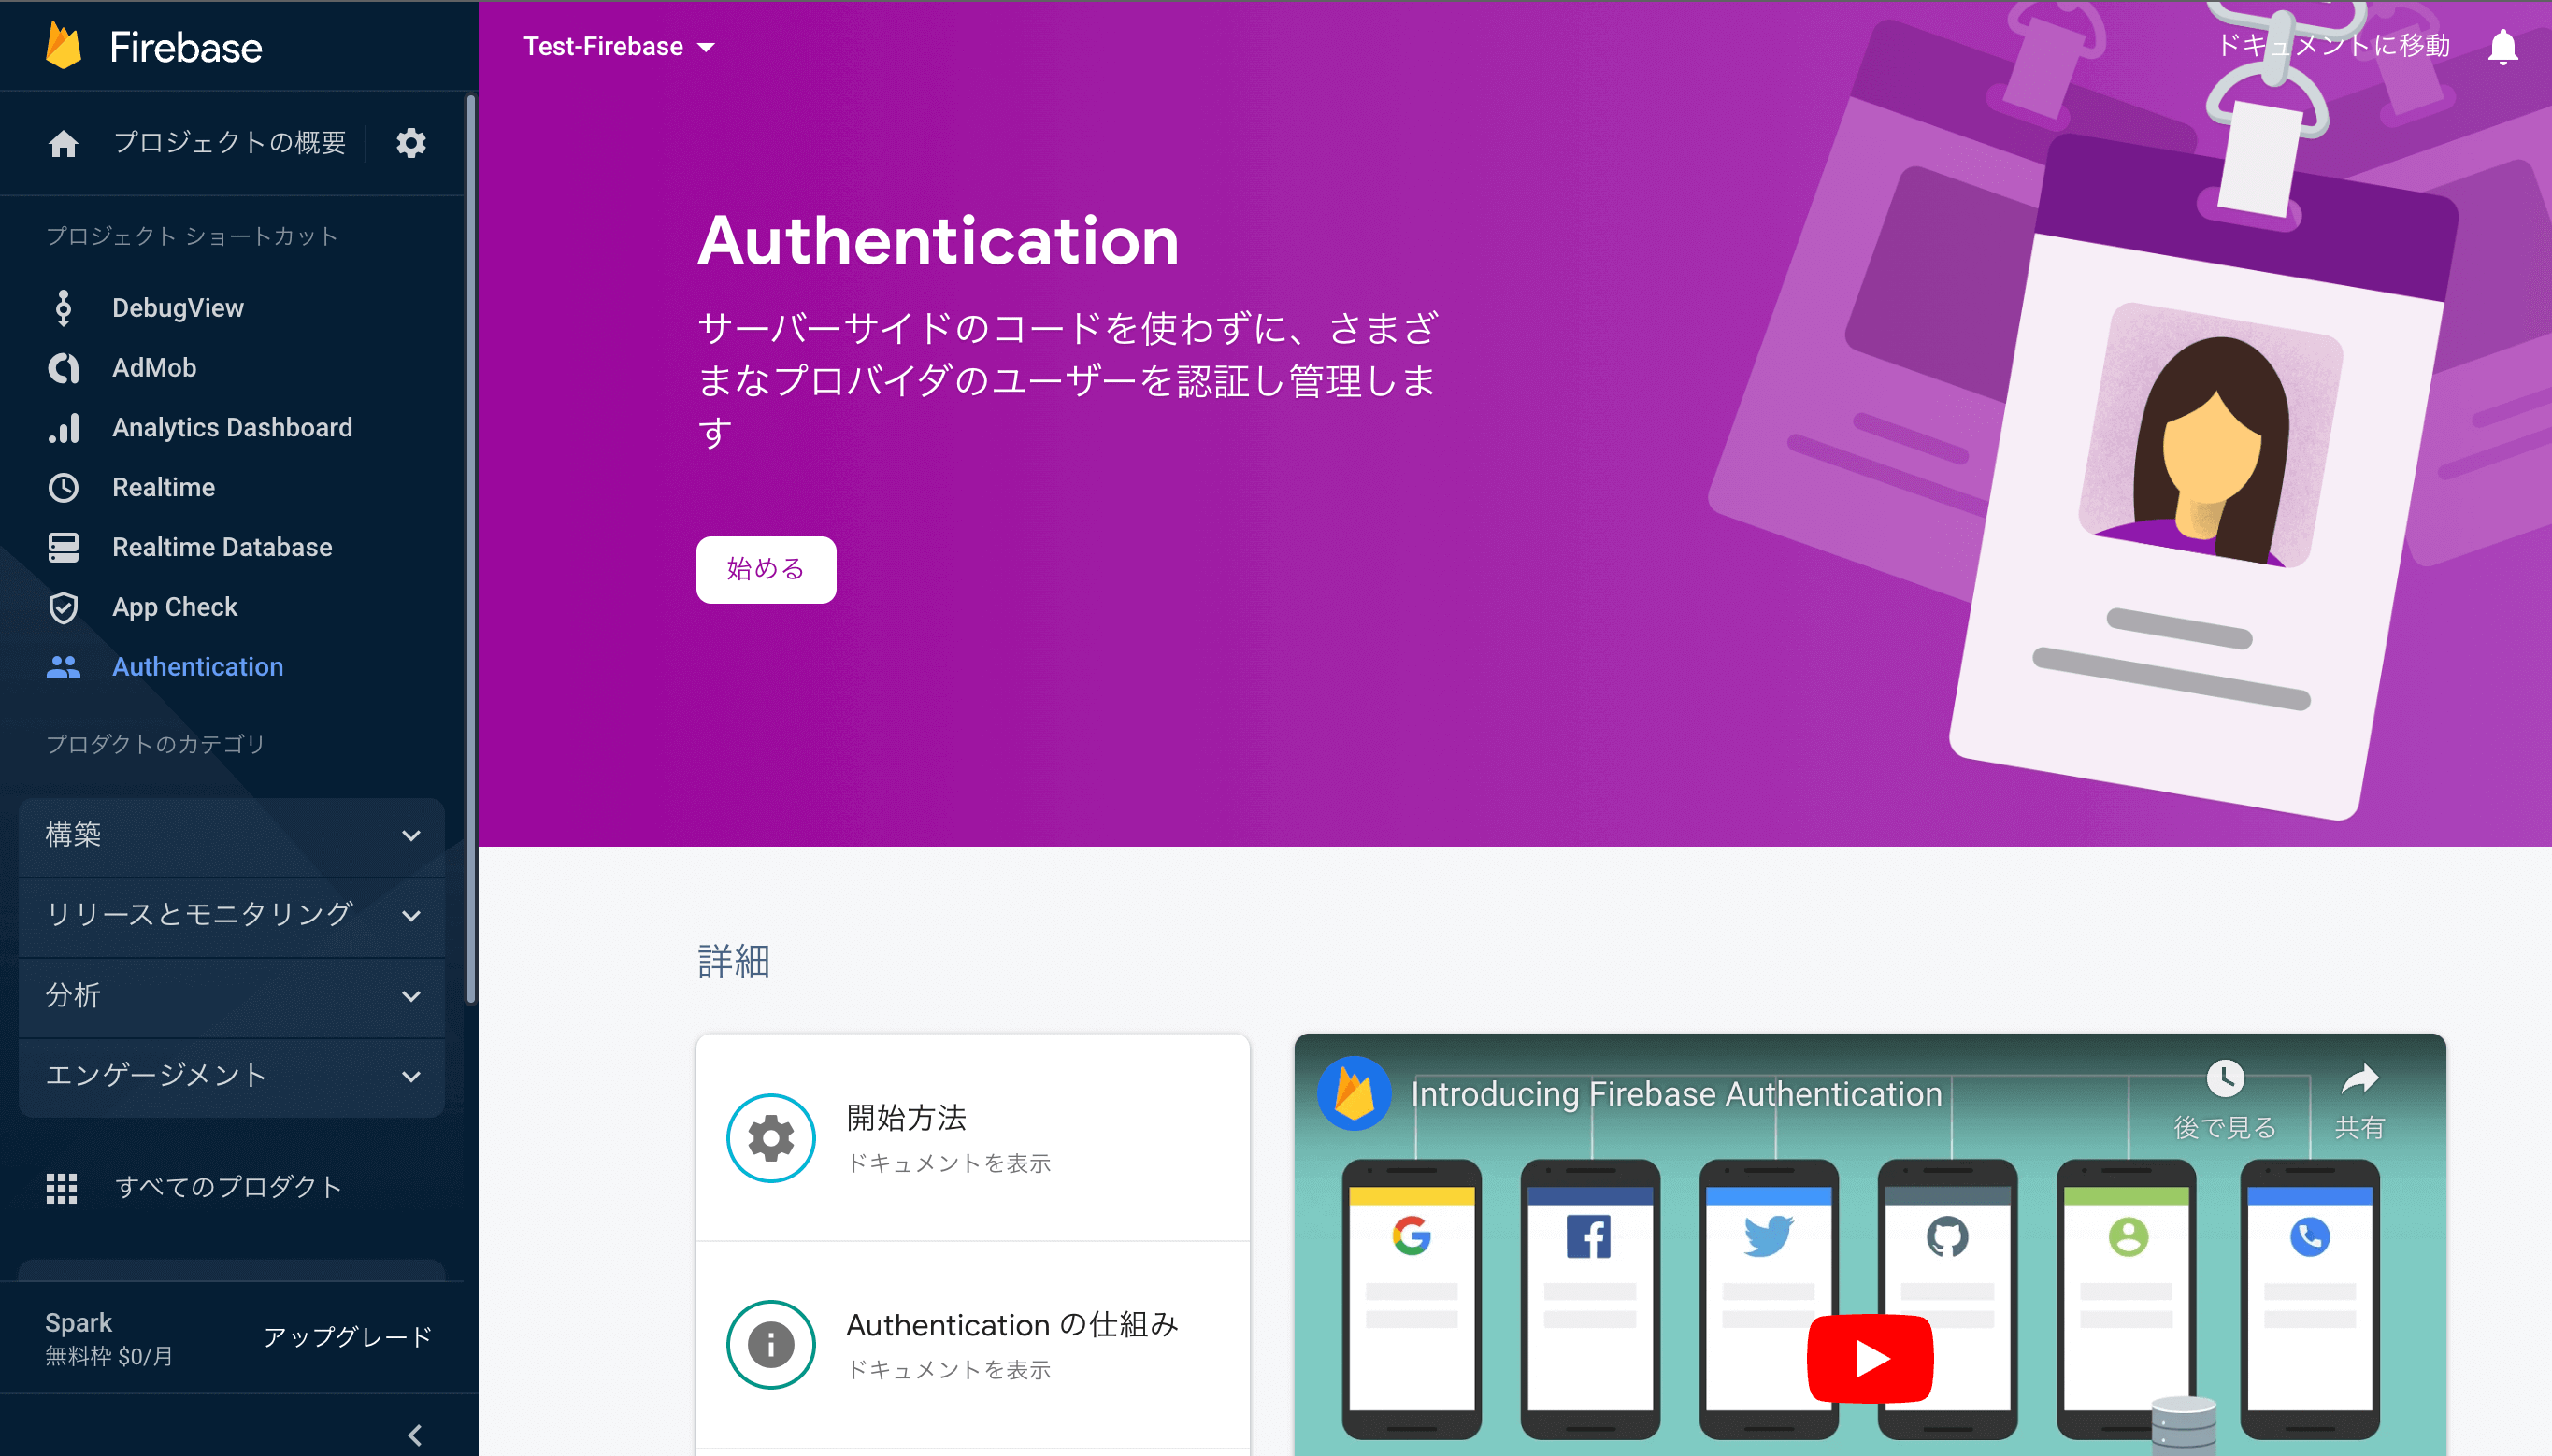
Firebaseのセットアップ
FirebaseにログインしてFirebaseプロジェクトを作成します。
作成したらAuthを使えるように「始める」をクリックします
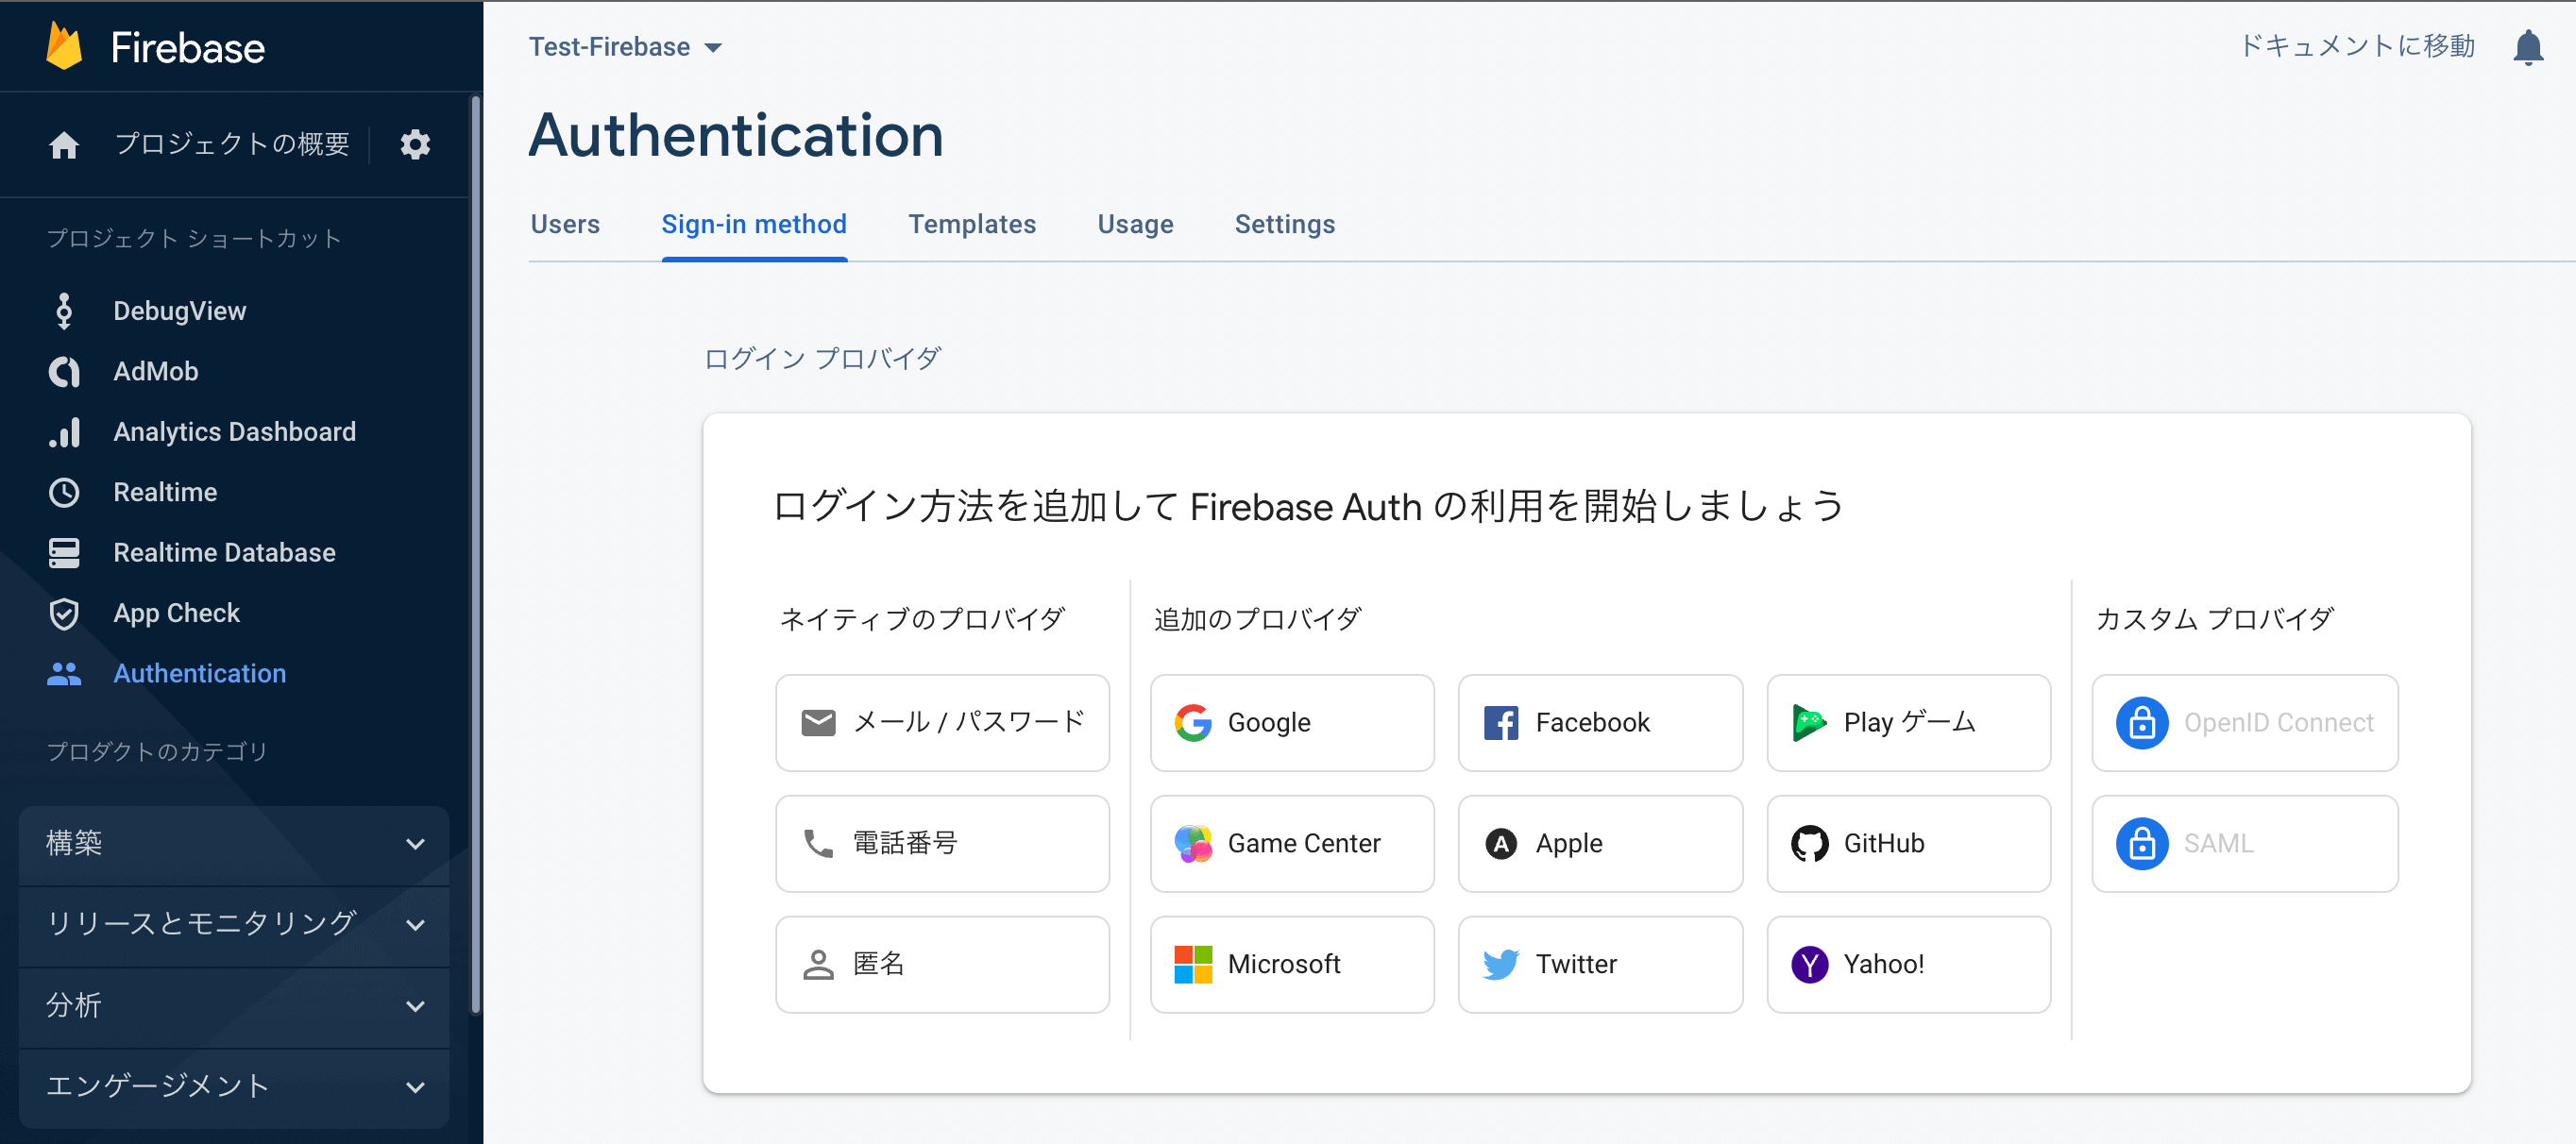
サインイン方法を選択できるので「メール/パスワード」と「Google」「Apple」を選択して進みます。
【Swift UI/Xcode】Firebaseの導入方法!Cocoa Podsでの使い方
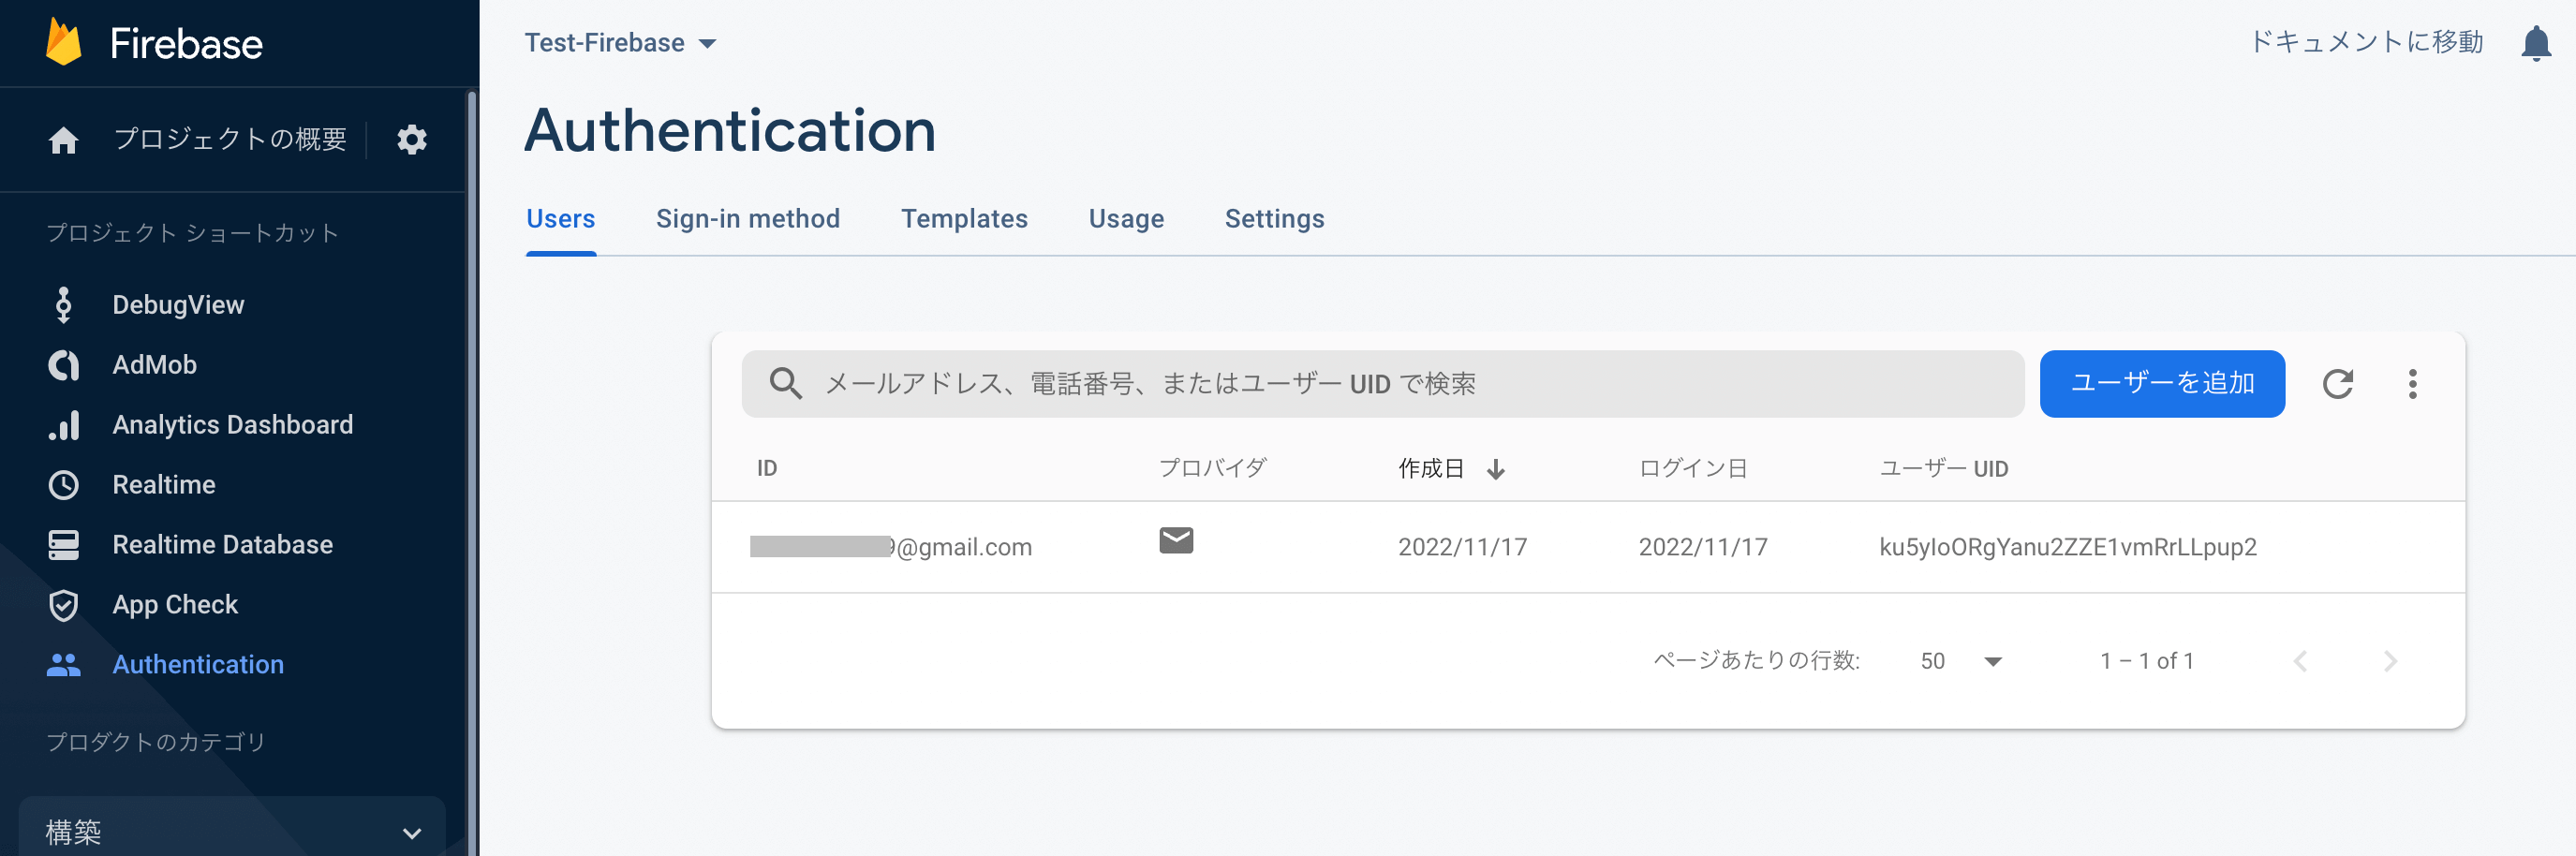
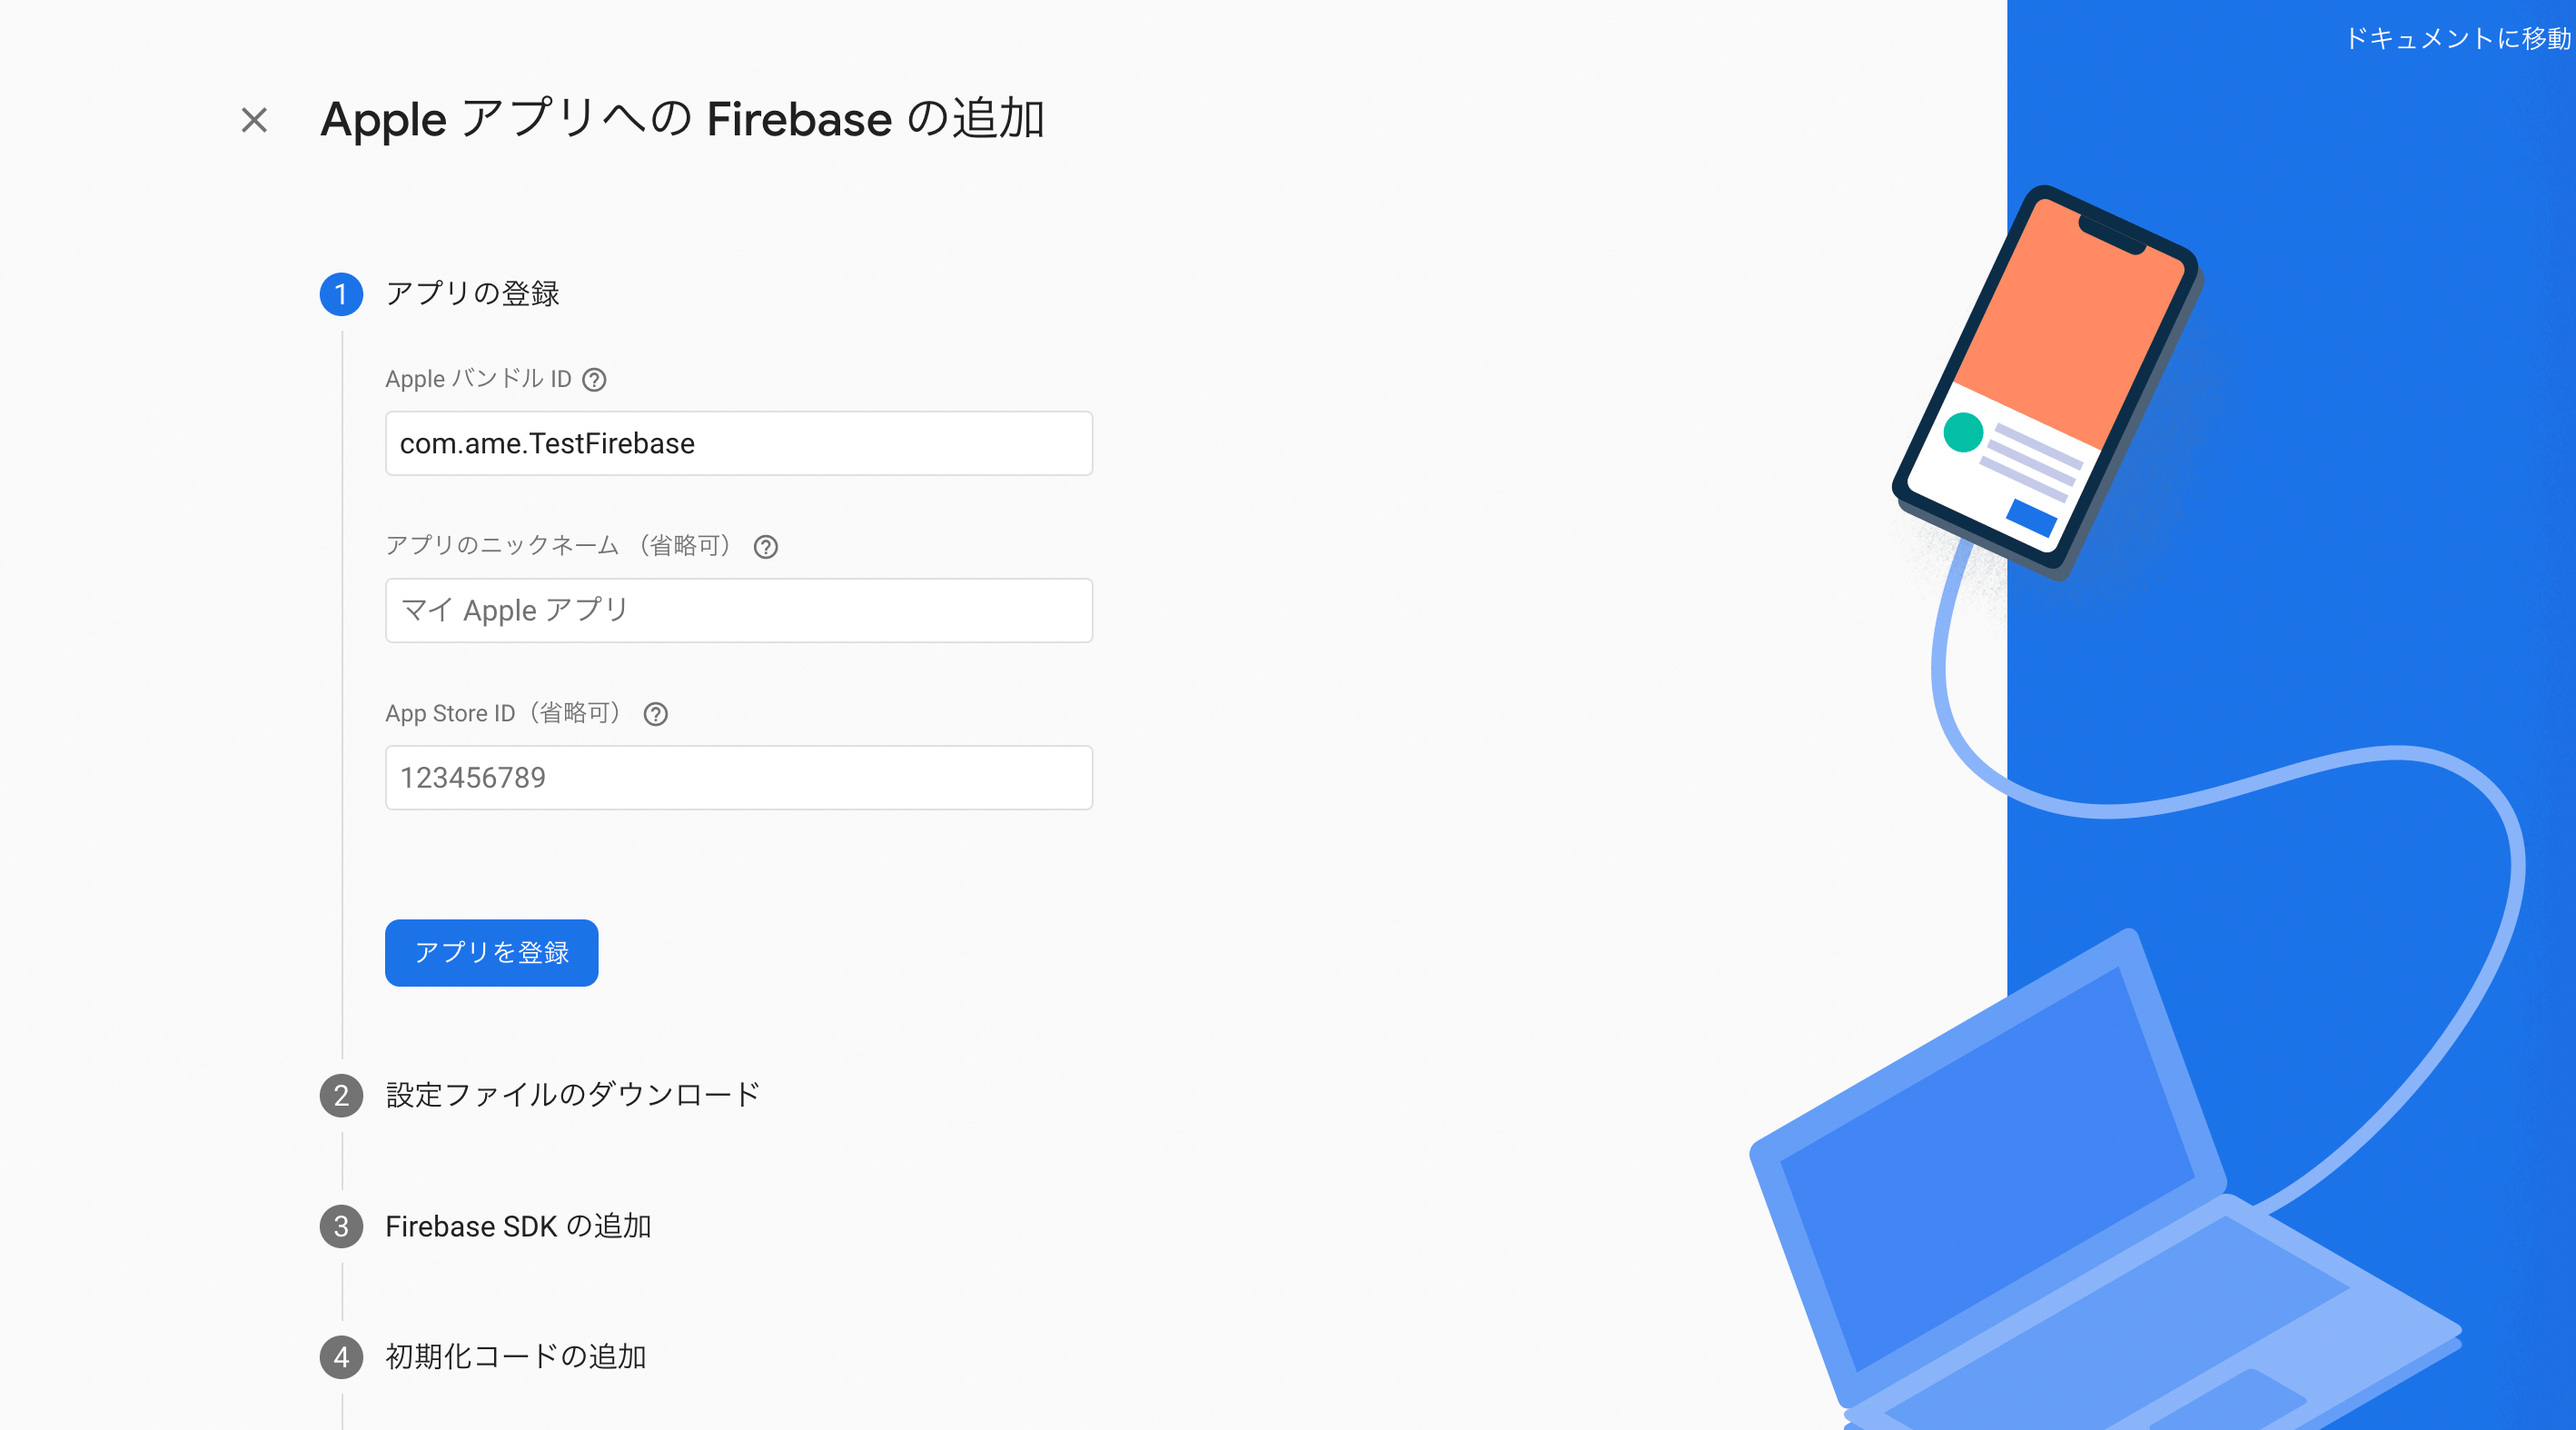
FirebaseプロジェクトにiOSアプリを追加
FirebaseプロジェクトにiOSアプリを追加します。
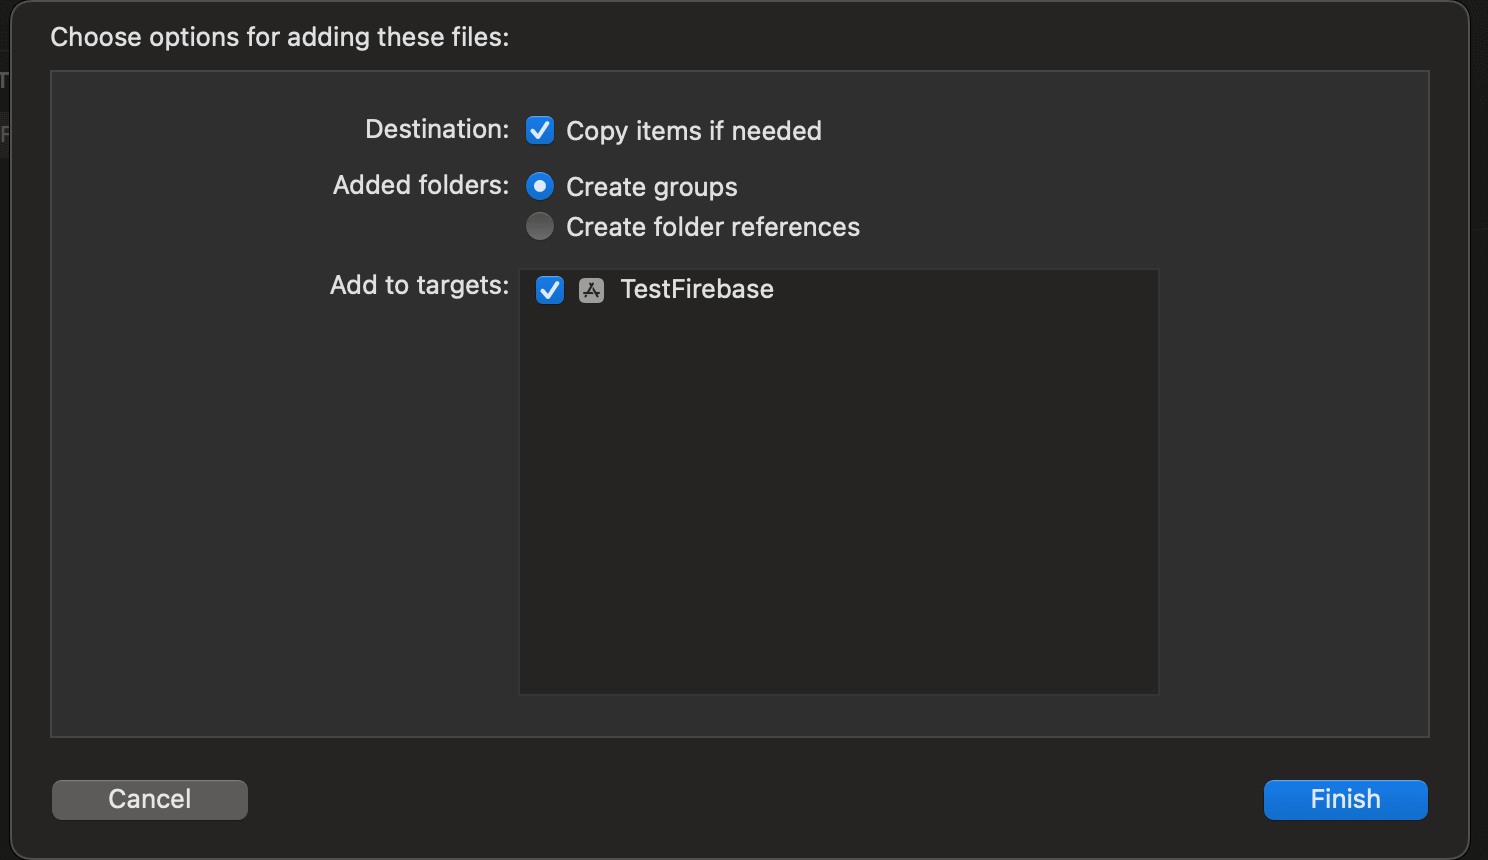
SwiftプロジェクトにダウンロードしたりGoogleService-Info.plist」を組み込みます。
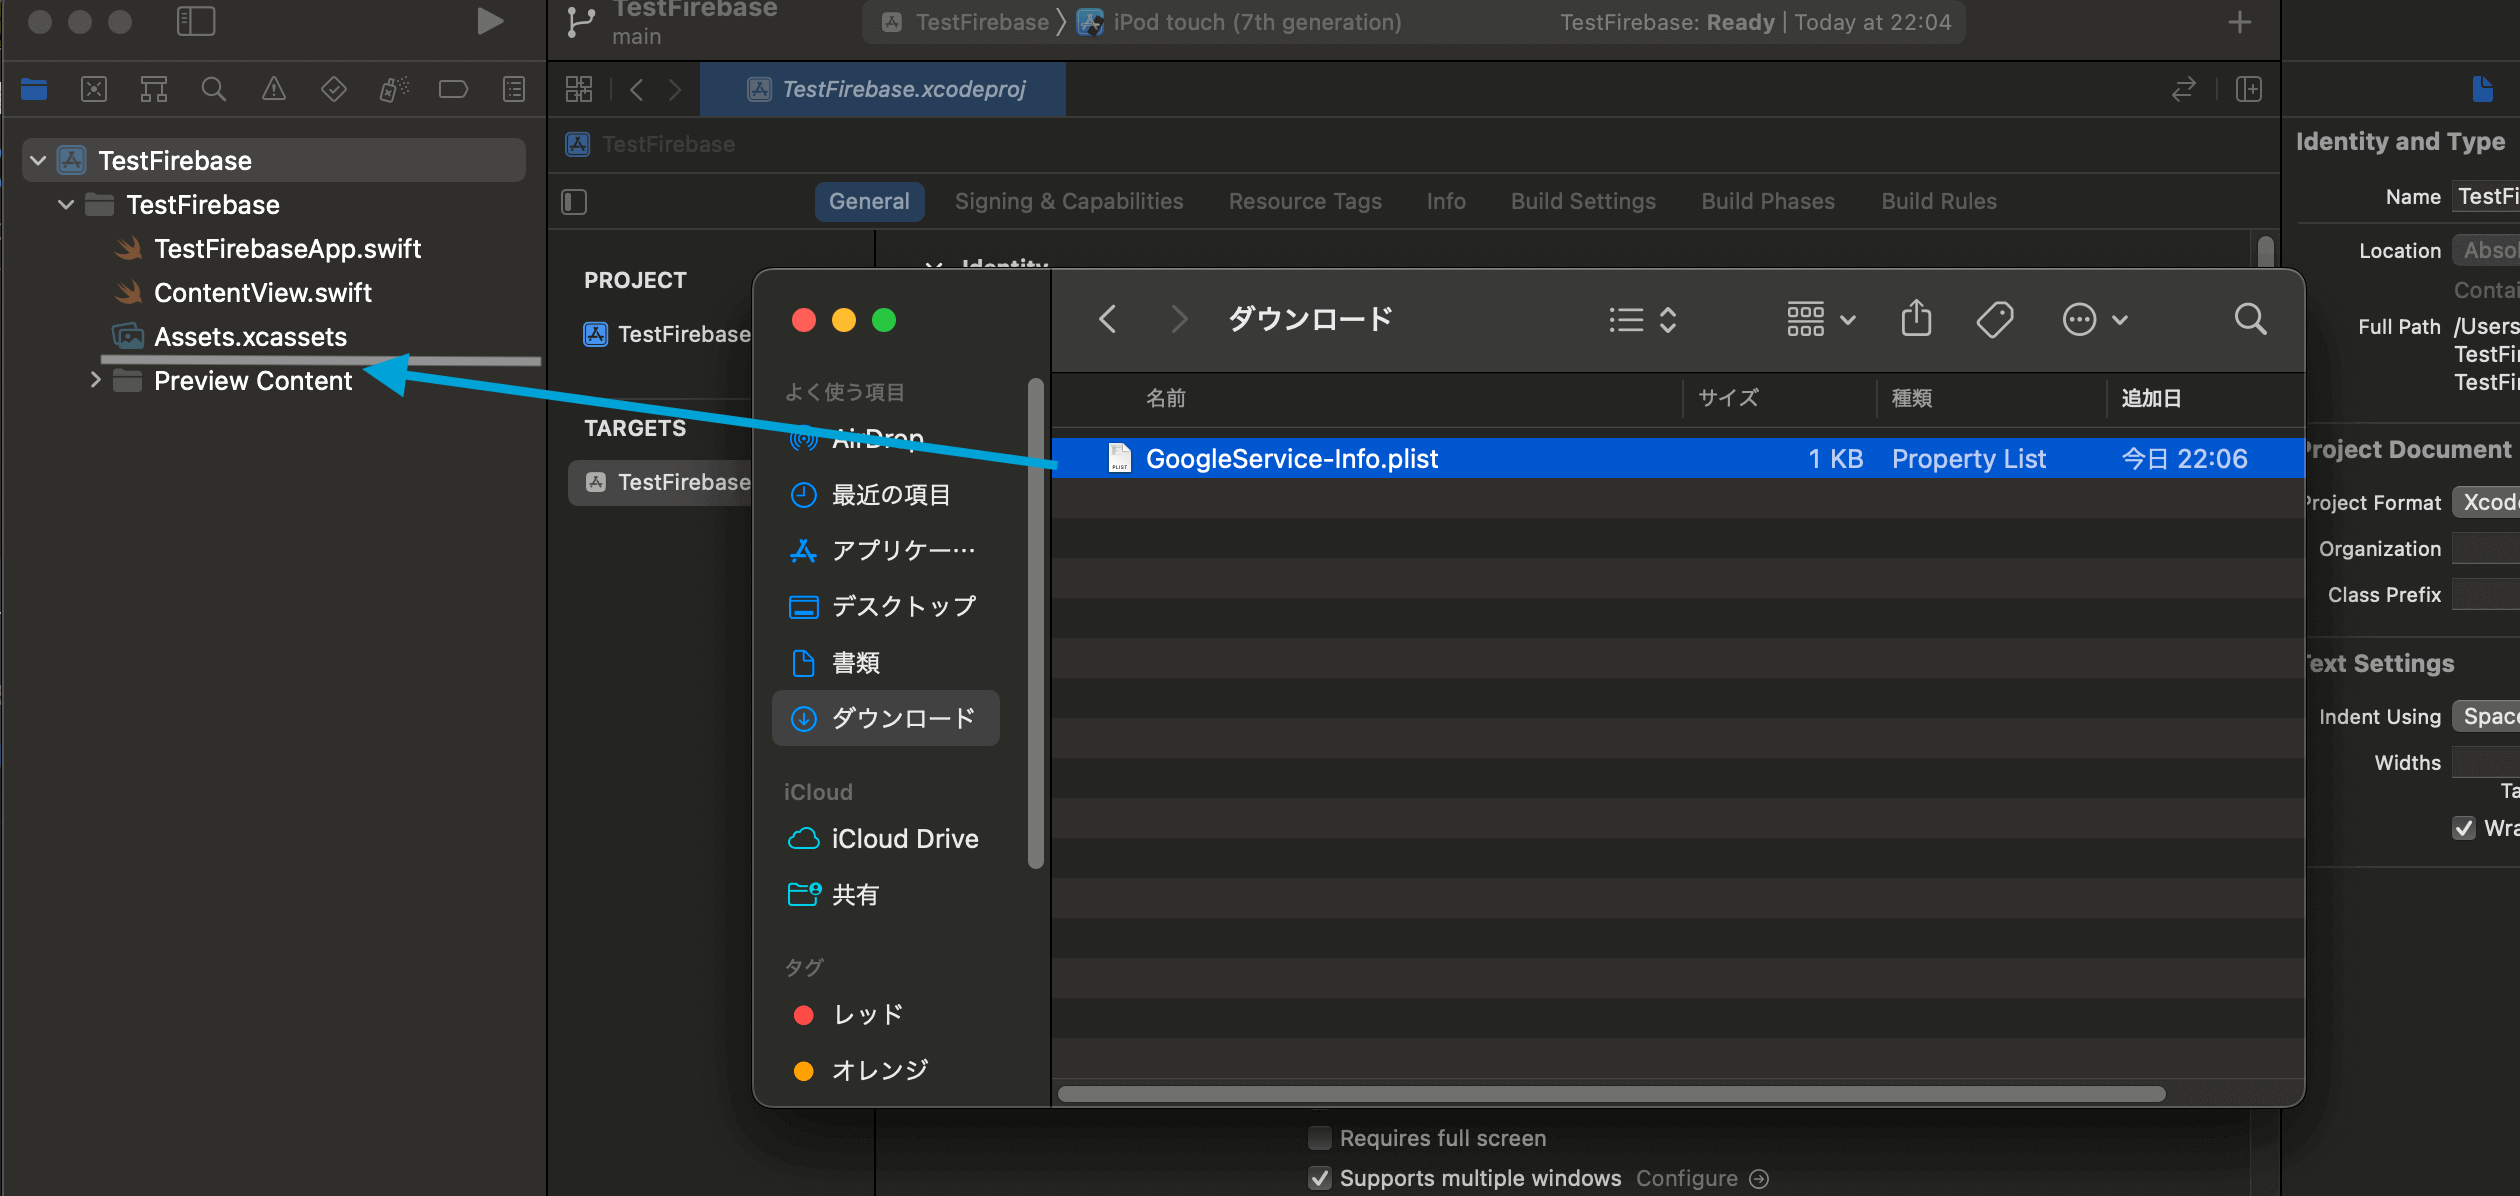
「Copy items if needed」と「Create groups」にチェックを入れて「Finish」をクリックします。
Cocoa Podsの組み込み&Authの導入
続いてライブラリ管理ツールである「Cocoa Pods」をプロジェクトに組み込みながらAuthとGoogleアカウントサインインに必要なライブラリを導入します。
ターミナルで以下のコマンドを打ち込み「PodFile」を生成します。
$ cd プロジェクトまでのパス
$ pod init
生成できたらPodFile内に各ライブラリをインストールするコードを追加します。
# Uncomment the next line to define a global platform for your project
# platform :ios, '9.0'

target '(プロジェクト名)' do

  use_frameworks!

  pod 'FirebaseAuth'
  pod 'GoogleSignIn'

end
最後に実行すればプロジェクトにAuthが組み込まれます。
$ pod install
【Swift UI】CocoaPodsのインストール方法と使い方!
エントリーポイントに初期化コードを記載
import SwiftUI
import FirebaseCore // 追加

// 追加
class AppDelegate: NSObject, UIApplicationDelegate {
    func application(_ application: UIApplication,
                    didFinishLaunchingWithOptions launchOptions: [UIApplication.LaunchOptionsKey : Any]? = nil) -> Bool {
        FirebaseApp.configure()
        return true
    }
}

@main
struct TestFirebaseApp: App {
    // 追加
    @UIApplicationDelegateAdaptor(AppDelegate.self) var delegate
    var body: some Scene {
        WindowGroup {
            ContentView()
        }
    }
}
これで下準備は完成です。
【Swift UI/Firebase】Authentication導入方法と使い方!ログイン機能の実装
「Sign in with Apple」を実装するために
Appleアカウントでのサインイン(= 「Sign in with Apple」)を実装するためには前準備がいくつか必要です。
- App IDの登録と「Sign in with Apple」の有効
- Xcodeの「Signing & Capability」にと「Sign in with Apple」の追加
- Appleサインインボタンの実装
【Swift UI/Firebase】AuthenticationでSign in with Appleでログインを実装する方法
Googleアカウントでのサインインを実装するために
Googleアカウントでのサインインを実装するためにもいくつか前準備が必要です。
- カスタムURLスキームの追加
- AppDelegateクラスへの追記
- Googleサインインボタンの実装
【Swift UI/Firebase】AuthenticationでGoogleアカウントでログインを実装する方法!
ログイン機能の処理をMVVMに分割していく
浅はかな知識ながらMVVMアーキテクチャを意識してサインイン機能の責務を分割していきました。
Model
結果モデルは大元1つと各プロバイダごとに1つずつ、エラーモデル1つになりました。
- AuthModel.swift
- EmailAuthModel.swift
- GoogleAuthModel.swift
- AppleAuthModel.swift
- AuthErrorModel.swift
import UIKit
import FirebaseAuth
import FirebaseCore
import AuthenticationServices
import SwiftUI

class AuthModel {

    // MARK: - シングルトン
    static let shared = AuthModel()

    // MARK: - リファレンス
    private  let auth = Auth.auth()


    // MARK: -
    public func getCurrentUser() -> User? {
        return auth.currentUser
    }

    public let defaultName = "no name"

    // MARK: - Sign In for Credential
    public func credentialSignIn(credential: AuthCredential,completion : @escaping (Result<Bool, Error>) ->  Void ){
        self.auth.signIn(with: credential) { (authResult, error) in
            if error == nil {
            if authResult?.user != nil{
                if authResult!.user.displayName == nil{
                    // Appleアカウントの場合は存在しない
                }
                completion(.success(true))
            }
            }else{
                completion(.failure(error!))
            }
        }
    }

    // MARK: - サインアウト処理
    public func SignOut(completion : @escaping (Result<Bool, Error>) ->  Void ){
        do{
            try auth.signOut()
            print("SignOut")
            completion(.success(true))
        } catch let signOutError as NSError {
            completion(.failure(signOutError))
        }
    }

    // MARK: -  各プロバイダ退会処理 & Appleアカウントは直呼び出し
    public func withdrawal(completion : @escaping (Result<Bool, Error>) ->  Void ){
        if let user = auth.currentUser {
            user.delete { error in
                if error == nil {
                    print("退会成功")
                    completion(.success(true))
                } else {
                    print("退会失敗")
                    completion(.failure(error!))
                }
            }
        }
    }
}
ViewModel
Authに絡んだ各Modelを一括で操作するViewModelにしました。なかなか大きくなってしまいましたがここをもう少し切り分けた方が良かったのかな?
- AuthViewModel.swift
- ValidationViewModel.swift
import UIKit
import FirebaseAuth
import FirebaseCore
import AuthenticationServices // Apple

class AuthViewModel:ObservableObject {

    // MARK: - シングルトン
    static let shared = AuthViewModel()

    private var auth = AuthModel.shared
    private let emailAuth = EmailAuthModel.shared
    private let googleAuth = GoogleAuthModel.shared
    private let appleAuth = AppleAuthModel.shared

    private let errModel = AuthErrorModel()

    @Published var errMessage:String = ""

    private func switchResultAndSetErrorMsg(_ result:Result<Bool,Error>) -> Bool{
        switch result {
        case .success(_) :
            return true
        case .failure(let error) :
            print(error.localizedDescription)
            self.errMessage = self.errModel.setErrorMessage(error)
            return false
        }
    }

    public func resetErrorMsg(){
        self.errMessage = ""
    }

    // MARK: -
    public func getCurrentUser() -> User? {
        return self.auth.getCurrentUser()
    }

    /// サインアウト
    public func signOut(completion: @escaping (Bool) -> Void ) {
        self.auth.SignOut { result in
            completion(self.switchResultAndSetErrorMsg(result))
        }
    }

    /// 退会
    public func withdrawal(completion: @escaping (Bool) -> Void ) {
        self.auth.withdrawal { result in
            completion(self.switchResultAndSetErrorMsg(result))
        }
    }


}

// MARK: - Email
extension AuthViewModel {

    /// サインイン
    public func emailSignIn(email:String,password:String,completion: @escaping (Bool) -> Void ) {
        emailAuth.signIn(email: email, password: password) { result in
            completion(self.switchResultAndSetErrorMsg(result))
        }
    }

    /// 新規登録
    public func createEmailUser(email:String,password:String,name:String,completion: @escaping (Bool) -> Void ) {
        emailAuth.createUser(email: email, password: password, name: name) { result in
            completion(self.switchResultAndSetErrorMsg(result))
        }
    }

    /// 再認証→退会
    public func credentialEmailWithdrawal(password:String,completion: @escaping (Bool) -> Void ) {
        emailAuth.reAuthUser(pass: password) { result in
            if self.switchResultAndSetErrorMsg(result) {
                self.withdrawal { result in
                    completion(result)
                }
            }
        }
    }

    /// リセットパスワード
    public func resetPassWord(email:String,completion: @escaping (Bool) -> Void ) {
        emailAuth.resetPassWord(email: email) { result in
            completion(self.switchResultAndSetErrorMsg(result))
        }
    }

}

// MARK: - Google
extension AuthViewModel {

    /// サインイン
    public func credentialGoogleSignIn(completion: @escaping (Bool) -> Void ) {
        googleAuth.getCredential { credential in
            if credential != nil {
                self.auth.credentialSignIn(credential: credential!) { result in
                    completion(self.switchResultAndSetErrorMsg(result))
                }
            }
        }
    }

    /// 再認証→退会
    public func credentialGoogleWithdrawal(completion: @escaping (Bool) -> Void ) {
        self.credentialGoogleReaAuth { result in
            if result {
                self.withdrawal { result in
                    completion(result)
                }
            }
        }
    }

    /// 再認証
    private func credentialGoogleReaAuth(completion: @escaping (Bool) -> Void ) {
        googleAuth.getCredential { credential in
            if credential != nil {
                self.googleAuth.reAuthUser(user: self.auth.getCurrentUser()!, credential: credential!) { result in
                    completion(self.switchResultAndSetErrorMsg(result))
                }
            }
        }
    }

}

// MARK: - Apple
extension AuthViewModel {

    ///  サインイン
    public func credentialAppleSignIn(credential:AuthCredential,completion: @escaping (Bool) -> Void ) {
        self.auth.credentialSignIn(credential: credential) { result in
            print("Apple Login")
            completion(self.switchResultAndSetErrorMsg(result))
        }
    }

    /// Firebase
    public func getHashAndSetCurrentNonce() -> String {
        let nonce = appleAuth.randomNonceString()
        appleAuth.currentNonce = nonce
        return appleAuth.sha256(nonce)
    }

    /// ボタンクリック後の結果分岐処理
    public func switchAuthResult(result:Result<ASAuthorization, Error>) -> AuthCredential?{
        return appleAuth.switchAuthResult(result: result)
    }

    //    public func editUserInfo(credential:AuthCredential,name:String,completion: @escaping (Bool) -> Void ) {
    //        if let user = auth.getCurrentUser() {
    //            appleAuth.editUserNameApple(user: user, credential: credential, name: name) { result in
    //                completion(result)
    //            }
    //        }
    //    }
}
MVVMアーキテクチャに倣った構造
今回はMVVMアーキテクチャに倣った構造でログイン機能を実装したかったので以下のポイントに注意しました。
- 各要素の疎結合
- View-ViewModel間はデータバインディング
- Model-View間は直接的に関わらない
- Model-ViewModel間はデータを渡し合う
- ViewModelが仲介役
- Modelは依存性をなくす
んー?意識はしてみたものの完璧にできているか自信はありません。。
まだまだ勉強は必要そうです。。
ご覧いただきありがとうございました!
この記事で作成したログイン機能はGitHubに公開しています!