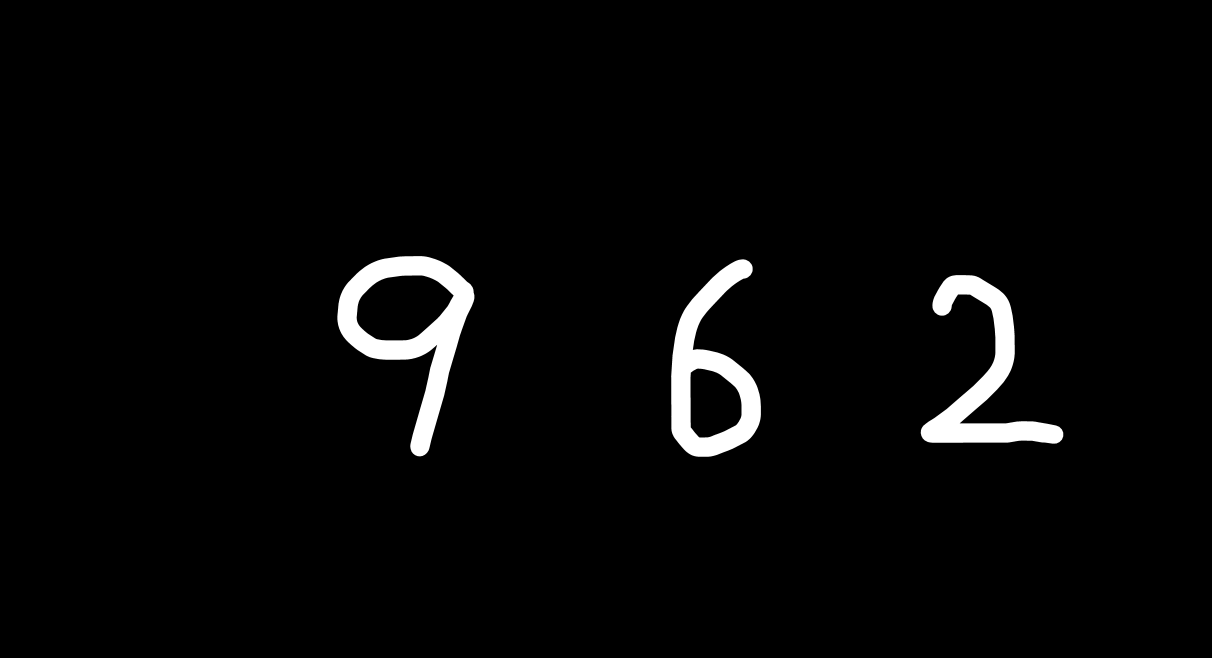
0.初めに
修士になって深層学習を扱い始めた。MNISTでの数字識別を例にしている記事が多くあったが、
**『自分が書いた数字を実際に認識させる』**とこまでやっている記事が少なかった。
自分なりに調べて、自分の書いた数字の識別まで辿り着いた。
したがって、備忘録として示しておきます。
1.流れ
数字画像作成(通常、RGBの3次元画像として保存される)
↓
画像を加工
↓
作成したモデルに入力
画像の加工が本稿のポイントです。具体的には...
①画像を(縦×横×RGB3次元)→(28×28×RGB3次元に変換)
②(28×28×RGB3次元)→(28×28)のグレースケール画像に変換し、保存
28×28にするのは、MNISTのデータセットと合わせるためです。
2.手書き文字作成(パワポ)
こんな感じで、パワポの背景を塗りつぶす。そして注釈モードのペンを使って数字を書こう
何個か出来たら適当にスクショして保存
3.実際に認識してみる
画像の加工関数は以下の通り、この記事で一番大事な部分です。
def dim3RGB_to_dim1gray(file_name):
    img_bgr = cv2.imread(file_name)
    #Blue,Green,Redの順番らしい

    blue=img_bgr[:,:,0]
    green=img_bgr[:,:,1]
    red=img_bgr[:,:,2]

    #RGB→白黒の変換
    gray_scale=red*0.3+green*0.59+blue*0.11

    #これで(28,28,3)→(28,28)へ
    print(gray_scale)
    print(gray_scale.shape)

    #元ファイル名が 9.png なら grayscale_9.png として保存される
    cv2.imwrite("grayscale_"+file_name, gray_scale)
保存が出来たら、実際に学習してみる
from keras.datasets import mnist
from keras import models
from keras import layers
import cv2
from keras.utils import np_utils


# MNISTデータの読み込み
(train_images, train_labels), (test_images, test_labels) = mnist.load_data()

# モデル作成
network = models.Sequential()
network.add(layers.Dense(512, activation='relu', input_shape=(28 * 28,)))
network.add(layers.Dense(10, activation='softmax'))
network.compile(optimizer='rmsprop',
                loss='categorical_crossentropy',
                metrics=['accuracy'])

# データセットの画像をちょいと加工 必須です
train_images = train_images.reshape((60000, 28 * 28))
train_images = train_images.astype('float32') / 255

test_images = test_images.reshape((10000, 28 * 28))
test_images = test_images.astype('float32') / 255

# 正解ラベルを加工 これまた必須
train_labels = np_utils.to_categorical(train_labels)
test_labels = np_utils.to_categorical(test_labels)

# 学習!!
network.fit(train_images, train_labels, epochs=5, batch_size=128)

# ここで一度精度確認
test_loss, test_acc = network.evaluate(test_images, test_labels)

# ここからがオリジナルです!! 自分が作ったファイルを開いて、モデルに入力してみる
file_name_list=["grayscale_2.png","grayscale_6.png","grayscale_9.png"]

for file_name in file_name_list:
    print(file_name)
    img = cv2.imread(file_name, cv2.IMREAD_GRAYSCALE)
    img=img.reshape(1,28*28)
    img=img.astype('float32')/255
    print(network.predict(img))

