Spring Bootでwebアプリを作成して、docker上のWebSphereにデプロイします。
warを作成して/config/dropins/に配置するだけですが…… pom.xml の設定などをちゃんとしないとハマりますね。
dependency
Spring boot 2.1.1
spring-boot-starter-web
実装
projectはSpring Initializrで作成すると良いです。
今回のアプリではDependenciesにwebを追加してGenerate Projectしましょう。
Hello,Worldを返すだけのアプリを作成します。
@SpringBootApplicationを付与するクラスにSpringBootServletInitializerを継承させるのが重要です。
また、文字列自体は@RestControllerで返しても良いのですがわかりやすく@ResponseBodyで返します。
@Controller
@SpringBootApplication
public class LibertyApplication extends SpringBootServletInitializer { //このクラス継承させないと動かない

	public static void main(String[] args) {
		SpringApplication.run(LibertyApplication.class, args);
	}

	@RequestMapping("/")
	@ResponseBody
	public String index() {
		return "Hello,World!";
	}
}
pom.xmlを変更します。
packagingの設定をwarにします。
	<groupId>com.example</groupId>
	<artifactId>liberty</artifactId>
	<version>0.0.1-SNAPSHOT</version>
	<packaging>war</packaging>  <!--ここだけ-->
また、spring-boot-starter-webに含まれるtomcatをデプロイ成果物のwarファイルから外す設定を追加します。
		<dependency>
			<groupId>org.springframework.boot</groupId>
			<artifactId>spring-boot-starter-web</artifactId>
		</dependency>

		<!-- ↓これを追加 -->
		<dependency>
			<groupId>org.springframework.boot</groupId>
			<artifactId>spring-boot-starter-tomcat</artifactId>
			<scope>provided</scope>
		</dependency>
		<!-- ↑これを追加 -->
実装終わりです。
デプロイ & 実行
WebSphere Libertyの環境を作成するのは面倒なので、
docker-composeでwarをbuildしてWebSphere Libertyへデプロイする設定を書きます。
WebSphere Libertyの公式コンテナイメージのポートが9080と9443なので、
80と443にマッピングします。
version: '2'

services:
  was-liberty:
    image: websphere-liberty:webProfile7
    ports:
      - "80:9080"
      - "443:9443"
    volumes:
      - /config/dropins/

  maven:
    image: maven
    volumes_from:
      - was-liberty
    volumes:
      - ./:/var/app
      - ~/.m2:/root/.m2
    working_dir: /var/app
    command: sh -c "mvn clean install package -Dmaven.test.skip=true && cp /var/app/target/*.war /config/dropins/app.war"
コンテナを起動して実行します。
$ docker-compose up

Creating springwithwasliberty_was-liberty_1 ... done
Creating springwithwasliberty_was-liberty_1 ...
Creating springwithwasliberty_maven_1       ... done
Attaching to springwithwasliberty_was-liberty_1, springwithwasliberty_maven_1
   ・・・省略・・・
maven_1        | [INFO] Building war: /var/app/target/liberty-0.0.1-SNAPSHOT.war
maven_1        | [INFO]
maven_1        | [INFO] --- spring-boot-maven-plugin:2.1.1.RELEASE:repackage (repackage) @ liberty ---
maven_1        | [INFO] Replacing main artifact with repackaged archive
maven_1        | [INFO] ------------------------------------------------------------------------
maven_1        | [INFO] BUILD SUCCESS
maven_1        | [INFO] ------------------------------------------------------------------------
maven_1        | [INFO] Total time: 13.717 s
maven_1        | [INFO] Finished at: 2018-12-02T04:14:17Z
maven_1        | [INFO] Final Memory: 34M/254M
maven_1        | [INFO] ------------------------------------------------------------------------
springwithwasliberty_maven_1 exited with code 0
was-liberty_1  | [AUDIT   ] CWWKZ0058I: Monitoring dropins for applications.
was-liberty_1  | [AUDIT   ] CWWKS4104A: LTPA keys created in 5.688 seconds. LTPA key file: /opt/ibm/wlp/output/defaultServer/resources/security/ltpa.keys
was-liberty_1  | [AUDIT   ] CWPKI0803A: SSL certificate created in 6.599 seconds. SSL key file: /opt/ibm/wlp/output/defaultServer/resources/security/key.jks
was-liberty_1  | [AUDIT   ] CWWKT0016I: Web application available (default_host): http://e25999ab0a46:9080/app/
was-liberty_1  | [AUDIT   ] CWWKZ0001I: Application app started in 15.572 seconds.
was-liberty_1  | [AUDIT   ] CWWKF0012I: The server installed the following features: [jsp-2.3, ejbLite-3.2, managedBeans-1.0, servlet-3.1, jsf-2.2, beanValidation-1.1, ssl-1.0, jndi-1.0, appSecurity-2.0, jsonp-1.0, jdbc-4.1, jaxrs-2.0, el-3.0, jaxrsClient-2.0, json-1.0, jpaContainer-2.1, cdi-1.2, distributedMap-1.0, webProfile-7.0, websocket-1.1, jpa-2.1].
was-liberty_1  | [AUDIT   ] CWWKF0011I: The server defaultServer is ready to run a smarter planet.
was-liberty_1  | [WARNING ] CWNEN0047W: Resource annotations on the fields of the org.springframework.web.servlet.view.tiles3.TilesConfigurer$CompositeELResolverImpl class will be ignored. The annotations could not be obtained because of the exception : java.lang.NoClassDefFoundError: org.apache.tiles.el.ScopeELResolver
was-liberty_1  | [WARNING ] CWNEN0049W: Resource annotations on the methods of the org.springframework.web.servlet.view.tiles3.TilesConfigurer$CompositeELResolverImpl class will be ignored. The annotations could not be obtained because of the exception : java.lang.NoClassDefFoundError: org.apache.tiles.el.ScopeELResolver
was-liberty_1  |   .   ____          _            __ _ _
was-liberty_1  |  /\\ / ___'_ __ _ _(_)_ __  __ _ \ \ \ \
was-liberty_1  | ( ( )\___ | '_ | '_| | '_ \/ _` | \ \ \ \
was-liberty_1  |  \\/  ___)| |_)| | | | | || (_| |  ) ) ) )
was-liberty_1  |   '  |____| .__|_| |_|_| |_\__, | / / / /
was-liberty_1  |  =========|_|==============|___/=/_/_/_/
was-liberty_1  |  :: Spring Boot ::        (v2.1.1.RELEASE)
was-liberty_1  | 2018-12-02 04:21:41.001  INFO 1 --- [cutor-thread-12] com.example.liberty.LibertyApplication   : Starting LibertyApplication on e25999ab0a46 with PID 1 (/opt/ibm/wlp/usr/servers/defaultServer/apps/expanded/app.war/WEB-INF/classes started by root in /opt/ibm/wlp/output/defaultServer)
was-liberty_1  | 2018-12-02 04:21:41.017  INFO 1 --- [cutor-thread-12] com.example.liberty.LibertyApplication   : No active profile set, falling back to default profiles: default
was-liberty_1  | 2018-12-02 04:21:42.491  INFO 1 --- [cutor-thread-12] o.s.web.context.ContextLoader            : Root WebApplicationContext: initialization completed in 1450 ms
was-liberty_1  | 2018-12-02 04:21:43.847  INFO 1 --- [cutor-thread-12] o.s.s.concurrent.ThreadPoolTaskExecutor  : Initializing ExecutorService 'applicationTaskExecutor'
was-liberty_1  | 2018-12-02 04:21:44.538  INFO 1 --- [cutor-thread-12] com.example.liberty.LibertyApplication   : Started LibertyApplication in 4.127 seconds (JVM running for 42.743)
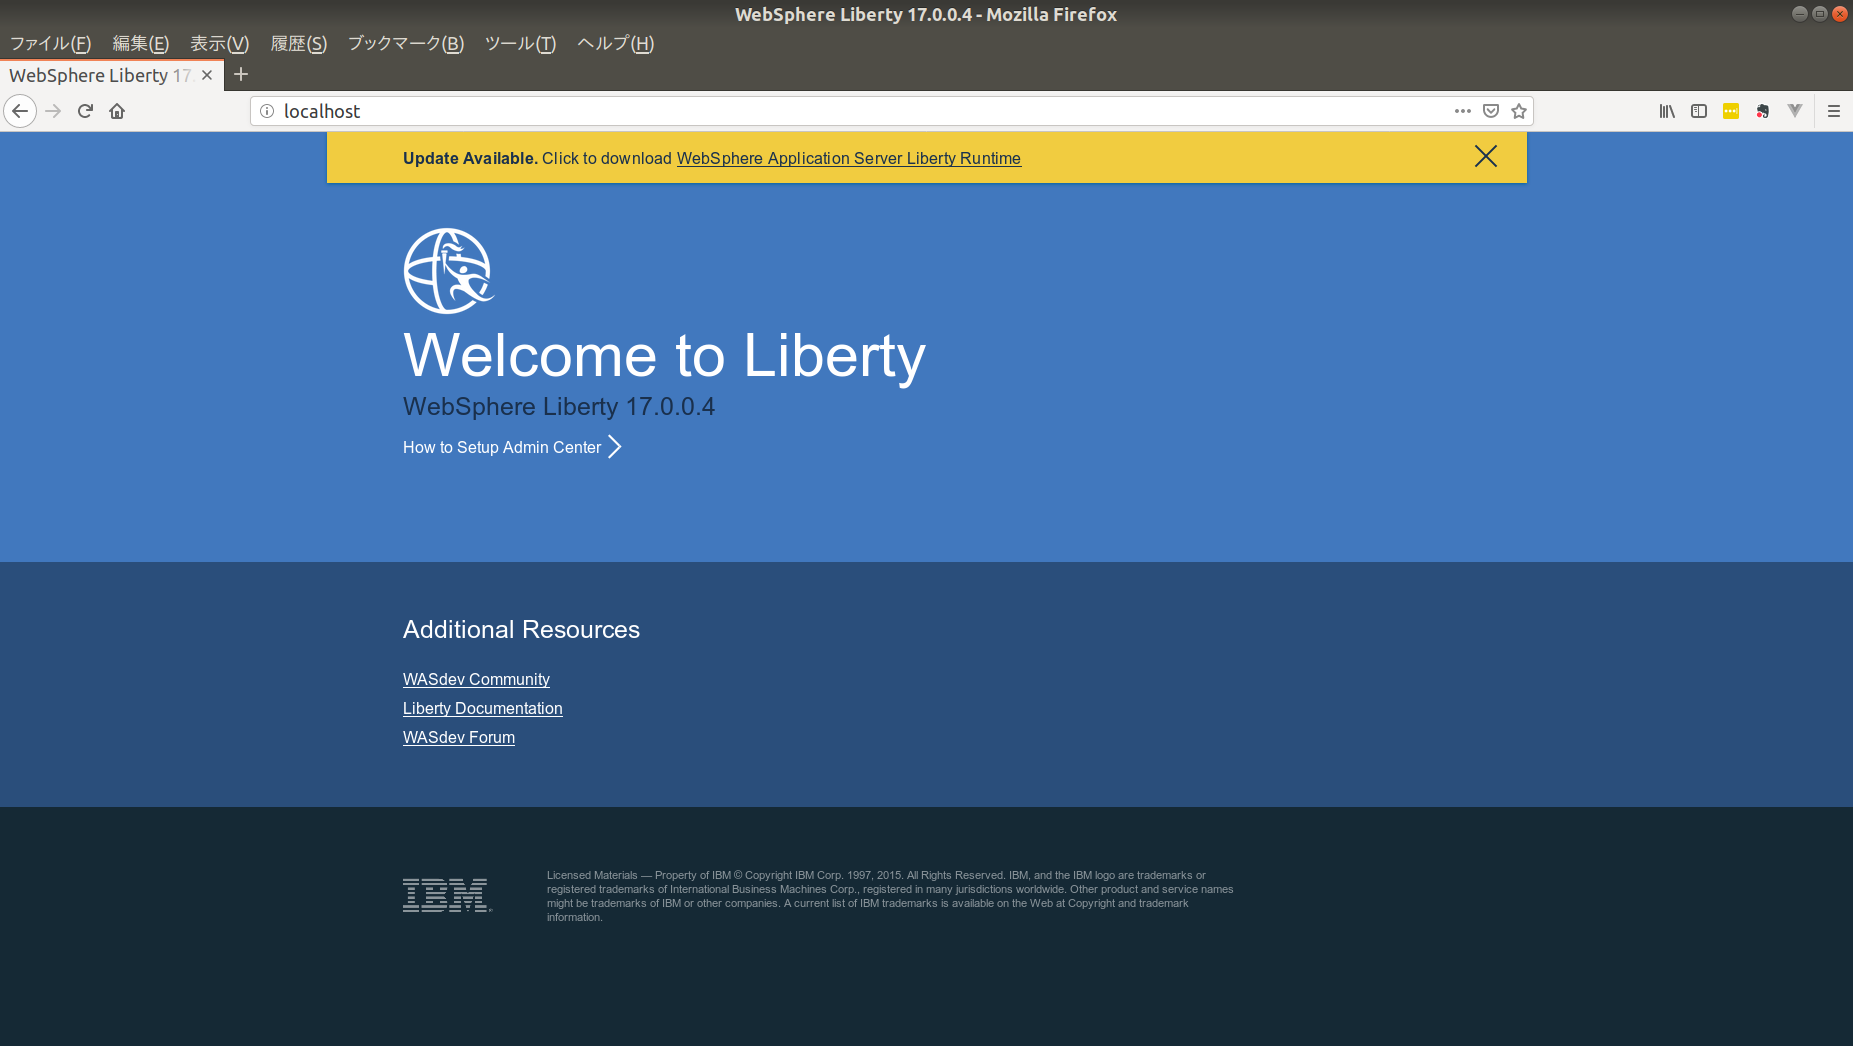
WebSphre LibertyがSpringを起動したようなので、http://localhost をブラウザで開いて確認します。

WebSphre Libertyはデフォルトではアプリの名前がcontext rootに設定されるようです。
今回作成したアプリはapp.warなので、http://localhost/app をブラウザで開いて確認します。

「Hello,World!」が表示され、アプリが正しくデプロイされているのが確認できます。
備考
プロジェクのソースコードは下記です。
https://github.com/amanoese/springWithWasLiberty
また、warを作成する際の詳細については公式ドキュメントに記載されています。
https://docs.spring.io/spring-boot/docs/current/reference/htmlsingle/#howto-create-a-deployable-war-file