#スペースバーをクリックしたらミサイルが発射できるようにします。
Input情報を確認します(Edit->Project Settings->Input)。「Jump」という名前でSpaceが定義されています。この名前をスクリプトで使います。

飛行機とミサイルをつなぐときに生成したMissileShootファイルを編集します。
using UnityEngine;
using System.Collections;

public class shootMissile : MonoBehaviour {

    public GameObject missile;  //Inspectorから設定できる

	// Use this for initialization
	void Start () {

	}

	// Update is called once per frame
	void Update () {

        //Jump(Space Barを押したときの処理
	    if (Input.GetButtonDown("Jump"))
        {
            //ミサイルインスタンスを飛行機の位置と回転情報をベースに生成。
            Instantiate(missile, transform.position, transform.rotation);

        }
	}
}
ゲームを実行してみます。ミサイルは表示されてないですが、左のHierachyにMissile(Clone)が追加されています。
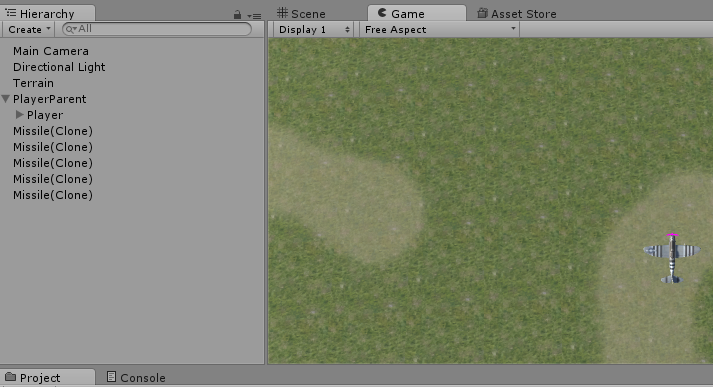
これは飛行機と同じ位置に生成したので見えないだけです。ミサイルの位置を変更して見えるようにスクリプトを追加しましょう。
Assets/ScriptsにmissileMoveの名前でスクリプトを追加します。
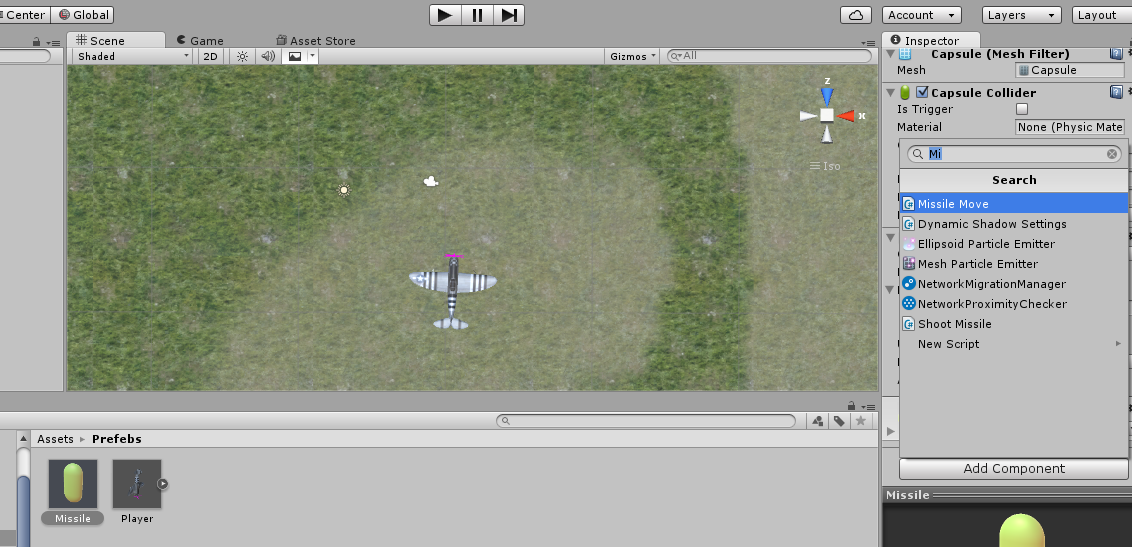
追加したスクリプトをミサイルPrefebに追加します。Missileを選択してInspectorからAdd Componentボタンをクリックします。検索画面からmissileMoveを入力すると追加できます。
missileMoveスクリプト修正
public class missileMove : MonoBehaviour {

    public float speed = 10f;
	// Use this for initialization
	void Start () {

	}

	// Update is called once per frame
	void Update () {
        //前進(Z方向)
        transform.Translate(0, 0, speed * Time.deltaTime);
	}
}
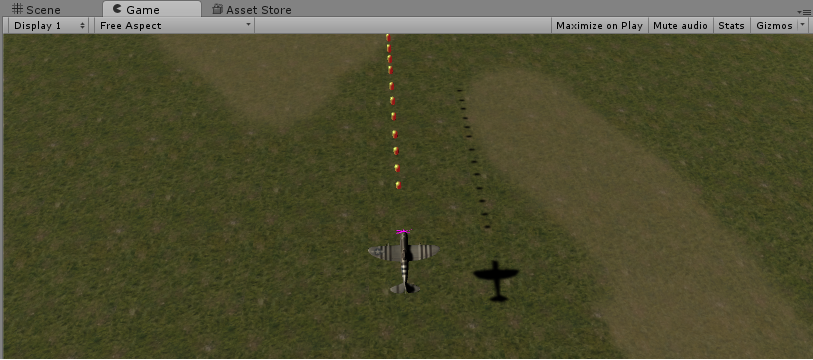
これでミサイルが発射できるようになりました。
次回は敵飛行機を作ってミサイルが当たった時の処理をやります。