はじめに
初めまして!N高等学校7期生の3年生のさきです!名古屋キャンパスに通学しています。
以前作成したアプリで使用したfirebaseUIがとっても便利だったので、今回はswiftUIとfirebaseUIを使って、ログイン機能を作ってみたいと思います!
FirebaseUIって?
FirebaseのAuthentication を基に作成されたライブラリで、簡単にメールアドレスやgoogleログイン、appleログインを実装することができます。
長いコードをかくことなく、firebase単体でログイン機能を作る時よりとっても簡単に作ることができます。
作り方
1xcodeでプロジェクト作成、firebaseの準備
2fireabaseUIのインポート
3実際のコード
の順番に進めていきます
xcodeでプロジェクト作成、firebaseの準備
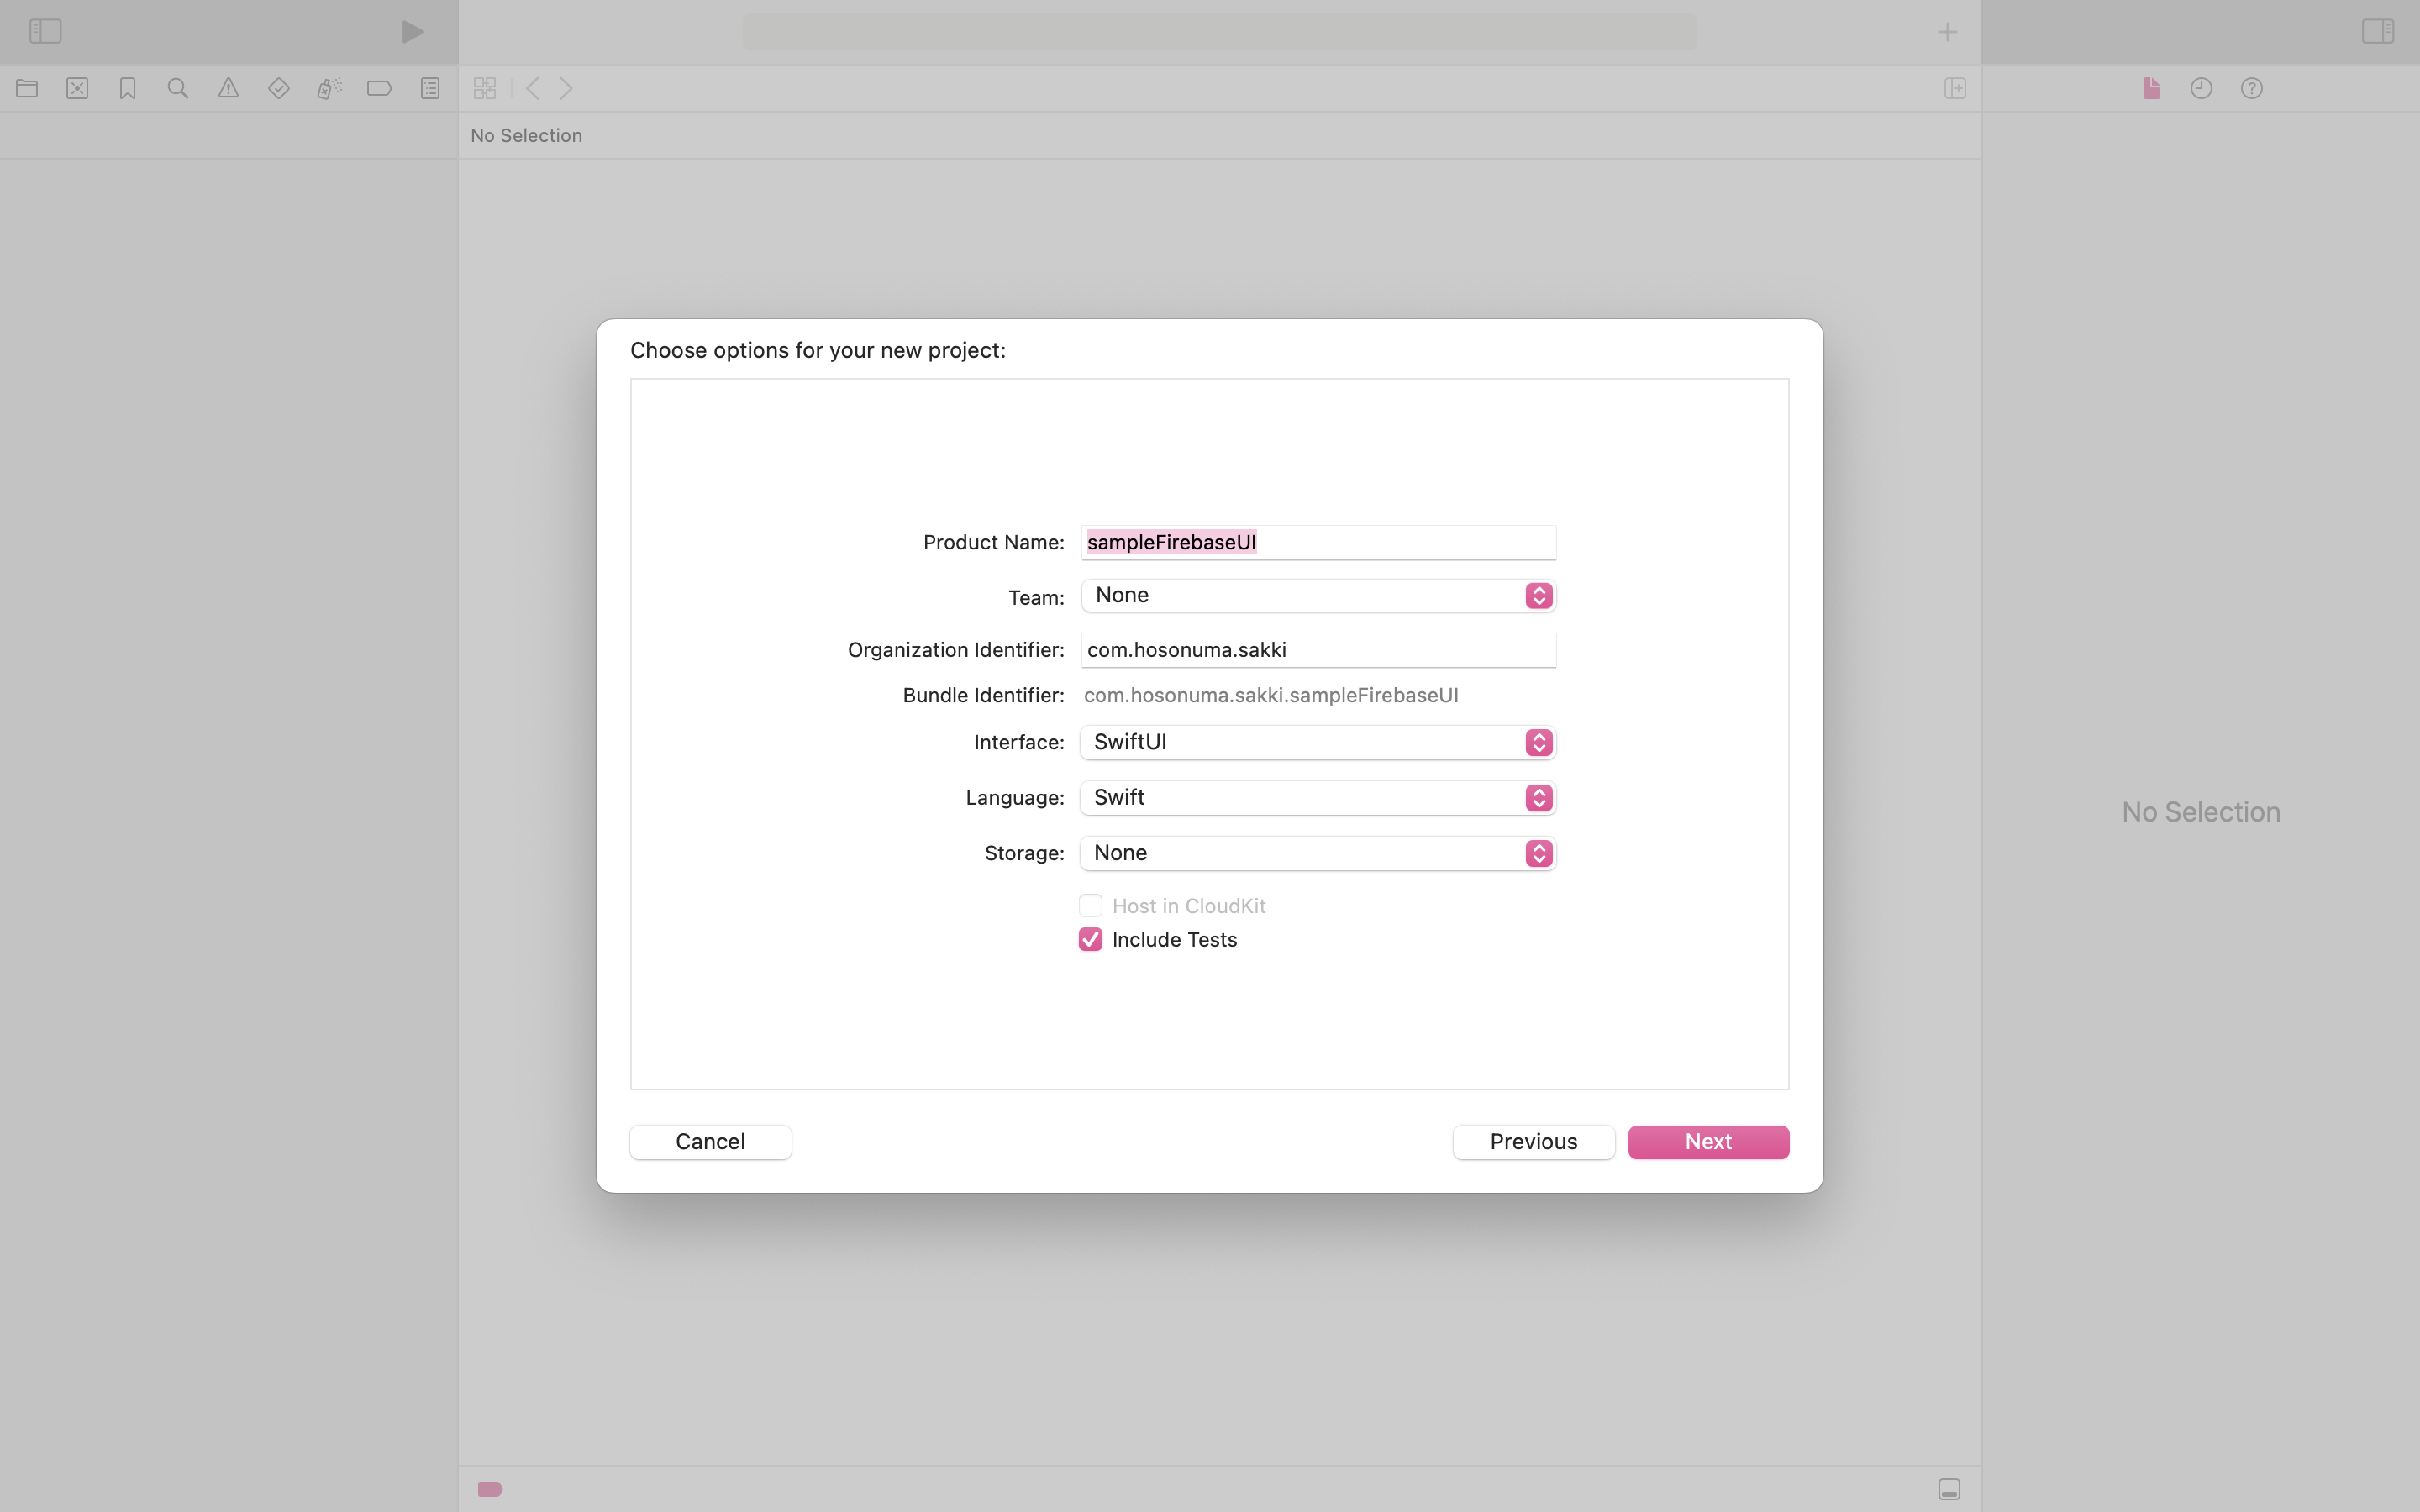
xcodeを起動し、適当な名前を決めてプロジェクトを作成します。今回はswiftUIを使っていきます。
次はfirebaseを準備します。
https://console.firebase.google.com/u/0/?hl=ja
このリンクにアクセスしてプロジェクトを追加、名前をつけてプロジェクトを作成します。Apple アプリへのFirebaseの追加も済ませておきます。
今回はfirebaseの設定の後から今回は書きたいと思います。
Swift Package Managerを今回使用しています!
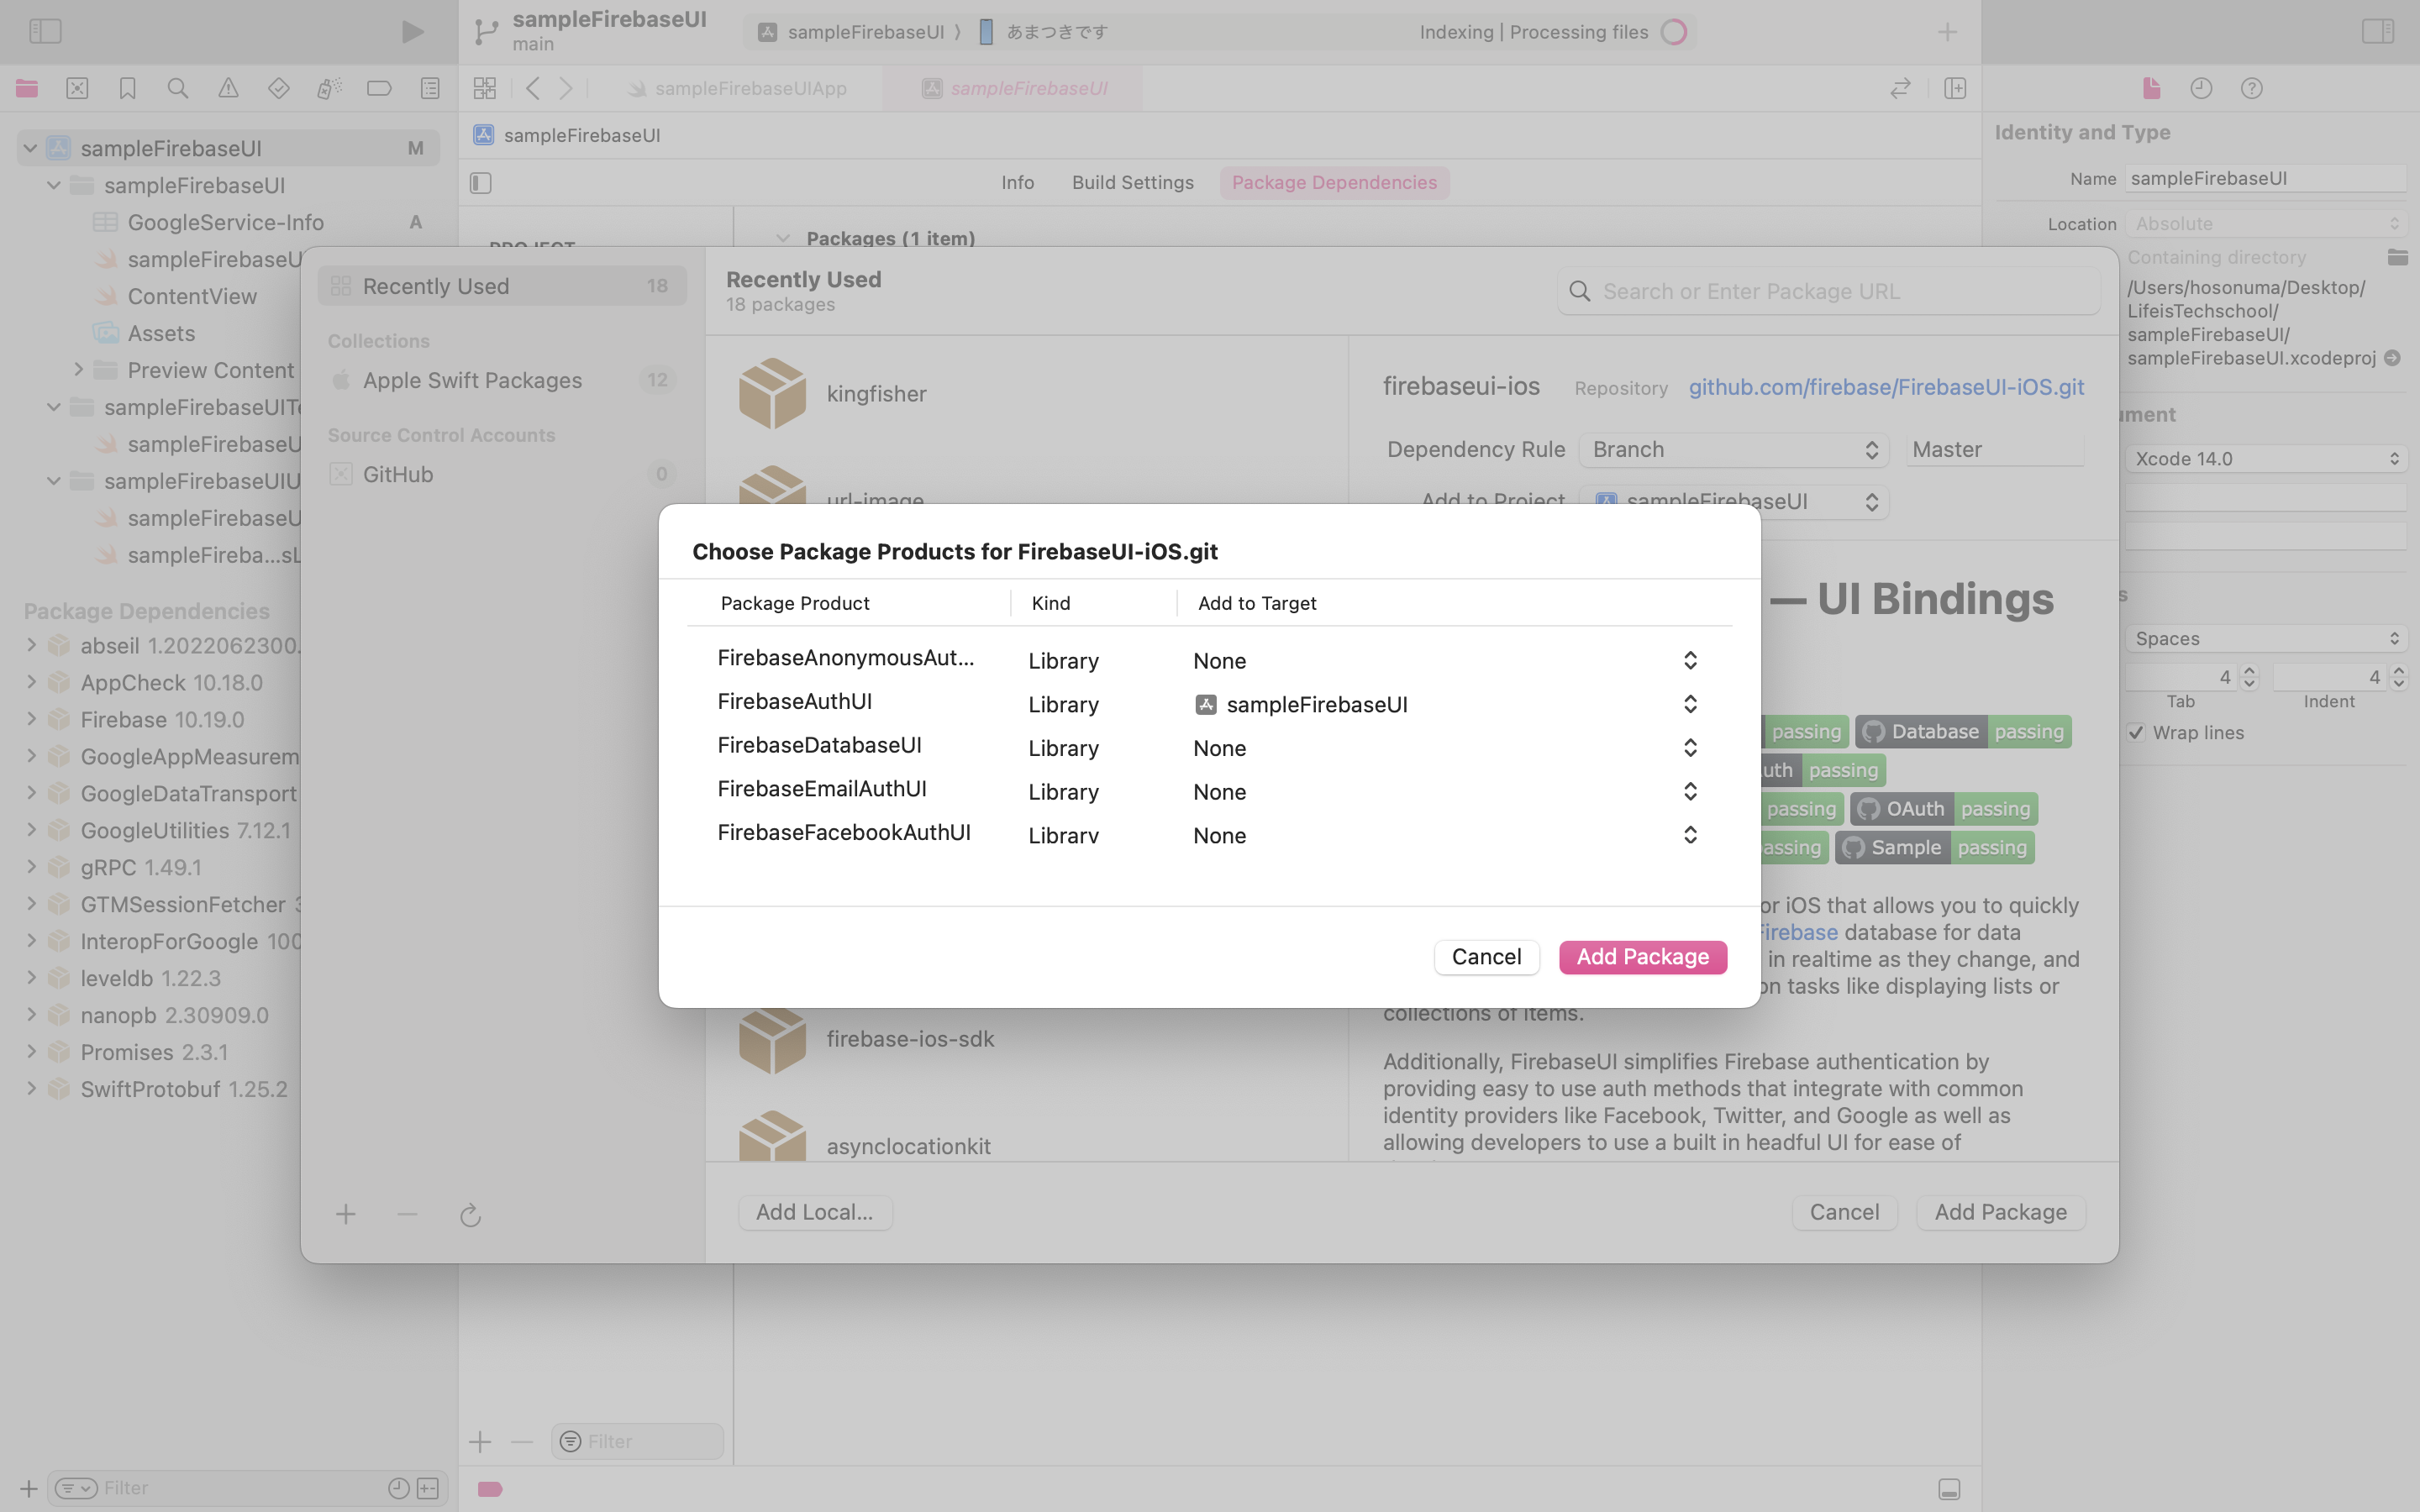
Firebase SDKは画像の2つを選択します。必要に応じて適宜別のものも追加してください。
バージョンは Up to Next Major Version 10.16.0< を選んでください!
この画面がひらけば準備完了です!
次にAuthenticationを追加します。
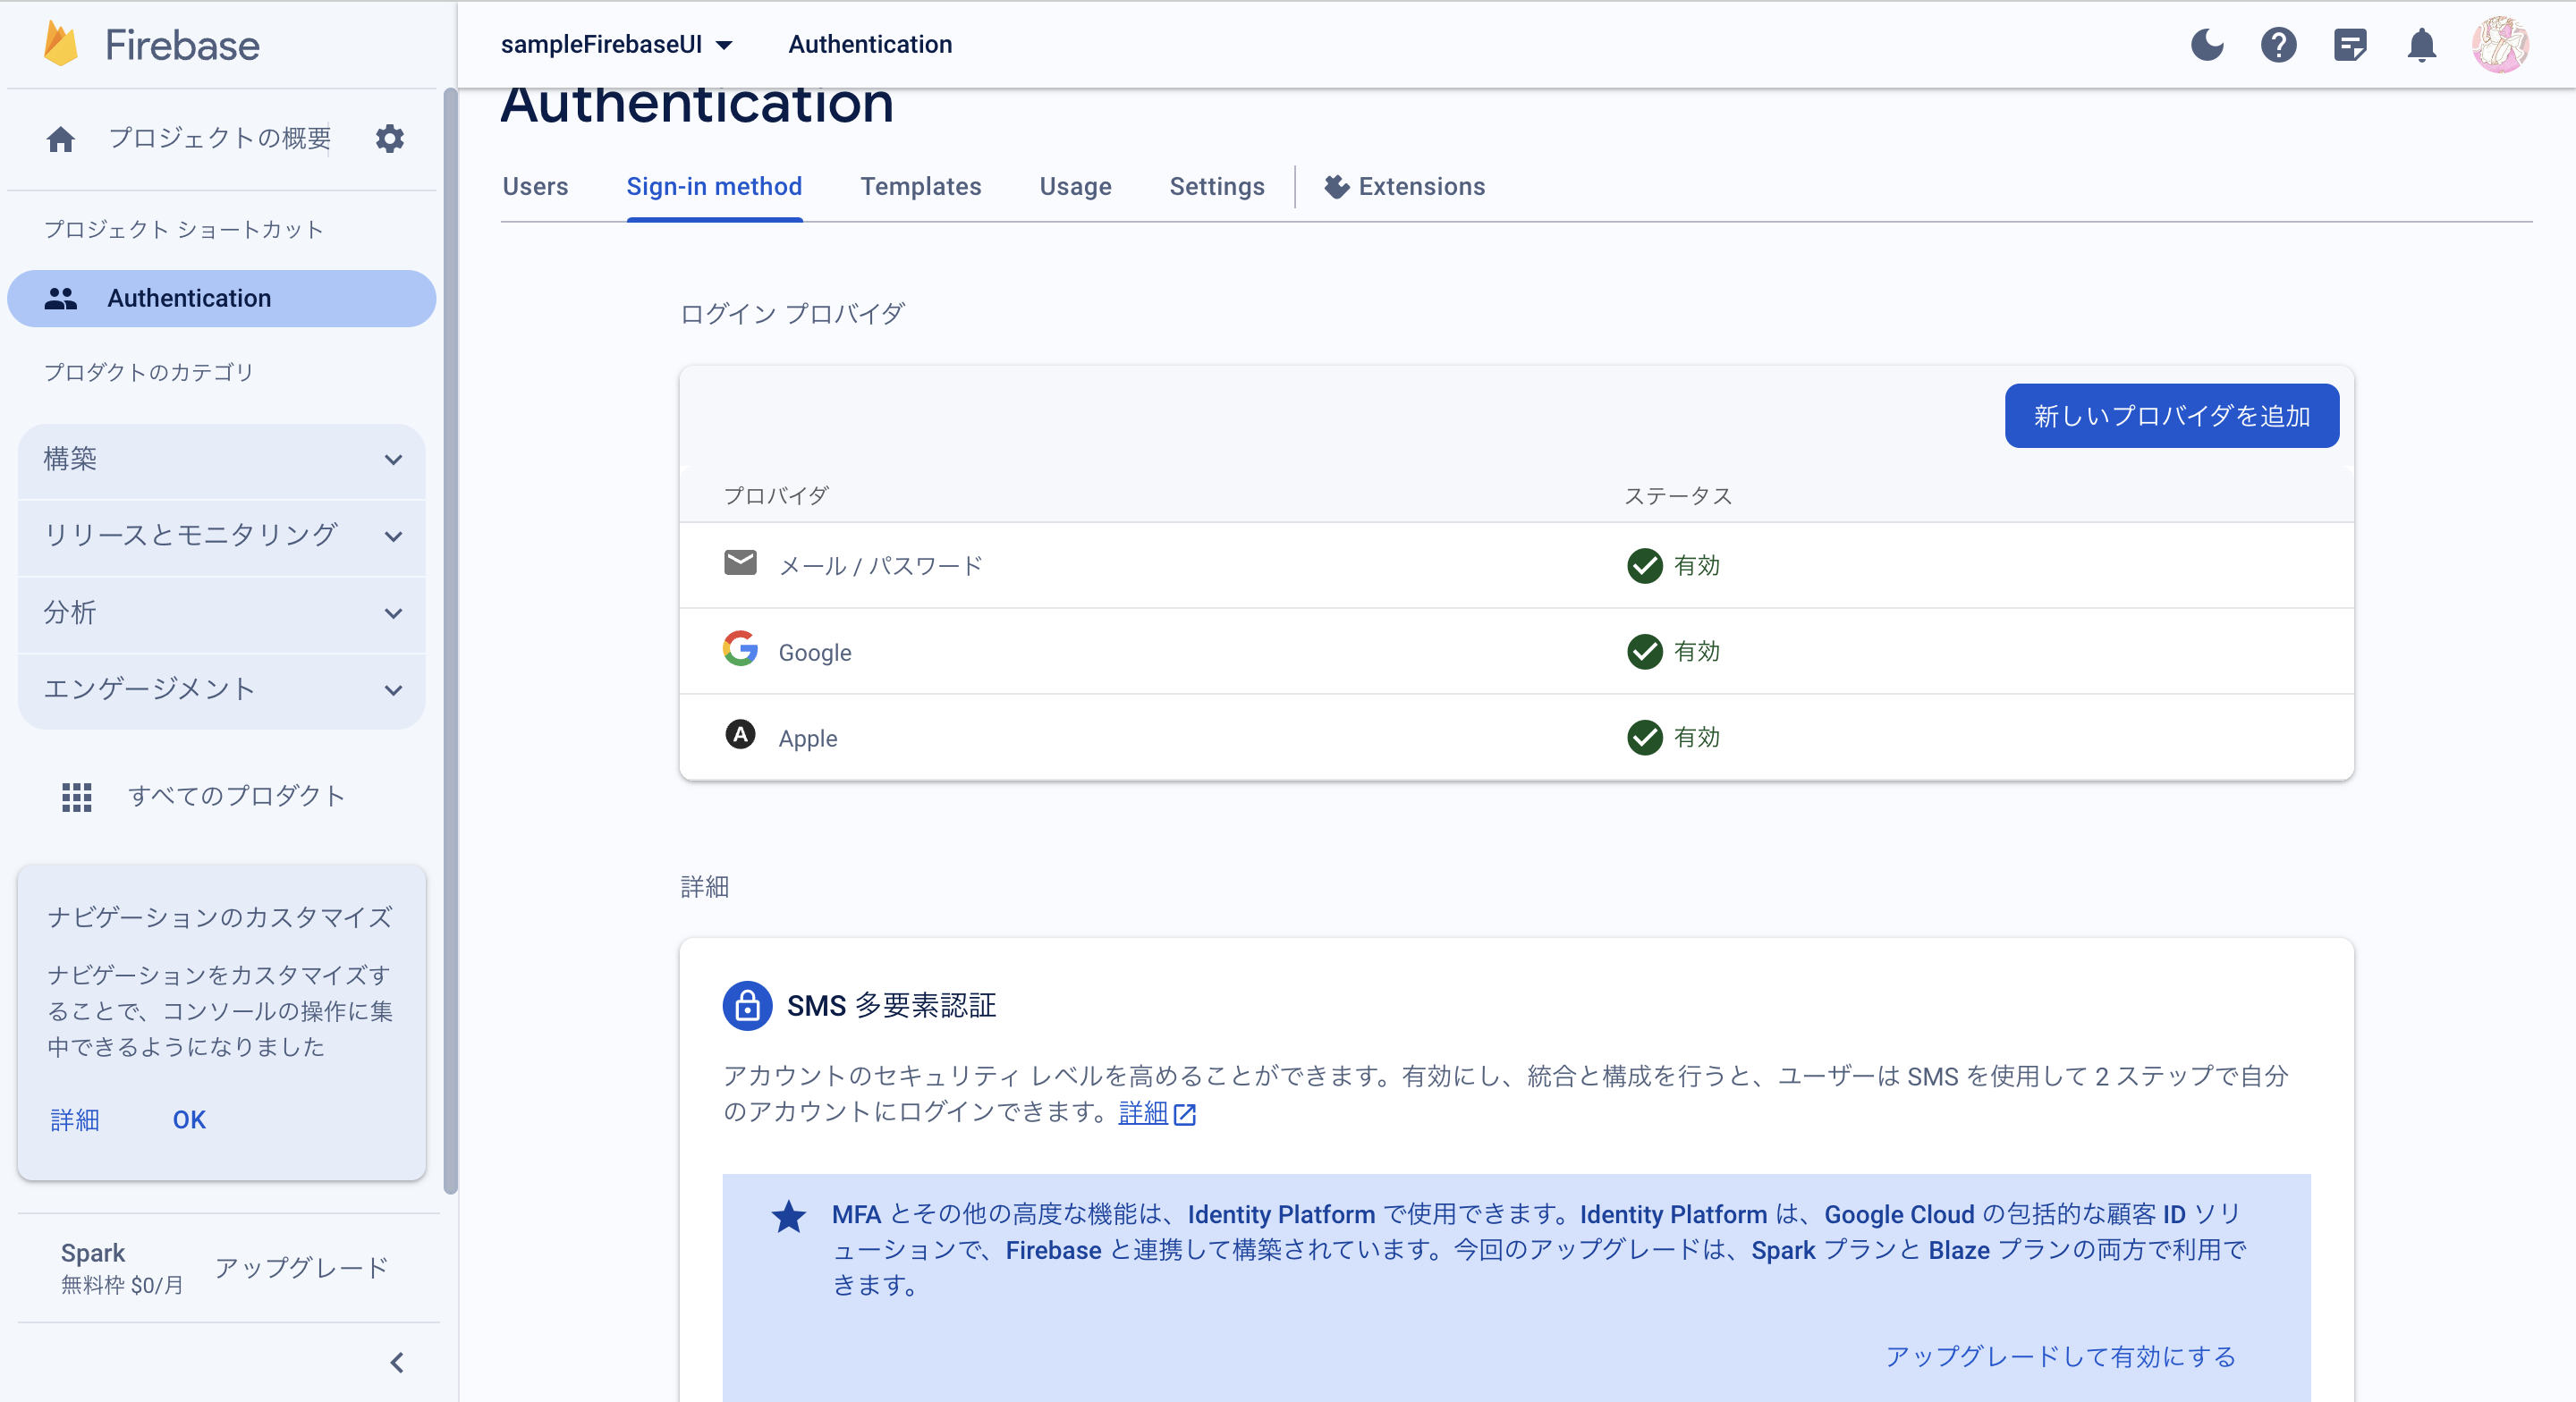
今回はメール、google、appleでログインできるようにしたいと思います。
googleを有効にしたら、ファイルを置き換えてください。
このような画面になればOKです!
fireabaseUIのインポート
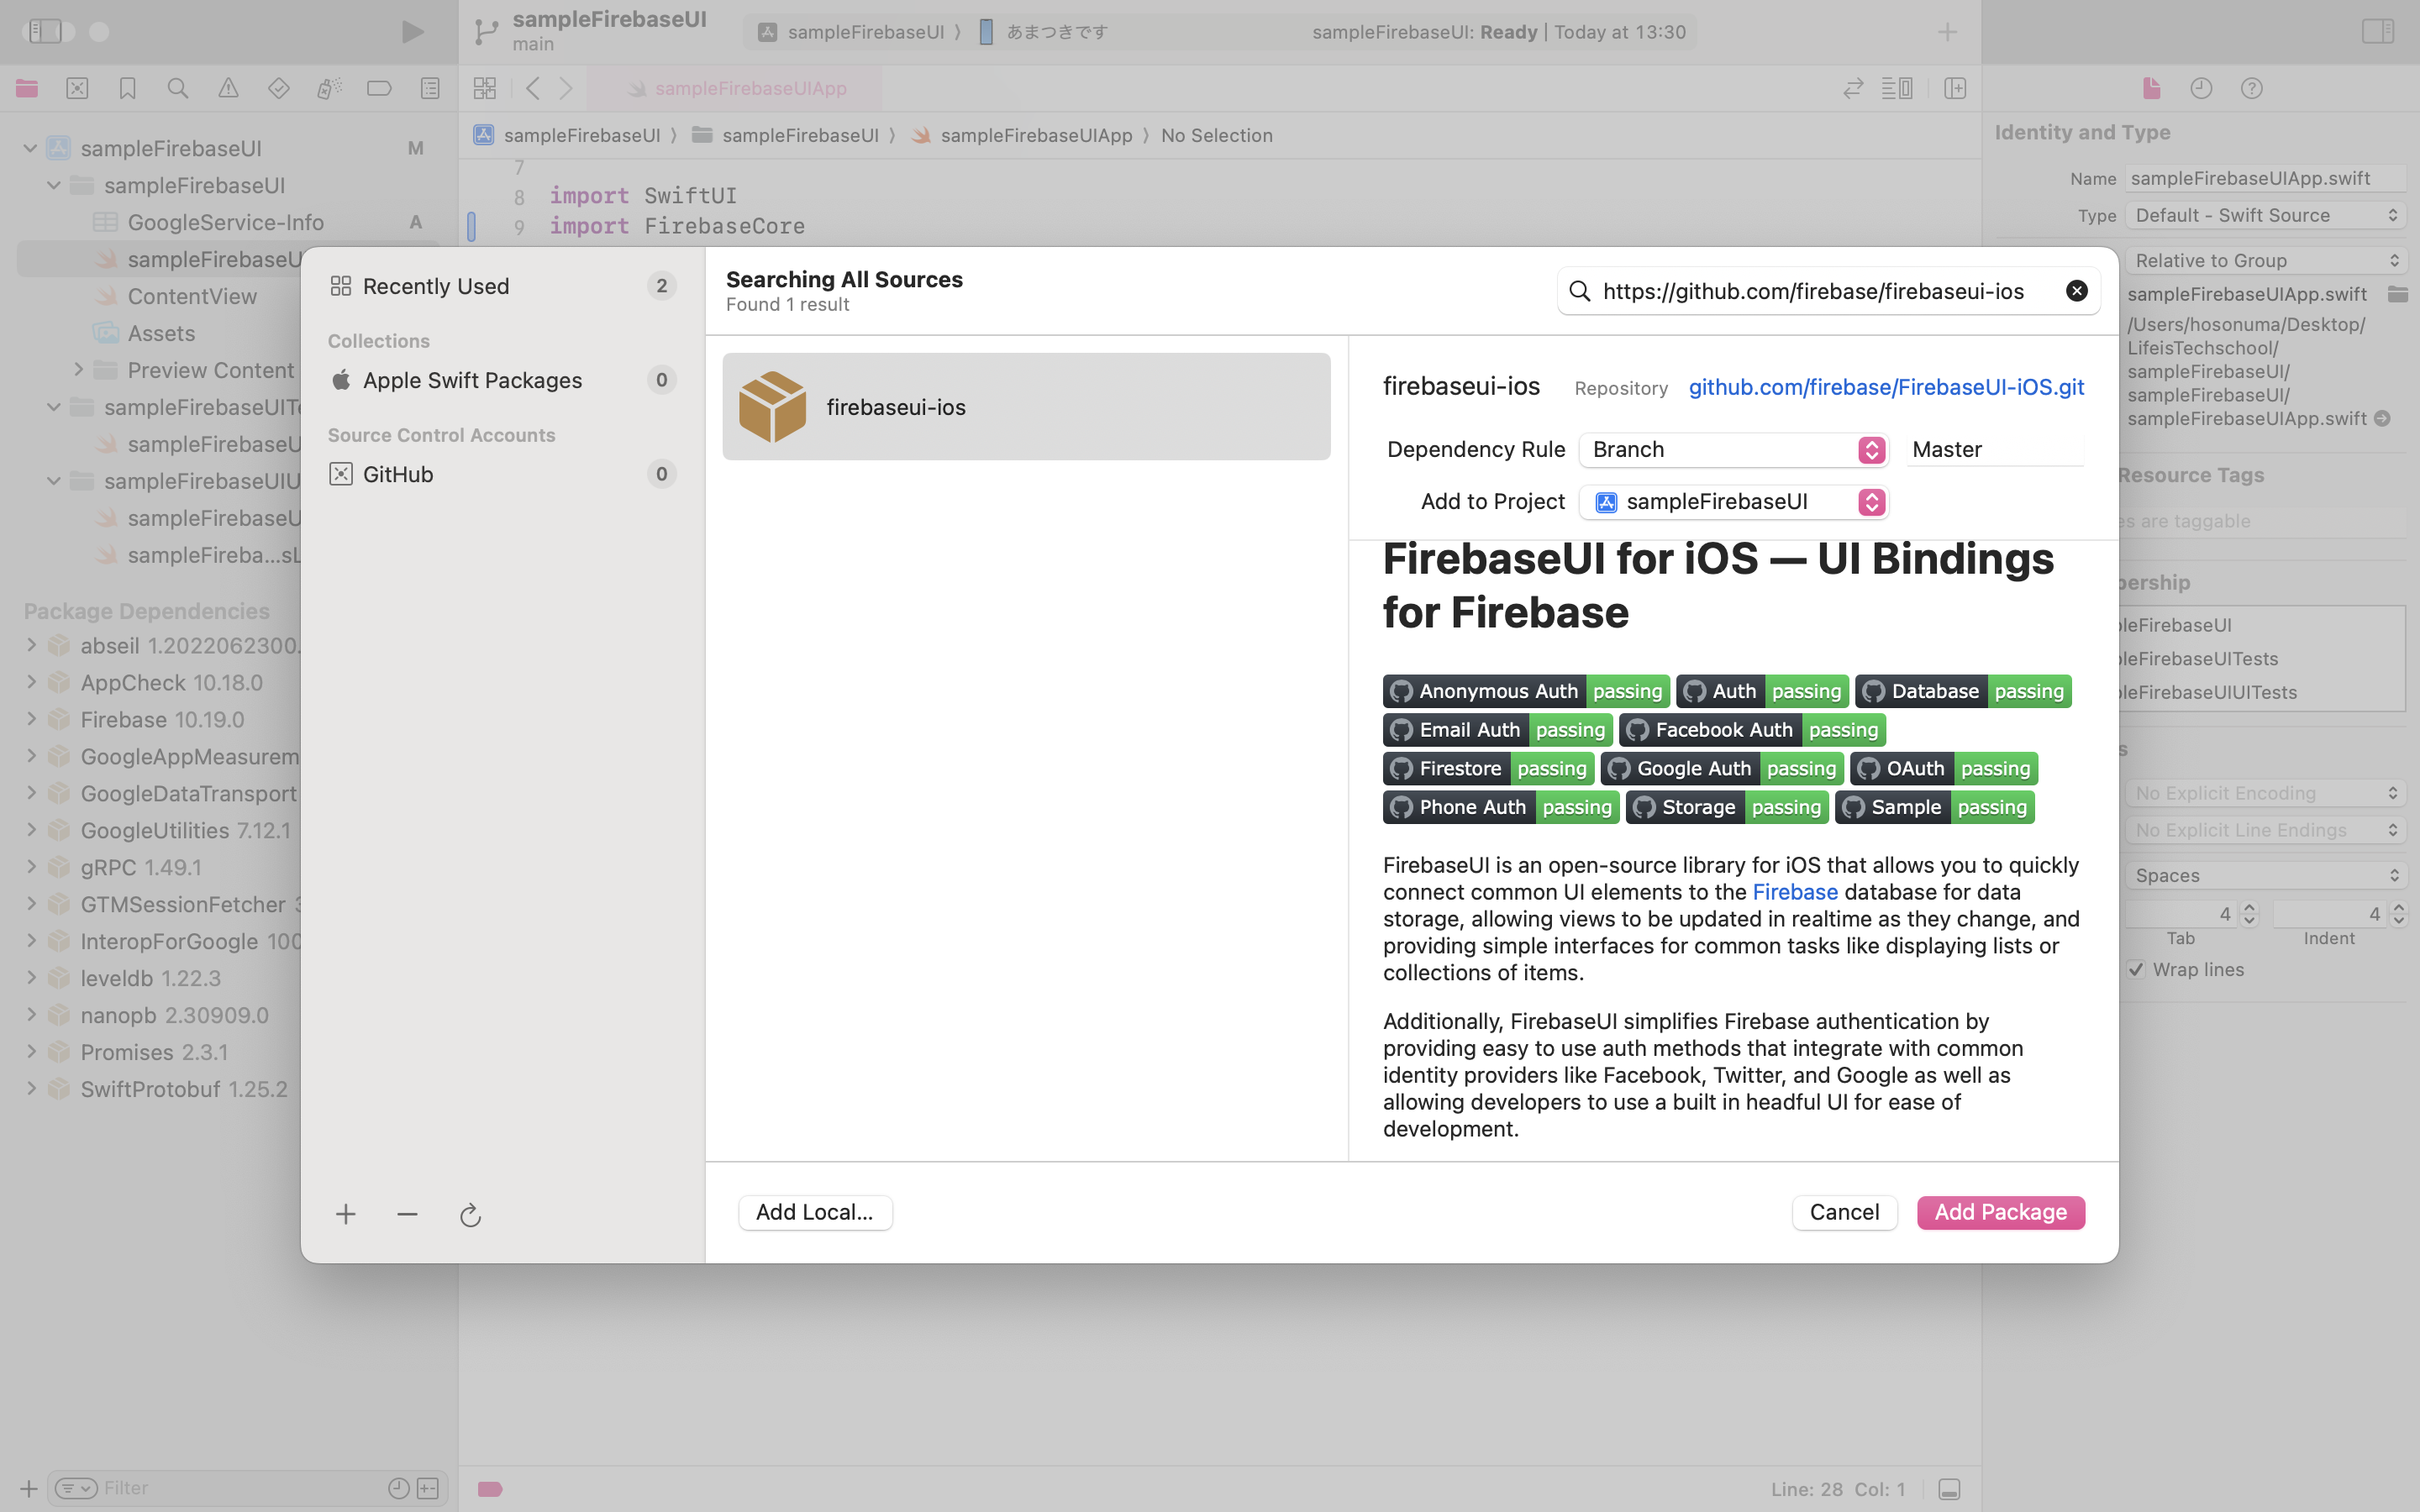
addPackage Dependeciesを押して、パッケージを追加する画面を開き、https://github.com/firebase/firebaseui-ios
このリンクを貼り付けます。
Dependency RuleをBranch、Masterに変更 し、AddPackageを押します。
「追記」
MasterではなくMainに変更されていました
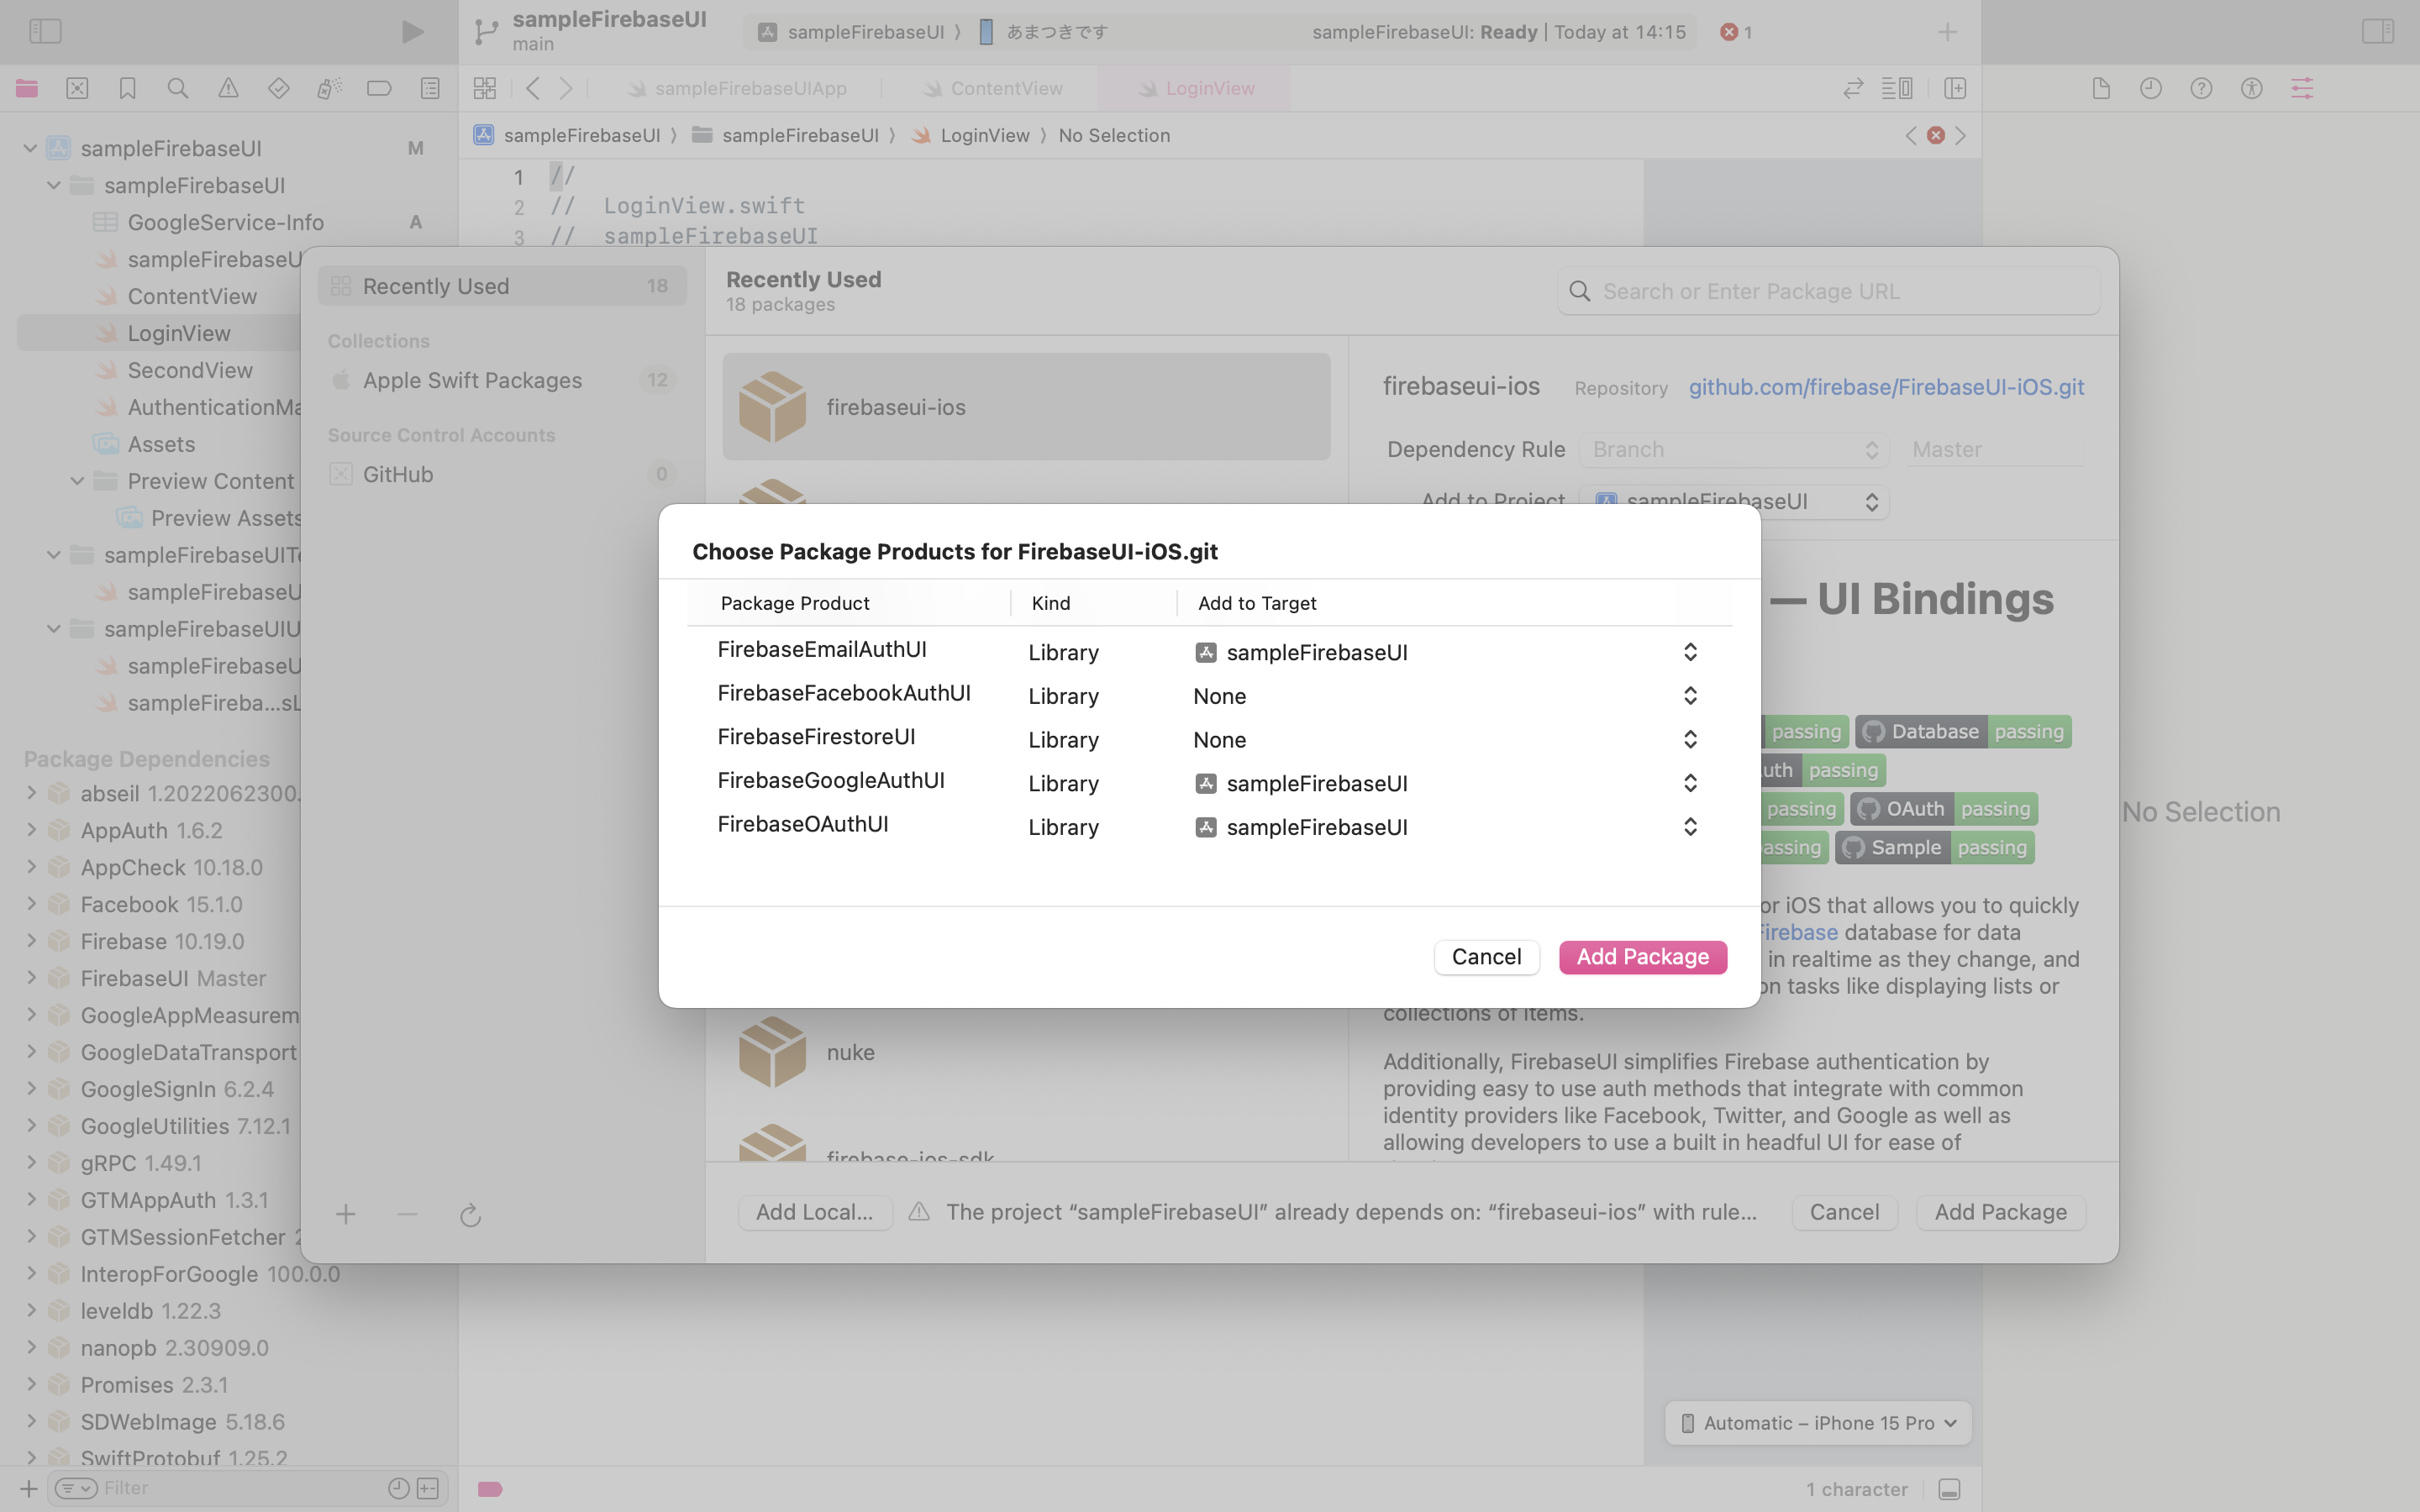
今回はfirebaseAuthUIでEmailとgoogle、appleログインのみを使うので、
FirebaseAuthUI
FirebaseGoogleAuthUI
FirebaseOAuthUI
FirebaseEmailAuthUI
を選択します。必要に応じて適宜別のものも追加してください。
これでfirebaseUIのインポート完了です!
実際のコード
今回はcontentViewにログインボタンをつけて、ログインするとSecondViewに飛んでログアウトできるようにしたいと思います。まずはContentViewにログインボタンをつけて、LoginViewに飛べるようにします。
import SwiftUI

struct ContentView: View {
    @State var isShowLogin = false
    var body: some View {
        VStack {
            Button("ログイン") {
                isShowLogin .toggle()
            }
            Spacer()
                .sheet(isPresented: $isShowLogin) {
                    LoginView()
                }
        }
        .padding()
    }
}
次にLoginViewでfirebase関連をimportします。
今回はEmailとgoogle、appleログインに対応するのでこれらをimportします。
import SwiftUI
import FirebaseAuthUI
import FirebaseGoogleAuthUI
import FirebaseOAuthUI
import FirebaseEmailAuthUI
struct LoginView: UIViewControllerRepresentable {

    func makeUIViewController(context: Context) -> UINavigationController {
        let authUI = FUIAuth.defaultAuthUI()!
        // ログイン方法を選択
        let providers: [FUIAuthProvider] = [
            FUIGoogleAuth(authUI: authUI),
            FUIOAuth.appleAuthProvider(),
            FUIEmailAuth()
        ]
        authUI.providers = providers

        // FirebaseUIを表示する
        let authViewController = authUI.authViewController()

        return authViewController
    }

    func updateUIViewController(_ uiViewController: UINavigationController, context: Context) {
        // 処理なし
    }
}
firebaseを初期化します
import SwiftUI
import FirebaseCore
import FirebaseAuthUI


class AppDelegate: NSObject, UIApplicationDelegate {
    func application(_ application: UIApplication, didFinishLaunchingWithOptions launchOptions: [UIApplication.LaunchOptionsKey: Any]?) -> Bool {
        // Override point for customization after application launch.
        FirebaseApp.configure()

        return true
    }
    // MARK: URL Schemes
    func application(_ app: UIApplication, open url: URL, options: [UIApplication.OpenURLOptionsKey : Any]) -> Bool {
        let sourceApplication = options[UIApplication.OpenURLOptionsKey.sourceApplication] as! String?
        if FUIAuth.defaultAuthUI()?.handleOpen(url, sourceApplication: sourceApplication) ?? false {
            return true
        }
        // other URL handling goes here.
        return false
    }
}
@main
struct sampleFirebaseUIApp: App {
    @UIApplicationDelegateAdaptor(AppDelegate.self) var delegate
    var body: some Scene {
        WindowGroup {
            ContentView()
        }
    }
}
起動するとこのような画面になると思います!sign in with emailを押して進むと最初のログイン画面に戻ります!
今の状態だとgoogleログインとappleログインを押すとエラーが出ます。


ログイン分岐してみた
次はログインしているかをみて、別viewに飛ばします
AuthenticationManagerを作成して、ログインしているかを分岐します。
import Foundation
import FirebaseAuth


@Observable class AuthenticationManager {
    private(set) var isSignIn: Bool = false
    private var handle: AuthStateDidChangeListenerHandle!

    init() {
        // ここで認証状態の変化を監視する(リスナー)
        handle = Auth.auth().addStateDidChangeListener { (auth, user) in
            if let _ = user {
                print("Sign-in")
                self.isSignIn = true
            } else {
                print("Sign-out")
                self.isSignIn = false
            }
        }
    }

    deinit {
        // ここで認証状態の変化の監視を解除する
        Auth.auth().removeStateDidChangeListener(handle)
    }

    func signOut() {
        do {
            try Auth.auth().signOut()
        } catch {
            print("Error")
        }
    }
}
ContentViewに戻り、コードを変更します。
import SwiftUI

struct ContentView: View {
    @State var isShowLogin = false
    var authenticationManager = AuthenticationManager()
    var body: some View {
        VStack {
            if authenticationManager.isSignIn == false {
                //ログインしていないとき
                Button("ログイン") {
                    isShowLogin .toggle()
                }
            }else{
                //ログインしているとき
                SecondView()
            }
            Spacer()
                .sheet(isPresented: $isShowLogin) {
                    LoginView()
                }
        }
        .padding()
    }
}
SecondViewにログアウトボタンを設置します。
import SwiftUI

struct SecondView: View {
    var authenticationManager = AuthenticationManager()
    var body: some View {
        Button("ログアウト") {
            authenticationManager.signOut()
        }
    }
}
googleログイン
今の状態だとgoogleログインとappleログインを押すとエラーが出るので設定していきます。
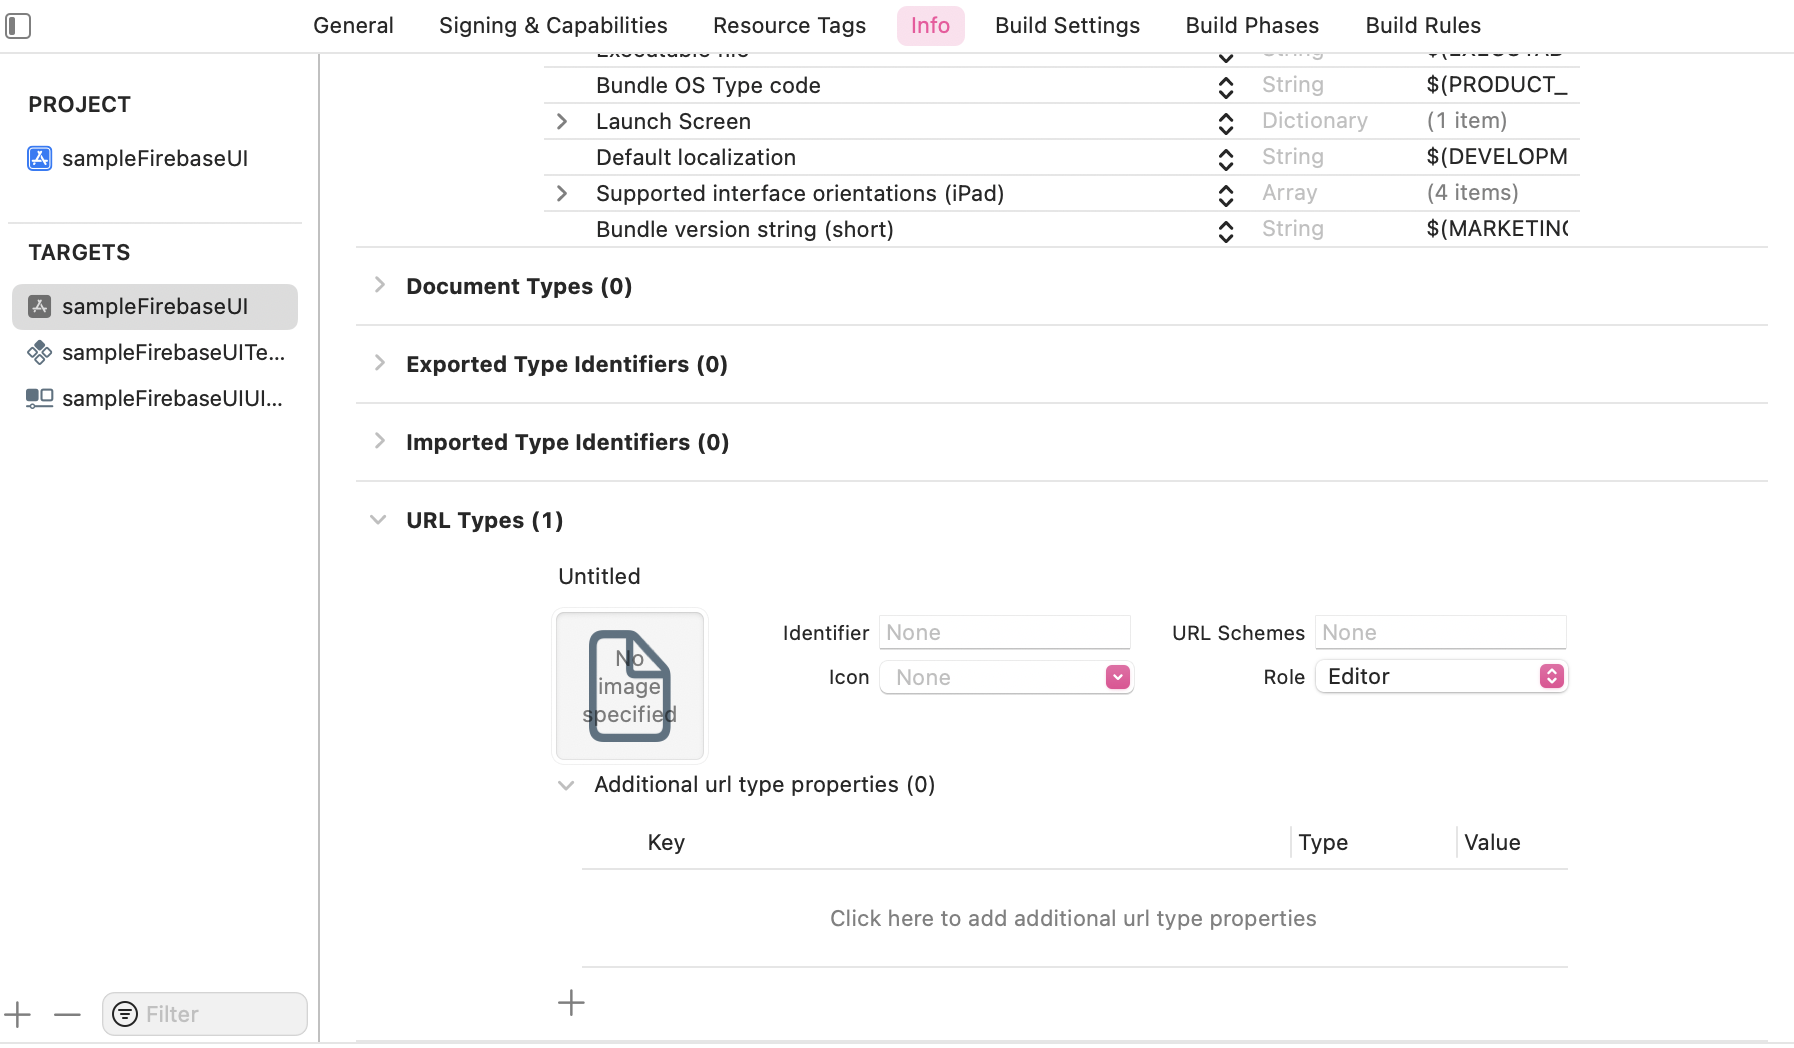
GoogleServive infoの reversed client IDを
URLtypesのURLSchemesに貼り付けます
googleはこれでOK
appleログイン
Apple のデベロッパーサイトからappleログインを有効にします。
https://developer.apple.com/account/resources/certificates/list
Identifersからプラスを押してApp IDs→Appを選択、
sign In with Appleを有効にします。
Server-to-Server Notification Endpointにfirebaseの認証コールバックURLを貼り、
continueを押して保存します。
ここまでできたらxcodeに戻って、signing & capabilitiesからcapabilityを選択して
sign In with Appleを追加します。
これでappleログインも無事実装できました!
終わりに
初めて記事を書いたので読みにくいところたくさんあったと思います!普通にfirebaseでログイン機能を作るより短いコードでログイン機能を実装することができました!
firebaseもswiftUIもお勉強中なのでこれからもたくさん使っていきたいと思います!ありがとうございました!


