はじめに
UINavigationController は今まで作ったほぼ全てのアプリで使っていましたが、わりとふわっと使っていたので改めて使い方を学びなおそう!ということでまとめました。
SwiftUI が出てきましたがまだまだ UINavigationController も現役だと思います。
UINavigationControllerの構成
UINavigationController は UIViewController を継承した ViewController をスタックで管理するコンテナクラスです。(この説明でいいかわからんけど。。。)push した ViewController は UINavigationController の childeViewController として設定されています。(ContainerView みたいな感じで)
class UINavigationController : UIViewController
構成は下記のようになっています。
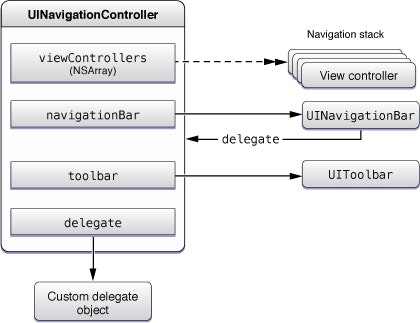
引用:UINavigationControllerドキュメント
画面上部に表示する navigationBar、画面下部に表示する toolbar (デフォルト非表示)、push した ViewController 一覧(viewControllers)と ViewController の表示時などに通知を受け取る delegate で構成されています。
単純に UINavigationController を利用する場合は特に toolbar、delegate を意識する必要はないのですが今回はこのあたりも軽く触れようと思います。(あんま使ったことないので軽めに)
UINavigationControllerのプロパティやメソッド
UINavigationController には様々なプロパティやメソッドが用意されています。
遷移系
// NavigationスタックのトップのVC
var topViewController: UIViewController?

// 表示しているトップのVC(モーダルがあればモーダルのやつ)
var visibleViewController: UIViewController?

// NavigationスタックのVC一覧
var viewControllers: [UIViewController]

// Navigationスタックを設定して遷移する
func setViewControllers([UIViewController], animated: Bool)

// プッシュして遷移する
func pushViewController(UIViewController, animated: Bool)

// ポップして戻る
func popViewController(animated: Bool) -> UIViewController?

// ルート以外ポップして遷移する
func popToRootViewController(animated: Bool) -> [UIViewController]?

// 指定のVCまでポップして指定のVCに遷移する
func popToViewController(UIViewController, animated: Bool) -> [UIViewController]?

// スワイプで戻るジェスチャ
var interactivePopGestureRecognizer: UIGestureRecognizer?
使い方
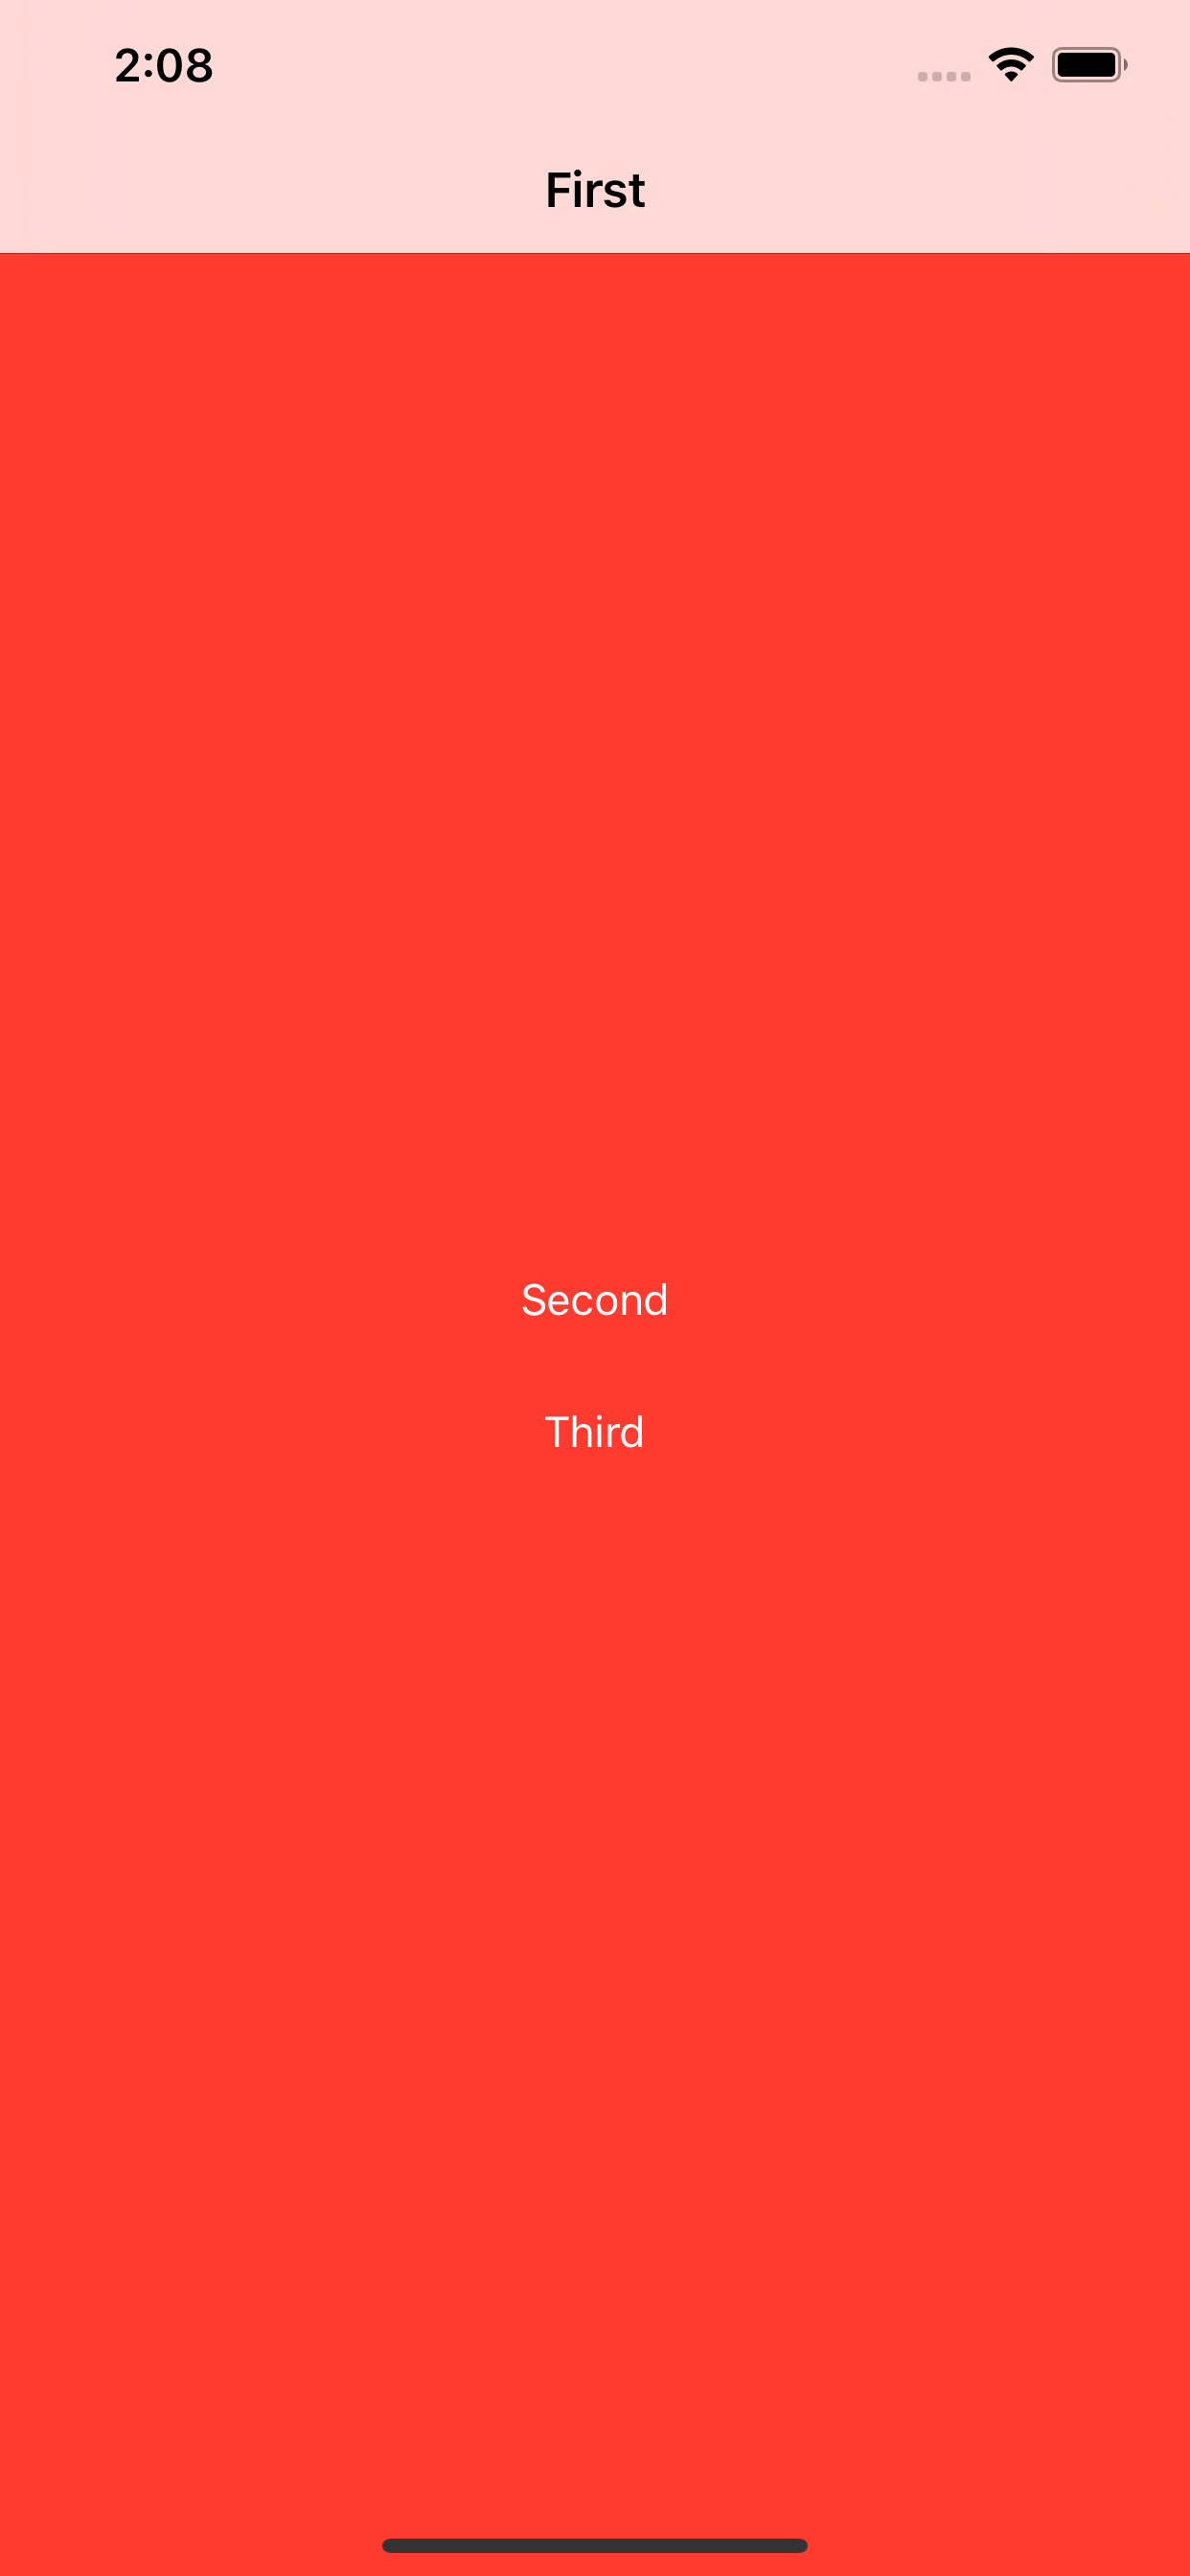
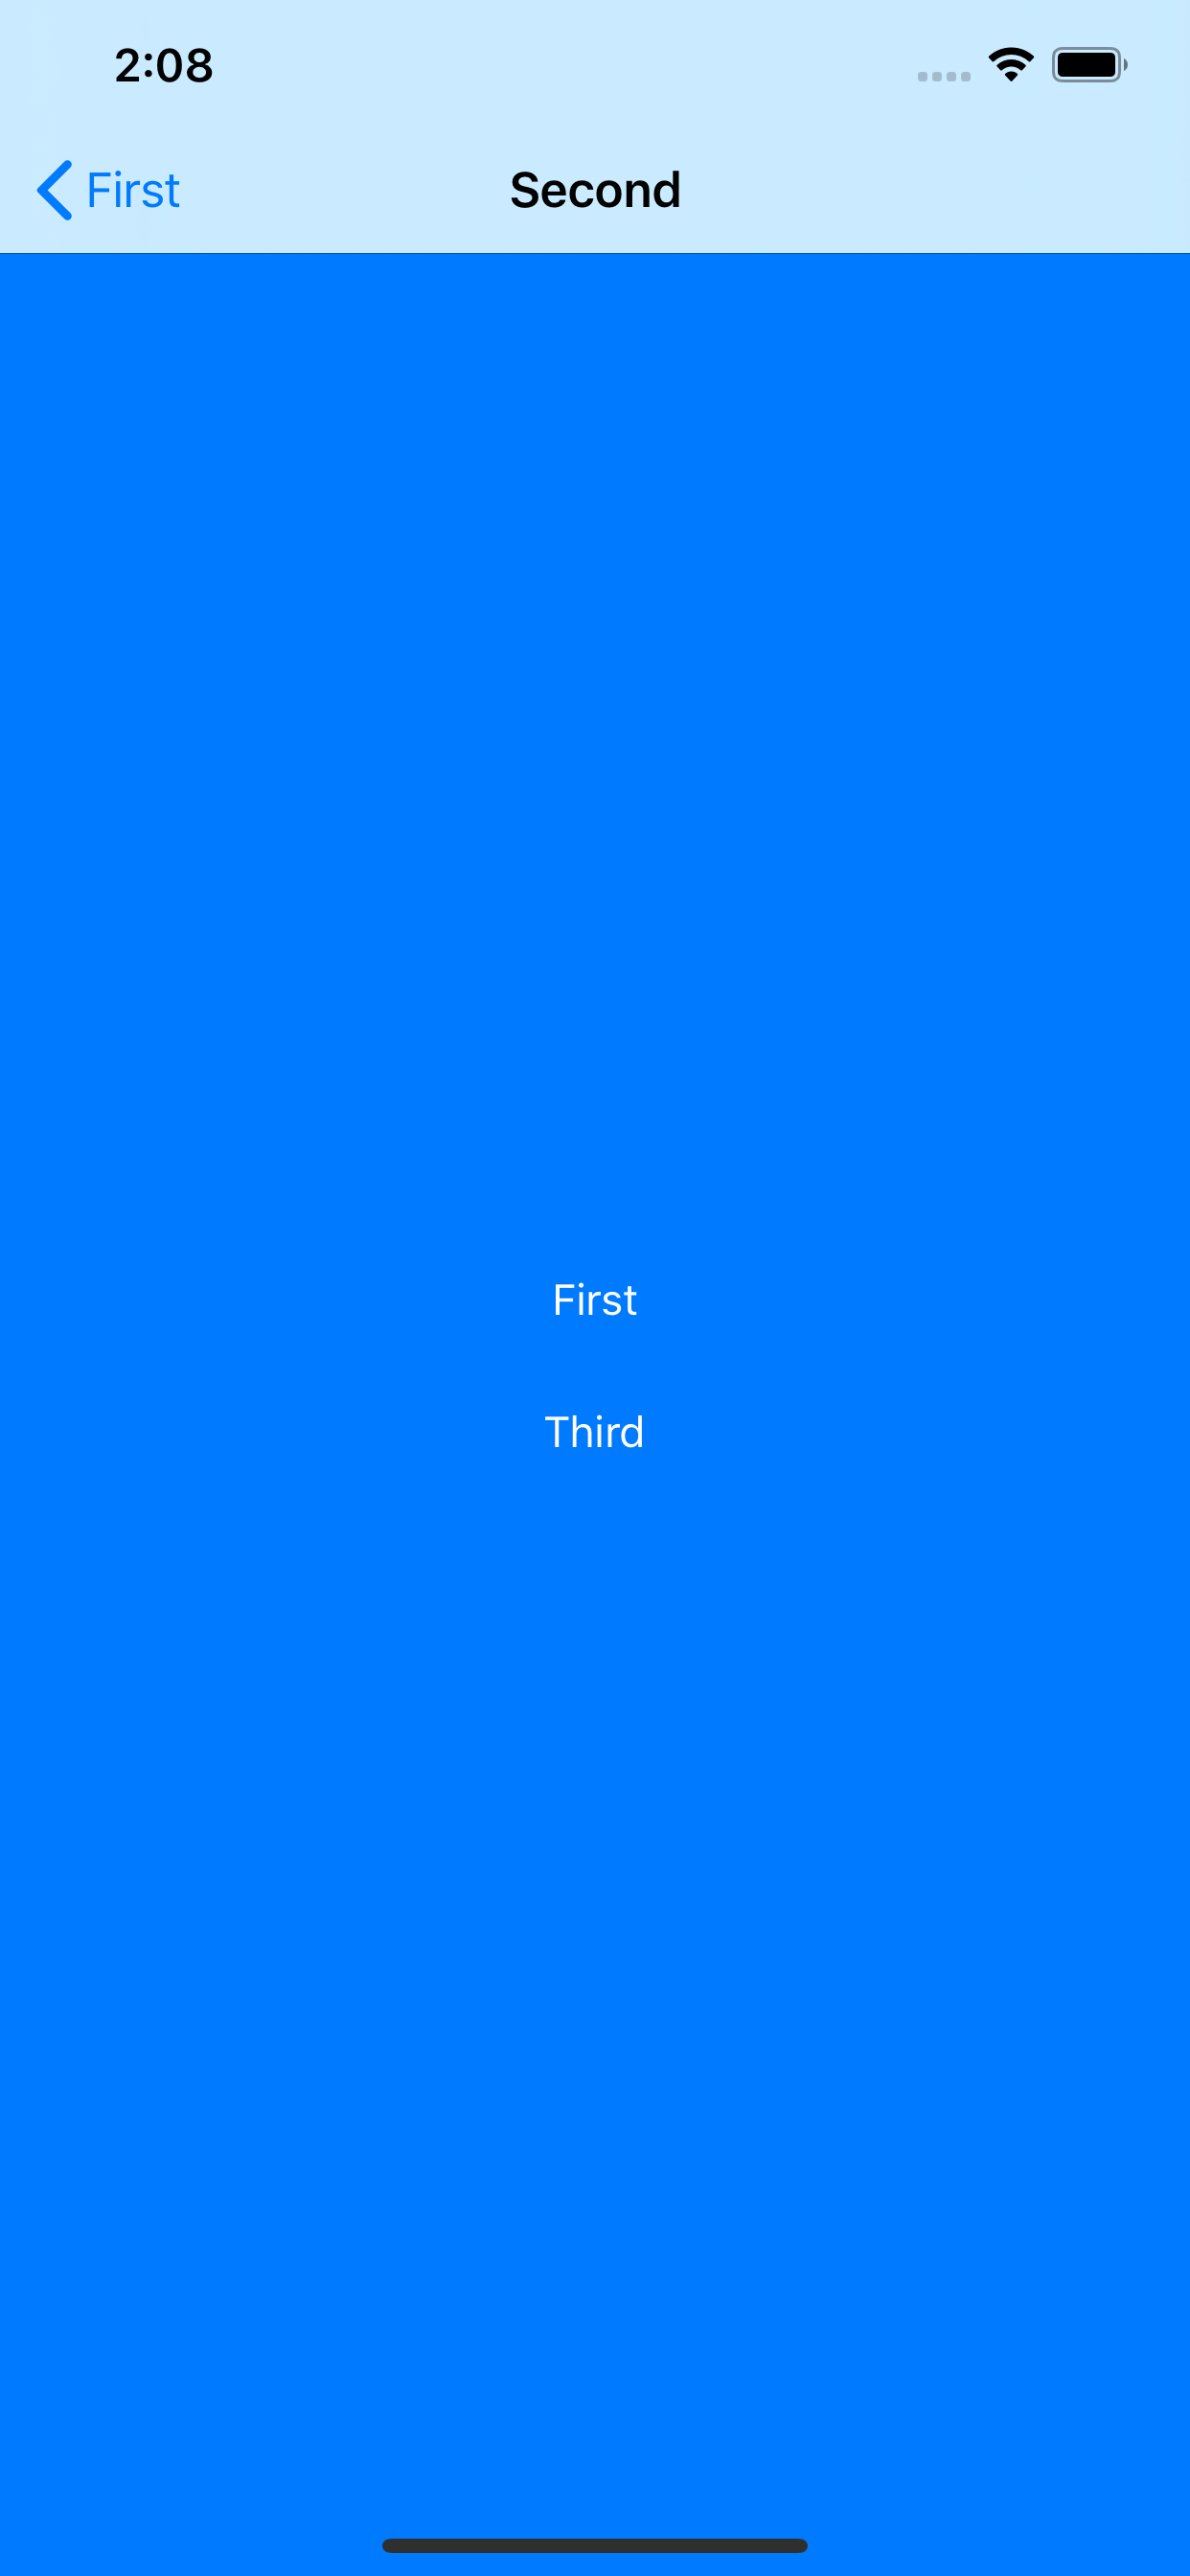
| First | Second | Third |
|---|---|---|
 |
 |
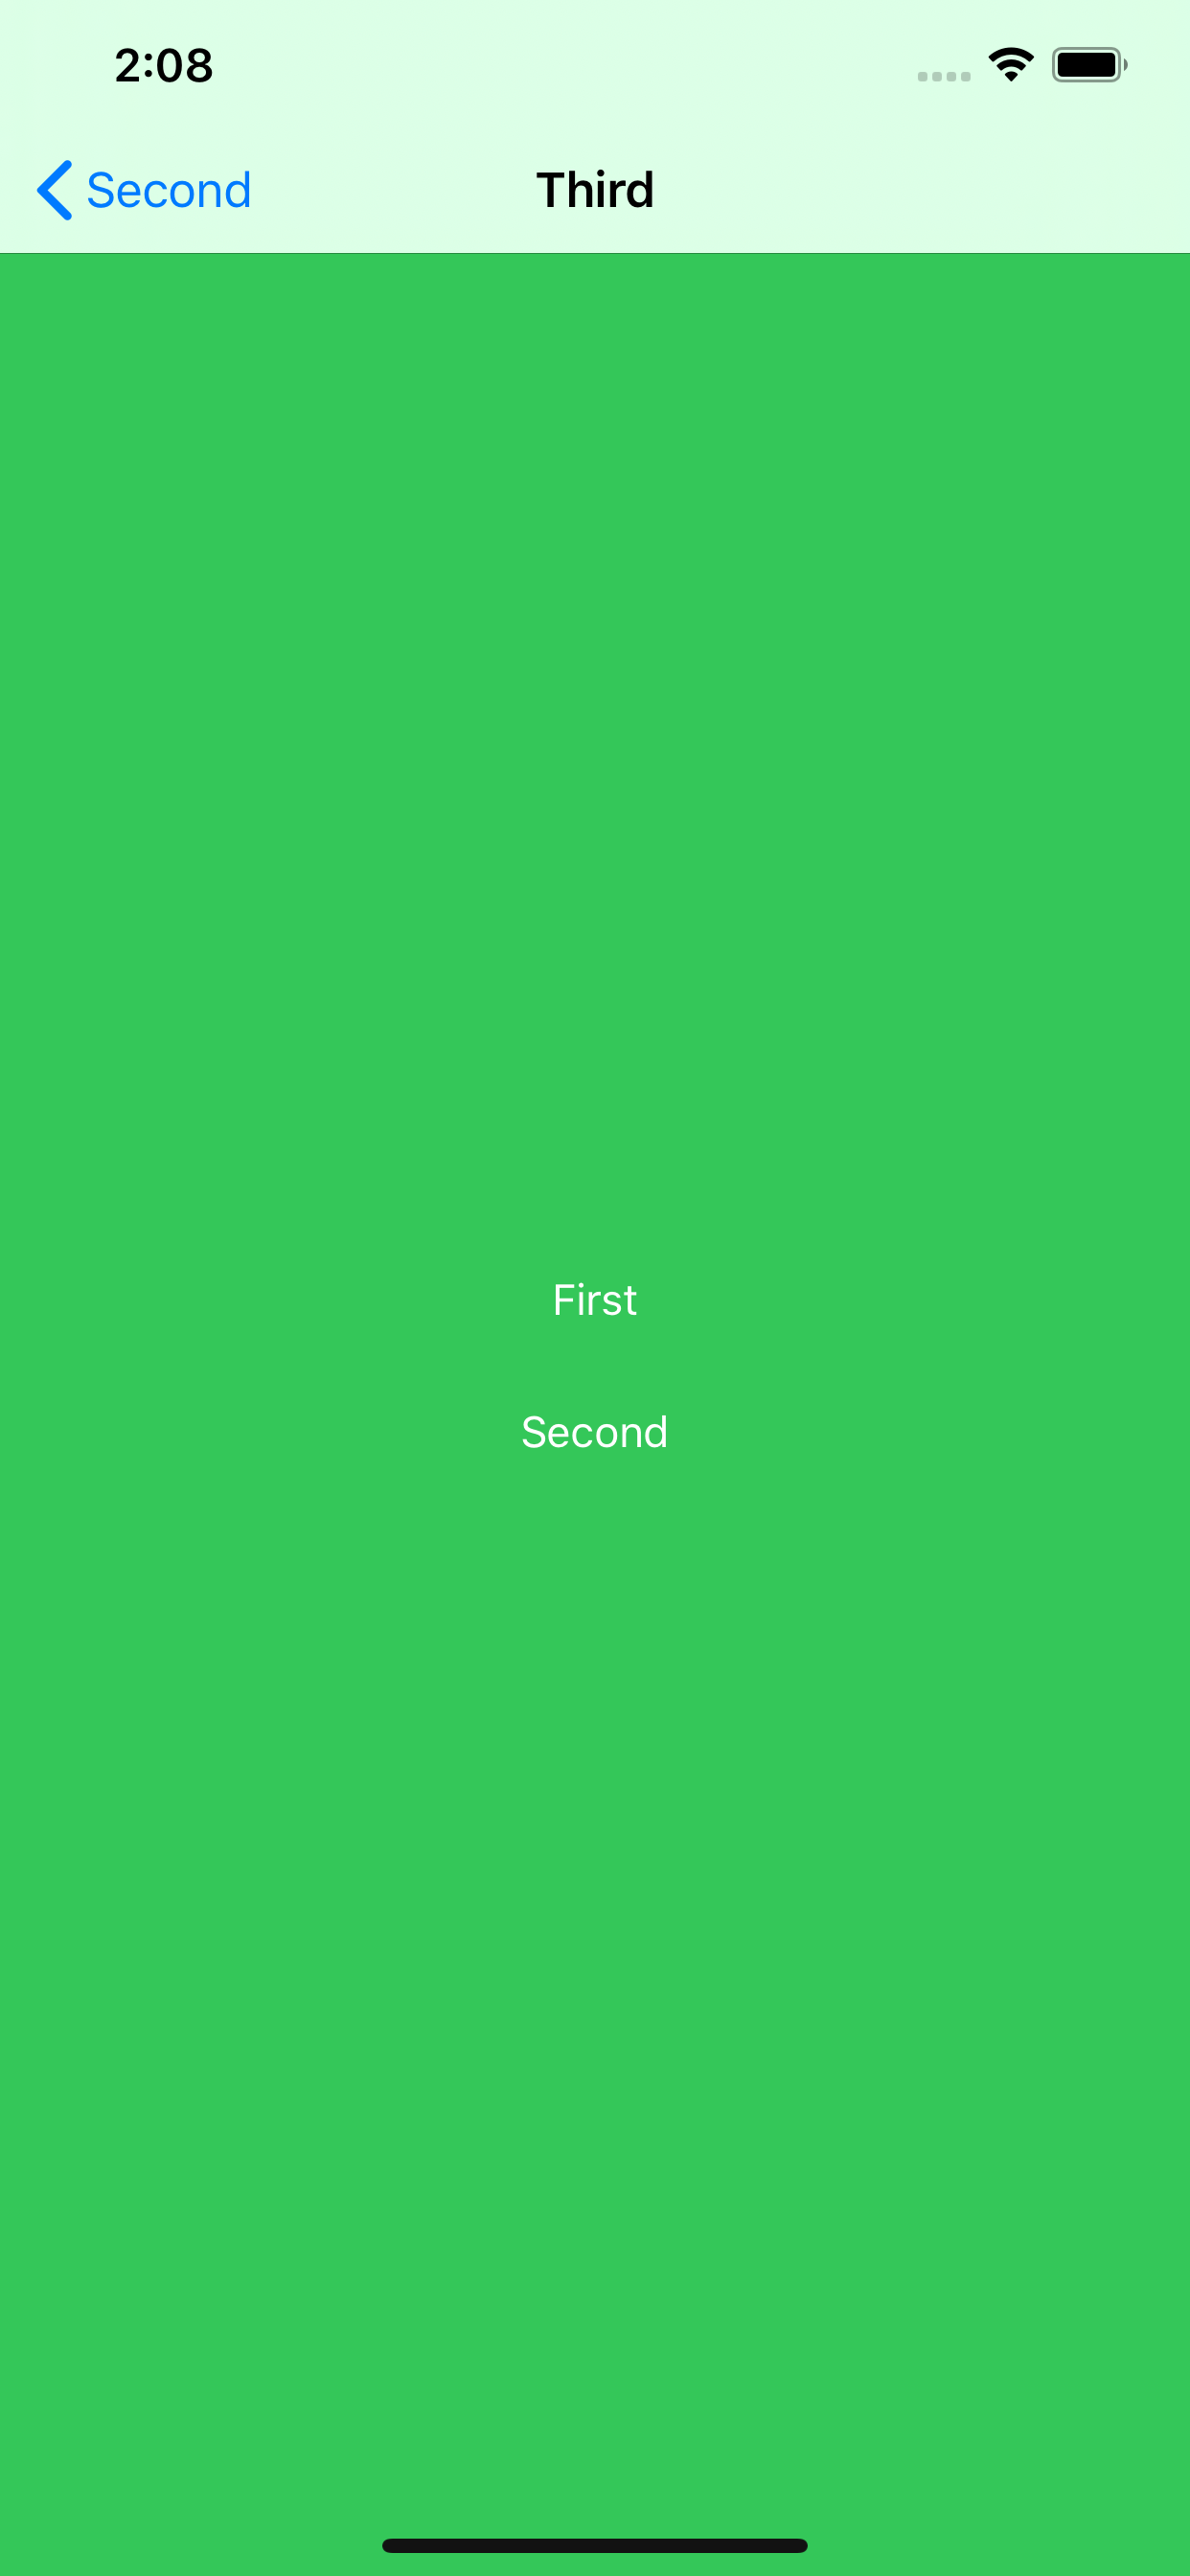 |
上記のような3画面構成の場合コードで遷移しようと思うとそれぞれ下記のようになります。
// MARK:- FirstViewController
// First -> Secondの遷移
@IBAction private func pushToSecond(_ sender: Any) {
    let vc = storyboard?.instantiateViewController(identifier: "Second") as! SecondViewController
    navigationController?.pushViewController(vc, animated: true)
}

// First -> Thirdの遷移
@IBAction private func pushToThird(_ sender: Any) {
    let second = storyboard?.instantiateViewController(identifier: "Second") as! SecondViewController
    let third = storyboard?.instantiateViewController(identifier: "Third") as! ThirdViewController
    navigationController?.setViewControllers([self, second, third], animated: true)
}
// MARK:- SecondViewController
// Second -> Thirdの遷移
@IBAction private func pushToThird(_ sender: Any) {
    let vc = storyboard?.instantiateViewController(identifier: "Third") as! ThirdViewController
    navigationController?.pushViewController(vc, animated: true)
}

// Second -> Firstの遷移
@IBAction private func popToFirst(_ sender: Any) {
    navigationController?.popViewController(animated: true)
}
// MARK:- ThirdViewController
// Third -> Firstの遷移
@IBAction private func popToFirst(_ sender: Any) {
    navigationController?.popToViewController(navigationController!.viewControllers.first!, animated: true)
    // FirstはrootViewControllerなのでこれでもいける
    // navigationController?.popToRootViewController(animated: true)
}

// Third -> Secondの遷移
@IBAction private func popToSecond(_ sender: Any) {
    navigationController?.popViewController(animated: true)
}
Third 表示時の各プロパティは下記のようになります
navigationController?.viewControllers // [FirstViewController, SecondViewController, ThirdViewController]
navigationController?.topViewController // ThirdViewController
navigationController?.visibleViewController // ThirdViewController
ナビゲーションバー・ツールバー系
知らなかったけどバーを非表示にする色々なフラグがあるようです。
// ナビゲーションバー
var navigationBar: UINavigationBar

// ナビゲーションバーの表示・非表示を切り替える
func setNavigationBarHidden(Bool, animated: Bool)

// ツールバー
var toolbar: UIToolbar!

// ツールバーのの表示・非表示を切り替える
func setToolbarHidden(Bool, animated: Bool)

// ツールバーのの表示・非表示を切り替える
var isToolbarHidden: Bool

// setNavigationBarHidden/setToolbarHiddenのアニメーション時間
class let hideShowBarDuration: CGFloat

// タップでバーを非表示にするかどうか
var hidesBarsOnTap: Bool

// スワイプでバーを非表示にするかどうか
var hidesBarsOnSwipe: Bool

// 垂直方向にコンパクトな環境でナビゲーションコントローラーがバーを非表示にするかどうかを示すブール値。
var hidesBarsWhenVerticallyCompact: Bool

// キーボード表示時にバーを非表示にするかどうか
var hidesBarsWhenKeyboardAppears: Bool

// ナビゲーションバーが非表示かどうか
var isNavigationBarHidden: Bool

// バー非表示のタップジェスチャ
var barHideOnTapGestureRecognizer: UITapGestureRecognizer

// バー非表示のスワイプジェスチャ
var barHideOnSwipeGestureRecognizer: UIPanGestureRecognizer
navigationBar
ちょっとややこしいのが navigationBar 。。。構成は下記のようになっています。
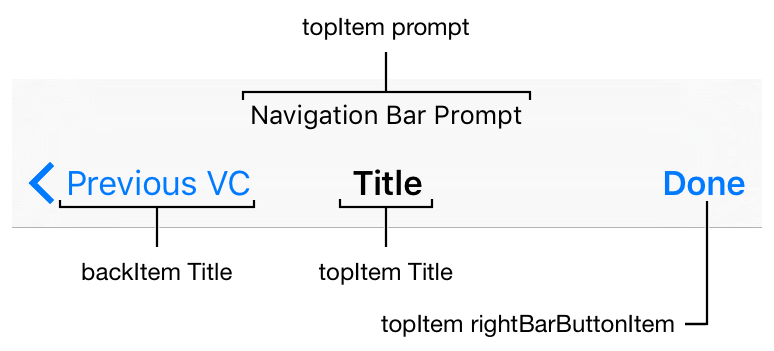
leftBarButtonItem (backBarButtonItem)、rightBarButtonItem、title (titleView)、prompt の4つで構成されています。
この4つは ViewController ごとに設定でき ViewController の navigationItem からアクセスできます。UINavigationController は navigationBar の delegate、 popItem、pushItem を自動で設定してくれるので UINavigationController を利用する場合はそれぞれの ViewController で navigationItem を設定しておけば popItem、pushItem を気にする必要はありません。(ViewController を push/pop したときに item も push/pop してくれるはず)
// ナビゲーションバーのスタイル
// default: 白
// black: 黒
var barStyle: UIBarStyle

// ナビゲーションバーが半透明かどうか
var isTranslucent: Bool

// タイトルを大きく表示するかどうか
var prefersLargeTitles: Bool

// 標準の高さのナビゲーションバーのAppearance
var standardAppearance: UINavigationBarAppearance
// iPhone横向き??のときの高さのナビゲーションバーのAppearance
var compactAppearance: UINavigationBarAppearance?
// largeTitle??のときの高さのナビゲーションバーのAppearance
var scrollEdgeAppearance: UINavigationBarAppearance?

// 戻るボタンの「<」部分の画像
// backIndicatorTransitionMaskImageも設定しないといけない
var backIndicatorImage: UIImage?
// push/pop時の画像
var backIndicatorTransitionMaskImage: UIImage?

// ナビゲーションバーの影画像
// setBackgroundImage(_:for:)で画像を設定しないと反映されない
var shadowImage: UIImage?

// ナビゲーションバーの背景色
var barTintColor: UIColor?

// ナビゲーションバーのタイトルのアトリビュート
var titleTextAttributes: [NSAttributedString.Key : Any]?
// ナビゲーションバーのラージタイトルのアトリビュート
var largeTitleTextAttributes: [NSAttributedString.Key : Any]?

// メトリックがよくわからない。。。(たぶんcompactがiPhone横向きの場合だと思う)
// 指定されたバーメトリックの背景画像を返す
func backgroundImage(for: UIBarMetrics) -> UIImage?
// 指定されたバーメトリックの背景画像を設定する
func setBackgroundImage(UIImage?, for: UIBarMetrics)
// 指定された位置とバーメトリックの背景画像を返す
func backgroundImage(for: UIBarPosition, barMetrics: UIBarMetrics) -> UIImage?
// 指定された位置とバーメトリックの背景画像を設定する
func setBackgroundImage(UIImage?, for: UIBarPosition, barMetrics: UIBarMetrics)
// 指定されたバーメトリックのタイトルの垂直位置調整を返す
func titleVerticalPositionAdjustment(for: UIBarMetrics) -> CGFloat
// 特定のバーメトリックのタイトルの垂直位置調整を設定する
func setTitleVerticalPositionAdjustment(CGFloat, for: UIBarMetrics)
気をつけないといけないのが navigationItem の設定は ViewController ごとですが navigationBar の設定は UINavigationController の navigationBar に設定するので VC を push しようが pop しようが変わらないということ!(すべてのナビゲーションバーで設定を変えたい場合は AppDelegate などで UINavigationBar.appearance() に設定してやるといけます。MFMailComposeViewController や UIActivityViewController の表示がおかしくなる場合があるので appearance の扱いには注意が必要です!)
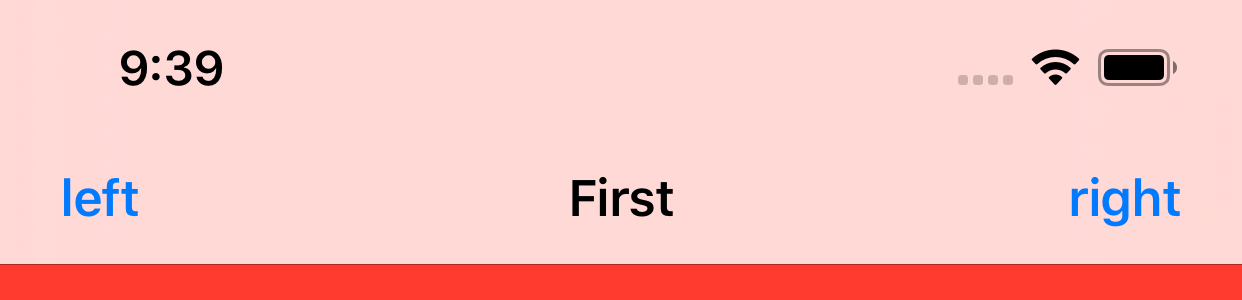
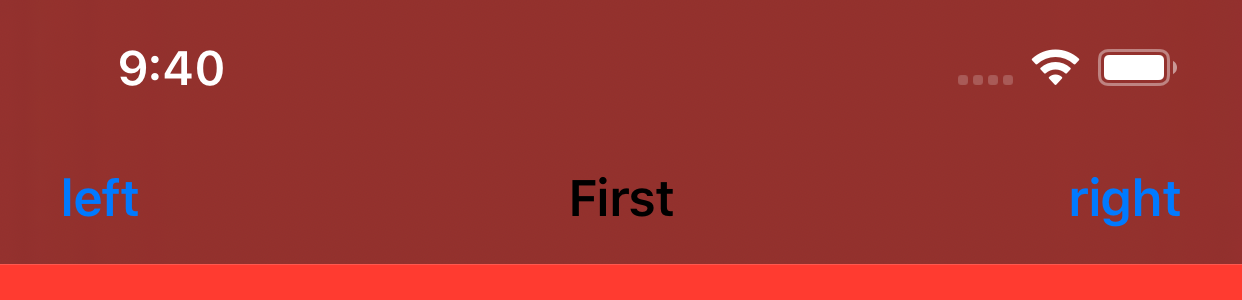
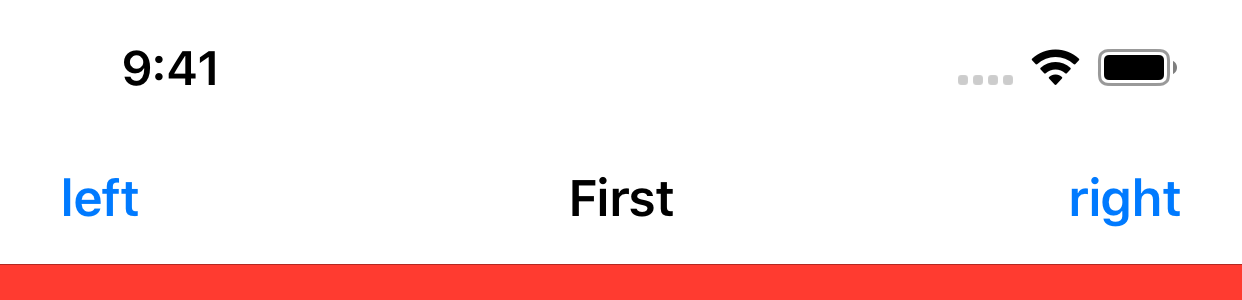
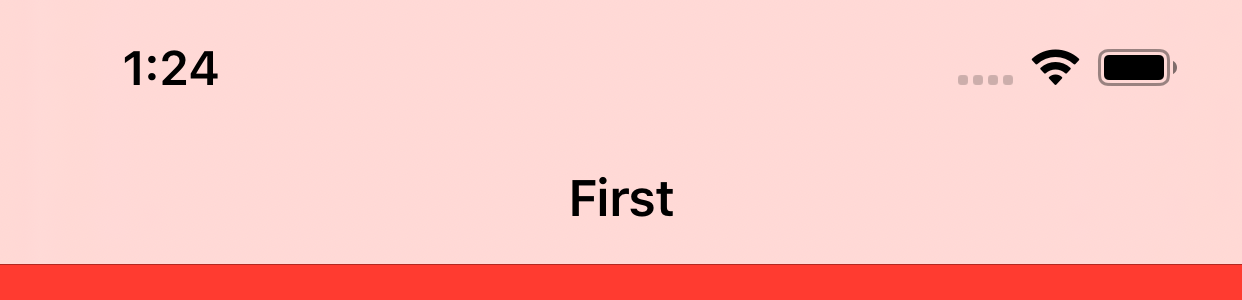
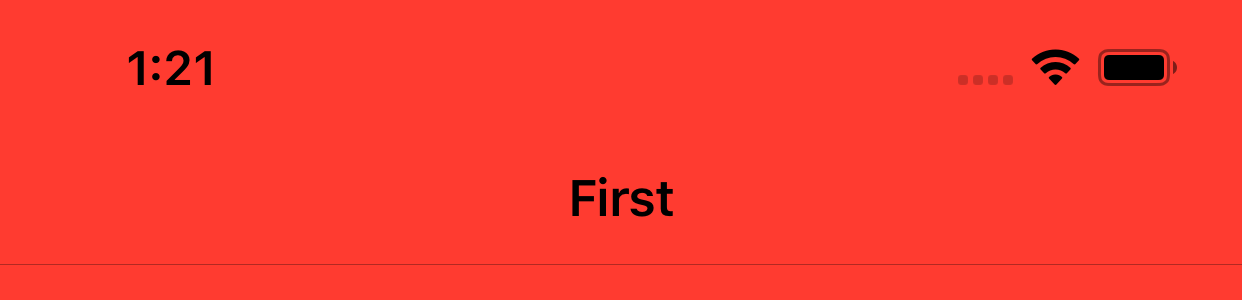
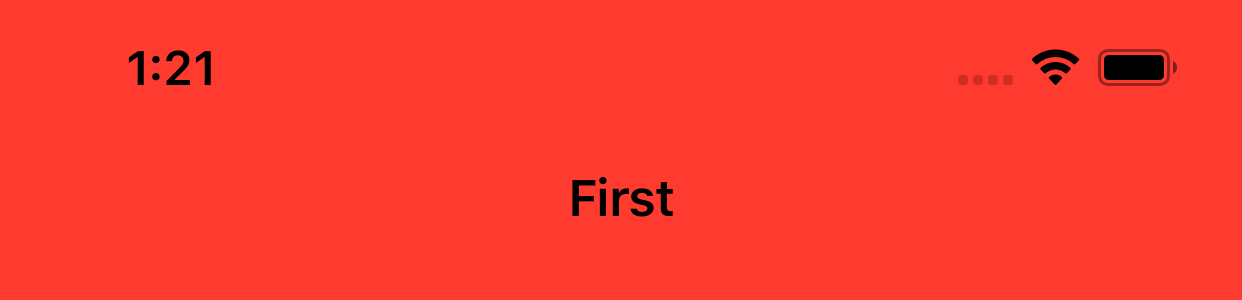
barStyle は default, black の2パターンあり、isTranslucent と組み合わせると下記のようになります。
| default | black | default(透過なし) | black (透過なし) |
|---|---|---|---|
 |
 |
 |
 |
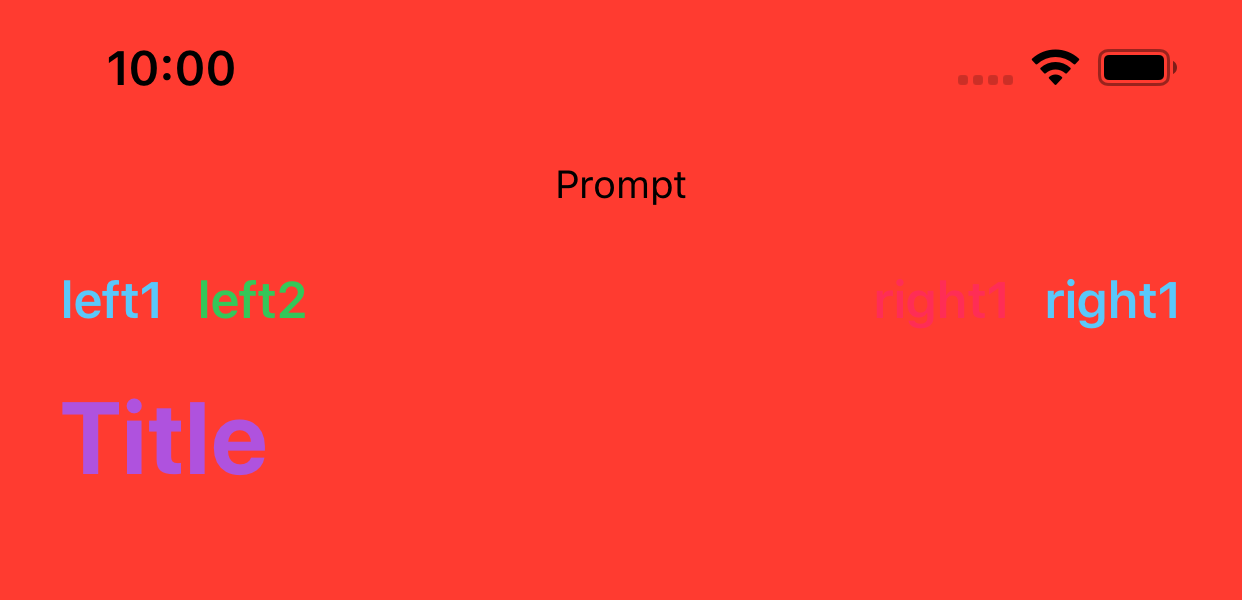
navigationController?.navigationBar.barTintColor = .systemOrange
navigationController?.navigationBar.tintColor = .systemTeal
navigationController?.navigationBar.titleTextAttributes = [.foregroundColor: UIColor.systemPurple]

title = "Title"
navigationItem.prompt = "Prompt"
let left1 = UIBarButtonItem(title: "left1", style: .done, target: nil, action: nil)
let left2 = UIBarButtonItem(title: "left2", style: .done, target: nil, action: nil)
left2.tintColor = .systemGreen
navigationItem.leftBarButtonItems = [left1, left2]
let right1 = UIBarButtonItem(title: "right1", style: .done, target: nil, action: nil)
let right2 = UIBarButtonItem(title: "right1", style: .done, target: nil, action: nil)
right2.tintColor = .systemPink
navigationItem.rightBarButtonItems = [right1, right2]
上記のように設定するとこんな感じになります

prompt の色を設定するプロパティはなさそう。。。
navigationController?.navigationBar.largeTitleTextAttributes = [.foregroundColor: UIColor.systemPurple]
navigationController?.navigationBar.prefersLargeTitles = true
上記のようにして largeTitle 表示に変更するとこんな感じになります
largeTitle の表示は navigationItem の下記プロパティで制御できます
// automatic/always/neverの3パターン
var largeTitleDisplayMode: UINavigationItem.LargeTitleDisplayMode
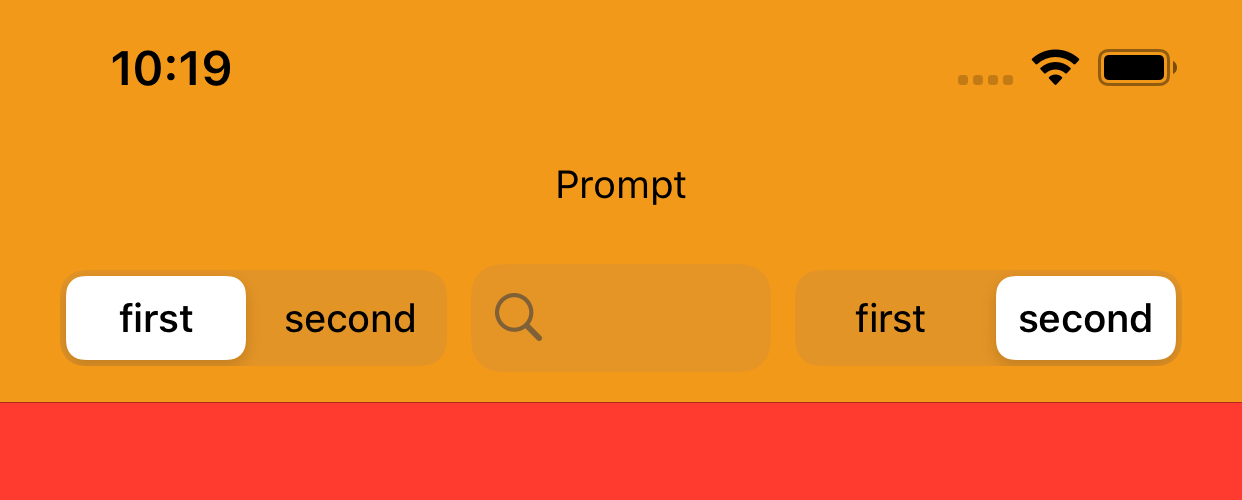
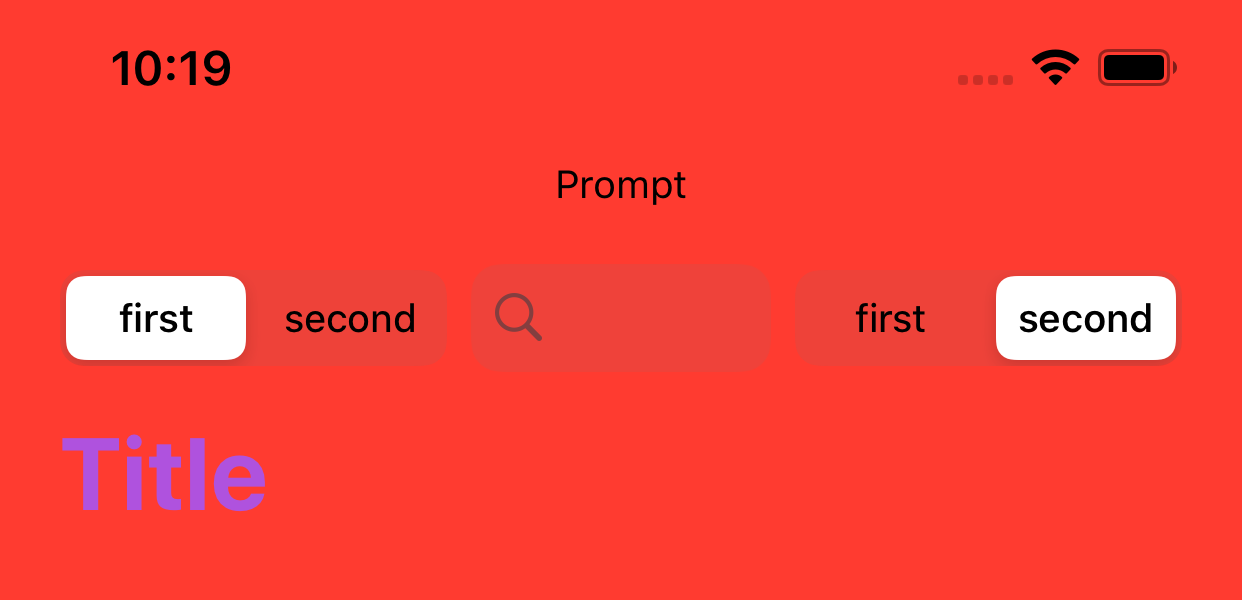
UIBarbuttonItem と titleView は View を設定できるので下記のようにすると
navigationController?.navigationBar.barTintColor = .systemOrange
navigationController?.navigationBar.tintColor = .systemTeal
navigationController?.navigationBar.titleTextAttributes = [.foregroundColor: UIColor.systemPurple]
// largeTitleの場合
// navigationController?.navigationBar.largeTitleTextAttributes = [.foregroundColor: UIColor.systemPurple]
// navigationController?.navigationBar.prefersLargeTitles = true

title = "Title"
navigationItem.prompt = "Prompt"
let leftSegment = UISegmentedControl(items: ["first", "second"])
leftSegment.selectedSegmentIndex = 0
navigationItem.leftBarButtonItem = UIBarButtonItem(customView: leftSegment)
let rightSegment = UISegmentedControl(items: ["first", "second"])
rightSegment.selectedSegmentIndex = 1
navigationItem.rightBarButtonItem = UIBarButtonItem(customView: rightSegment)
navigationItem.titleView = UISearchBar()
こんな感じの表示もできます!
| デフォルト | largeTitle |
|---|---|
 |
 |
背景画像
shadowImage に関しては下記のようにしてみるとわかりやすいかも
// 背景画像非表示
navigationController?.navigationBar.setBackgroundImage(.init(), for: .default)
// 影画像非表示
navigationController?.navigationBar.shadowImage = .init()
| デフォルト | 背景画像非表示 | 背景画像と影画像非表示 |
|---|---|---|
 |
 |
 |
背景画像のいい感じの大きさはわからないですが、スライスとかストレッチでいい感じにこっちでしないといけないのかも。。。
backBarButtonItem
UINavigationController で扱いが難しいのが戻るボタン。。。標準だと1つ前の VC のタイトルが表示され、長い場合は「戻る」表示になる便利なやつだけどカスタムしようと思うと色々難しかったりします。
| デフォルト | タイトルが長い場合 |
|---|---|
 |
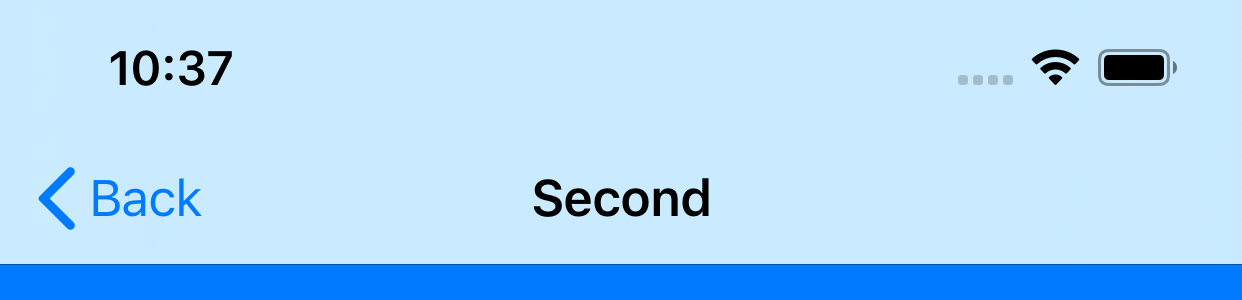 |
戻るボタンをカスタムする場合は戻るボタンを表示する VC の前の VC で設定する必要があります。
// Second の戻るボタンをカスタムする場合は First で設定する
// 1.文字を非表示にしたい場合
navigationItem.backBarButtonItem = .init(title: "", style: .plain, target: nil, action: nil)
// 2.タイトル以外の文字を表示したい場合
navigationItem.backBarButtonItem = .init(title: "Hoge", style: .plain, target: nil, action: nil)
// 3.画像を設定する場合
navigationItem.backBarButtonItem = .init(image: UIImage(systemName: "trash"), style: .plain, target: nil, action: nil)
| 1.文字を非表示 | 2.タイトル以外の文字表示 | 3.画像を表示 |
|---|---|---|
 |
 |
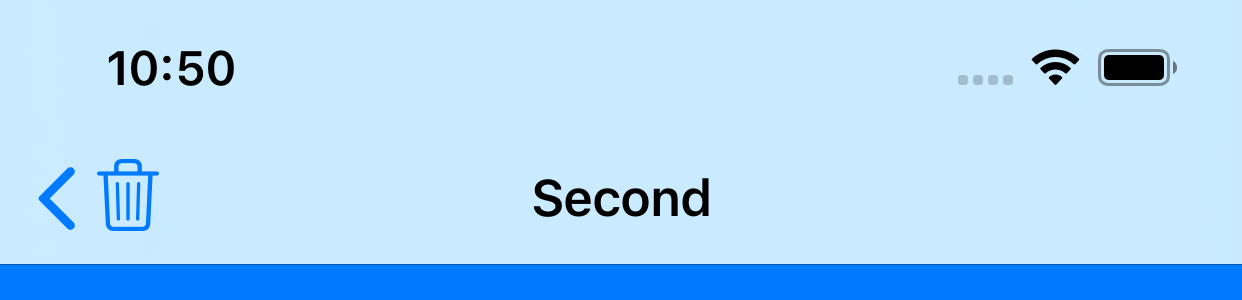 |
backBarButtonItemドキュメントに下記のようにあるので backBarButtonItem にカスタム View を設定しても無視されるらしいです。
When configuring your bar button item, do not assign a custom view to it; the navigation item ignores custom views in the back bar button anyway.
戻るボタン押下時にアラートを表示したいなどイベントを取得したい場合はおとなしく戻るボタンは使わずに leftBarButtonItem を設定する方が無難かと思います。leftBarButtonItem を設定する場合はスワイプで戻るジェスチャも無効になります。そんなパターンがあるのかわかりませんが leftBarButtonItem を設定したけどスワイプで戻るは有効にしたい場合は下記のようにするとたぶん動きます(やったことはないです。。。)
navigationController?.interactivePopGestureRecognizer?.delegate = self
詳細は下記参考
UINavigationControllerのスワイプで戻るを有効・無効にする方法
「<」の画像を変更したい場合は下記のように設定する。
navigationController?.navigationBar.backIndicatorImage = UIImage(named: "back")
navigationController?.navigationBar.backIndicatorTransitionMaskImage = UIImage(named: "back")
画像は16*14で作成すると下記のようになりました。
| 縦向き | 横向き | largeTitle |
|---|---|---|
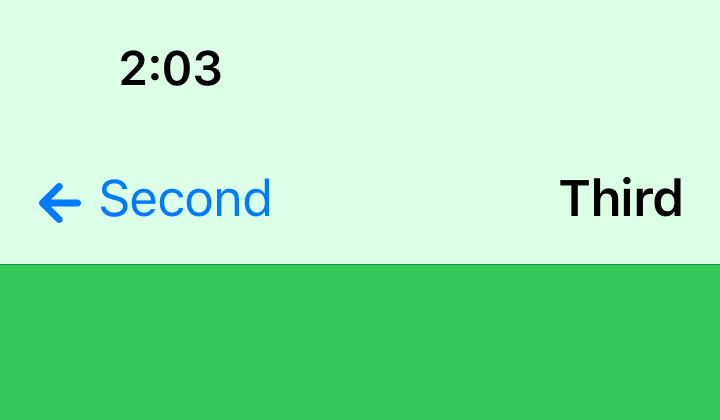 |
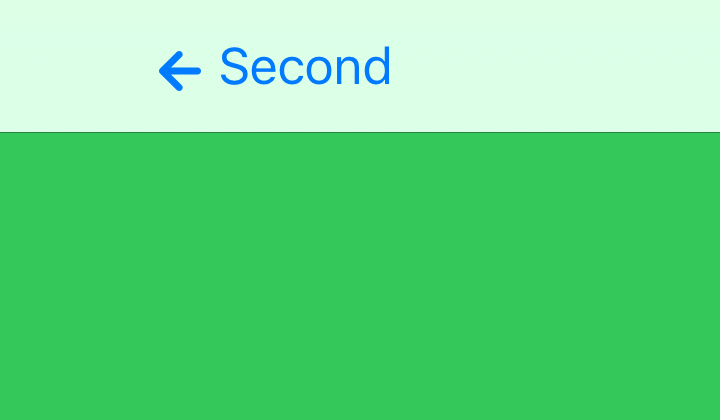 |
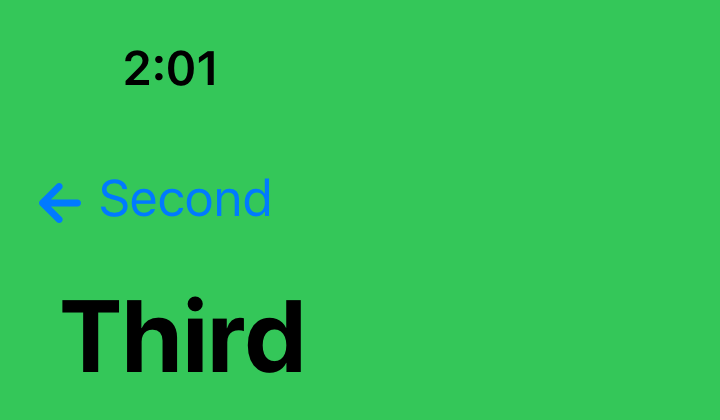 |
UINavigationBarAppearance
今までは直接 navigationController?.navigationBar.barTintColor = .systemOrange のようにプロパティ設定をしていましたが、iOS 13 からは UINavigationBarAppearance の設定でも変更できるようになっています。
ナビゲーションバーには下記の3つの表示状態があり、それぞれに対応する UINavigationBarAppearance のプロパティ (standardAppearance, compactAppearance, scrollEdgeAppearance) が UINavigationBar には用意されているので別々に外観を設定することができます。
| standardAppearance | compactAppearance | scrollEdgeAppearance |
|---|---|---|
 |
 |
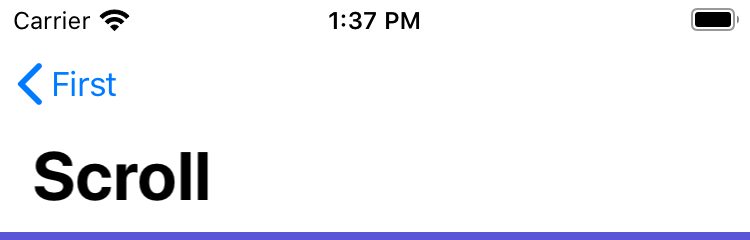 |
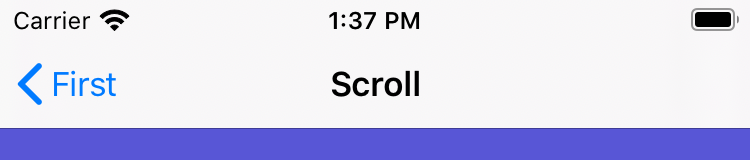
ちなみに下記のように設定するとスクロール View がある場合、トップでは largeTitle 表示でスクロールするとデフォルト表示に切り替わるようになります。
navigationController?.navigationBar.prefersLargeTitles = true
navigationItem.largeTitleDisplayMode = .automatic
それぞれの UINavigationBarAppearance を下記のように設定してやると
let standard = UINavigationBarAppearance()
standard.configureWithDefaultBackground()
standard.titleTextAttributes = [.foregroundColor: UIColor.systemRed]
standard.backgroundColor = .systemOrange

let compact = UINavigationBarAppearance()
compact.configureWithDefaultBackground()
compact.titleTextAttributes = [.foregroundColor: UIColor.systemPurple]
compact.backgroundColor = .systemYellow

let scrollEdge = UINavigationBarAppearance()
scrollEdge.configureWithDefaultBackground()
scrollEdge.titleTextAttributes = [.foregroundColor: UIColor.systemTeal]
scrollEdge.backgroundColor = .systemGreen

navigationController?.navigationBar.standardAppearance = standard
navigationController?.navigationBar.compactAppearance = compact
navigationController?.navigationBar.scrollEdgeAppearance = scrollEdge
こんな感じになります
UINavigationBarAppearance には下記のようにボタンの Appearance のプロパティがあるのでそれぞれのボタンの見た目も設定できそうです。
var buttonAppearance: UIBarButtonItemAppearance
var doneButtonAppearance: UIBarButtonItemAppearance
var backButtonAppearance: UIBarButtonItemAppearance
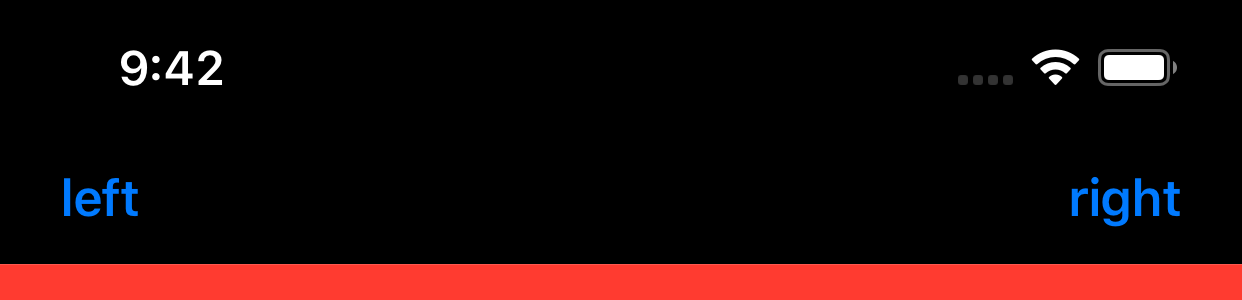
toolbar
navigationItem 同様 ViewController の下記のプロパティやメソッドで VC ごとに設定ができます。
var hidesBottomBarWhenPushed: Bool
var toolbarItems: [UIBarButtonItem]?
func setToolbarItems(_ toolbarItems: [UIBarButtonItem]?, animated: Bool)
navigationController?.isToolbarHidden = false
navigationController?.toolbar.barTintColor = .systemOrange
navigationController?.toolbar.tintColor = .red

let left = UIBarButtonItem(title: "left", style: .plain, target: nil, action: nil)
let right = UIBarButtonItem(title: "right", style: .plain, target: nil, action: nil)
let space = UIBarButtonItem(barButtonSystemItem: .flexibleSpace, target: nil, action: nil)
setToolbarItems([left, space, right], animated: false)
// こっちでも可
// toolbarItems = [left, space, right]
上記のように設定するとこんな感じになります

UINavigationControllerDelegate
UINavigationController には UINavigationControllerDelegate というデリゲートがあります。(使ったことないけど。。。)内容は下記。
// VCが表示される前に呼ばれる
func navigationController(UINavigationController, willShow: UIViewController, animated: Bool)

// VCが表示された後に呼ばれる
func navigationController(UINavigationController, didShow: UIViewController, animated: Bool)

// アニメーション設定??
func navigationController(UINavigationController, animationControllerFor: UINavigationController.Operation, from: UIViewController, to: UIViewController) -> UIViewControllerAnimatedTransitioning?
func navigationController(UINavigationController, interactionControllerFor: UIViewControllerAnimatedTransitioning) -> UIViewControllerInteractiveTransitioning?

// 画面の向きの優先度??
func navigationControllerPreferredInterfaceOrientationForPresentation(UINavigationController) -> UIInterfaceOrientation

// ナビゲーションコントローラーでサポートされている画面の向き??
func navigationControllerSupportedInterfaceOrientations(UINavigationController) -> UIInterfaceOrientationMask
気をつけないといけないのが First, Second など各 VC でデリゲートを設定してしまうと Second 表示時は First のデリゲート設定が解除され First の viewWillAppear などで再びデリゲート設定しないと First のデリゲート設定は解除されたままになってしまうということ。UINavigationController のデリゲートは各 VC で設定するのではなくカスタムの UINavigationController クラスを作ってそのクラスでデリゲート設定をするか別オブジェクトに設定するもしくは rootViewController でのみ設定するなどの工夫がいると思います。(使ったことないですが。。。)
おわりに
やっぱり調べてみると知らないことがわりとありました。。。toolbar とかデフォルトであったんだとか prompt とか largeTitle とかも使ってなかったから忘れてたなどなど。。。
SwiftUI の登場で今後使う機会が減っていくかもしれませんが、まだまだ UINavigationController は現役だと思うのでこの記事がどこかで役に立つことを願います![]()