RailsとReactを分離させてSPAで動かす記事はたくさん見つかるけど、そうではなくRailsプロジェクトの一部でReactを使う方法。
react-railsというgemを使う方法です。ほぼ以下のgemでの導入方法に近い記事です。
reactjs/react-rails: Integrate React.js with Rails views and controllers, the asset pipeline, or webpacker.
環境
- Rails 6.1.4
- Ruby 3.0.0
Reactの導入
まず導入したいrailsプロジェクトディレクトリ内に移動し、railsコマンドでReactとその関連ファイルをインストール。
% rails webpacker:install:react
インストールすると、app/javascript/packs/hello_react.jsxが作成される。これを任意のviewファイルに挿入する。
中身は以下。
// Run this example by adding <%= javascript_pack_tag 'hello_react' %> to the head of your layout file,
// like app/views/layouts/application.html.erb. All it does is render <div>Hello React</div> at the bottom
// of the page.

import React from 'react'
import ReactDOM from 'react-dom'
import PropTypes from 'prop-types'

const Hello = props => (
  <div>Hello {props.name}!</div>
)

Hello.defaultProps = {
  name: 'David'
}

Hello.propTypes = {
  name: PropTypes.string
}

document.addEventListener('DOMContentLoaded', () => {
  ReactDOM.render(
    <Hello name="React" />,
    document.body.appendChild(document.createElement('div')),
  )
})
ファイル先頭にも書いてある通り、<%= javascript_pack_tag 'hello_react' %>をrailsのviewファイルに挿入すればこのコンポーネントがレンダリングされる。
ReactコンポーネントをRailsのviewで表示する
実際にやってみる。
※以下は挿入したいviewファイルが既にあればとくにやらなくて大丈夫です。
viewを作成するためBookモデルのscaffoldを実行しマイグレート。
% rails g scaffold Book title:string content:text
% rails db:migrate
rails sで先に画面を確認。
http://localhost:3000/books
ここに先ほどのhello_react.jsxを挿入してみる。
app/views/books/index.html.erb
<% # 以下に挿入 %>
<%= javascript_pack_tag 'hello_react' %>
<p id="notice"><%= notice %></p>

<h1>Books</h1>

<table>
  <thead>
    <tr>
      <th>Title</th>
      <th>Content</th>
      <th colspan="3"></th>
    </tr>
  </thead>

  <tbody>
    <% @books.each do |book| %>
      <tr>
        <td><%= book.title %></td>
        <td><%= book.content %></td>
        <td><%= link_to 'Show', book %></td>
        <td><%= link_to 'Edit', edit_book_path(book) %></td>
        <td><%= link_to 'Destroy', book, method: :delete, data: { confirm: 'Are you sure?' } %></td>
      </tr>
    <% end %>
  </tbody>
</table>

<br>

<%= link_to 'New Book', new_book_path %>
表示を確認すると、確かにHello React!がレンダリングされている。
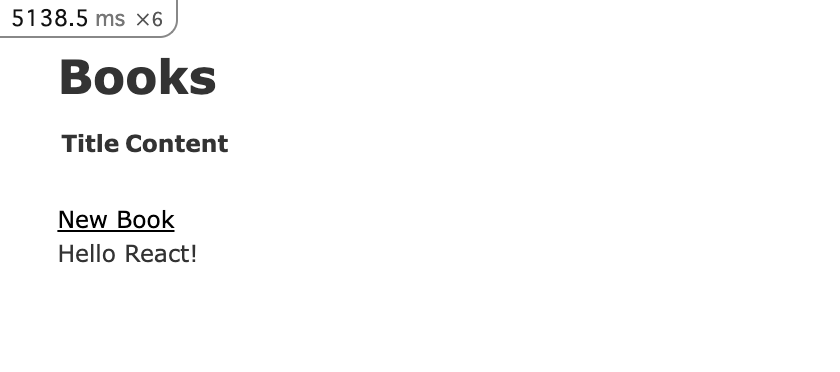
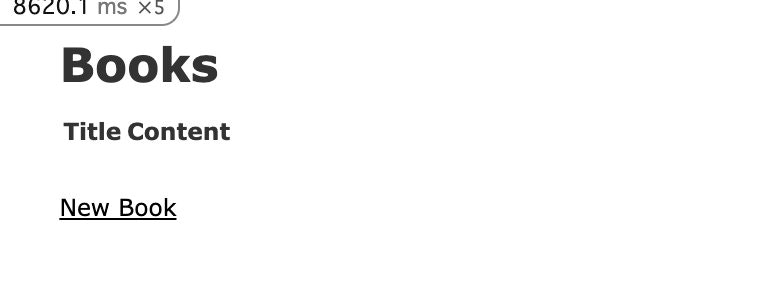
ただこの状態だと挿入した行の位置に関わらずReactコンポーネントが最後にレンダリングされてしまうのでそれを解消する。
react-railsの導入
Gemfileに以下を追記。
gem 'react-rails'
追記したgemをインストール。
% bundle install
次に以下のコマンドを実行。
% rails g react:install
するとapp/javascript/componentsというフォルダが作られるので、ここにhello_react.jsxをここに移動。
レンダリングに関しては react-railsがやってくれるので、移動した後以下のように変更。
app/javascript/components/hello_react.jsx
// Run this example by adding <%= javascript_pack_tag 'hello_react' %> to the head of your layout file,
// like app/views/layouts/application.html.erb. All it does is render <div>Hello React</div> at the bottom
// of the page.

import React from 'react'
import ReactDOM from 'react-dom'
import PropTypes from 'prop-types'

const Hello = props => (
  <div>Hello {props.name}!</div>
)

Hello.defaultProps = {
  name: 'David'
}

Hello.propTypes = {
  name: PropTypes.string
}
// 以下を削除
// document.addEventListener('DOMContentLoaded', () => {
//   ReactDOM.render(
//     <Hello name="React" />,
//     document.body.appendChild(document.createElement('div')),
//   )
// })

// 以下を追記
export default Hello
react-railsを導入したことによって、react_componentというメソッドが使えるようになる。レンダリングしたいReactコンポーネントの読み込みも以下のように記述を変更。
# 以下を削除
<%= javascript_pack_tag 'hello_react' %>
# 以下を追記
<%= react_component('hello_react') %>
<p id="notice"><%= notice %></p>

<h1>Books</h1>

<table>
  <thead>
    <tr>
      <th>Title</th>
      <th>Content</th>
      <th colspan="3"></th>
    </tr>
  </thead>

  <tbody>
    <% @books.each do |book| %>
      <tr>
        <td><%= book.title %></td>
        <td><%= book.content %></td>
        <td><%= link_to 'Show', book %></td>
        <td><%= link_to 'Edit', edit_book_path(book) %></td>
        <td><%= link_to 'Destroy', book, method: :delete, data: { confirm: 'Are you sure?' } %></td>
      </tr>
    <% end %>
  </tbody>
</table>

<br>

<%= link_to 'New Book', new_book_path %>
これで再度レンダリングしてみる。
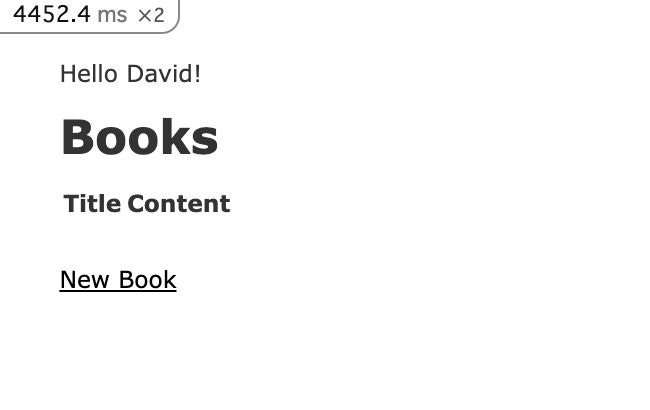
これで任意の場所にReactコンポーネントを差し込むことができた!
viewファイルから値を渡したい場合は、以下のようにする。
<%= react_component('hello_react', { name: "react-rails" }) %>
これ以降追加したいReactコンポーネントがあれば、app/javascript/components配下にjsxなりtsxのファイルを作ればいい。