はじめに
今回ご紹介するのは、 htmxをSpringBootから使うサンプルです。お手軽にSPA(Single Page Application)を構築できます。
htmx とは
htmxとは、できる限りJavaScriptを記載せずにHTMLだけでAjaxを使った非同期リクエストや、CSS変換、WebSocket、Server Side Events の実現をコンセプトとしたJavaScriptライブラリです。
クライアント側の実装のためにビルドしなおす手間も不要で、JavaScriptを記載せずに非同期処理を実現できます。
本記事の動作バージョンは、2024/7/27時点での最新バージョン: 2.0.1です。
記述例
記述方法は、HTMLの 属性 に宣言します。
<script src="https://unpkg.com/htmx.org@2.0.1"></script>

<button
    hx-trigger="click"
    hx-get="/replace"
    hx-target="#parent-div"
    hx-swap="outerHTML">Click Me</button>

<div id="parent-div">
  <span>change this document.</span>
</div>
このボタン(button)要素に宣言したhtmxの属性は、以下を設定します。
| 属性 | 説明 |
|---|---|
hx-trigger="click" |
この要素を押したときを宣言 |
hx-get="/replace" |
HTTPメソッド:GET で/display へ非同期リクエスト(Ajax)でリクエストする |
hx-target="#parent-div" |
レスポンス内容をparent-divのidの要素を対象にする |
hx-swap="outerHTML" |
hx-targetで指定した要素を丸ごと入れ替えます |
hx-get="/replace" でレスポンスするHTMLの内容は
<!doctype html>
<html>
<body>
	<div id="replace">
		replace!
	</div>
</body>
</html>
とした場合に、ボタンをクリックすると sample.htmlの内容は以下になります。
<script src="https://unpkg.com/htmx.org@2.0.1"></script>

<button
    hx-trigger="click"
    hx-get="/replace"
    hx-target="#parent-div"
    hx-swap="outerHTML">Click Me</button>

<div id="replace">
    replace!
</div>
ボタンを押すことで、<div id="parent-div">要素ごと、replace.htmlの内容で書き換わります。
今回作成したサンプルアプリケーション
サンプルコードはこちら です
商品データの一覧画面を作り、ページングや詳細画面を出す画面も用意します。画面レイアウトやUIはBootstrap5.3を使います。
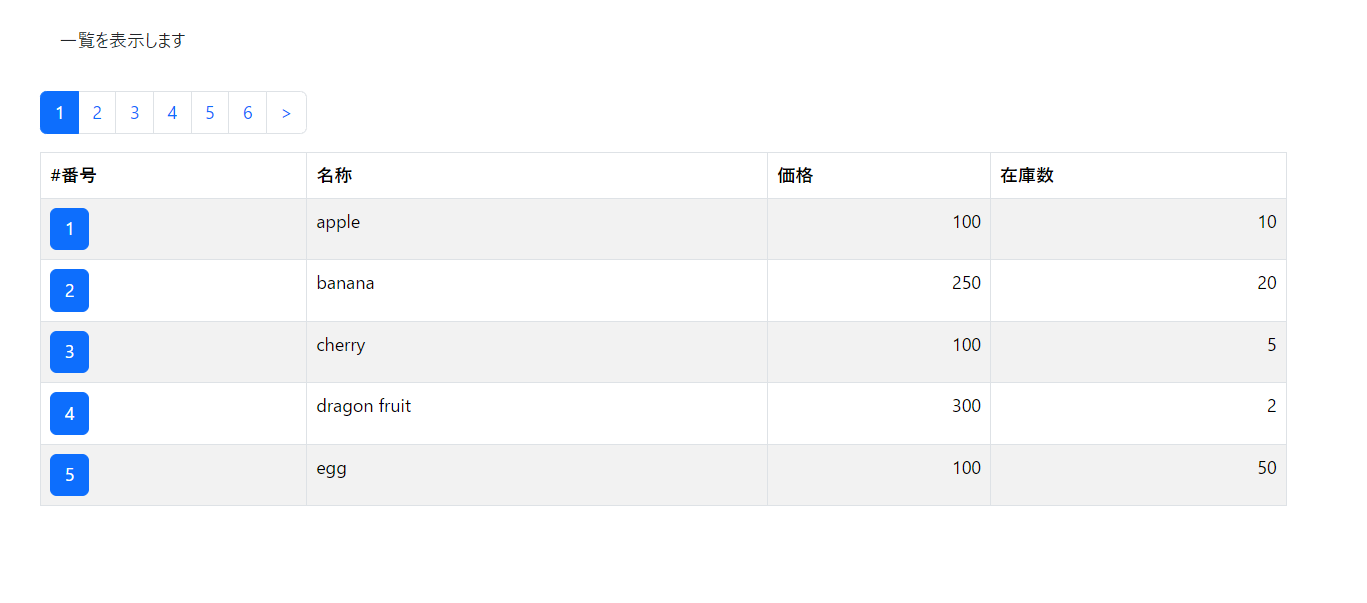
「一覧を表示します」の下に一覧表を表示します。
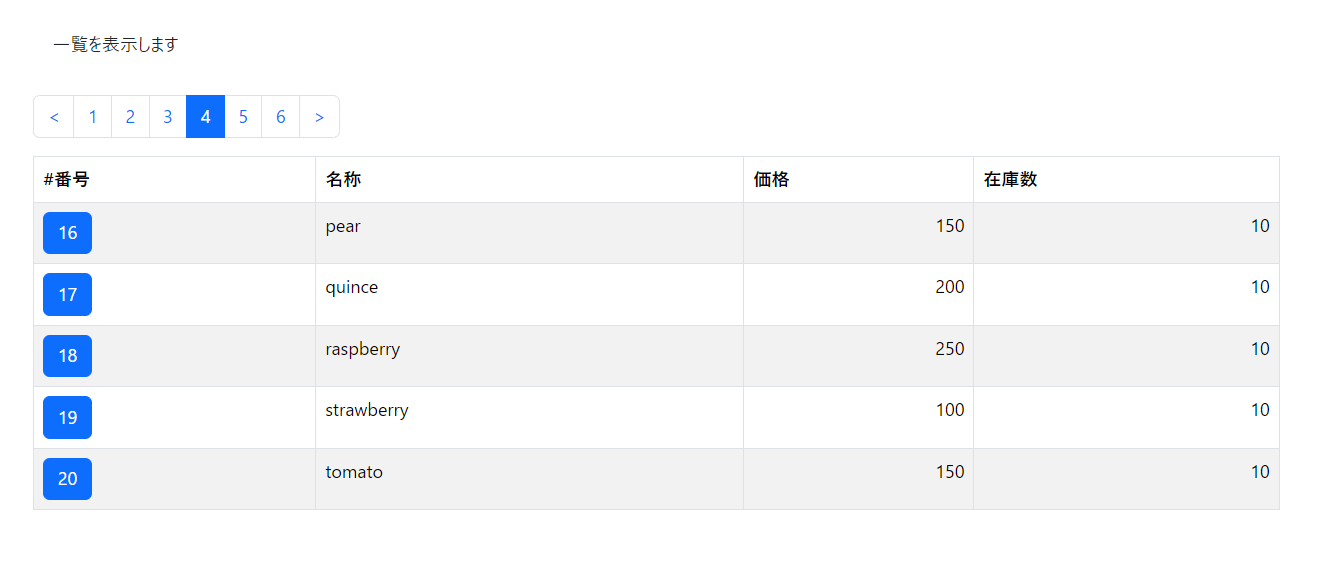
一覧表は5件ごとに表示し、ページ送りするページング用のボタンも用意します。
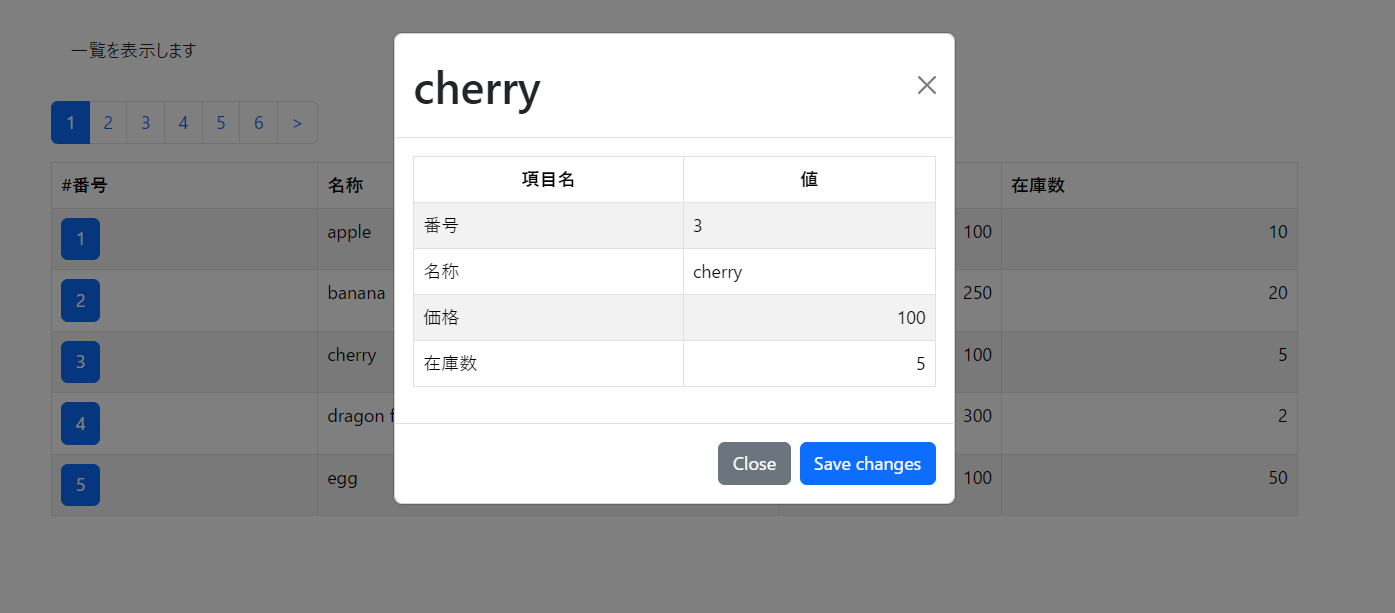
一覧表の一番左の列(#番号)にボタンを用意し、このボタンを押すことでその商品の詳細を表示するモーダルを表示します。
以上の画面操作をまとめます。
| 操作 | 具体的な操作 |
|---|---|
| 一覧を表示 | 初期表示。1ページ目を表示する。 |
| ページング | 押した番号のページを表示する、前ページへ移動する、次のページへ移動する |
| 詳細を表示する | モーダルを表示して商品詳細を表示する、モーダルを閉じる |
今回は、この一覧表、ページングのボタン、モーダルの部分をhtmxで非同期にコンテンツを取得します。
まずは簡単に一覧画面を表示するところまで
まずはページング機能をつけずに、一覧結果を表示する画面を作ります。
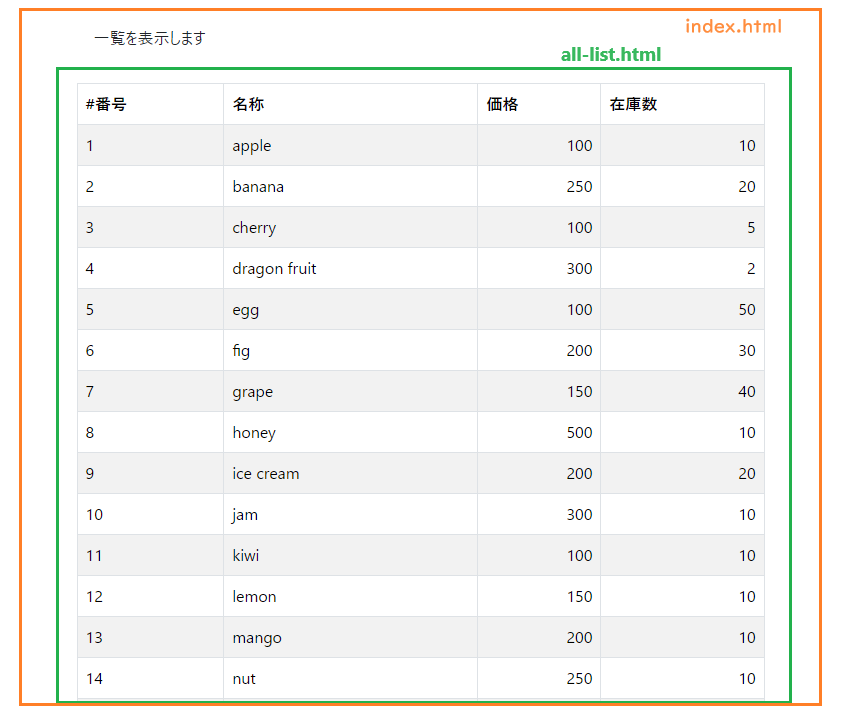
ページ全体を構成するのが index.html(オレンジ色の外枠)、一覧表の部分は all-list.html(緑色の枠)です。
<!doctype html>
<html lang="ja">
<head>
    <script src="https://unpkg.com/htmx.org@2.0.1"></script>
</head>
<body>
<div class="container-fluid">
    <div class="container">
        <div>
            <div>一覧を表示します</div>
        </div>
        <div>
            <div id="result-table" hx-get="all-list.html" hx-trigger="load">
            </div>
        </div>
    </div>
</div>
</body>
</html>
この <div id="result-table"> 要素は、hx-trigger="load" を宣言することで、ページ読み込み直後に/all-list.html の内容に書き換わります。
あとは all-list.html を用意すれば基本となるHTMLは完了です。
<!doctype html>
<html lang="ja">
<table class="table table-bordered table-striped text-nowrap">
    <thead>
        <tr>
            <th>#番号</th>
            <th>名称</th>
            <th>価格</th>
            <th>在庫数</th>
        </tr>
    </thead>
    <tbody>
        <tr>
            <td>1</td>
            <td>apple</td>
            <td class="text-end">100</td>
            <td class="text-end">10</td>
        </tr>
        <tr>
            <td>2</td>
            <td>banana</td>
            <td class="text-end">250</td>
            <td class="text-end">20</td>
        </tr>
        <tr>
            <td>3</td>
            <td>cherry</td>
            <td class="text-end">100</td>
            <td class="text-end">5</td>
        </tr>
        <tr>
            <td>4</td>
            <td>dragon fruit</td>
            <td class="text-end">300</td>
            <td class="text-end">2</td>
        </tr>
        <tr>
            <td>5</td>
            <td>egg</td>
            <td class="text-end">100</td>
            <td class="text-end">50</td>
        </tr>
        ((...中略...))
        <tr>
            <td>25</td>
            <td>yam</td>
            <td class="text-end">100</td>
            <td class="text-end">10</td>
        </tr>
        <tr>
            <td>26</td>
            <td>zucchini</td>
            <td class="text-end">150</td>
            <td class="text-end">10</td>
        </tr>
    </tbody>
</table>
</html>
SpringBoot(SpringMVC)と組み合わせる
次は、この画面とデータをSpringBootと組み合わせます。
thymeleafテンプレート(HTML)
まずは初期表示するときの画面全体となるHTMLをthymeleafに修正します。
<!doctype html>
<html lang="ja" xmlns:th="http://www.thymeleaf.org">
<head>
    <meta charset="UTF-8" />
    <meta name="viewport" content="width=device-width, initial-scale=1, shrink-to-fit=no" />
    <link rel="stylesheet" th:href="@{/webjars/bootstrap/{version}/css/bootstrap.min.css(version=${@webJarsProperties.bootstrap})}" />
    <script th:src="@{/js/htmx.min.js}"></script>
</head>
<body>
<div class="container-fluid">
    <div class="container p-3">
        <div>
            <div class="alert">一覧を表示します</div>
        </div>
        <div class="table-responsive">
            <div class="col-sm-12" id="result-table" th:hx-get="'/all-list'" hx-trigger="load">
            </div>
        </div>
    </div>
</div>
</body>
</html>
Bootstrapはwebjarsでライブラリをインポートしていた内容から取得しています。htmxはアプリケーション内の静的ファイルの配置先に 公式サイトからダウンロードした内容 を利用するよう宣言しています。
次にhx-get="all-list" で取得する商品一覧を作ります。
商品を定義しているクラスは以下で定義しました。
package com.github.apz.sample.model;

import lombok.AllArgsConstructor;
import lombok.Getter;
import lombok.Setter;

import java.math.BigDecimal;

@AllArgsConstructor(staticName = "of") @Getter @Setter
public class Item {
    private Integer id;
    private String name;
    private BigDecimal price;
    private Integer stock;
}
この商品を表示するthymeleafテンプレートは、Itemクラスを複数表示します。
<!doctype html>
<html lang="ja" xmlns:th="http://www.thymeleaf.org">
<table class="table table-bordered table-striped text-nowrap" th:if="${items}">
    <thead>
        <tr>
            <th>#番号</th>
            <th>名称</th>
            <th>価格</th>
            <th>在庫数</th>
        </tr>
    </thead>
    <tbody>
        <tr th:each="item : ${items}">
            <td th:text="${item.id}">1</td>
            <td th:text="${item.name}">name</td>
            <td th:text="${item.price}" class="text-end">100</td>
            <td th:text="${item.stock}" class="text-end">10</td>
        </tr>
    </tbody>
</table>
続いてControllerの実装です。
package com.github.apz.sample.controller;

import java.util.List;

import org.springframework.data.domain.Page;
import org.springframework.data.domain.Pageable;
import org.springframework.stereotype.Controller;
import org.springframework.web.bind.annotation.GetMapping;
import org.springframework.web.bind.annotation.PathVariable;
import org.springframework.web.bind.annotation.RequestMapping;
import org.springframework.web.servlet.ModelAndView;

import com.github.apz.sample.model.Item;
import com.github.apz.sample.service.ItemService;

import lombok.AllArgsConstructor;

@Controller
@RequestMapping("/")
@AllArgsConstructor
public class ItemController {

    ItemService itemService;

    @GetMapping("/")
    public ModelAndView index(ModelAndView mnv) {
        mnv.setViewName("index");
        return mnv;
    }

    @GetMapping("/all-list")
    public ModelAndView allList(ModelAndView mnv) {
    	List<Item> items = itemService.getAllItems();
    	mnv.addObject("items", items);
    	mnv.setViewName("all-list");
    	return mnv;
    }
}
Controllerは、画面全体を描画するときに使うメソッドと、商品一覧を返すメソッドにわけます。
商品の一覧結果を返す ItemService
package com.github.apz.sample.service;

import java.util.List;

import org.springframework.data.domain.Page;
import org.springframework.data.domain.Pageable;
import org.springframework.stereotype.Service;

import com.github.apz.sample.model.Item;
import com.github.apz.sample.repository.ItemRepository;

import lombok.AllArgsConstructor;

@Service
@AllArgsConstructor
public class ItemService {
    ItemRepository itemRepository;

    public List<Item> getAllItems() {
    	return itemRepository.getAll();
    }
}
商品データを扱う ItemRepository
package com.github.apz.sample.repository;

import java.math.BigDecimal;
import java.util.List;
import java.util.function.Predicate;

import org.springframework.data.domain.Page;
import org.springframework.data.domain.PageImpl;
import org.springframework.data.domain.Pageable;
import org.springframework.stereotype.Repository;

import com.github.apz.sample.model.Item;
import com.github.apz.sample.model.Items;

import jakarta.annotation.PostConstruct;
import lombok.extern.slf4j.Slf4j;

@Repository
@Slf4j
public class ItemRepository {

    Items items;

    // 初期化時に商品一覧を定義
    @PostConstruct
    public void initialize() {
        items = createItems();
    }

    public List<Item> getAll() {
    	return items.getValues();
    }

    Items createItems() {
        items = new Items();
        items.addItem(Item.of(1, "apple", new BigDecimal("100"), 10))
                .addItem(Item.of(2, "banana", new BigDecimal("250"), 20))
                // ここから下はCopilot君が作ってくれたので、適当なデータです
                .addItem(Item.of(3, "cherry", new BigDecimal("100"), 5))
                .addItem(Item.of(4, "dragon fruit", new BigDecimal("300"), 2))
                .addItem(Item.of(5, "egg", new BigDecimal("100"), 50))
                .addItem(Item.of(6, "fig", new BigDecimal("200"), 30))
                .addItem(Item.of(7, "grape", new BigDecimal("150"), 40))
                .addItem(Item.of(8, "honey", new BigDecimal("500"), 10))
                .addItem(Item.of(9, "ice cream", new BigDecimal("200"), 20))
                .addItem(Item.of(10, "jam", new BigDecimal("300"), 10))
                .addItem(Item.of(11, "kiwi", new BigDecimal("100"), 10))
                .addItem(Item.of(12, "lemon", new BigDecimal("150"), 10))
                .addItem(Item.of(13, "mango", new BigDecimal("200"), 10))
                .addItem(Item.of(14, "nut", new BigDecimal("250"), 10))
                .addItem(Item.of(15, "orange", new BigDecimal("100"), 10))
                .addItem(Item.of(16, "pear", new BigDecimal("150"), 10))
                .addItem(Item.of(17, "quince", new BigDecimal("200"), 10))
                .addItem(Item.of(18, "raspberry", new BigDecimal("250"), 10))
                .addItem(Item.of(19, "strawberry", new BigDecimal("100"), 10))
                .addItem(Item.of(20, "tomato", new BigDecimal("150"), 10))
                .addItem(Item.of(21, "umbrella", new BigDecimal("500"), 10))
                .addItem(Item.of(22, "vanilla", new BigDecimal("200"), 10))
                .addItem(Item.of(23, "watermelon", new BigDecimal("300"), 10))
                .addItem(Item.of(24, "xigua", new BigDecimal("250"), 10))
                .addItem(Item.of(25, "yam", new BigDecimal("100"), 10))
                .addItem(Item.of(26, "zucchini", new BigDecimal("150"), 10))
        ;
        return items
        ;
    }
}
以上を作成し、アプリケーションを起動します。
http://localhost:8080/ をブラウザから参照すると、
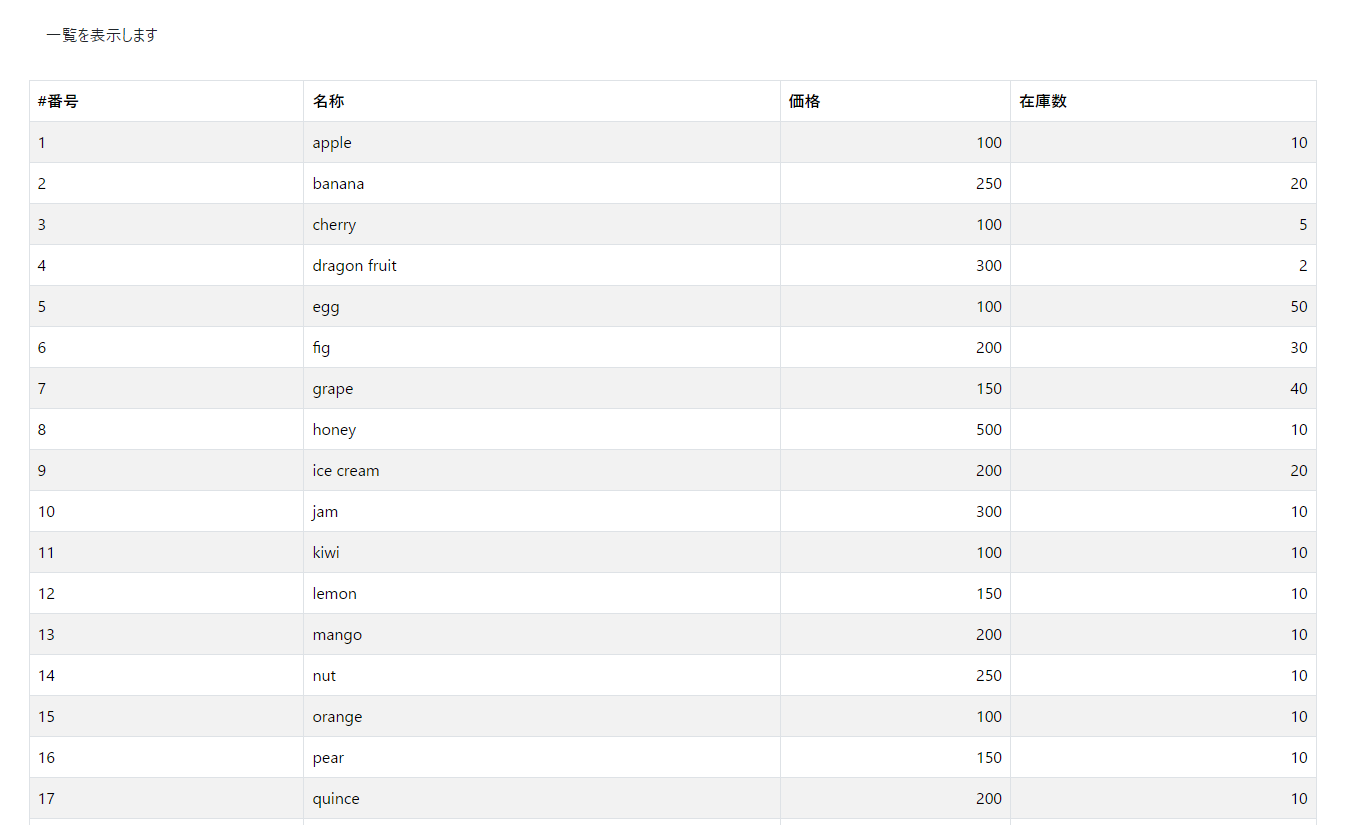
「一覧を表示します」のHTMLから、htmx経由で表示した商品一覧が表示されます。
次回は検索のページング機能を実装していきます。
Appendix
webjarsのバージョン指定
SpringBoot起動時に設定が読み込まれ、これがthymeleafテンプレートからSpringのコンテキストを参照します。詳細は ThymeleafからSpringのBeanを直接参照する例 にも記載しております。
package com.github.apz.sample;

import org.springframework.boot.context.properties.ConfigurationProperties;
import org.springframework.stereotype.Component;

import lombok.Data;

@Component
@ConfigurationProperties(prefix = "webjars")
@Data
public class WebJarsProperties {
	private String bootstrap;
}
webjars:
  bootstrap: 5.3.3
これにより、WebJarsPropertiesクラスのbootstrapの値は 5.3.3 と定義されます。
またSpring frameworkはこのWebJarsPropertiesのインスタンスを webjarsProperries と命名してアプリケーション内から参照でき、これをthymeleafにて
<link rel="stylesheet" th:href="@{/webjars/bootstrap/{version}/css/bootstrap.min.css(version=${@webJarsProperties.bootstrap})}" />
と記述すると、@webJarsProperties.bootstrap の値は 5.3.3 になりますので、出力されるHTMLは以下です。
<link rel="stylesheet" href="/webjars/bootstrap/5.3.3/css/bootstrap.min.css" />