
When I need to send or receive data/files from one system to another system with a secure way, in my mind there is only one protocol, i.e., FTP(File Transfer Protocol).
I usually used to do setup on Windows machine, but now this time i have to setup FTP on ubuntu AWS EC2.
Below are the basic steps to setup FTP on AWS EC2.
Step One – Getting Started
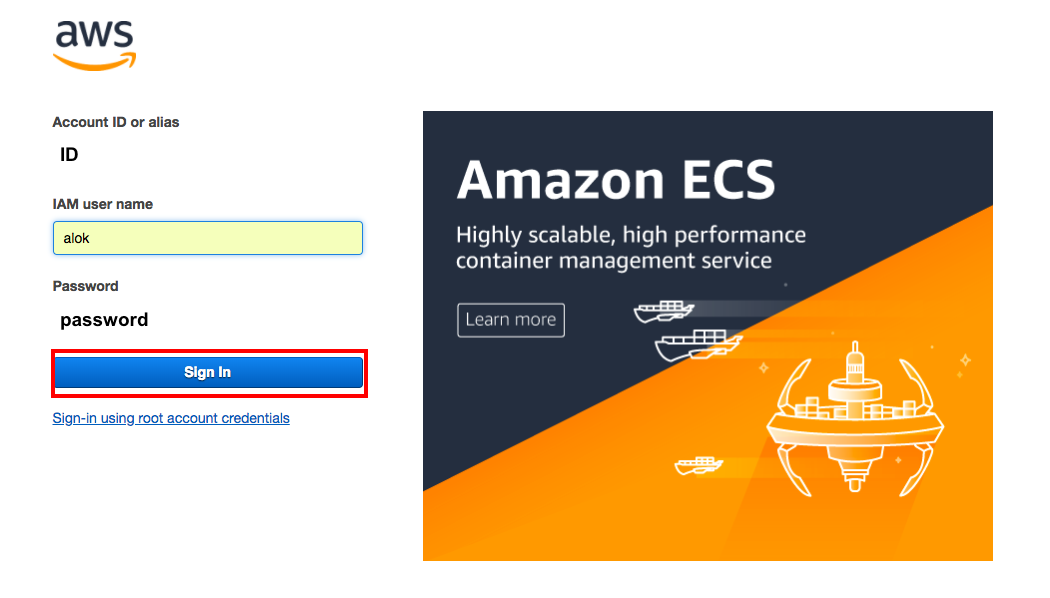
Login to your AWS server via Terminal.This tutorial assumes you can login as ec2-user.
Commands to run
sudo -i // to access as root.
yum update -y // to update your AWS server to latest stable release of *everything*. The -y means when it asks if you want to install you’ve already said “yes”
yum install vsftpd // to install the ftp gubbins you will need to say yes
Step Two – Open Ports in Security Group
You need to go to your AWS account in your browser and open up the ports required for FTP access.
This is done by:
1) Login to AWS account.
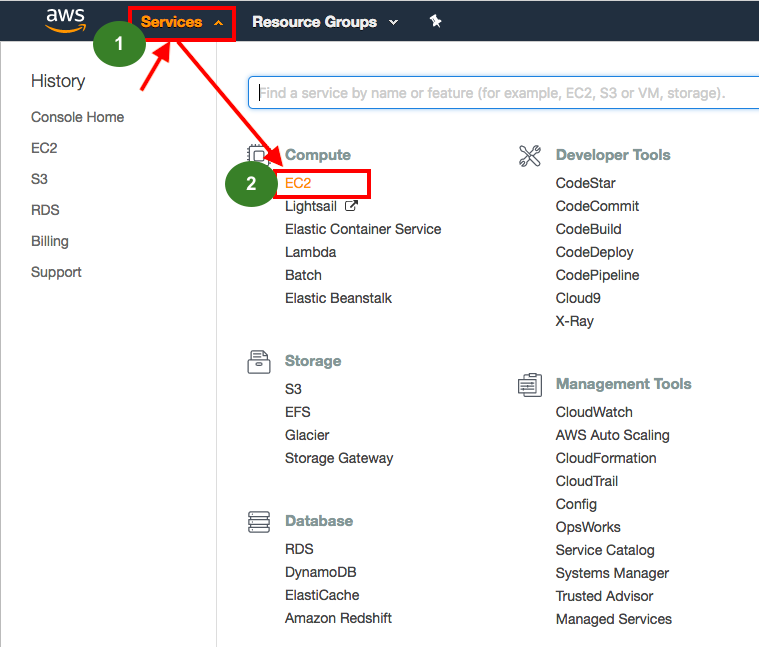
2) Open up the EC2 panel from the service menu.
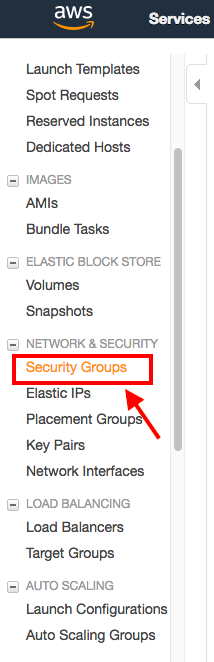
3) Select “security groups” from the left menu and find the relevant one.
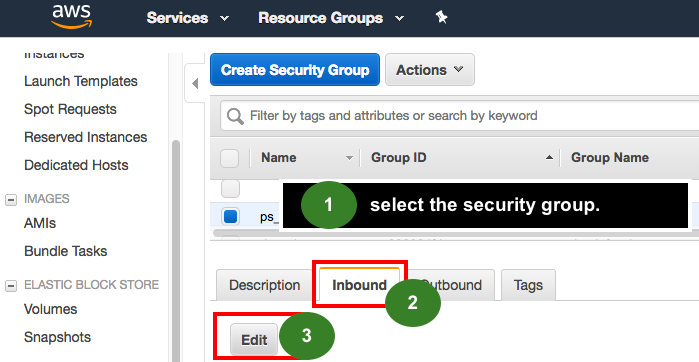
4) Press “Edit” on the relevant security group INBOUND rules
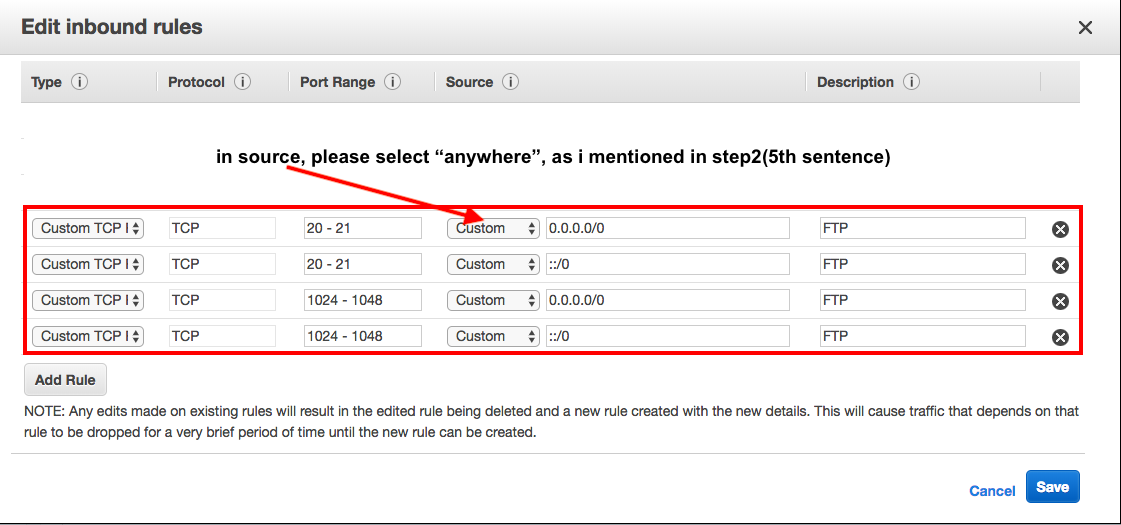
5) Add two rules Type > Custom TCP Rules – port ranges 20-21 and 1024-1048 (all from source “anywhere” if you want to allow FTP from anywhere, otherwise secure by locking down to just your IP, assuming a) you know this and b) it won’t change!)
please check the attached images.
1)
2)
3)
4)
5)
Step 3 – Ensure vsftpd starts on server reboot
You want to make sure your new service will start when your server reboots, in future.
Enter the following into terminal
chkconfig --level 345 vsftpd on // This makes sure that vsftpd starts when the instance reboots (note it will need starting initially, which a restart we do below will achieve!)
Step 4 – Update vsftpd.conf file
Back in your terminal window, run the following commands to update your
vsftpd.conf file using vi.
vi /etc/vsftpd/vsftpd.conf // this uses the vi editor to edit the vsftpd.conf file.
press the insert key or “i” to start inserting (well deleting, replacing, and whatever too) in vi, or use the other method to achieve the below:
Change
anonymous_enable=YES
to
anonymous_enable=NO   // this prevents ananymous access over FTP.
Then add the following to the bottom of the file
pasv_enable=YES

pasv_min_port=1024

pasv_max_port=1048

pasv_address=[YOURPUBLICIP]
Be SURE to replace [YOURPUBLICIP] with your public IP. Its enabling passive connections, specifiying the ports to use, and the IP.
Press escape
type
:wq
Hit enter
// :wq tells vi to “write” this file and “quit” the colon means “commands coming” and the escape key beforehand says “I’m about to say some commands, stop inserting into file”.
Now next Restart vsftpd
sudo /etc/init.d/vsftpd restart
Step 5 – Create an FTP user
Type the following into terminal to create this user / password – replace “awsftpuser” with your intended username!
adduser awsftpuser

passwd awsftpuser
Step 6 – Restrict user to home directory
You will want to prevent an FTP user getting ideas above his station, and “chroot” him or her to their directory (means they cannot go “above” their home directory and try to tinker about with (for example) server settings).
Edit the vsftpd.conf again in terminal and again using vi:
vi /etc/vsftpd/vsftpd.conf
Uncomment (remove the # in front of) the line which says:
chroot_local_user=YES
Then its save and quit as before.
// Hit escape
:wq
then Enter
// again save your new settings by writing to vi and quitting
Restart vsftpd by entering this into terminal:
sudo /etc/init.d/vsftpd restart
Step 7 -Change / Set user’s FTP home directory & give group permissions
Enter the below command into terminal to set the user (in this case our awsftpuser user – replace this with your actual username!) home directory. In this example, I’m saying the ftp_data is the user’s root.
usermod -d /var/www/ftp_data awsftpuser
Then, make sure the awsftpuser is the part of the group which owns the files in this folder, to allow them to upload/change/delete as you wish. You might want to be careful allowing an FTP user to modify files in your server!
First for this, check the ownership status of files in your ftp_data folder, by doing the following:
cd /var/www/ftp_data/   // navigate to the folder
ls -l
// will output the permissions and ownership and group for the files in this directory. In our case we’re going to add the user to this relevant group.
usermod -a -G <your group name> awsftpuser
// the above adds the user awsftpuser to the group, which will mean this user gains the same access allowed to that group. This will help you with some permissions stuff you would otherwise experience with FTP’ing things up and down.
Finally, restart to apply everything and you should be done!
sudo /etc/init.d/vsftpd restart
That's done. Now you can access your FTP. Good Work!
Two more useful commands:
To change the default FTP upload folder
Step 1:
edit /etc/vsftpd/vsftpd.conf
Step 2: Create a new entry at the bottom of the page:
local_root=/var/www/ftp_data
To apply read, write, delete permission to the files under folder so that you can manage using a FTP device
find /var/www/ftp_data -type d -exec chmod 777 {} ;
problem???
If you are facing issue while copy file to FTP server then try below solution:
Fixing Write Permissions for Chrooted FTP Users in vsftpd
The vsftpd version that comes with Ubuntu 12.04 Precise does not permit chrooted local users to write by default. By default you will have this in /etc/vsftpd.conf:
chroot_local_user=YES
write_enable=YES
In order to allow local users to write, you need to add the following parameter:
allow_writeable_chroot=YES
Ref:
https://silicondales.com/tutorials/aws-ec2-tutorials/setup-ftp-sftp-aws-ec2-instance/
If you have any concern then feel free to ask.
Enjoy ![]()
![]()
Thanks & Best Regards,
Alok Rawat