ソフトはlinuxで作成しているがVisual StudioのIntellicenseが使いたいと思い調べていたら、できそうだったので記載する。
-準備
この記事内容を確認しておく
プロジェクト作成
下記手順で適当なmakefileプロジェクトを作成する。
「ファイル>新規作成>プロジェクト>Visual C++>クロスプラットフォーム>Linux>メイクファイルプロジェクト」
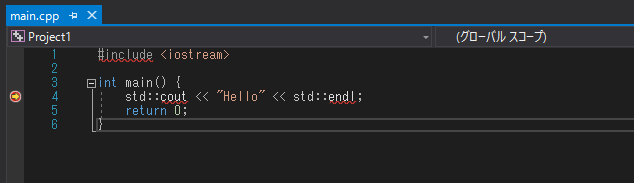
作成したらmain.cppとmakefileを追加する。文字コードはUTF-8(BOMなし)にすること。
# include <iostream>

int main() {
	std::cout << "Hello world" << std::endl;
	return 0;
}
all: main.o
	g++ -o main main.o

main.o: main.cpp
	g++ -c -g -O0 main.cpp

clean:
	rm -f main main.o
Intellicense設定
下記の設定の。更新を押し、linuxのヘッダーをダウンロードする。
「ツール>オプション>クロスプラットフォーム>接続マネージャ>リモートヘッダー IntelliSenseマネージャー」
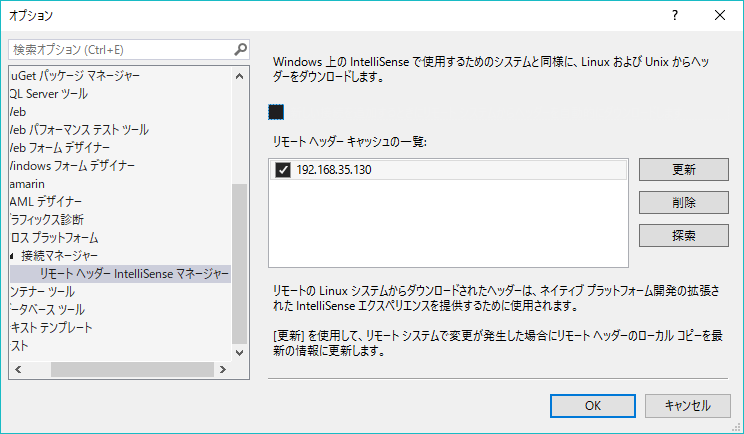
ダウンロード後、探索を押すと、ダウンロードしたパスが開く。
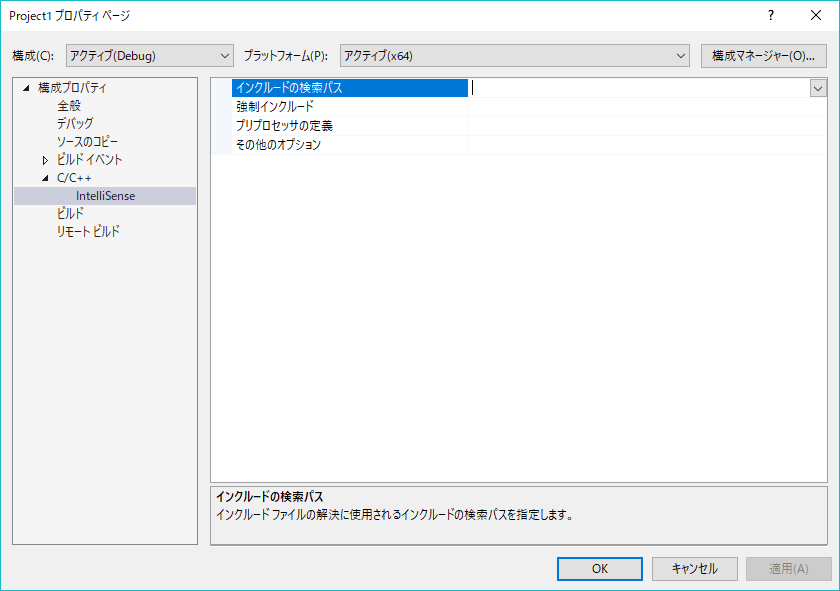
そこにあるcpp_includes.txt内のパスを下記インクルードの検索パスに入力すると、Intellicenseが有効になる。
※Version 15.9.7ではIntellicenseが効かないバグがある模様
ビルド実行
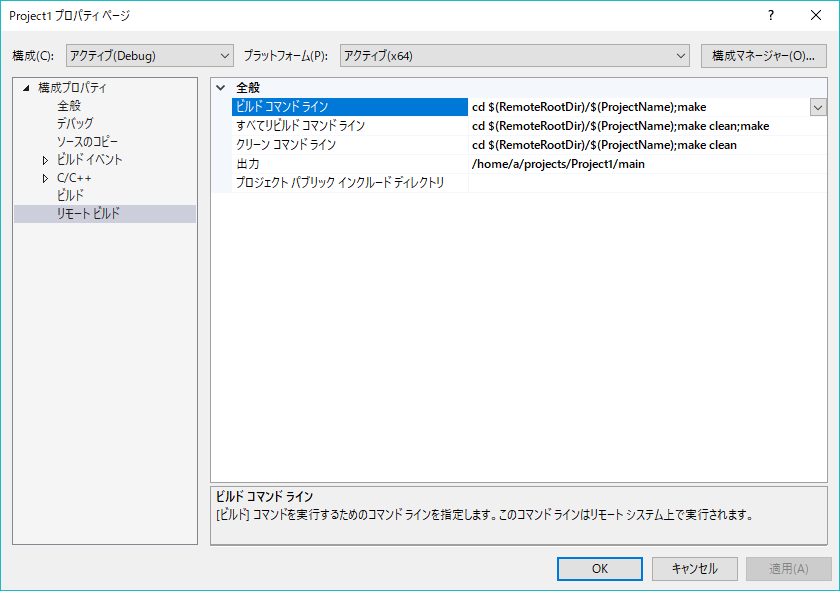
リモートビルドの各項目に下記を記載する
ビルドコマンドライン
cd $(RemoteRootDir)/$(ProjectName);make
すべてリビルドコマンド
cd $(RemoteRootDir)/$(ProjectName);make clean;make
クリーンコマンドライン
cd $(RemoteRootDir)/$(ProjectName);make clean
出力
/home/a/projects/Project1/main
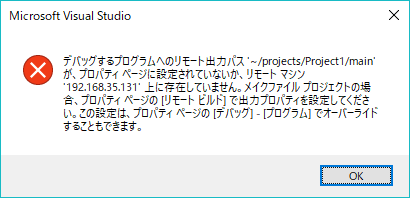
出力は本来は下記の記載で問題ないはずだが、Version 15.9.7ではエラーが出るため、linuxのパスを直接記載する。
$(RemoteRootDir)/$(ProjectName)/main
下図の様に記載したら、buildを実行します。
ブレークポイントを置いて、buildを実行し成功すると下図のようになります。