前回のおさらい
前回はプログラムを書く前に Element や Src Pad といった基本概念を抑え、gst-launch-1.0 によるパイプラインを何パターンか記載しました。
今回はやっとプログラムを書きます。
今回作るもの

内容は公式チュートリアル1とほぼ同じですが、いらない部分を削ってシンプルにしています。
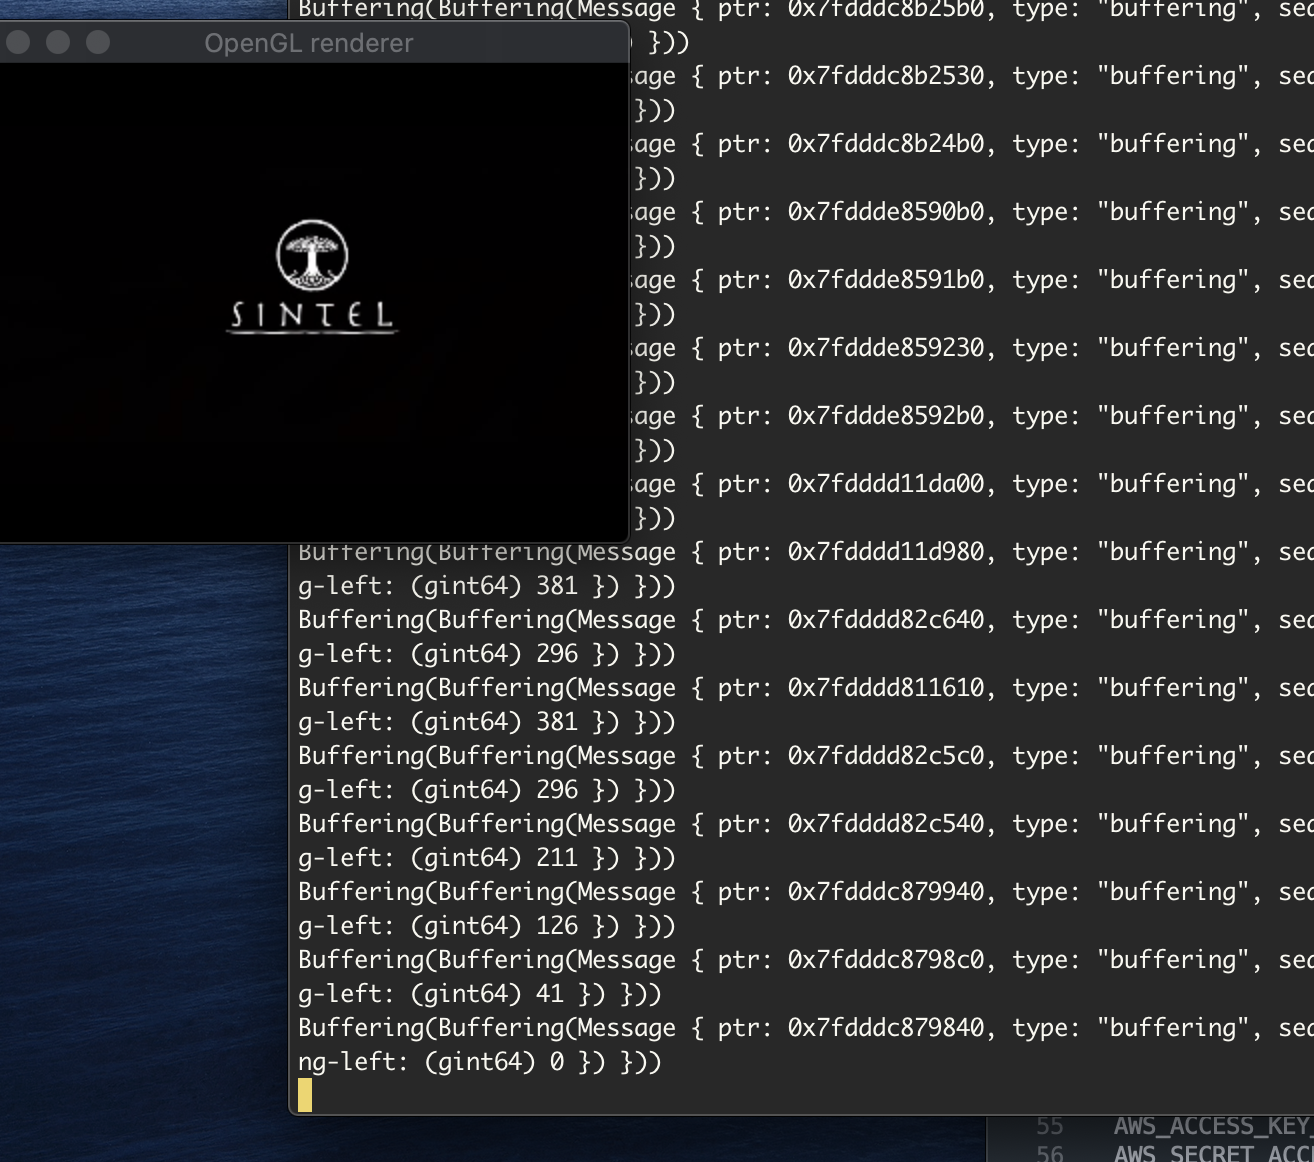
URLから何かのトレイラームービーをダウンロードしてきて音声付きで再生します。最後まで終わるとプログラムは終了します。
ソースコード
GStreamerをプログラムから呼び出す
今回はチュートリアルの一番初めだけあって、ネット上の動画ファイルを一番簡単な playbin というエレメントで再生します。
またパイプラインはプログラムで組み立てるのではなく、文字列を渡して実行します。
事前準備について
gstreamer 及び Rust はインストール済みとして進めていきます。
今回はGUIで動画再生を確認したいので、Macにて動作させています。
ただしチュートリアルのRust対応バージョンが 1.63 となっていますので、古いバージョンをお使いの方はアップデートする必要があります。
# urst install
$curl --proto '=https' --tlsv1.2 -sSf https://sh.rustup.rs | sh

# or update
$ rustup update
プロジェクトの中身
公式チュートリアルは bin の中に複数のエントリポイントが入っています。(今回はsrc/main.rsに書くので良かったのですが、エレメント作る版を後で書こうと思ってbinに入れてます)
$ tree  01_play_url -L 3
01_play_url
├── Cargo.lock
├── Cargo.toml
├── src
│   ├── bin
│   │   └── parse_launch.rs
│   └── tutorial-commons.rs
└── target
実行方法
cargo run で実行します。
$ cargo run --bin parse_launch
Cargo.toml
公式チュートリアルには色々な設定が書かれていますが最初はほぼこれだけです。
gstreamer 自体とMacの場合はcocoaを使います。
[package]
name = "gst"
version = "0.1.0"
edition = "2021"
rust-version = "1.63"

# See more keys and their definitions at https://doc.rust-lang.org/cargo/reference/manifest.html

[dependencies]
gst = { git = "https://gitlab.freedesktop.org/gstreamer/gstreamer-rs/", package = "gstreamer"}
anyhow = "1"

[target.'cfg(target_os = "macos")'.dependencies]
cocoa = "0.24"
初期化とパイプライン
処理としてはパイプラインを作成し、エレメントを追加し(今回はparse_launch()を使ってパイプラインを生成)、ステートを変更して処理を開始させます。
パイプラインには Bus というものがありここにメッセージやイベントが流れています。
ただしアプリケーションからはあくまで非同期で覗き見る形になるので、リアルタイムな処理を行うにはプラグインを開発して処理を行う必要があります。
今回はストリームの終了とエラ〜メッセージを処理しています。
fn tutorial_main() {
    // 初期化、環境変数が通っていなかったりすると失敗する
    gst::init().unwrap();

    // パイプラインを作成。パイプラインを文字列として渡す
    let uri = "https://www.freedesktop.org/software/gstreamer-sdk/data/media/sintel_trailer-480p.webm";
    let pipeline = gst::parse_launch(&format!("playbin uri={}", uri)).unwrap();

    // 再生開始
    pipeline.set_state(gst::State::Playing).expect("unalble to set the pipeline to the playing state.");

    // Busからメッセージを取り出してエラ〜もしくはストリームが終了したら処理を抜ける
    let bus = pipeline.bus().unwrap();
    for msg in bus.iter_timed(gst::ClockTime::NONE) {
        use gst::MessageView;

        match msg.view() {
            MessageView::Eos(..) =>break,
            MessageView::Error(err) => {
                println!("Error from {:?} {} {:?}", err.src().map(|s| s.path_string()), err.error(), err.debug());
                break;
            },
            other => {
                // その他のイベントをコンソールに出力してみる (StateChangeやTag, Bufferingなど)
                println!("{:?}", other);
            },
        };
    };

    // 終了処理
    pipeline.set_state(gst::State::Null).expect("unable to set pipeline state to the null.");
}

fn main() {
    tutorials_common::run(tutorial_main);
}
parse_launch() は実際の処理には使うことはあまりないと思いますが、デバッグする時や簡単な検証を行いたい時に便利かと思います。
次回
次はエレメントを作成して登録する方法を使って、映像と音声のテスト信号を表示するプログラムを書きます。