Discord Advent Carendar 2017 7日目
空いてたので、導入編として最初の設定だけ書いちゃいます。
DiscordPHPとは
3日目や4日目の記事にもあった eris や discord.js みたいなライブラリの一種ですね。
名前どおりPHPで書けるライブラリです。
やってみよう
DiscordPHPのドキュメントがありますので、そこのGetting Startedからやっていってみます。
Botユーザの作成
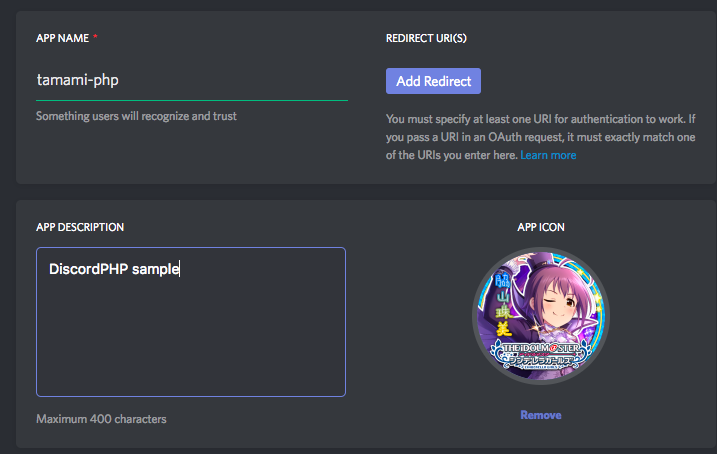
Getting Startedを始める前にBot自身を作成しないといけませんので、そちらも作成しておきましょう。
詳細は3日目にsbhrさんが書かれていますので、ここでは割愛しますね。
sbhrさんの記事
composerでdiscord-phpを導入
PHP界隈では有名なcomposerを使用します。
composerのインストールについてはここでは触れませんので、ご了承ください。
まずcomposer用ファイルのcomposer.jsonを作成します。
composer init と入力
⫸ composer init


  Welcome to the Composer config generator


This command will guide you through creating your composer.json config.

Package name (<vendor>/<name>) [*****/discord-php-sample]:
Description []: discord php sample project
Author [***** <*****@gmail.com>, n to skip]:
Minimum Stability []:
Package Type (e.g. library, project, metapackage, composer-plugin) []:
License []:

Define your dependencies.

Would you like to define your dependencies (require) interactively [yes]?
Search for a package:
Would you like to define your dev dependencies (require-dev) interactively [yes]?
Search for a package:
composer init すると上記のように色々と出てきて入力が求められますが
すべてEnterで大丈夫です。
composer.jsonが作成されたので、次はDiscordPHPのライブラリを導入してしまいましょう。
composer require team-reflex/discord-php を入力します。
入力するとずら~っとたくさん出てきて勝手に終わってくれます。
これで導入自体は完了です。
簡単なプログラムだけ書いてみる
あともう少しだけおつきあいを。
今回はまだDiscord上に流したりするようなものまでは書きませんが、動作確認程度はしてみましょう。
(Getting Startedに書いてあるコードをそのまま流用します。)
<?php

include __DIR__.'/vendor/autoload.php';

$discord = new \Discord\Discord([
    'token' => 'your-auth-token', // ←作成したBotのTokenを入力してね
]);

$discord->on('ready', function ($discord) {
    echo "Bot is ready.", PHP_EOL;

    // Listen for events here
    $discord->on('message', function ($message) {
        echo "Recieved a message from {$message->author->username}: {$message->content}", PHP_EOL;
    });
});

$discord->run();
動かしてみますぞ
さて、動かしてみましょうか。
ターミナルで php run.php を入力します。
プログラム側で記述していた Bot is ready. が最後に表示されていれば成功です。

Discord側では↓のようにBotがオンライン状態になっていればOKです。

では実際に動作を確認してみましょう。
ちゃんとログに残ってますね!
まとめ
composerの扱いに慣れていれば、導入自体は一瞬で終わります。
簡単ですね。
おわりに
Getting Startedをただ日本語でQiitaに書いただけでしたね。
また後日、今度はDiscord上でのやりとりの部分を記事にしたいと思います。


