はじめに
IntelliJでSpringBootの開発がしたい。
現在関わっている開発プロジェクトがこの組み合わせなので仕組みを勉強するために構築。
そのうちmysqlと連携するRESTAPIを作ってみたい。
- 環境情報
- Windows10
- IntelliJ IDEA Community Edition 2019.1.1
- Spring Boot 2.1.5
プロジェクト作成
以下リンク先のSpring Initializrでプロジェクトの雛形を作成します。
https://start.spring.io/
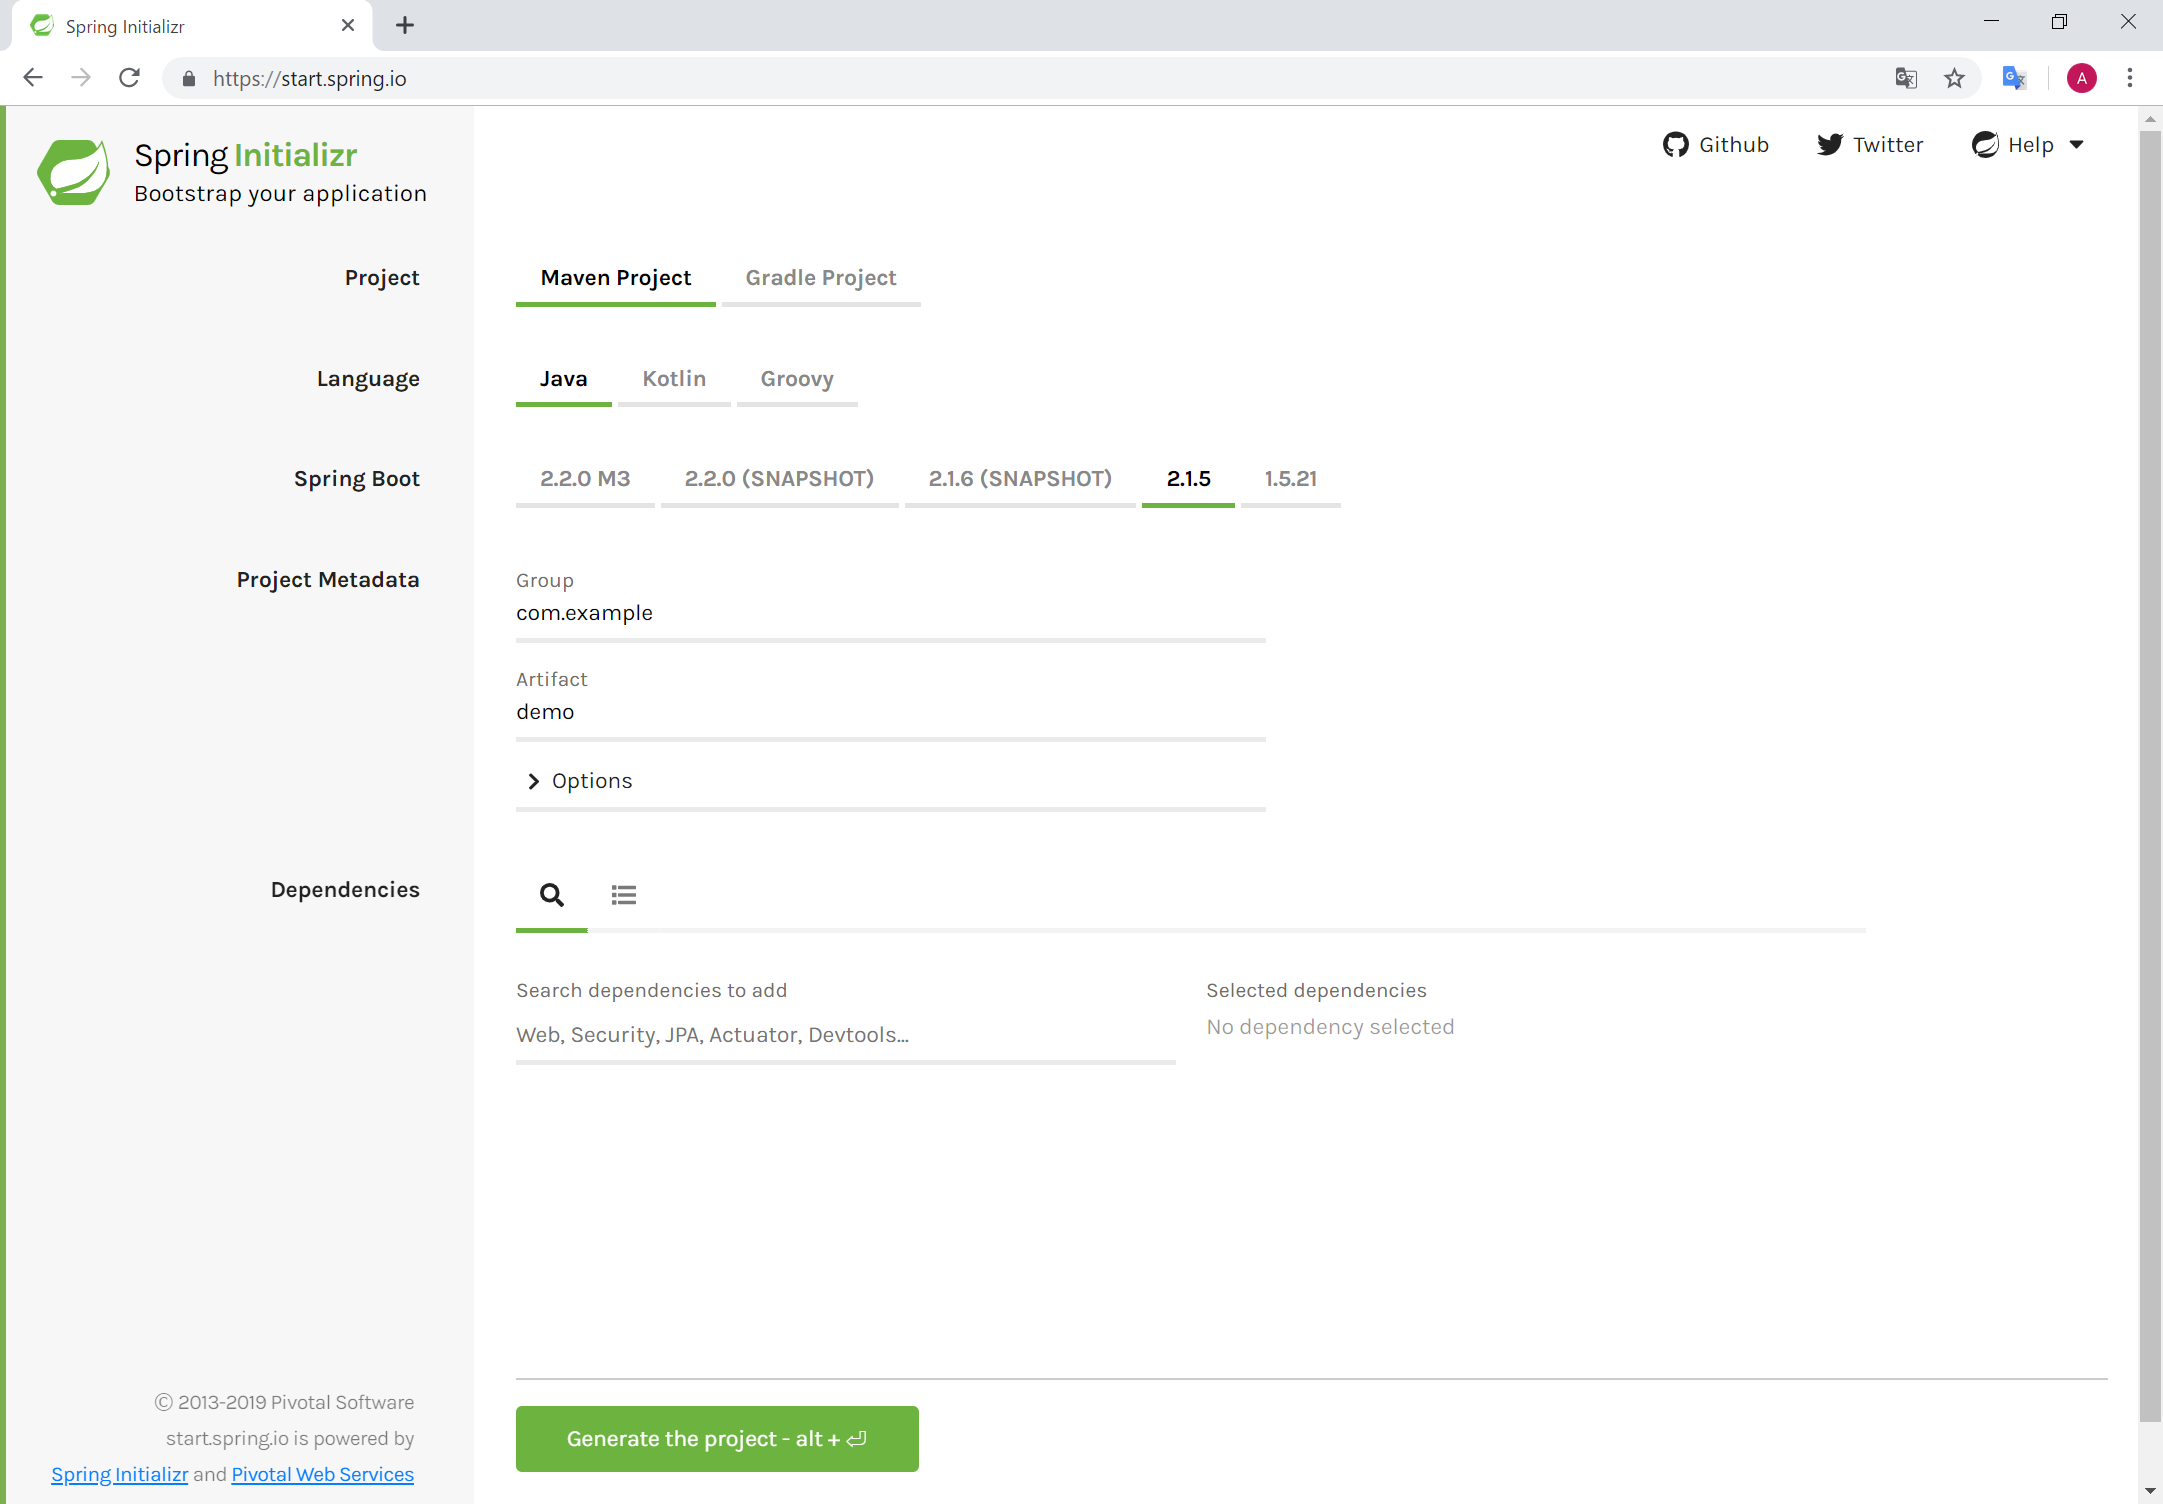
- Project: [Gradle Project]を選択
- Language: そのまま
- Spring Boot: そのまま
- Project Metadata: そのまま
- Dependencies: [Spring Web Starter]を追加
設定後
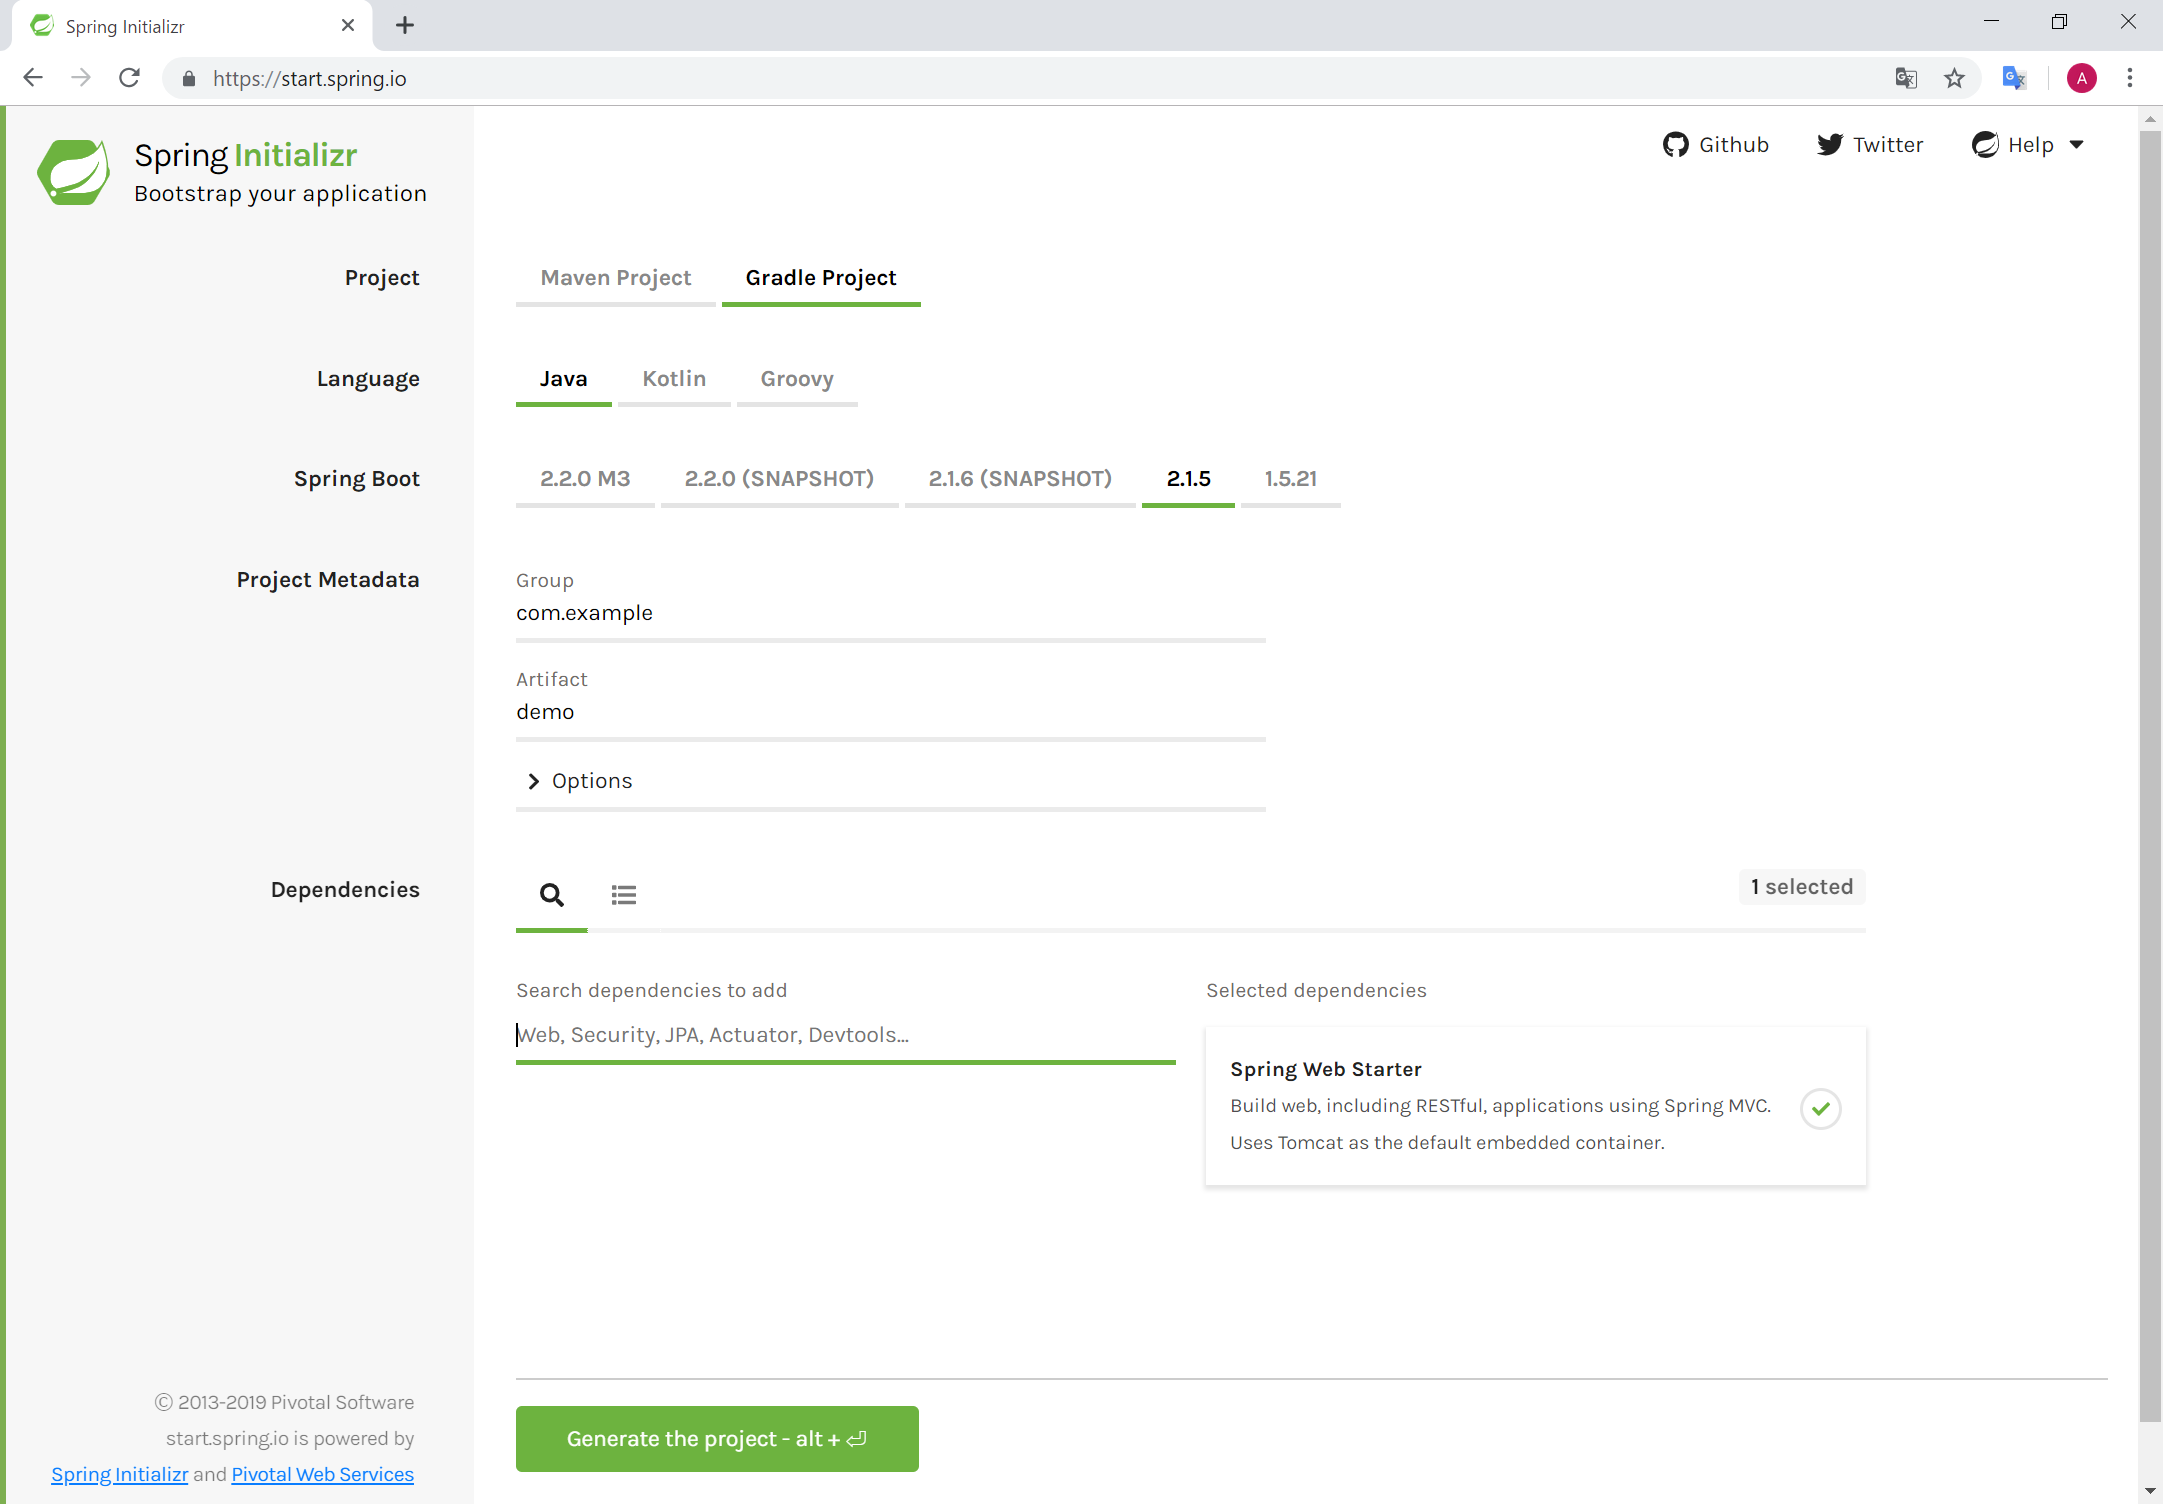
設定が完了したら、画面下部の「Generate the project」ボタンを押下してください。
プロジェクトのzipがダウンロードされるので解凍してください。
プロジェクトのインポート
- エクスプローラにて解凍したフォルダより「build.gradle」を選択し、右クリック。
プログラムから開く→IntelliJを選択 - IntelliJのダイアログが表示されるので何も変更せずOKをクリック。(もしかしたらjdkの選択は必要かもしれない)
 3. ビルドが終わるまで待つ。
4. 終わったら以下のような構成になっているはず。
3. ビルドが終わるまで待つ。
4. 終わったら以下のような構成になっているはず。

Hello World を表示させるため、編集する
- DemoApplication.javaを以下のように編集する。
DemoApplication.java
package com.example.demo;

import org.springframework.boot.SpringApplication;
import org.springframework.boot.autoconfigure.SpringBootApplication;
import org.springframework.web.bind.annotation.RequestMapping;
import org.springframework.web.bind.annotation.RestController;

@SpringBootApplication
@RestController
public class DemoApplication {

	@RequestMapping("/")
	String index(){
		return "Hello World!";
	}

	public static void main(String[] args) {
		SpringApplication.run(DemoApplication.class, args);
	}

}
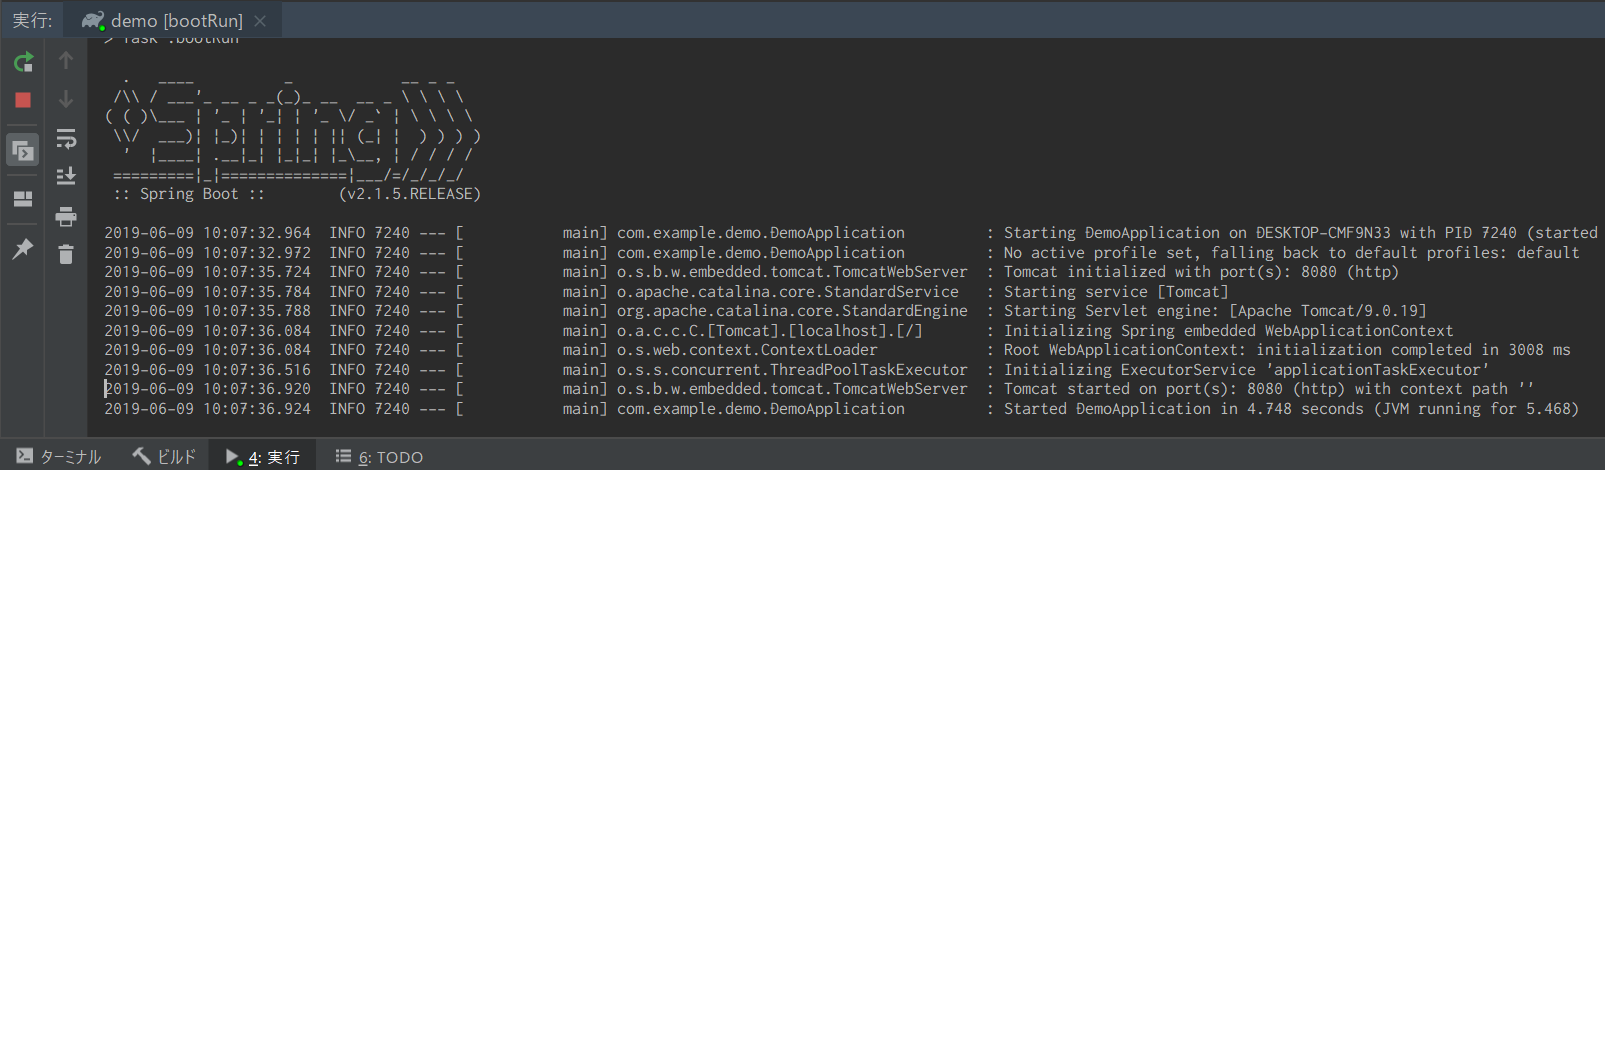
起動する
Gradleウィンドウより、Tasks → application → bootRun を実行。
実行後コンソール
ブラウザで確認
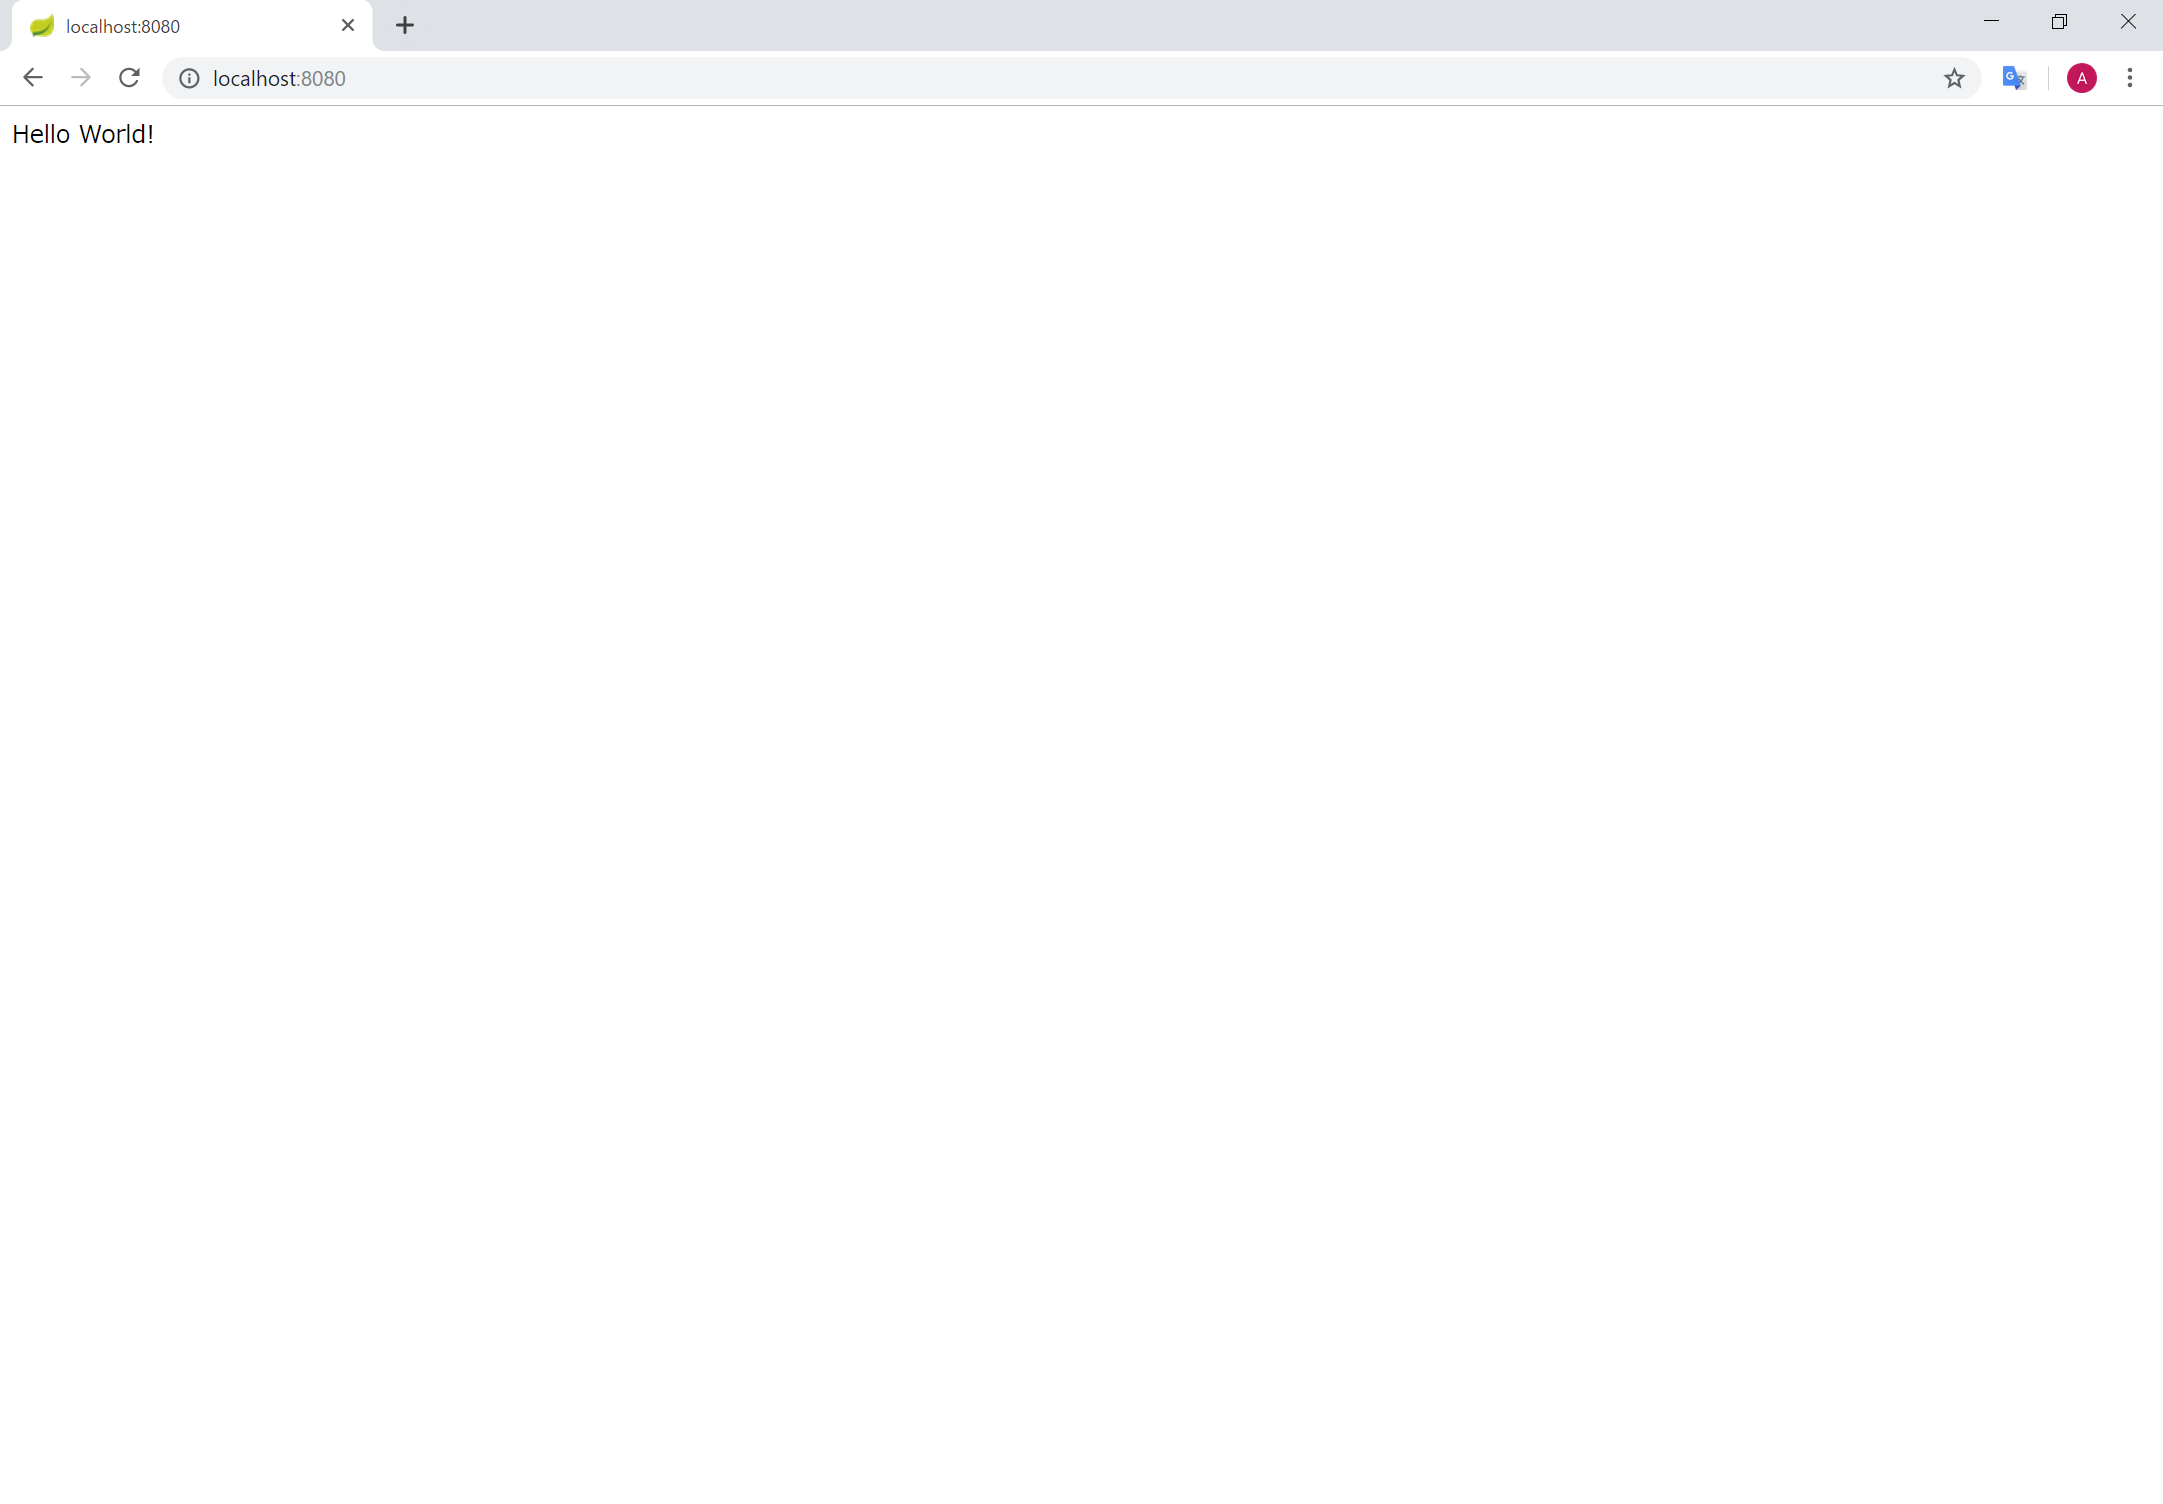
http://localhost:8080/に接続。
Hello Worldが出力されました!