はじめに
Windows10(64bit)環境にて、Chainer1.8.1をインストールしGPUで処理させた手順をメモとして残します。
最初、色々設定済みの環境でうまくいってしまったため、他の初期状態PCに設定する際、迷走を極めました。。
他の方の参考になればと思います。
インストール手順
1.Python3.5.1のインストール
色々便利なAnacondaをインストールします。
https://www.continuum.io/downloads
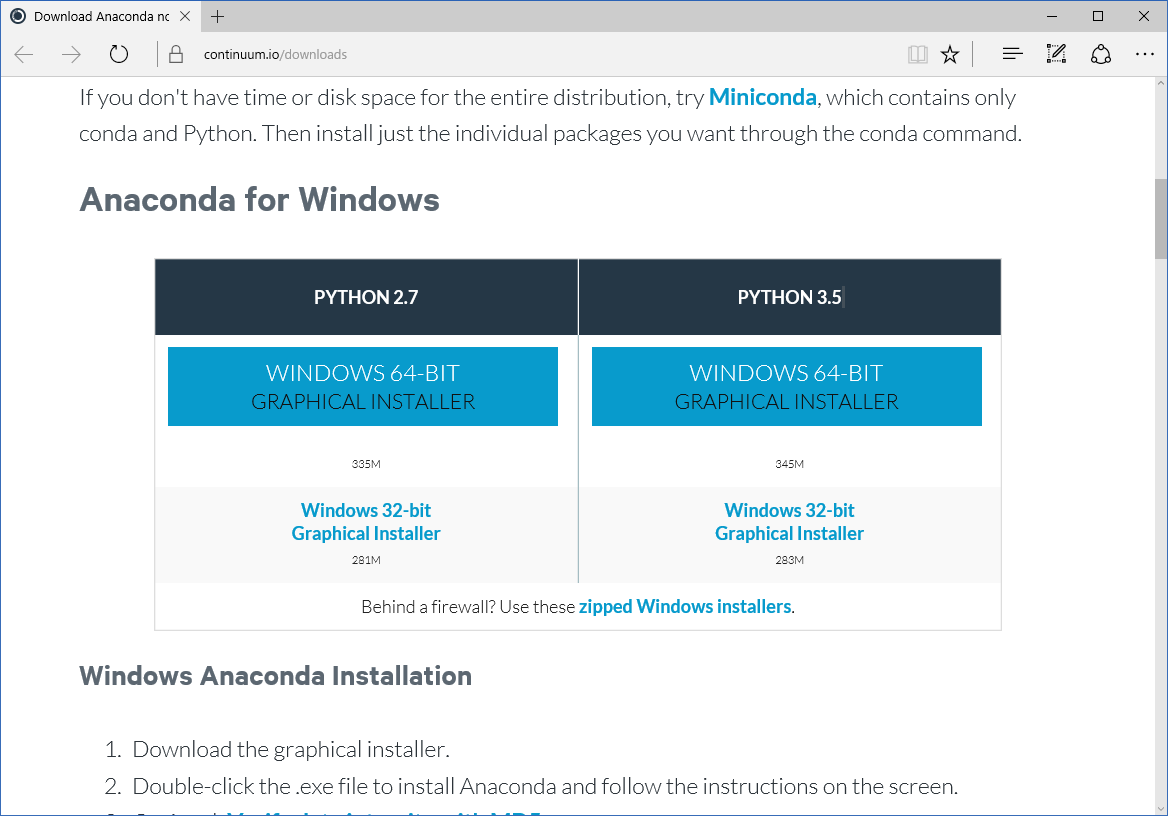
"PYTHON 3.5"を選択。
2.VisualStudio 2013 Community をインストール
https://www.visualstudio.com/ja-jp/downloads/download-visual-studio-vs.aspx
Visual Studio Community 2013 with Update 5 を選択。
VisualStudio2015 Communityが入っている状態でインストールしても問題ありませんでした。
※visual studioのインストールの際、Common Tools for VC++の項目にチェックが入っていなければ、入れて実行してください。
3.CUDA 7.5をインストール
VisualStudio2013が入っていることが前提。
https://developer.nvidia.com/cuda-downloads
以下の条件でダウンロードし、実行。
Operating System : Windows
Architecture : x86_64
Version : 10
Installer Type : exe(local)
4.cuDNNをインストール
事前にRegistする必要あり。
https://developer.nvidia.com/cudnn
取得したファイルを、” C:\Program Files\NVIDIA GPU Computing Toolkit\CUDA\v7.5”配下に展開
5.Pycudaをインストール
以下から、pycuda-2016.1+cuda7518-cp35-cp35m-win_amd64.whlを取得し、インストールを実行
http://www.lfd.uci.edu/~gohlke/pythonlibs/#pycuda
[DOS]> pip install pycuda-2016.1+cuda7518-cp35-cp35m-win_amd64.whl
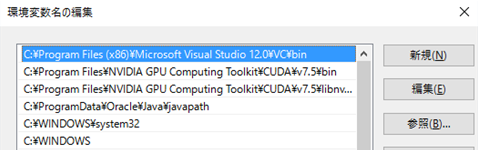
6.Windows環境変数を追加
PATHの最上位に、“C:\Program Files (x86)\Microsoft Visual Studio 12.0\VC\bin”を追加
7.Chainerのインストール(DOS上)
※既にchainerをインストールしている場合は、一度アンインストールを実行
pip uninstall chainer
chainerをインストール
[DOS]> pip install chainer --no-cache-dir
Chainerのサンプルファイルを実行
chainerをファイルで取得し、c:/temp配下に展開
https://github.com/pfnet/chainer/tree/ver1.8.1
[DOS]> cd \temp\chainer-ver1.8.1\examples\mnist
[DOS]> python train-mnist.py --gpu 0
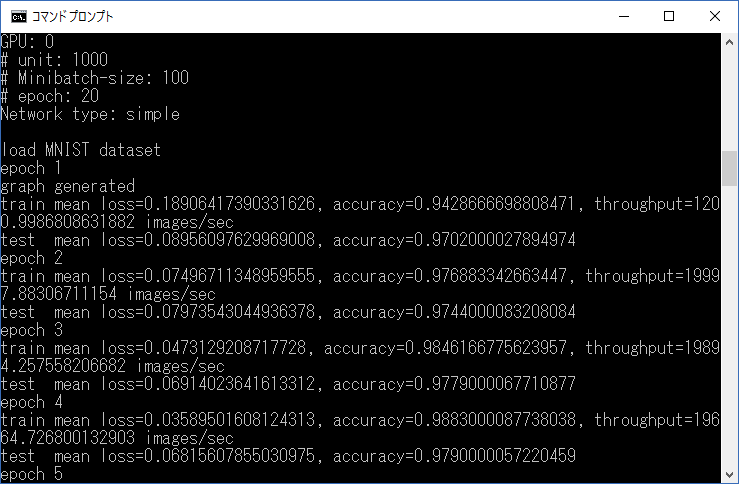
上記のように表示されれば環境構築は完了です。