Visual Studio Professional 2013 以上で CoffeeScript と TypeScript の開発環境が構築できます。
Visual Studio 2013(Professional/Premium/Ultimate)は、こちらから90日間無償評価版がダウンロードできます。
1. Windows OS のバージョンを確認します。
サポートされる OS を以下に挙げます(Windows Server 系を除きます)。
| OS | サービスパック | x86/x64 |
|---|---|---|
| Windows 7 | Service Pack 1 (SP1) | x86 および x64 |
| Windows 8 | x86 および x64 | |
| Windows 8.1 | x86 および x64 |
2. Windows 7 Service Pack 1 をインストールします。
Windows 7 で Service Pack 1 が入ってない場合は Service Pack 1 をインストールします。
Windows 8 および Windows 8.1 の場合は 4. に進みます。
【Windows 7 Service Pack 1 (SP1) をインストールする方法】
⇒ http://windows.microsoft.com/ja-jp/windows7/learn-how-to-install-windows-7-service-pack-1-sp1
3. Internet Explorer 11 をインストールします(Windows 7 のみ)。
Windows 7 で Internet Explorer のバージョンが 10 より下の場合は Internet Explorer 11 をインストールします。
【Internet Explorer 11 のダウンロード】
⇒ http://windows.microsoft.com/ja-jp/internet-explorer/ie-11-worldwide-languages
4. Visual Studio Professional (または Premium/Ultimate) 2013 をインストールします。
(Visual Studio Express 2013 for Web は、Web Essentials 2013 がインストールできないため、Professional / Premium / Ultimate でお願いします)
【Visual Studio 2013 90日間無償評価版】
⇒ http://www.visualstudio.com/ja-jp/downloads/download-visual-studio-vs.aspx
5. 「Visual Studio 2013 Update 2 RC」をダウンロードしてインストールします。
【ダウンロードサイト】
⇒ http://www.microsoft.com/ja-jp/download/details.aspx?id=42307
6. 「Web Essentials 2013 for Update 2 RC」をダウンロードしてインストールします。
【ダウンロードサイト】
⇒ http://visualstudiogallery.msdn.microsoft.com/56633663-6799-41d7-9df7-0f2a504ca361
以上で開発環境が完成しました。
使い方はまた今度~。
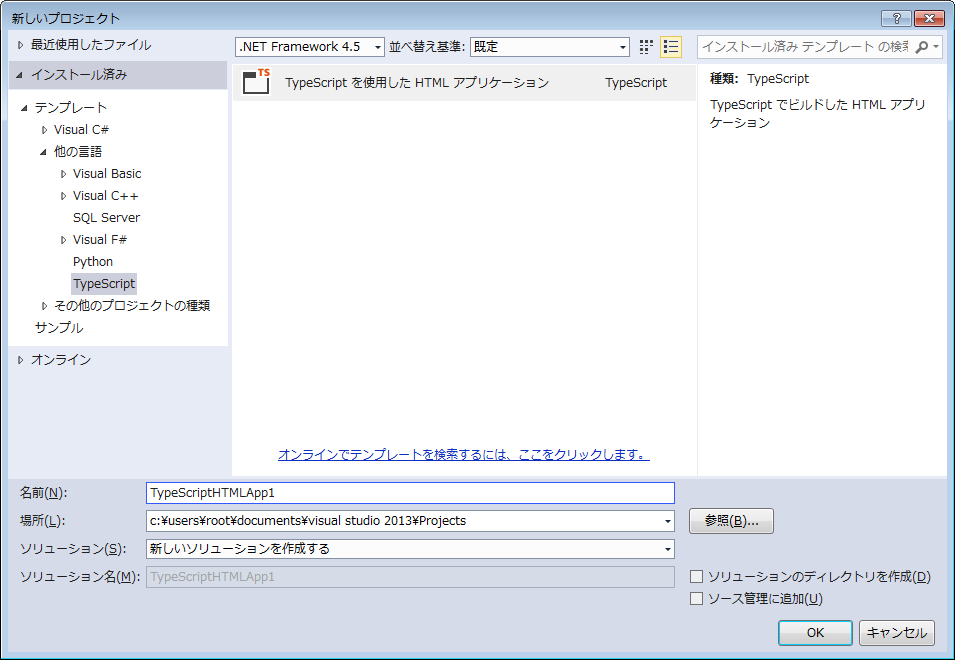
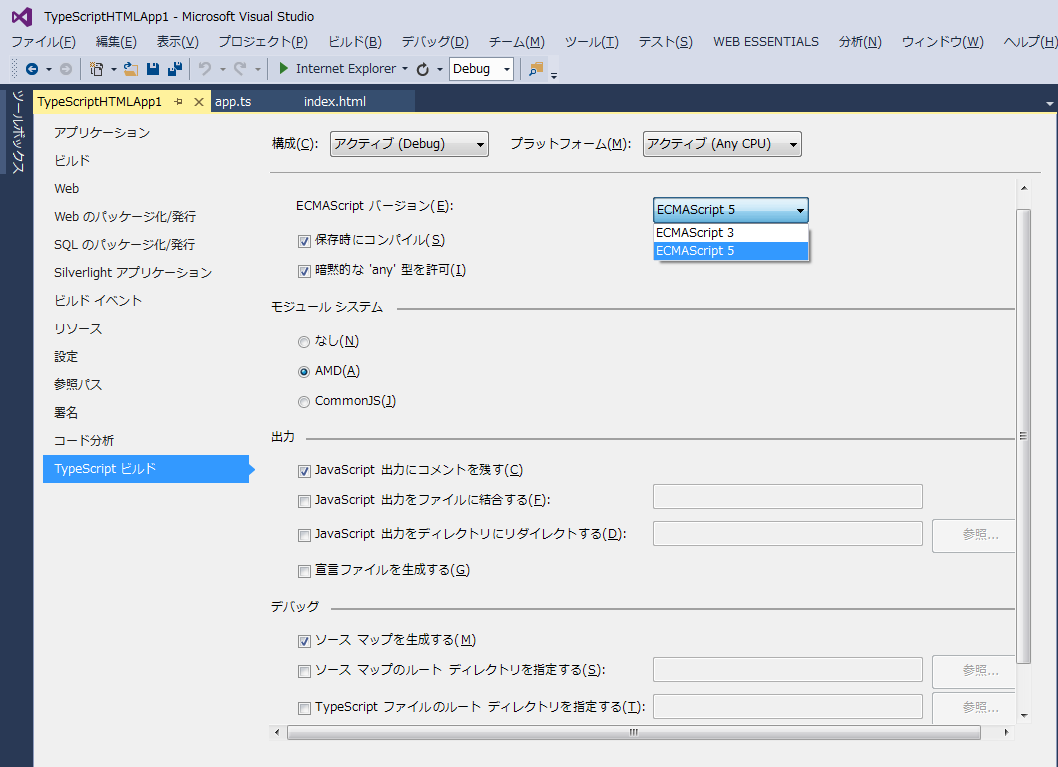
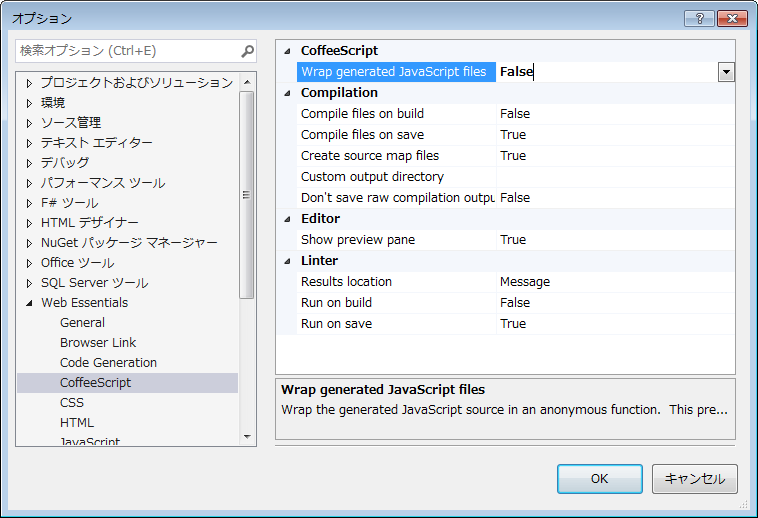
スクリーンショット
-
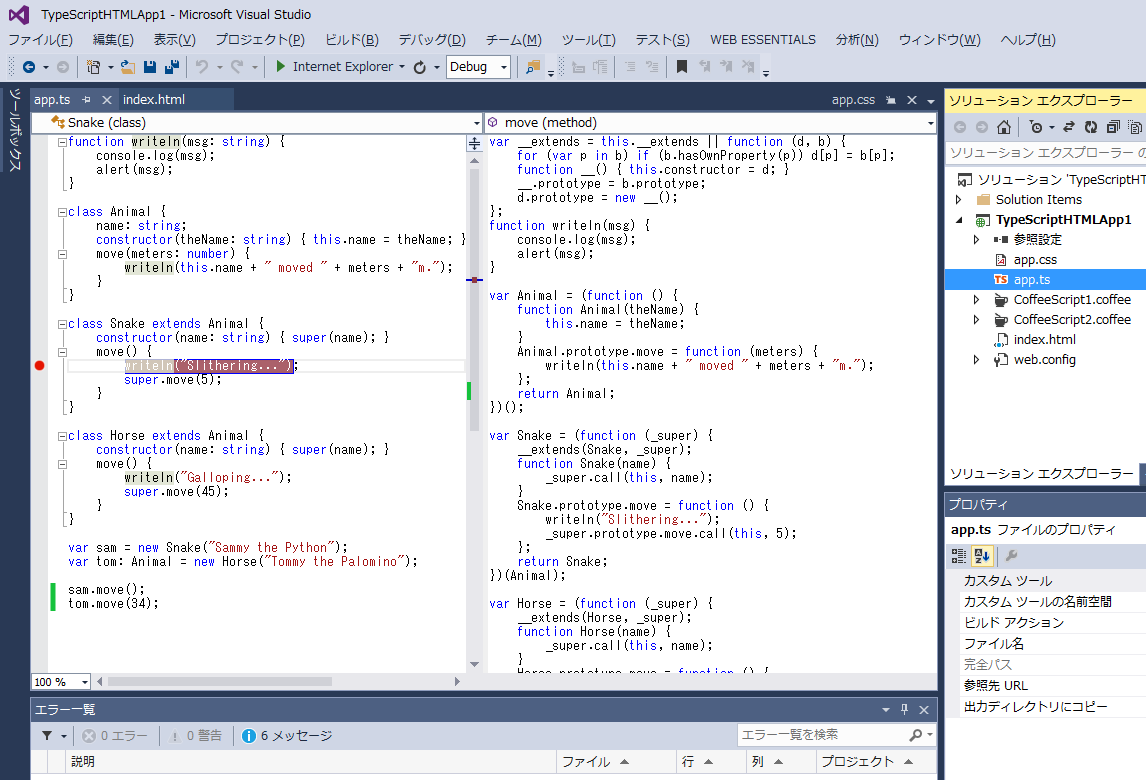
左側の画面で TypeScript を編集して保存するたびに自動的にコンパイルが走って右側の画面に生成された JavaScript のコードが読み込まれて表示されます。
-
左側の画面で行を選択した上で F9 を押すと TypeScript のソース上にブレークポイントを設定することができます。
