1. 環境前提
ホスト : MacOSX + VirtualBox + Vagrant
ゲスト : CentOS6.5, Nginx, PHP
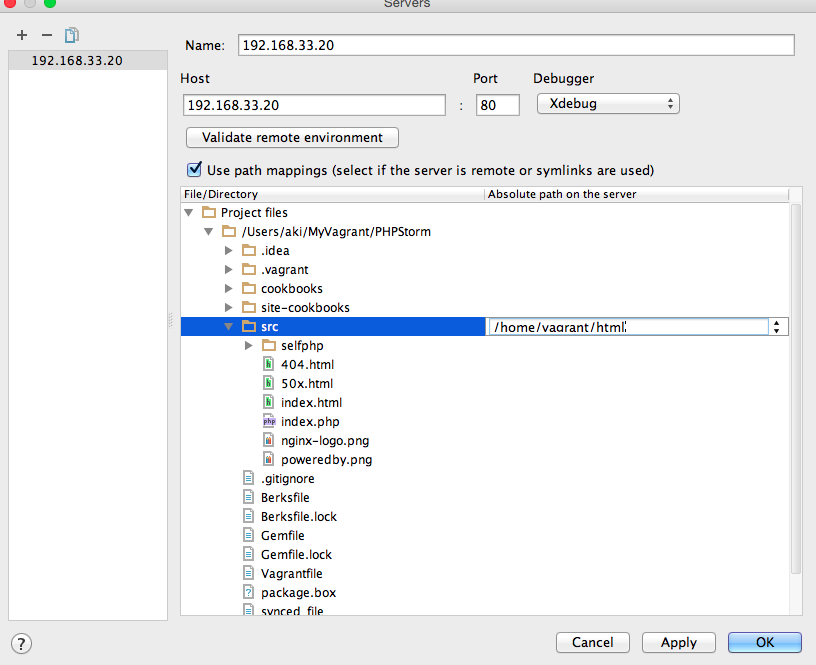
192.168.33.20 を private network で設定
2. VM側追加設定
(*今回はVM環境にて直接実行。本来はchef化 or sh でVagrant provisionとしたい。宿題)
(1) 共有フォルダ設定
ホストと ゲスト VM は、以下手順でsynced folder でnginxのドキュメントルートとディレクトリ共有設定をしておく。
- シンボリックリンク作成
# 一旦削除
sudo rm -rf /usr/share/nginx/html
# シンボリックリンク
sudo ln -fs /home/vagrant/html /usr/share/nginx/html
- Vagrantfileにsynced_folderの設定
config.vm.synced_folder "src/", "/home/vagrant/html"
(2) Xdebugのインストール
sudo yum -y install php-pecl-xdebug
# 確認
php -v
# 結果以下のようにXdebugのバージョン情報が出力される
PHP 5.5.26 (cli) ・・・
with Xdebug v2.3.2, Copyright (c) 2002-2015, by Derick Rethans
php.iniに以下を追加
# リモートデバックを有効にする
xdebug.remote_enable = On
# リモートデバッグが常に開始されるように設定
xdebug.remote_autostart = On
デバッグクライアントの IP を指定
xdebug.remote_host = 192.168.33.1
(3) 環境変数の設定
export PHP_IDE_CONFIG="serverName=192.168.33.20"
(4) ついでに・・PHPUnitのインストール
wget https://phar.phpunit.de/phpunit.phar
chmod +x phpunit.pharPhpStorm
sudo mv phpunit.phar /usr/local/bin/phpunit
phpunit --version
3. PhpStormの設定
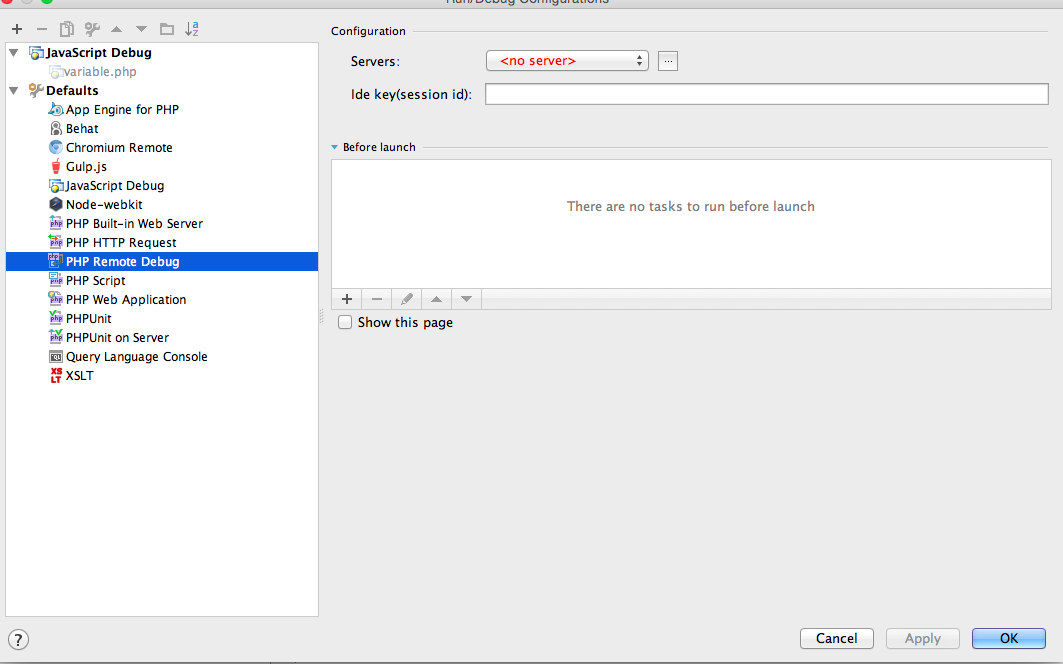
(1)PHPRemoteDebug設定
①設定
-
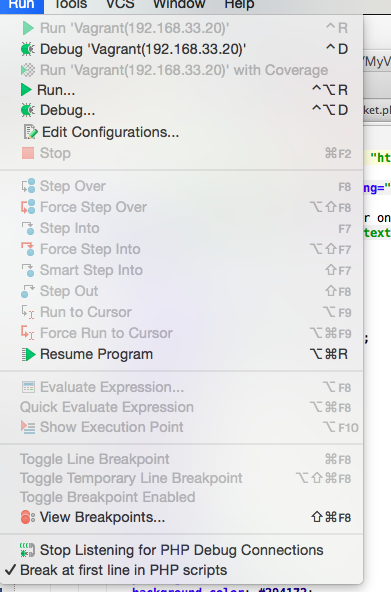
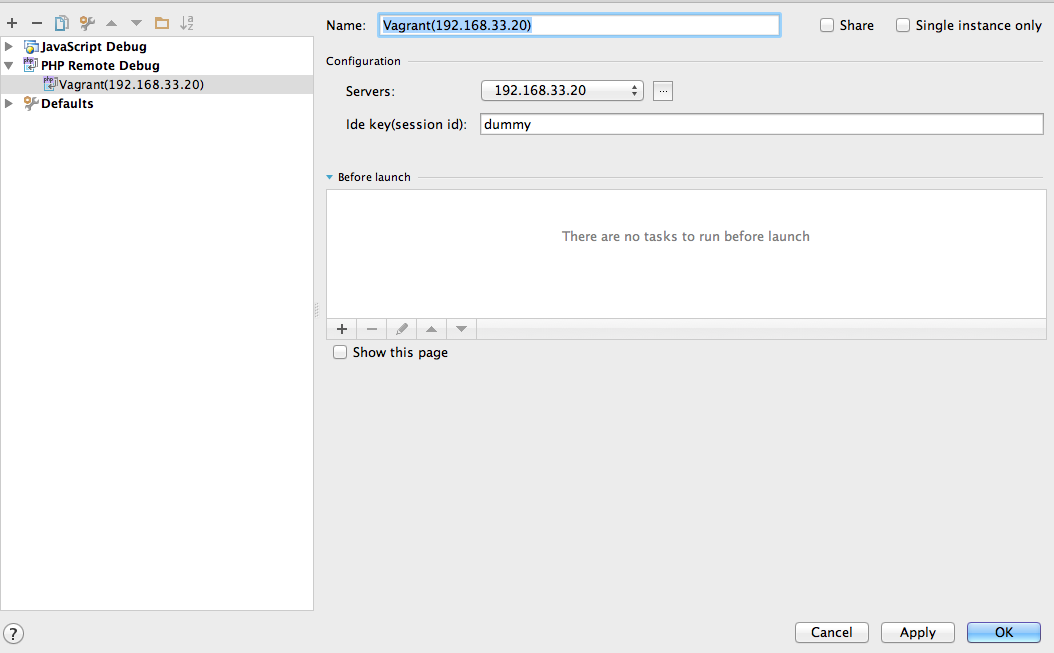
PhpStorm メニュー→[Run]→[Edit Configurations…] で、
[Run/Debug Configurations] ダイアログを開く -
Servers に設定したサーバ名が反映されている事を確認、session id はdummyで何か入れて、OKボタンで登録。
②動作確認
- PhpStorm にて リモートデバッグを有効にし、最初の行でBreakする用に設定
- [Run] – [Start Listen for PHP Debug Connections]
- [Run] – [Break at first line in PHP Scripts]
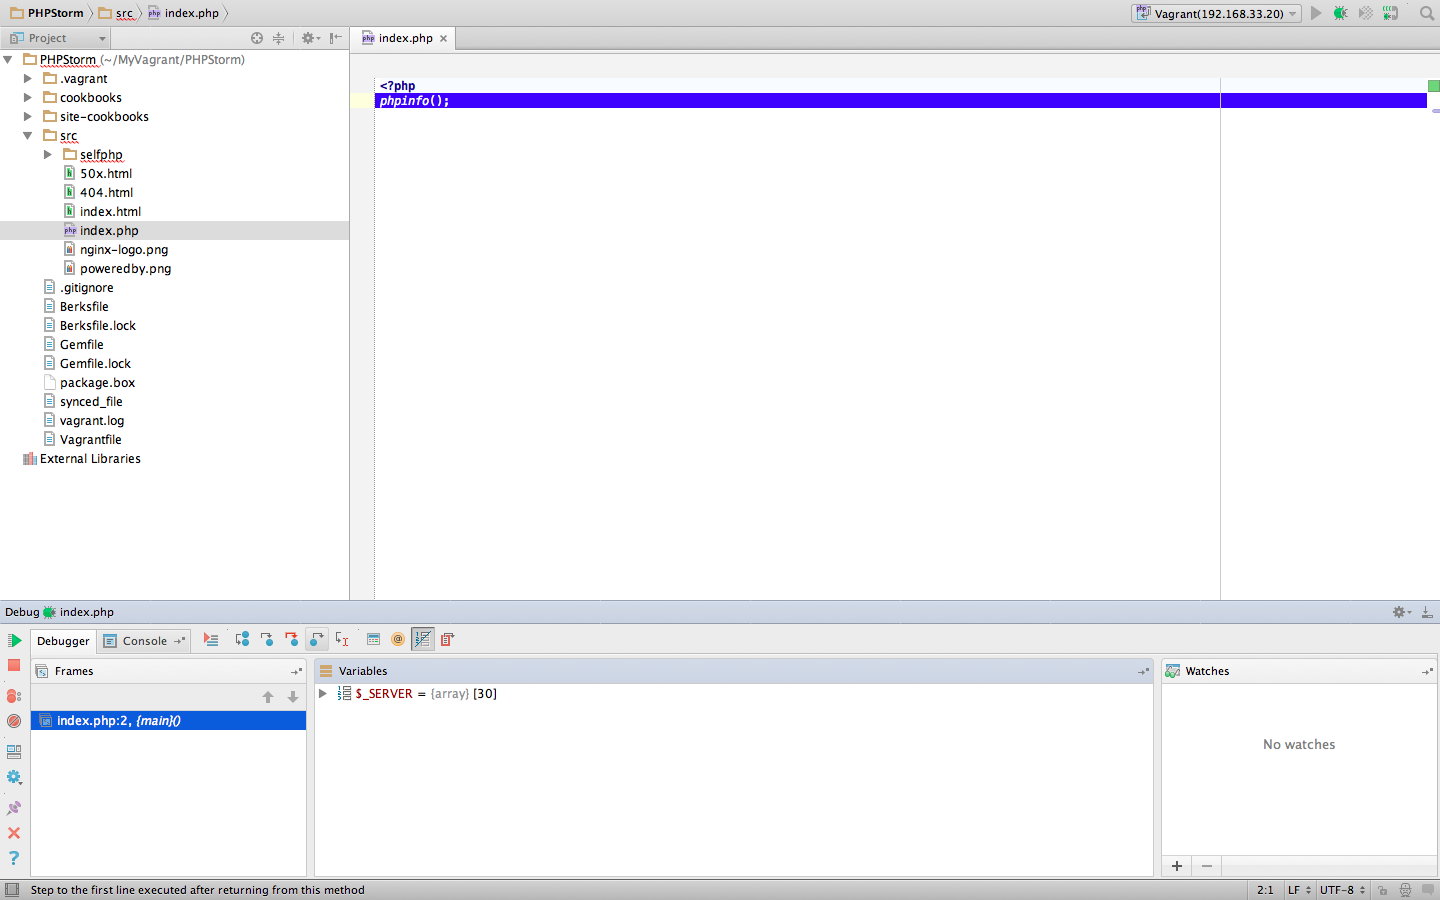
vagrant ssh
php XXX.php
→PhpStormでデバックモードに。
98.その他chef化Todo
sudo yum install php-mbstring
sudo yum install php-xml
99.参考ページ
PhpStorm Advent Calendar 2013
Shin x blog PhpStorm から Vagrant VM の PHP アプリケーションをリモートデバッグする(Web & CLI)
[PhpStorm 8 で、Vagrant VM の PHPUnit を IDE から実行する](PhpStorm 8 で、Vagrant VM の PHPUnit を IDE から実行する)
