検証用に Solr 6.0.0 の環境を構築した時のメモ。
環境は以下。
# cat /etc/redhat-release
CentOS release 6.7 (Final)
インストール
まずは Java をインストール。
Solr 6 では Java 1.8 以降が必要。
# yum install -y java-1.8.0-openjdk

# java -version
openjdk version "1.8.0_91"
OpenJDK Runtime Environment (build 1.8.0_91-b14)
OpenJDK 64-Bit Server VM (build 25.91-b14, mixed mode)
ダウンロードして展開。
# cd /usr/local/src/
# wget http://ftp.jaist.ac.jp/pub/apache/lucene/solr/6.0.0/solr-6.0.0.tgz
# tar xzf solr-6.0.0.tgz
展開したアーカイブ内に含まれるインストールスクリプト install_solr_service.sh をアーカイブを引数に実行してインストール。
# ./solr-6.0.0/bin/install_solr_service.sh solr-6.0.0.tgz
id: solr: そのようなユーザは存在しません
Creating new user: solr

Extracting solr-6.0.0.tgz to /opt


Installing symlink /opt/solr -> /opt/solr-6.0.0 ...


Installing /etc/init.d/solr script ...


Installing /etc/default/solr.in.sh ...

Waiting up to 30 seconds to see Solr running on port 8983 [/]
Started Solr server on port 8983 (pid=1768). Happy searching!


Found 1 Solr nodes:

Solr process 1768 running on port 8983
{
  "solr_home":"/var/solr/data",
  "version":"6.0.0 48c80f91b8e5cd9b3a9b48e6184bd53e7619e7e3 - nknize - 2016-04-01 14:41:49",
  "startTime":"2016-05-06T02:43:32.618Z",
  "uptime":"0 days, 0 hours, 0 minutes, 10 seconds",
  "memory":"80.6 MB (%16.4) of 490.7 MB"}

Service solr installed.
以下にインストールされた。
# ls -l /opt/solr
lrwxrwxrwx 1 root root 15  5月  6 11:43 2016 /opt/solr -> /opt/solr-6.0.0
起動スクリプトもインストールされ、自動起動設定もオンになっている。
# chkconfig --list solr
solr            0:off   1:off   2:on    3:on    4:on    5:on    6:off
インストールスクリプトによりサービスは既に起動している。
# service solr status

Found 1 Solr nodes:

Solr process 1768 running on port 8983
{
  "solr_home":"/var/solr/data",
  "version":"6.0.0 48c80f91b8e5cd9b3a9b48e6184bd53e7619e7e3 - nknize - 2016-04-01 14:41:49",
  "startTime":"2016-05-06T02:43:32.618Z",
  "uptime":"0 days, 0 hours, 1 minutes, 44 seconds",
  "memory":"21.2 MB (%4.3) of 490.7 MB"}
デフォルトではログファイルの出力先は /var/solr/logs 、データディレクトリは /var/solr/data/ になっている。
コアの作成
デフォルトではコアが無いので新規作成する。
この時、 solr ユーザになってから実行しないとエラーになるようなので注意する。
# su - solr
$ cd /opt/solr
$ bin/solr create -c mycore

Copying configuration to new core instance directory:
/var/solr/data/mycore

Creating new core 'mycore' using command:
http://localhost:8983/solr/admin/cores?action=CREATE&name=mycore&instanceDir=mycore

{
  "responseHeader":{
    "status":0,
    "QTime":1728},
  "core":"mycore"}
bin/post を使用して作成したコアにサンプルドキュメントを登録してみる。
$ bin/post -c mycore example/exampledocs/*.xml
java -classpath /opt/solr/dist/solr-core-6.0.0.jar -Dauto=yes -Dc=mycore -Ddata=files org.apache.solr.util.SimplePostTool example/exampledocs/gb18030-example.xml example/exampledocs/hd.xml example/exampledocs/ipod_other.xml example/exampledocs/ipod_video.xml example/exampledocs/manufacturers.xml example/exampledocs/mem.xml example/exampledocs/money.xml example/exampledocs/monitor.xml example/exampledocs/monitor2.xml example/exampledocs/mp500.xml example/exampledocs/sd500.xml example/exampledocs/solr.xml example/exampledocs/utf8-example.xml example/exampledocs/vidcard.xml
SimplePostTool version 5.0.0
Posting files to [base] url http://localhost:8983/solr/mycore/update...
Entering auto mode. File endings considered are xml,json,jsonl,csv,pdf,doc,docx,ppt,pptx,xls,xlsx,odt,odp,ods,ott,otp,ots,rtf,htm,html,txt,log
POSTing file gb18030-example.xml (application/xml) to [base]
POSTing file hd.xml (application/xml) to [base]
POSTing file ipod_other.xml (application/xml) to [base]
POSTing file ipod_video.xml (application/xml) to [base]
POSTing file manufacturers.xml (application/xml) to [base]
POSTing file mem.xml (application/xml) to [base]
POSTing file money.xml (application/xml) to [base]
POSTing file monitor.xml (application/xml) to [base]
POSTing file monitor2.xml (application/xml) to [base]
POSTing file mp500.xml (application/xml) to [base]
POSTing file sd500.xml (application/xml) to [base]
POSTing file solr.xml (application/xml) to [base]
POSTing file utf8-example.xml (application/xml) to [base]
POSTing file vidcard.xml (application/xml) to [base]
14 files indexed.
COMMITting Solr index changes to http://localhost:8983/solr/mycore/update...
Time spent: 0:00:00.820
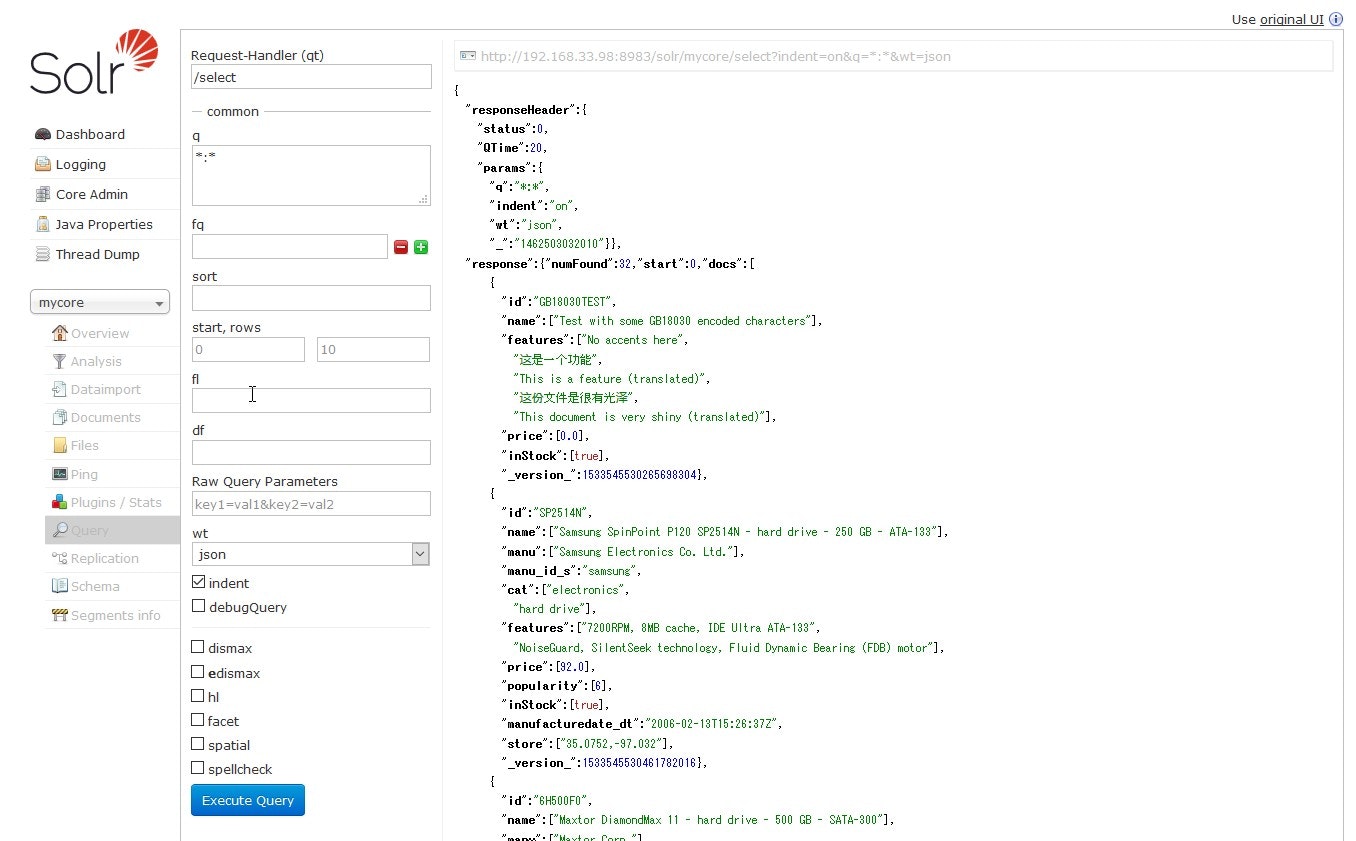
ブラウザから以下にアクセスすると管理画面からコアの作成とテストデータ登録が行われた事を確認できる(localhost の場合)。
Java から使う
取り敢えずサーバは立てられたので Java から Solrj で呼んで見る。
依存ライブラリの管理は一番簡単そうだったので Gradle を使ってみた。
以下の内容の build.gradle ファイルを用意。
apply plugin: 'application'

mainClassName = 'com.example.Main'

repositories {
    mavenCentral()
}

dependencies {
    compile 'org.apache.solr:solr-solrj:6.0.0'
}
Java のコードは以下。
package com.example;

import java.io.IOException;

import org.apache.solr.common.SolrDocument;
import org.apache.solr.common.SolrDocumentList;
import org.apache.solr.client.solrj.SolrClient;
import org.apache.solr.client.solrj.SolrQuery;
import org.apache.solr.client.solrj.SolrServerException;
import org.apache.solr.client.solrj.response.QueryResponse;
import org.apache.solr.client.solrj.impl.HttpSolrClient;

public class Main {

    public static void main(String[] args) {
        try {
            SolrClient client = new HttpSolrClient("http://192.168.33.98:8983/solr/mycore");
            QueryResponse response = client.query(new SolrQuery("*:*"));
            SolrDocumentList list = response.getResults();
            for (SolrDocument doc : list) {
                System.out.printf("id: %s name: %s\n", doc.get("id"), doc.get("name"));
            }
        } catch (SolrServerException | IOException e) {
            e.printStackTrace();
        }
    }
}
実行してみる。
% gradle run
:compileJava
:processResources UP-TO-DATE
:classes
:run
SLF4J: Failed to load class "org.slf4j.impl.StaticLoggerBinder".
SLF4J: Defaulting to no-operation (NOP) logger implementation
SLF4J: See http://www.slf4j.org/codes.html#StaticLoggerBinder for further details.
id: GB18030TEST name: [Test with some GB18030 encoded characters]
id: SP2514N name: [Samsung SpinPoint P120 SP2514N - hard drive - 250 GB - ATA-133]
id: 6H500F0 name: [Maxtor DiamondMax 11 - hard drive - 500 GB - SATA-300]
id: F8V7067-APL-KIT name: [Belkin Mobile Power Cord for iPod w/ Dock]
id: IW-02 name: [iPod & iPod Mini USB 2.0 Cable]
id: MA147LL/A name: [Apple 60 GB iPod with Video Playback Black]
id: adata name: null
id: apple name: null
id: asus name: null
id: ati name: null

BUILD SUCCESSFUL

Total time: 4.208 secs

This build could be faster, please consider using the Gradle Daemon: https://docs.gradle.org/2.12/userguide/gradle_daemon.html
ちゃんと結果を取得出来た。
参考
Apache Solr 5.3.0をインストールする - CLOVER
http://d.hatena.ne.jp/Kazuhira/20150905/1441462251
Apache Solr 5.xで、コアの作成からサンプルドキュメントの登録まで - CLOVER
http://d.hatena.ne.jp/Kazuhira/20150906/1441540247
SolrDocument (Solr 6.0.0 API)
https://lucene.apache.org/solr/6_0_0/solr-solrj/index.html