A/Bテストやってますか?QiitaのABテストタグの量を見るかぎりあまり使われていないのかな?
GoogleのFirebaseにはA/Bテストを簡単に行える機能があります。これをiosアプリに実装する方法を書きたいと思います。以下の記事を参考にしました。
今回は画面に表示されたボタンのテキストをAとBで変えてクリックされる率をとるというものを作りたいと思います。

Firebaseにはいろいろな機能があるのですが、Remote ConfigとAnalyticsという機能を使うことでA/Bテストを実装します。
Remote Configは字のごとく設定ファイルをサーバから取得するものです。その設定ファイルに含まれている button_title = "クリック" のようなデータをアプリ側でボタンのテキストに設定してあげます。
そしてボタンがクリックされたときにAnalyticsを使ってイベントをサーバに投げることでクリック率の測定が行われます。
実装の大まかな流れはこうなります。
- Firebaseにプロジェクトを作成
- iosアプリを新規作成しFirebaseの設定をする
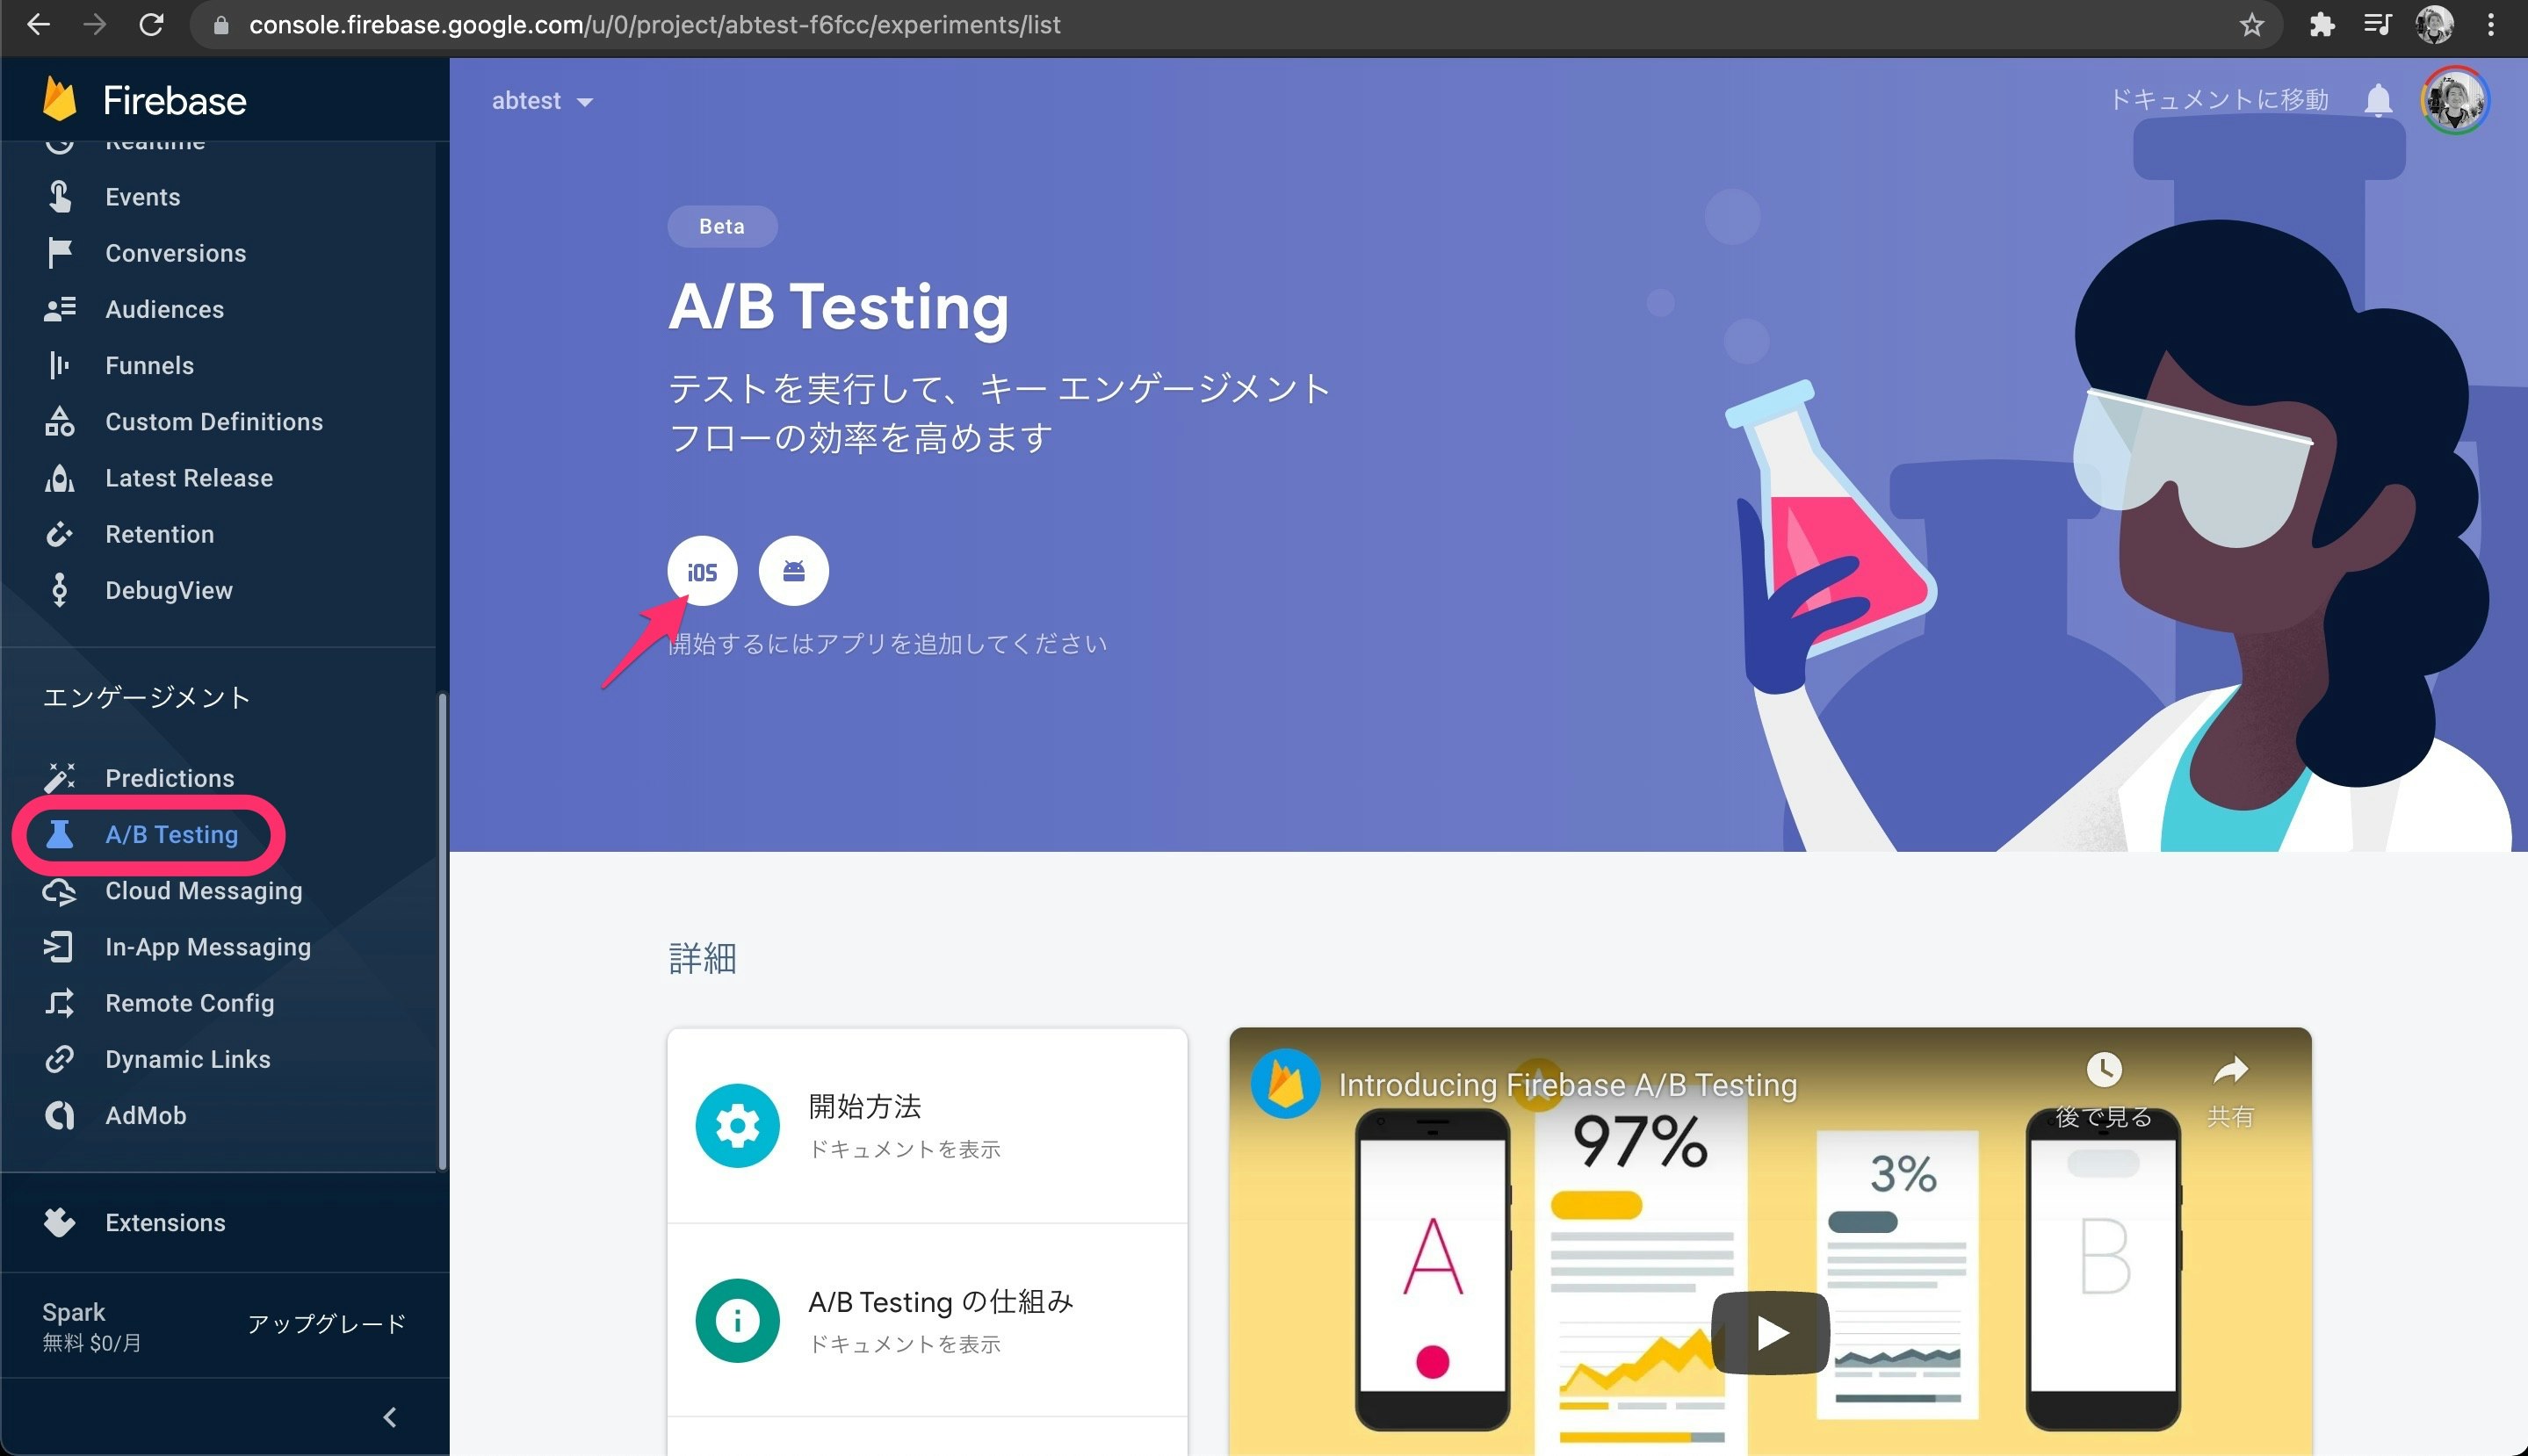
- FirebaseにA/Bテストを追加(Remote Configが追加される)
- iosでRemote Configを取得しボタンの表示を分ける
- ボタンが押されたらAnalyticsでイベントを呼ぶ
Firebaseにプロジェクトを作成
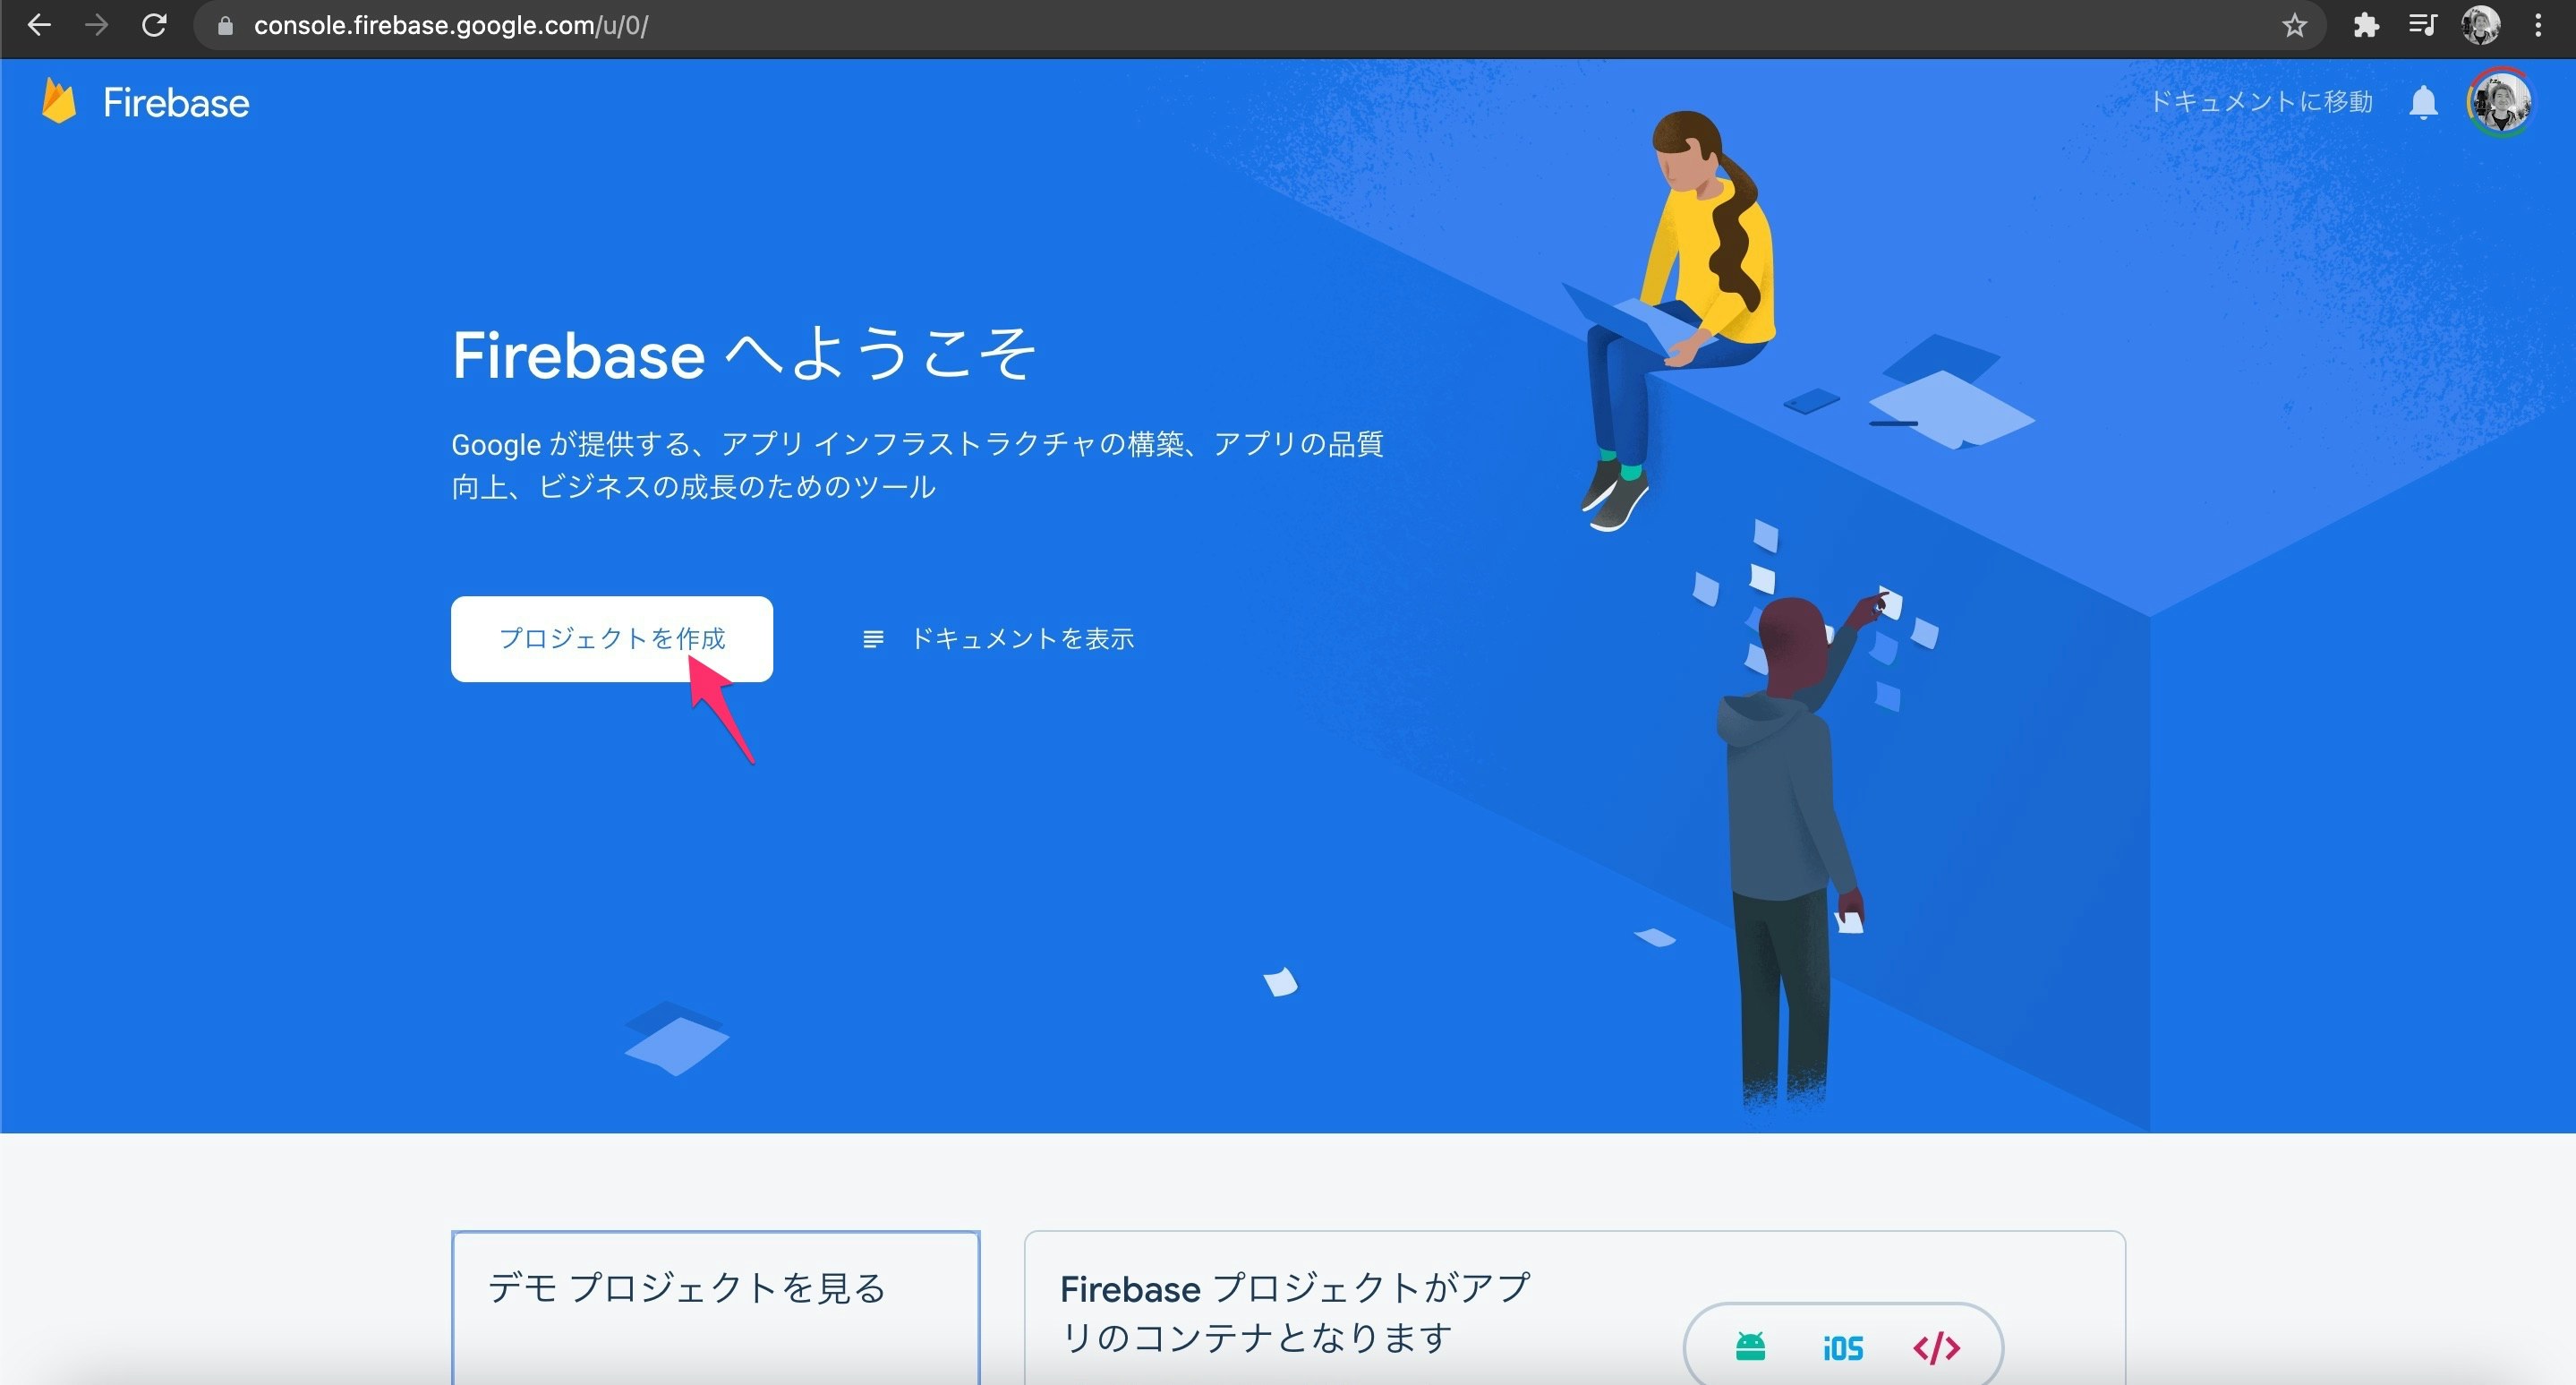
Firebase console にアクセスしプロジェクトを作成します。
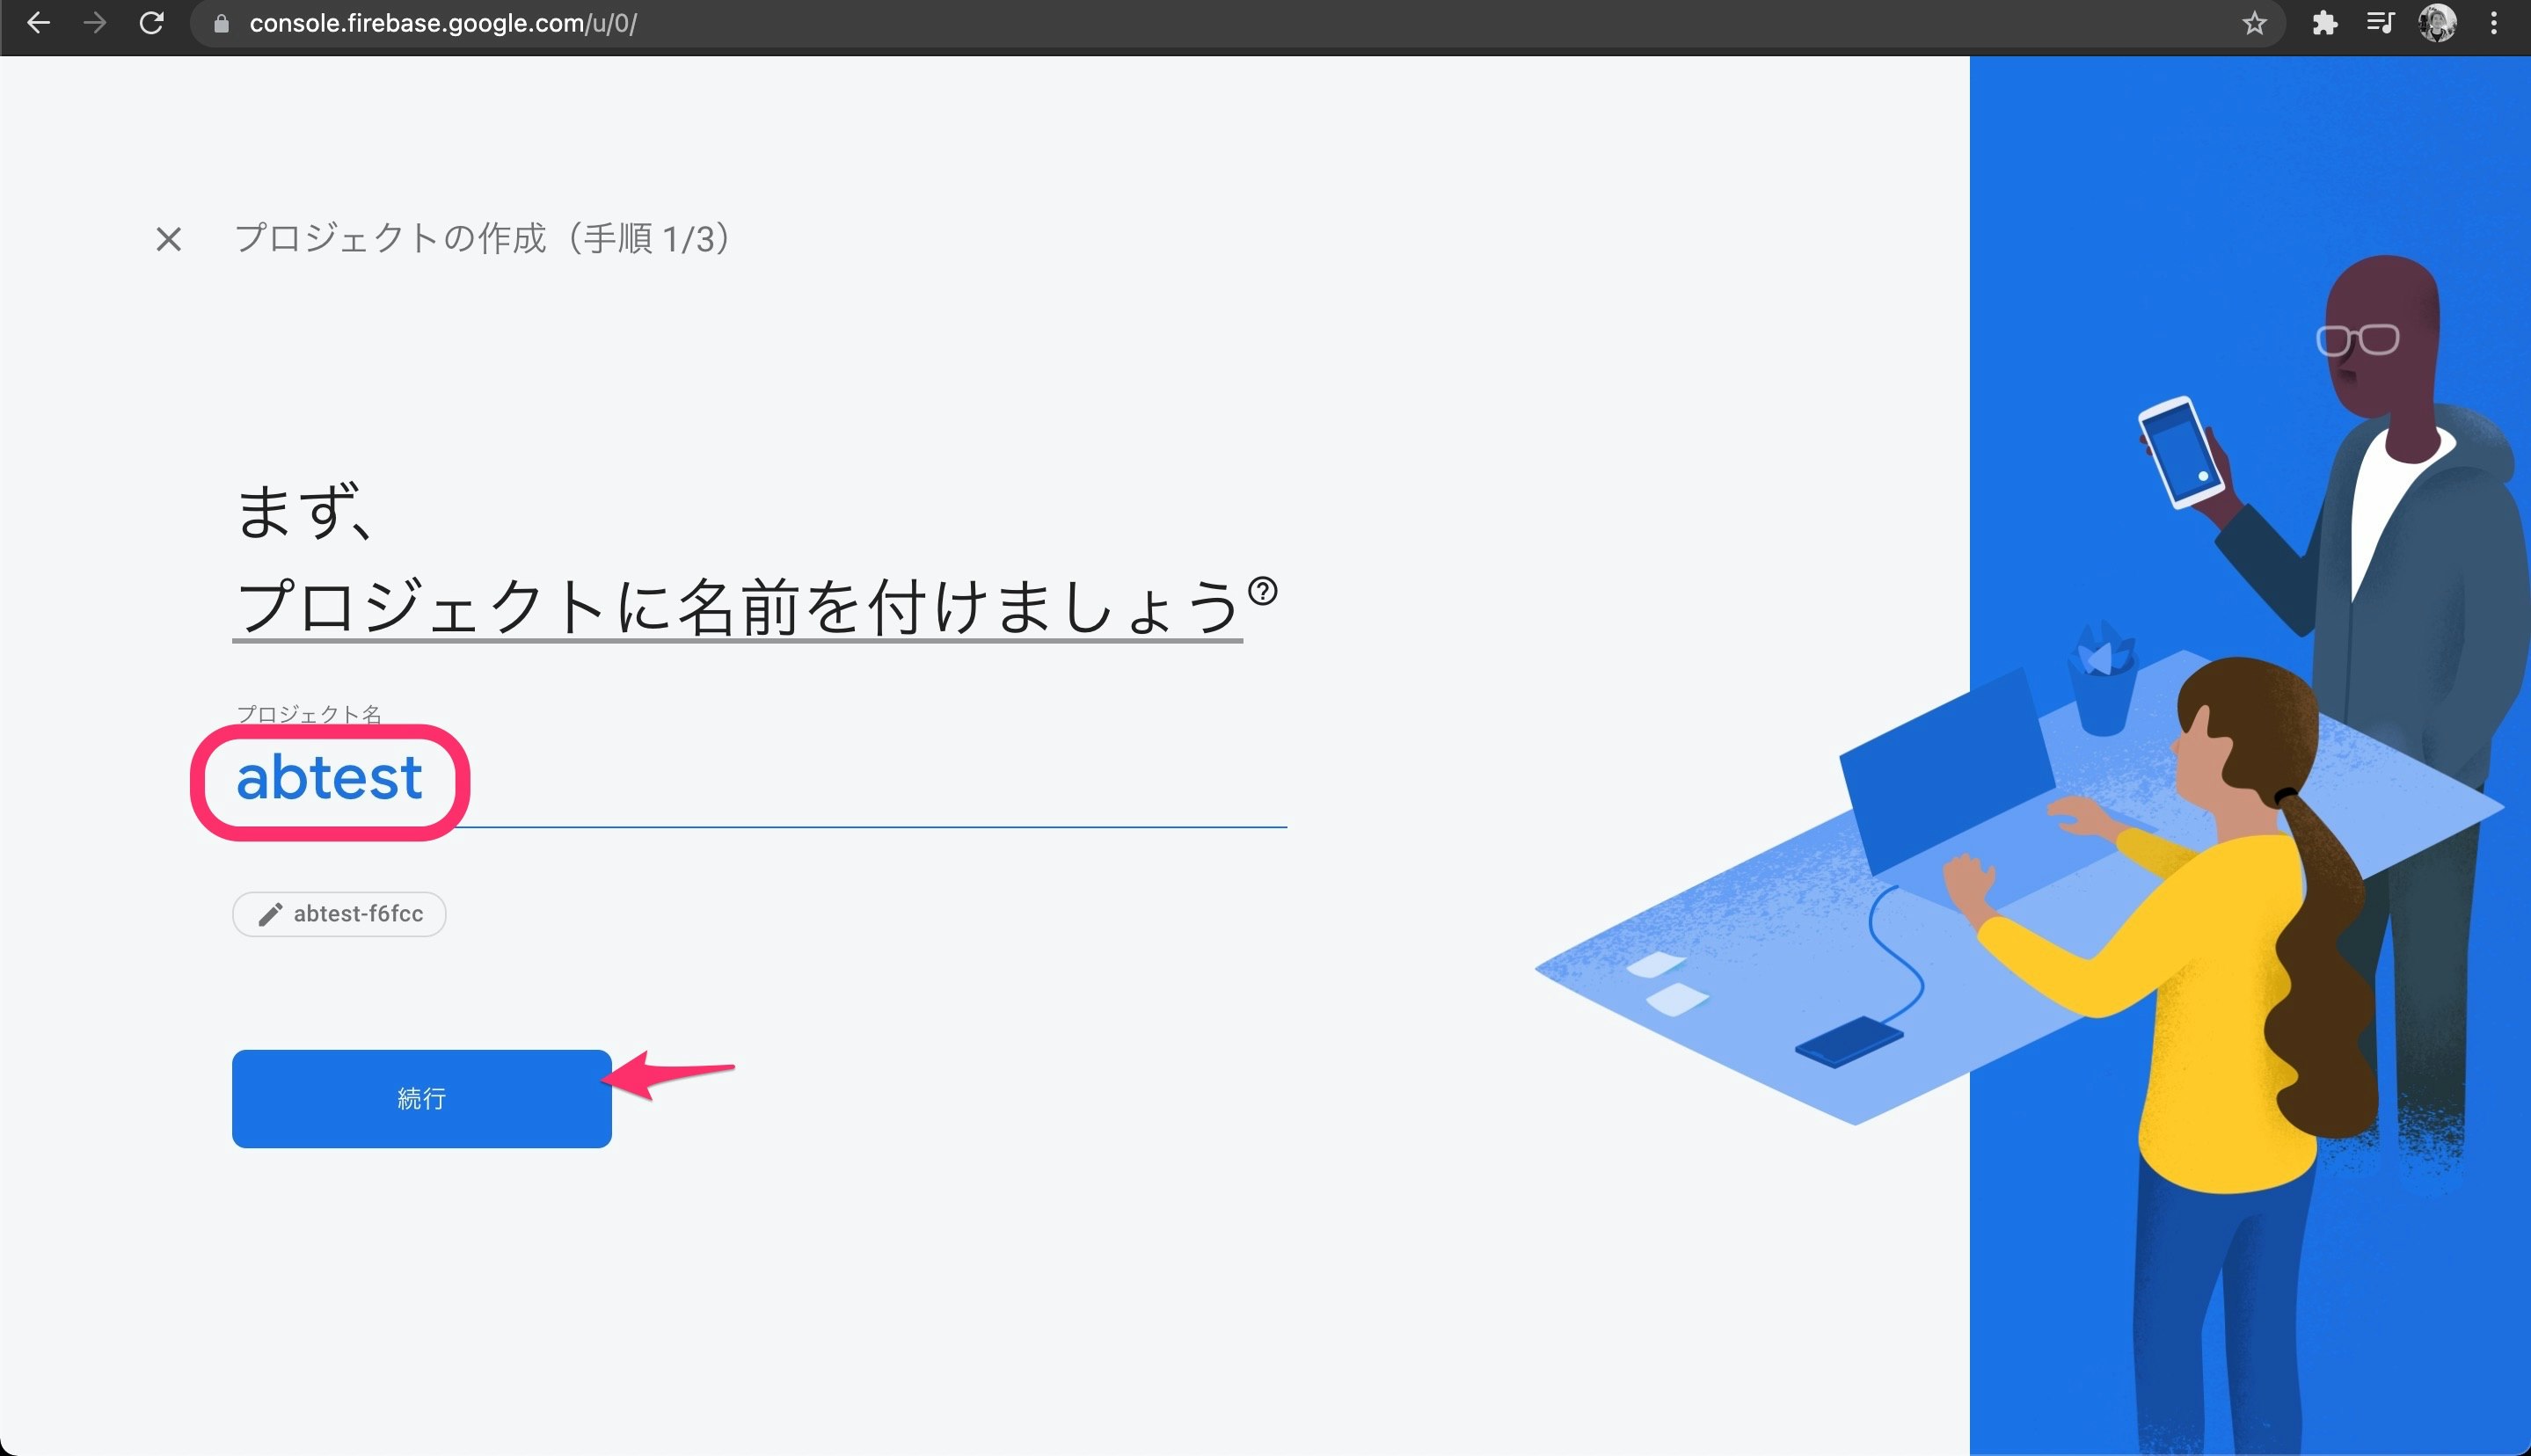
プロジェクト名はabtestとして次に進みます。
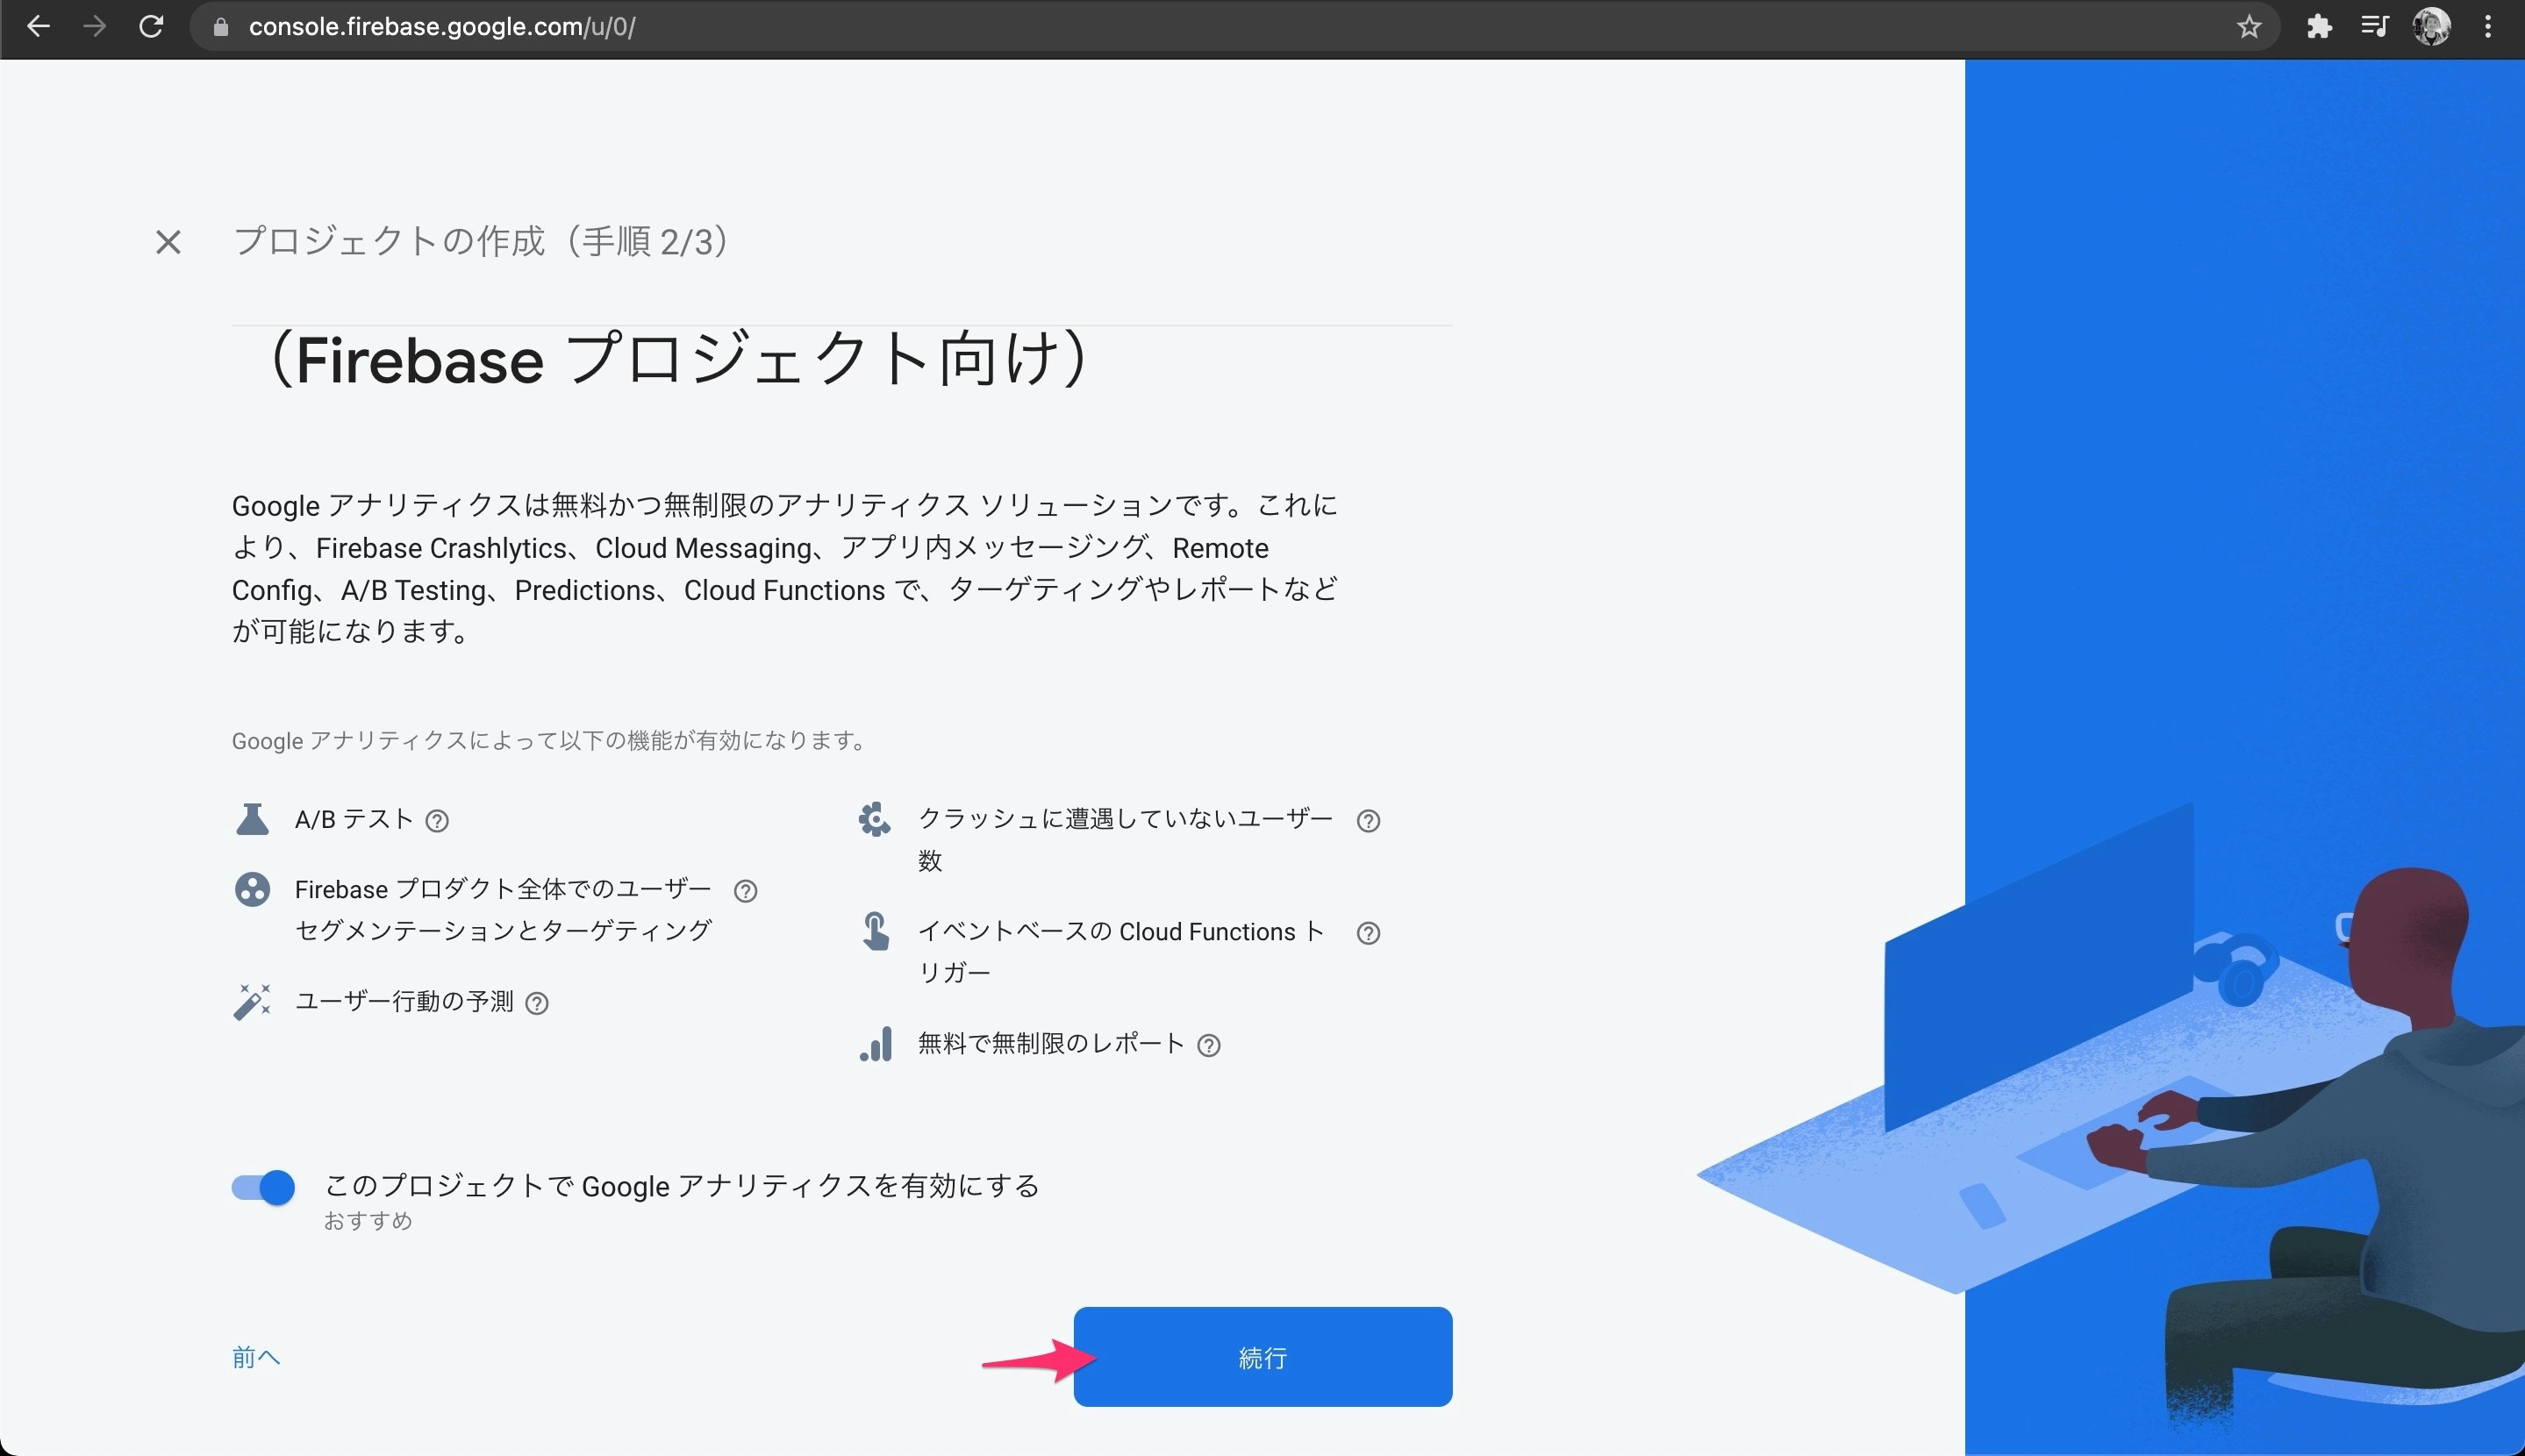
とくに変更することなく次へ進みます。
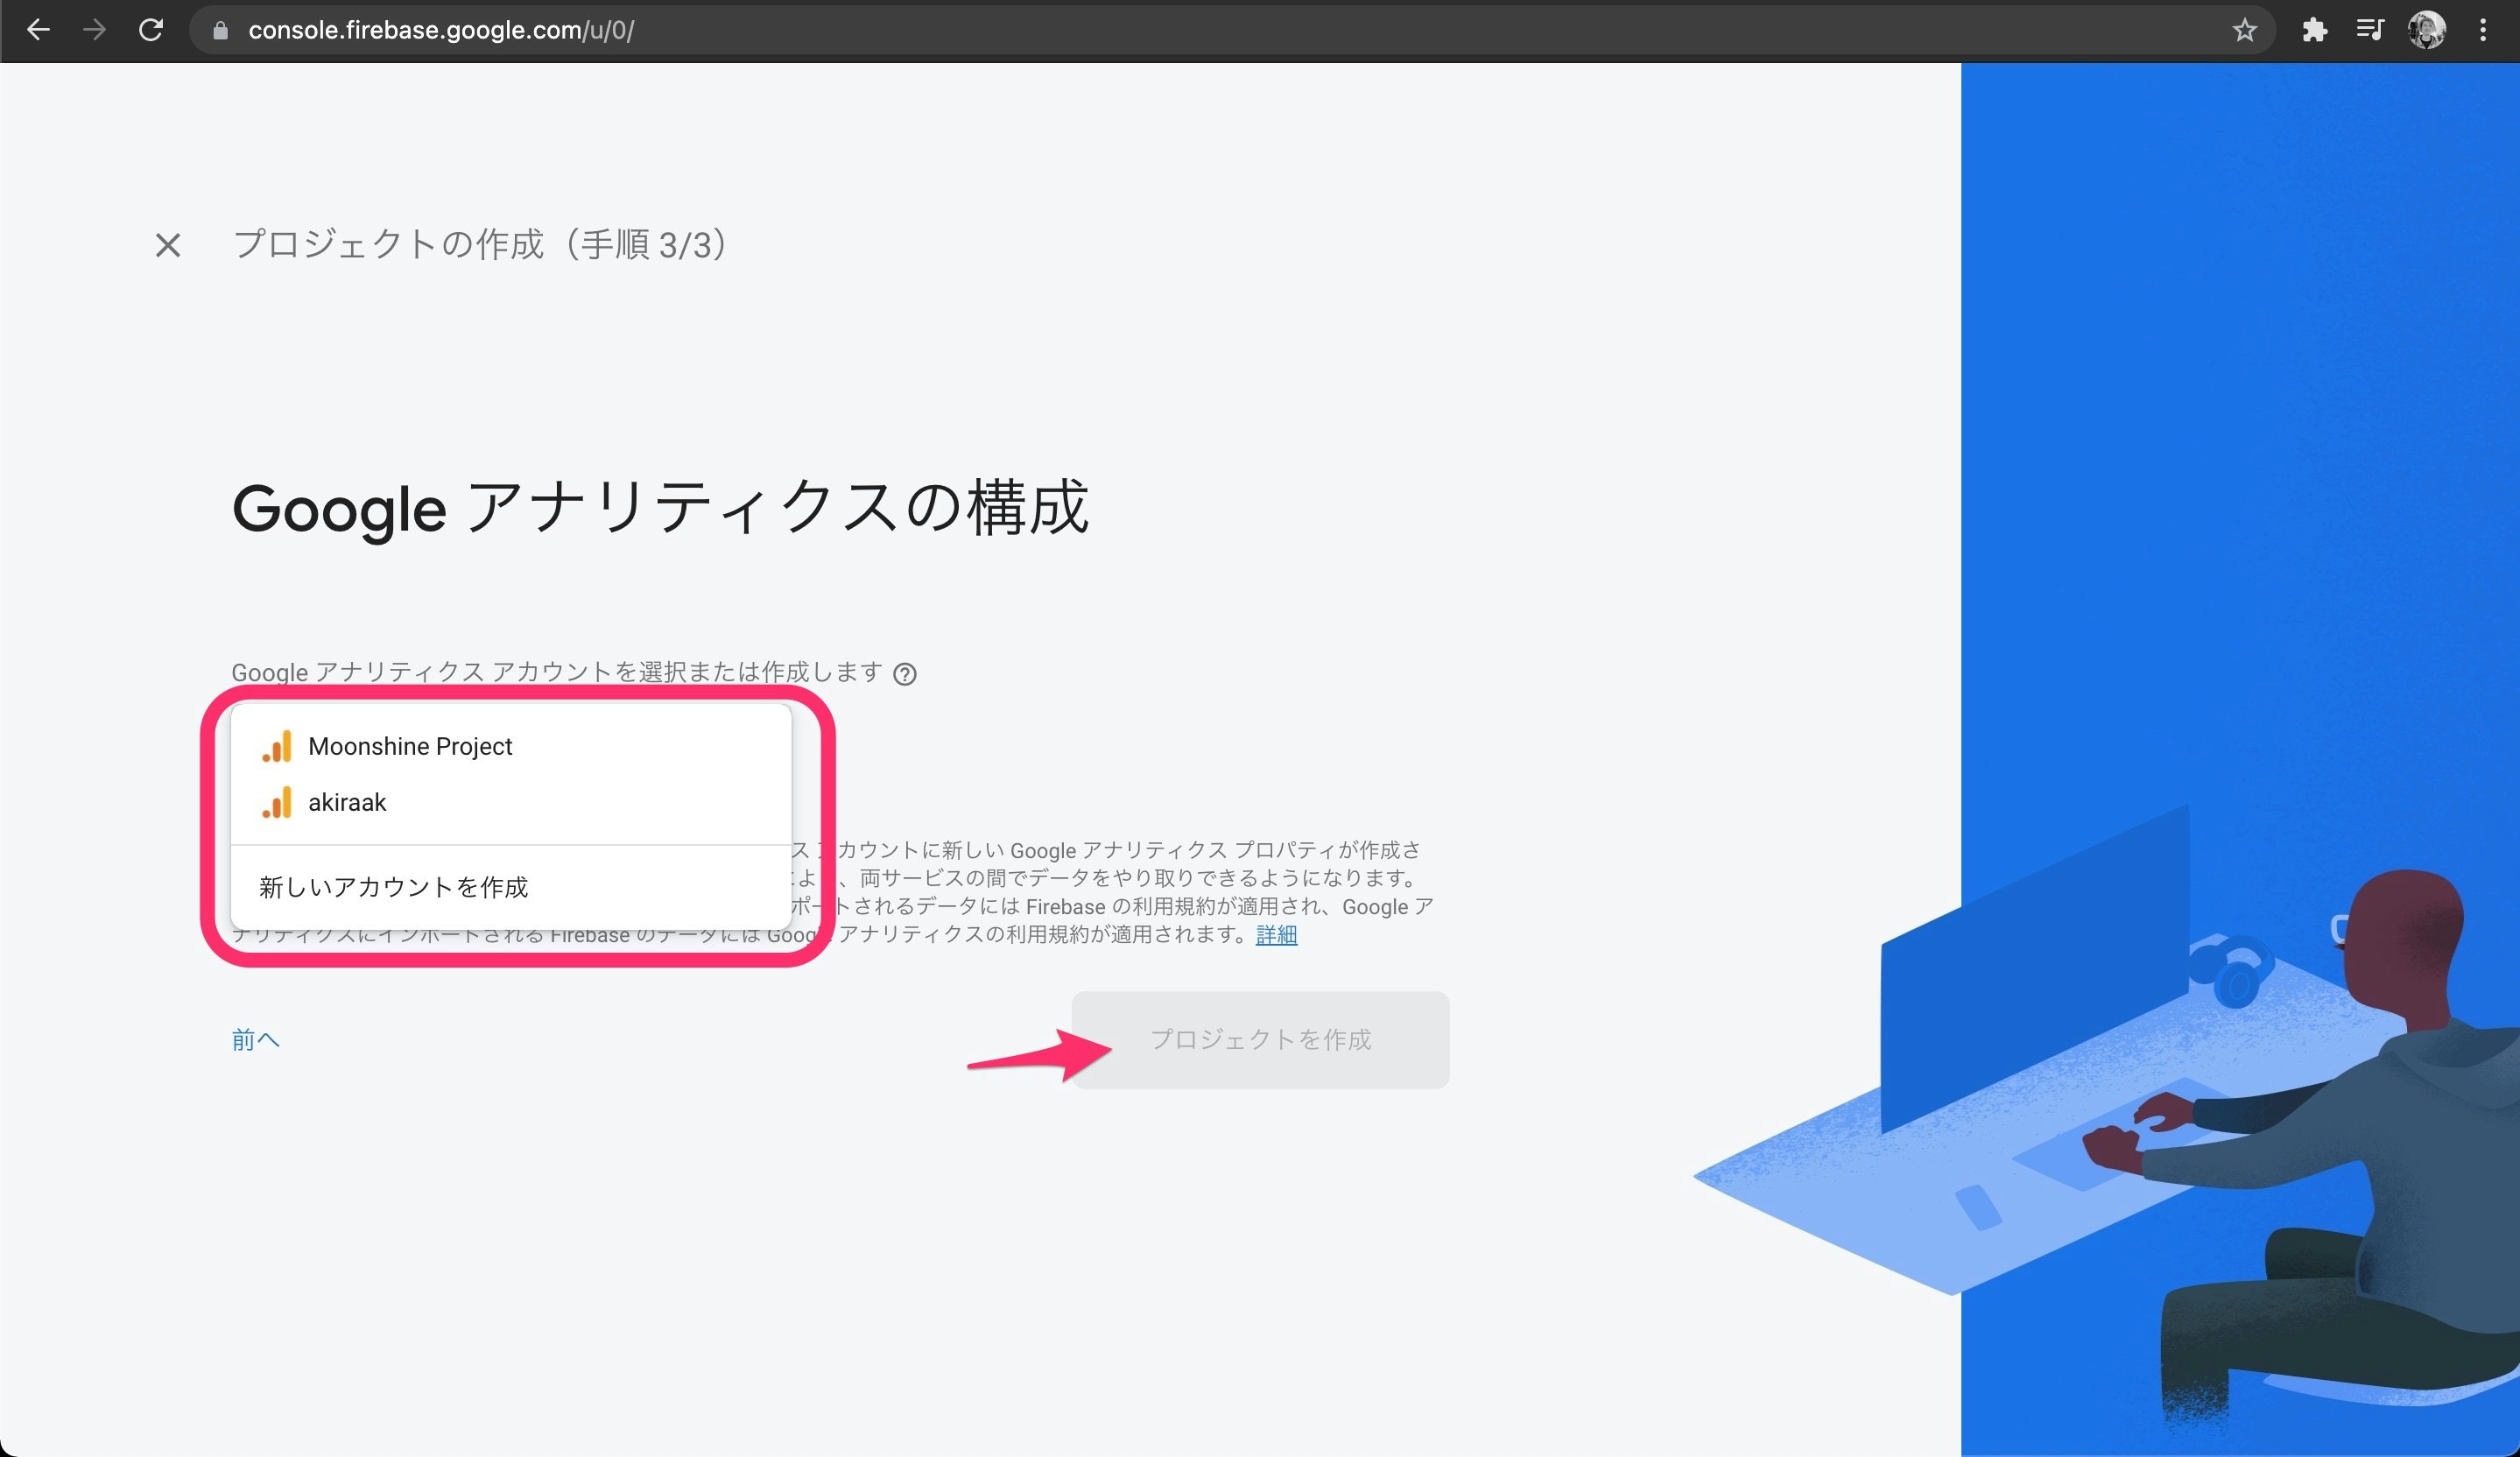
Googleアナリティクスアカウントを選択もしくは作成して次に進みます。
作成が完了するとプロジェクトのページが表示されます。
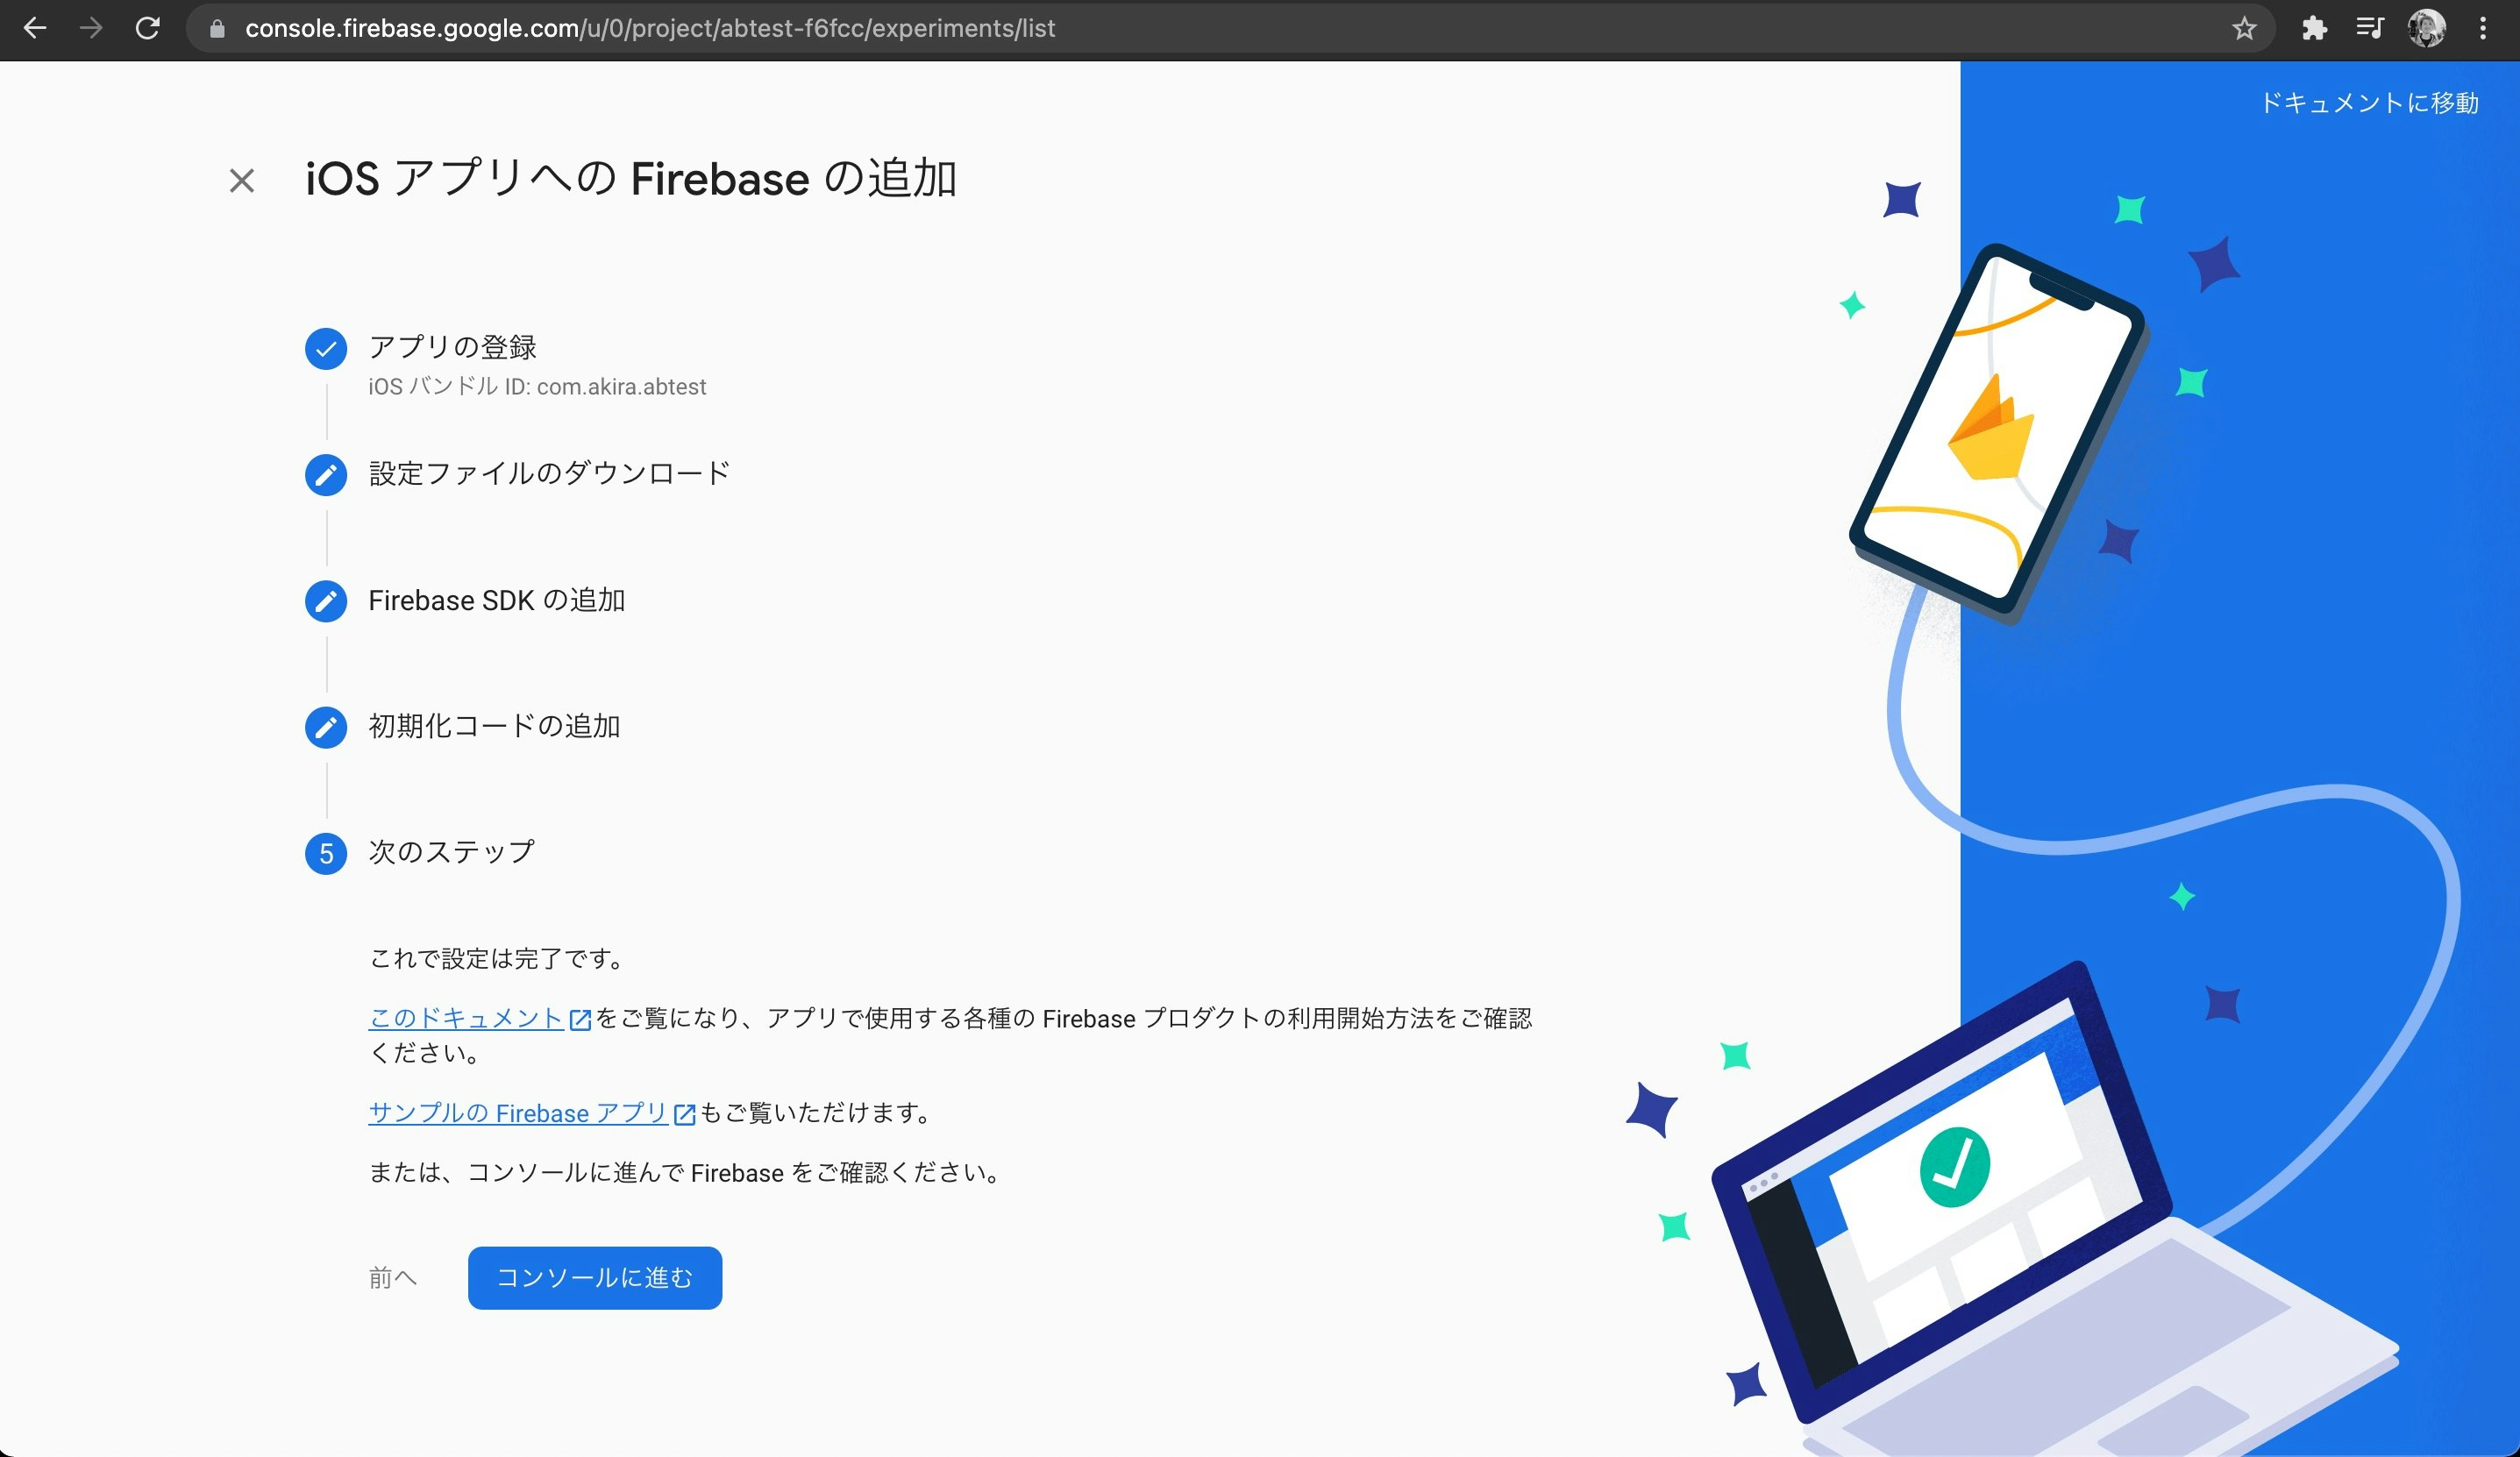
Firebaseにiosアプリを登録
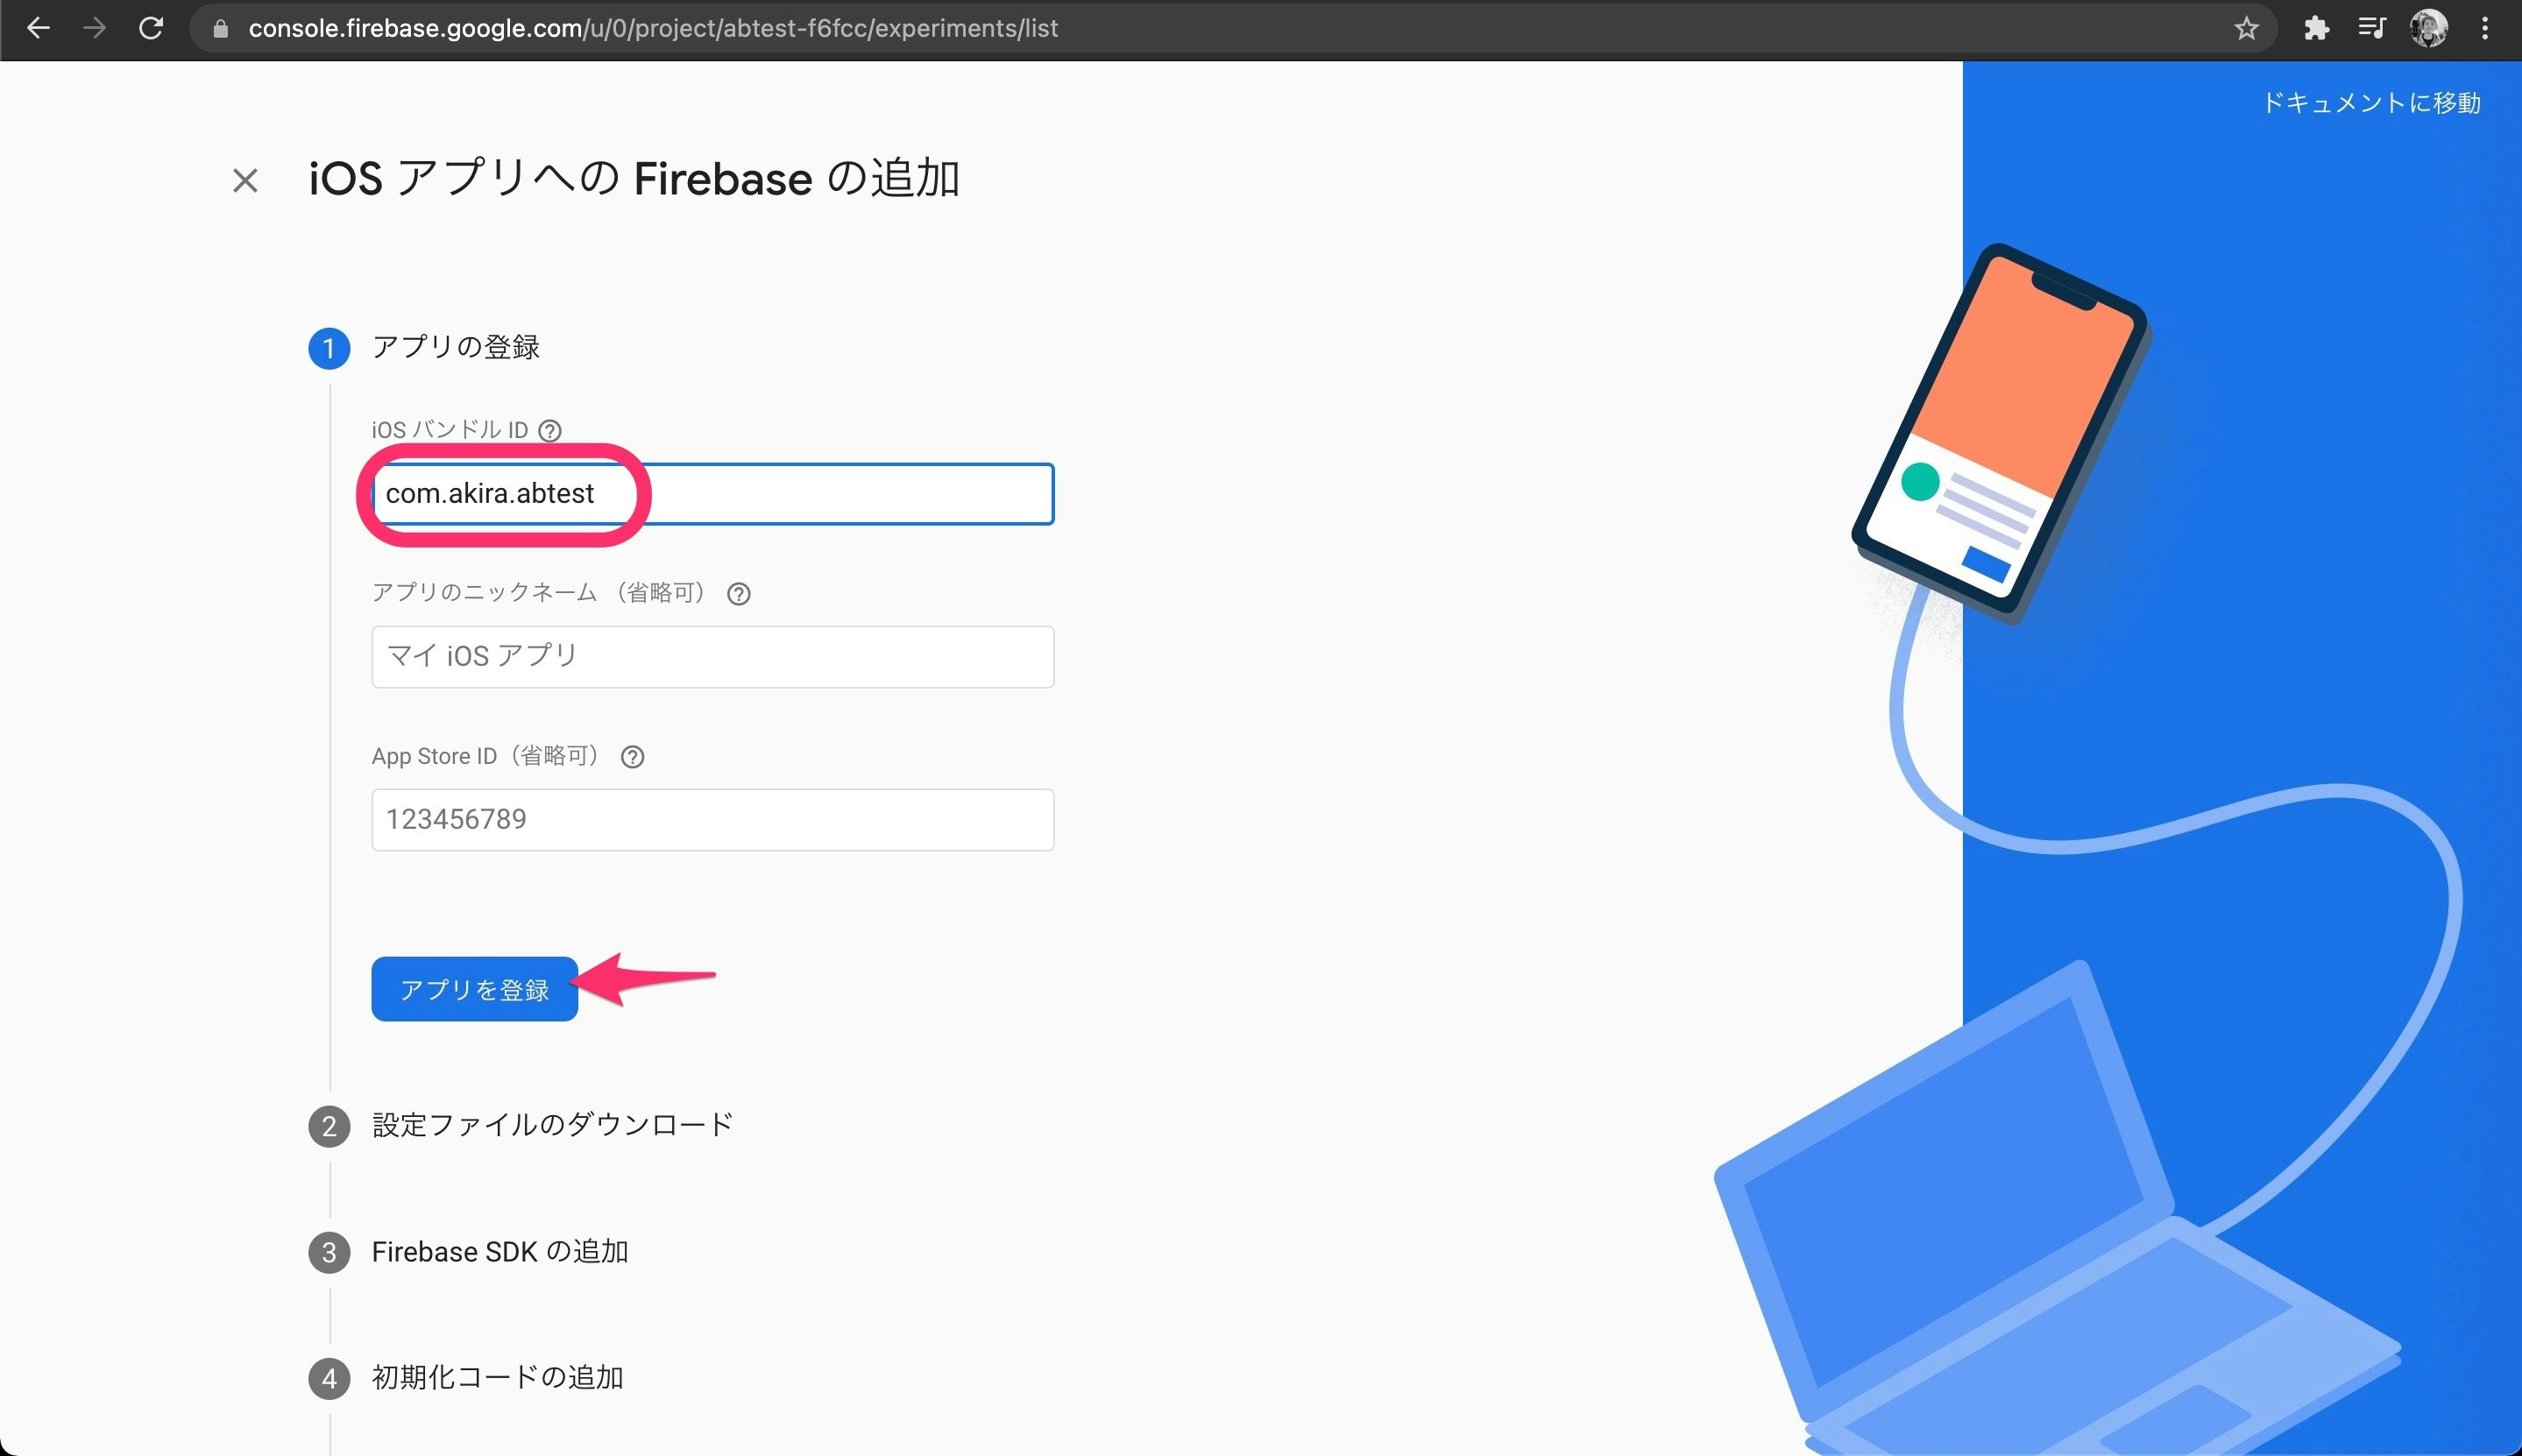
次にiosアプリをFirebaseに登録します。
iosアプリのBundle Idenfitierを設定し次へ進みます。他のところは空欄でかまいません。
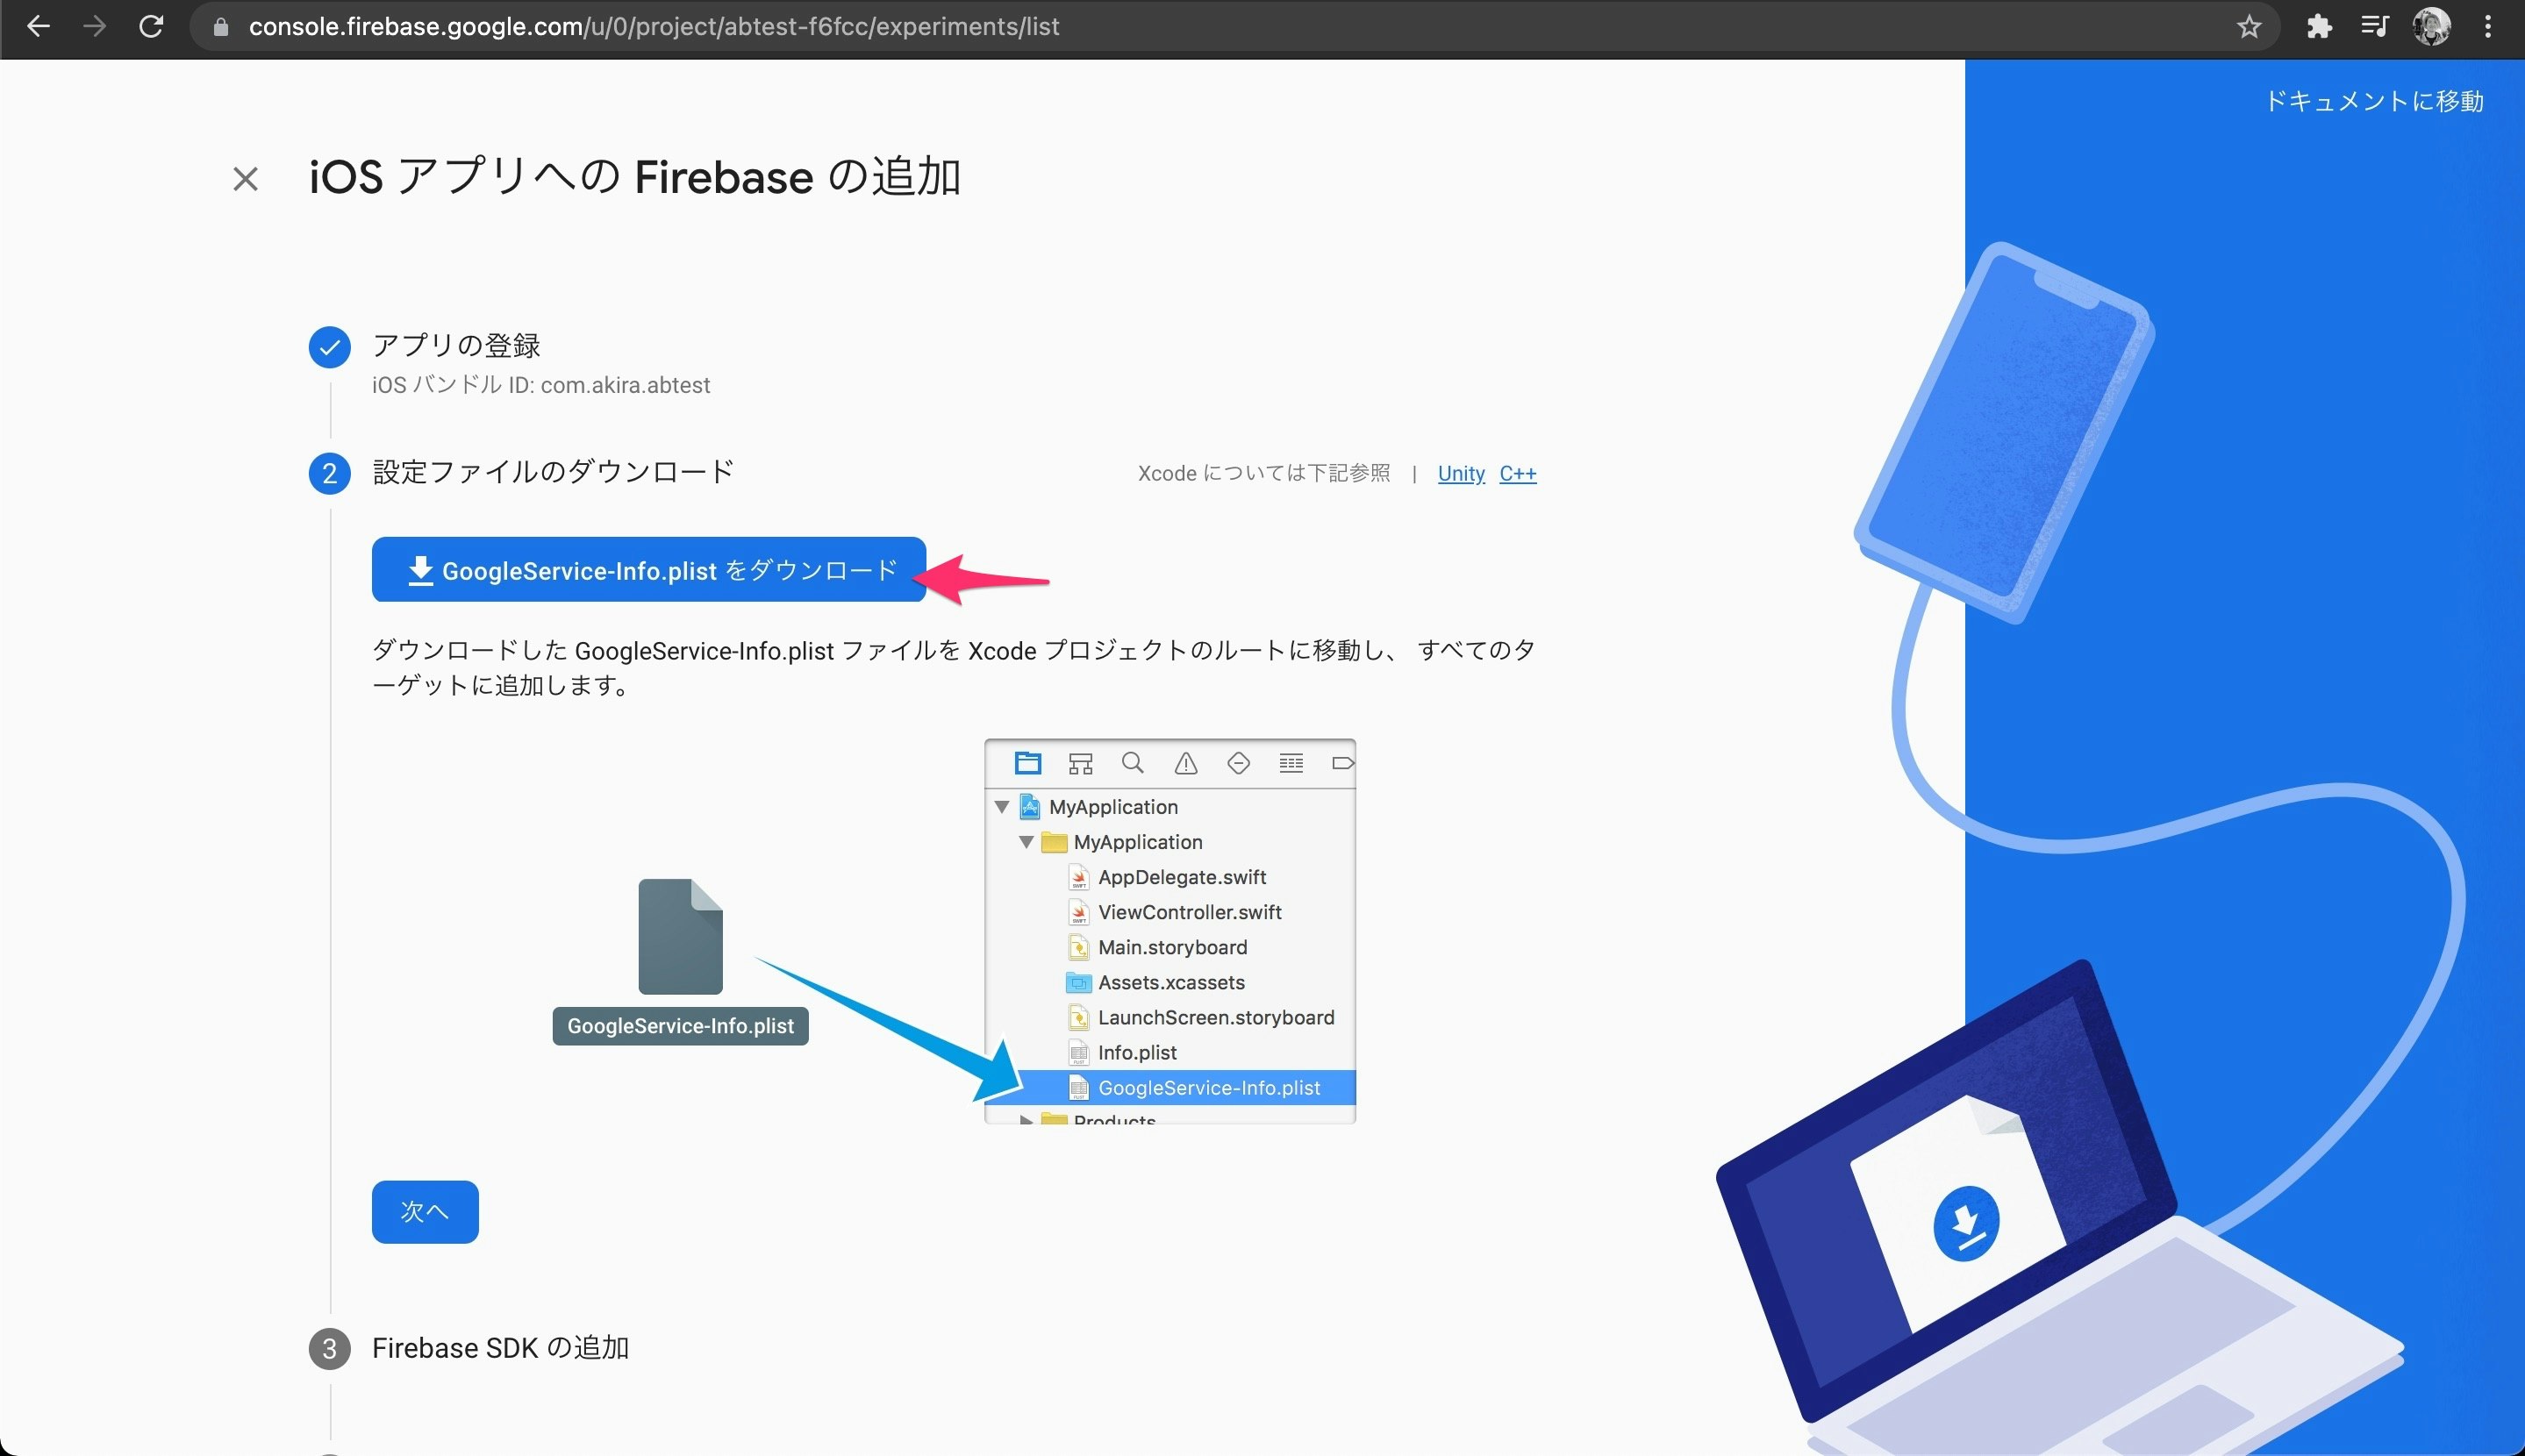
GoogleService-Info.plist をダウンロードしてiosアプリのプロジェクトに取り込みます。
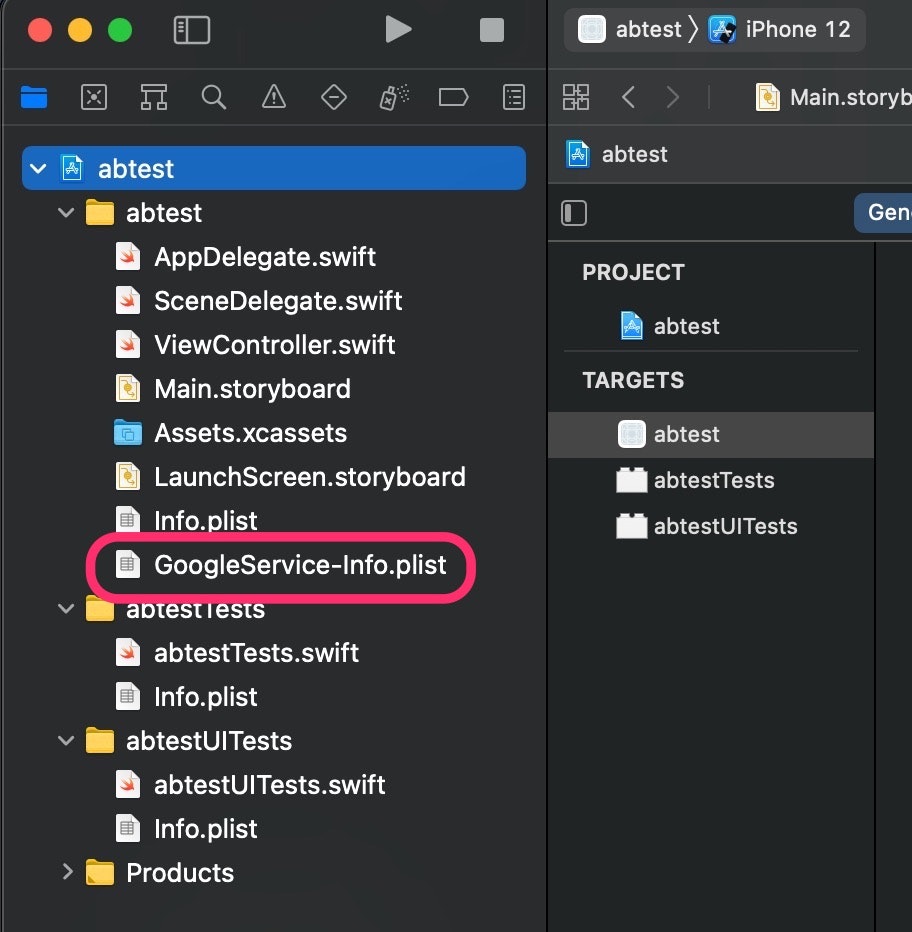
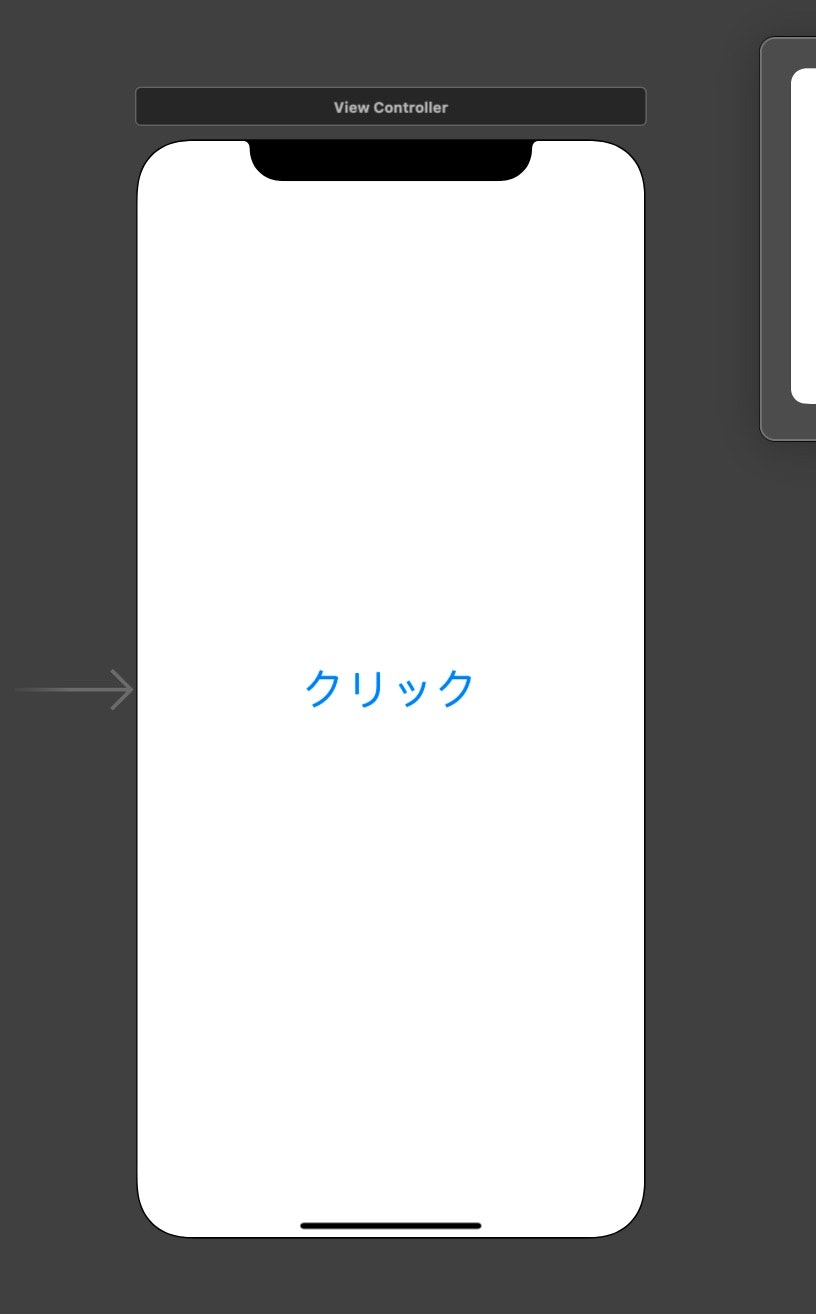
iosアプリは Bundle Idenfitier を com.akira.abtest とし、最初のビューにボタンを配置し、 ViewController.swift からボタンへのアクセスとクリックされたときの関数を追加しておきます。
class ViewController: UIViewController {
    @IBOutlet weak var button: UIButton!

    override func viewDidLoad() {
        super.viewDidLoad()
    }

    @IBAction func onButton(_ sender: Any) {
    }
}
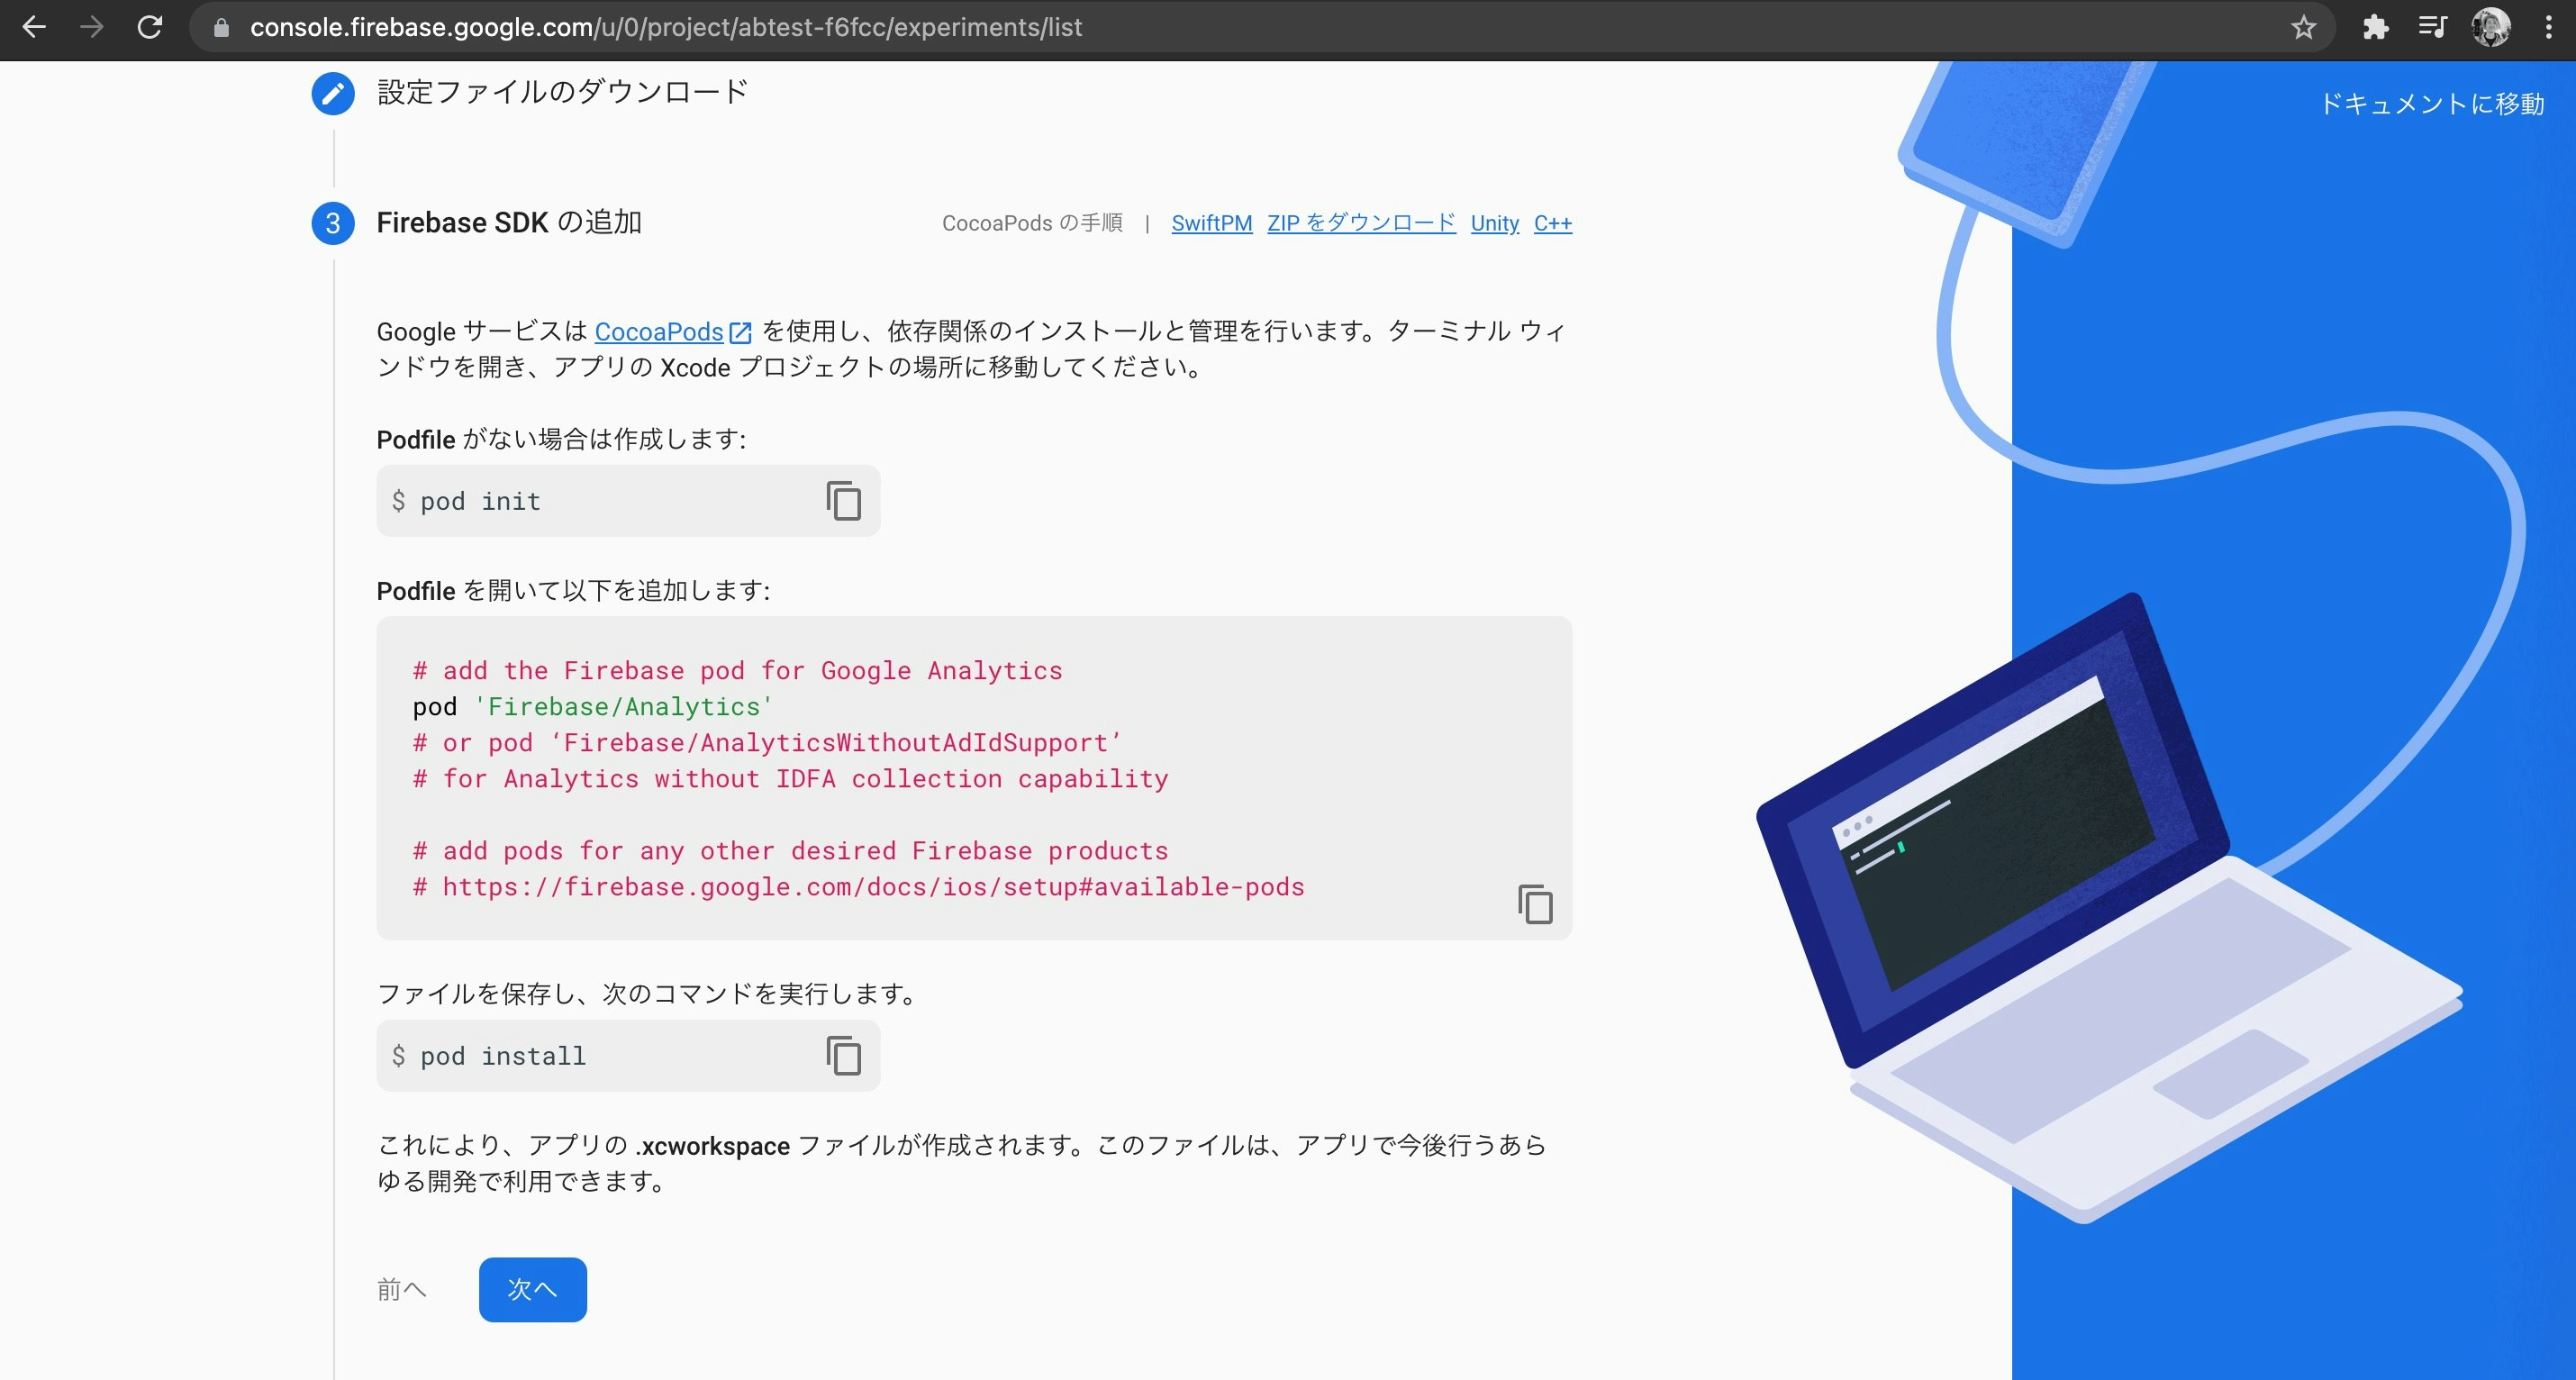
pod でアプリにFirebaseのライブラリを追加します。
$ pod init
Podfile に Firebase/Core Firebase/RemoteConfig Firebase/Analytics を追加します。
# Uncomment the next line to define a global platform for your project
# platform :ios, '9.0'

target 'abtest' do
  # Comment the next line if you don't want to use dynamic frameworks
  use_frameworks!

  # Pods for abtest
  pod 'Firebase/Core'
  pod 'Firebase/RemoteConfig'
  pod 'Firebase/Analytics'

  target 'abtestTests' do
    inherit! :search_paths
    # Pods for testing
  end

  target 'abtestUITests' do
    # Pods for testing
  end

end
ライブラリをインストールして xcode を abtest.xcworkspace で開き直します。
$ pod install
Firebaseの初期化をする必要があるのですが、これは後ほど説明します。
コンソールに戻ります。
A/Bテストの登録
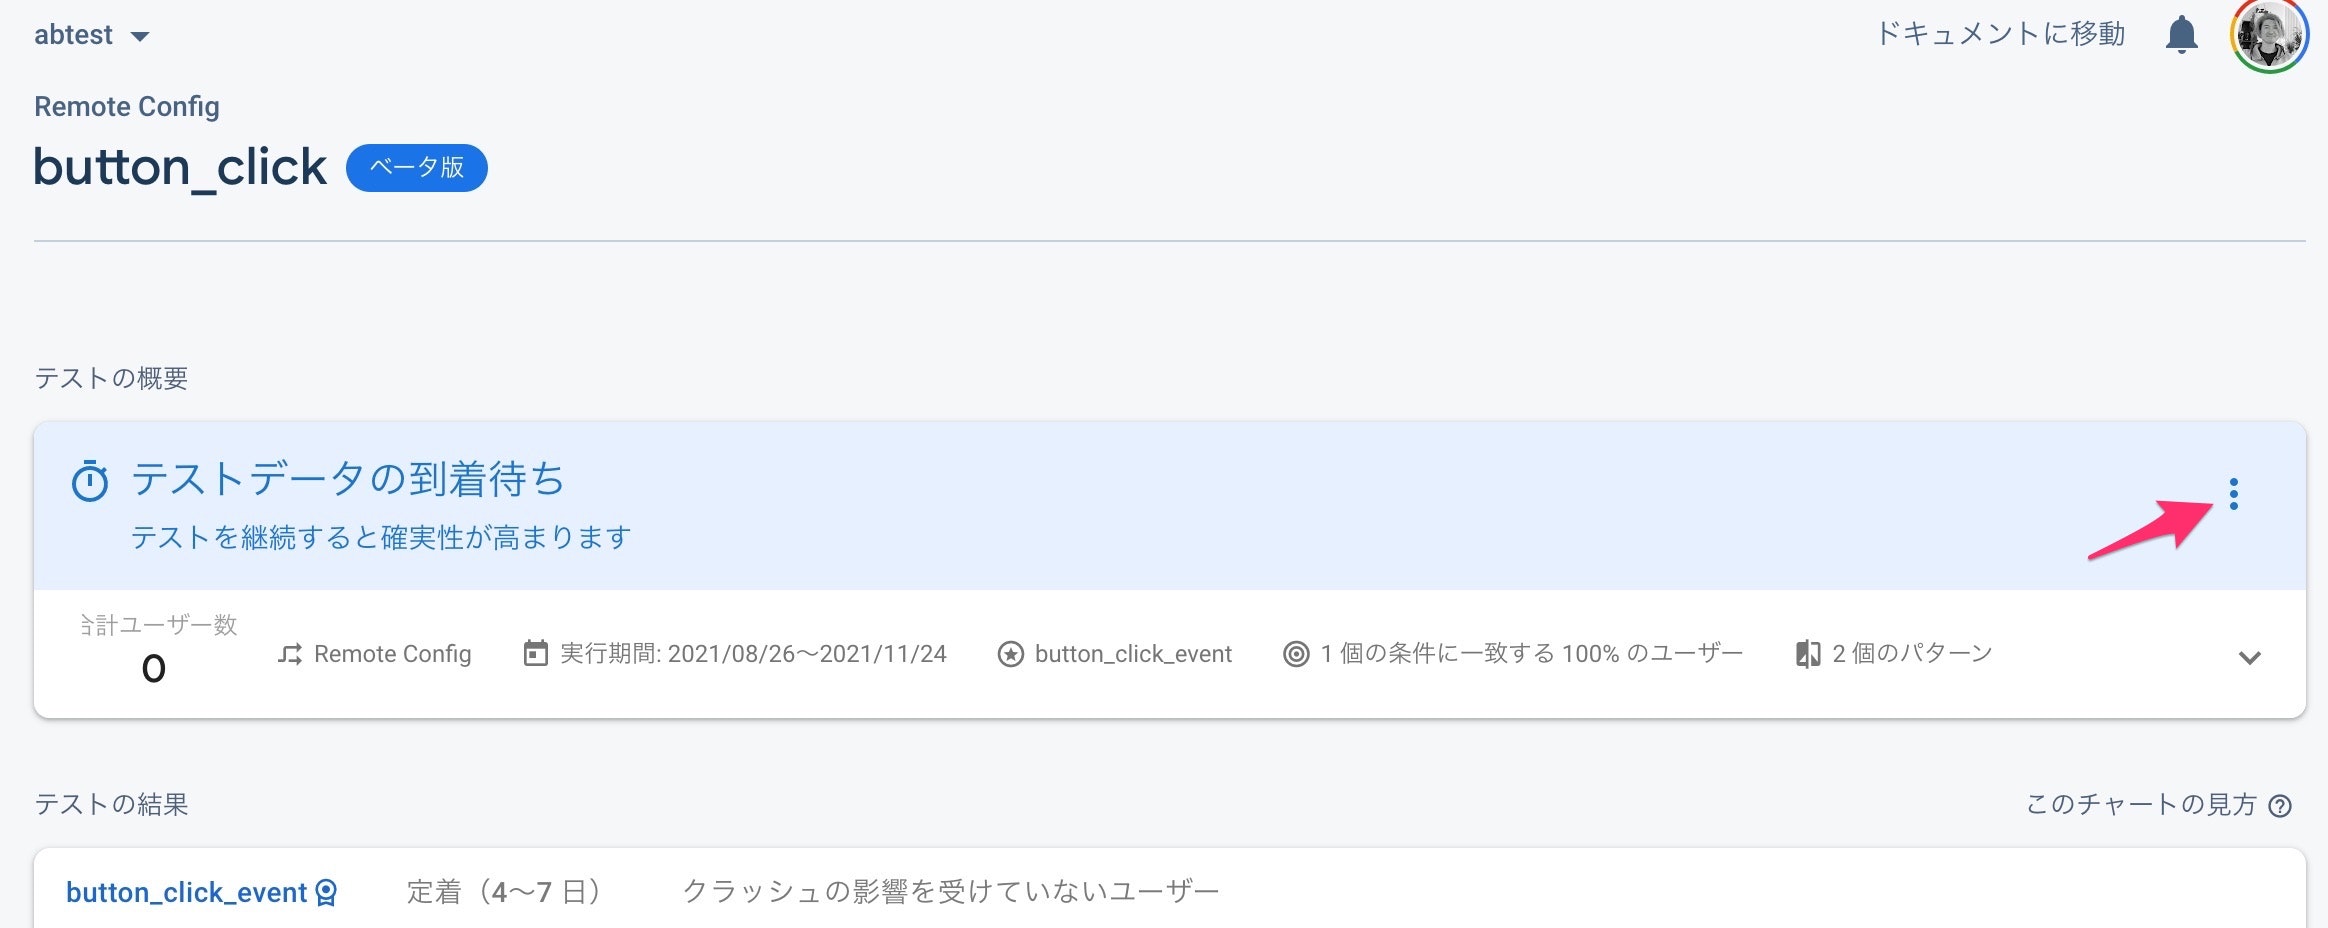
アプリを登録するとA/Bテストを作れるようになっています。
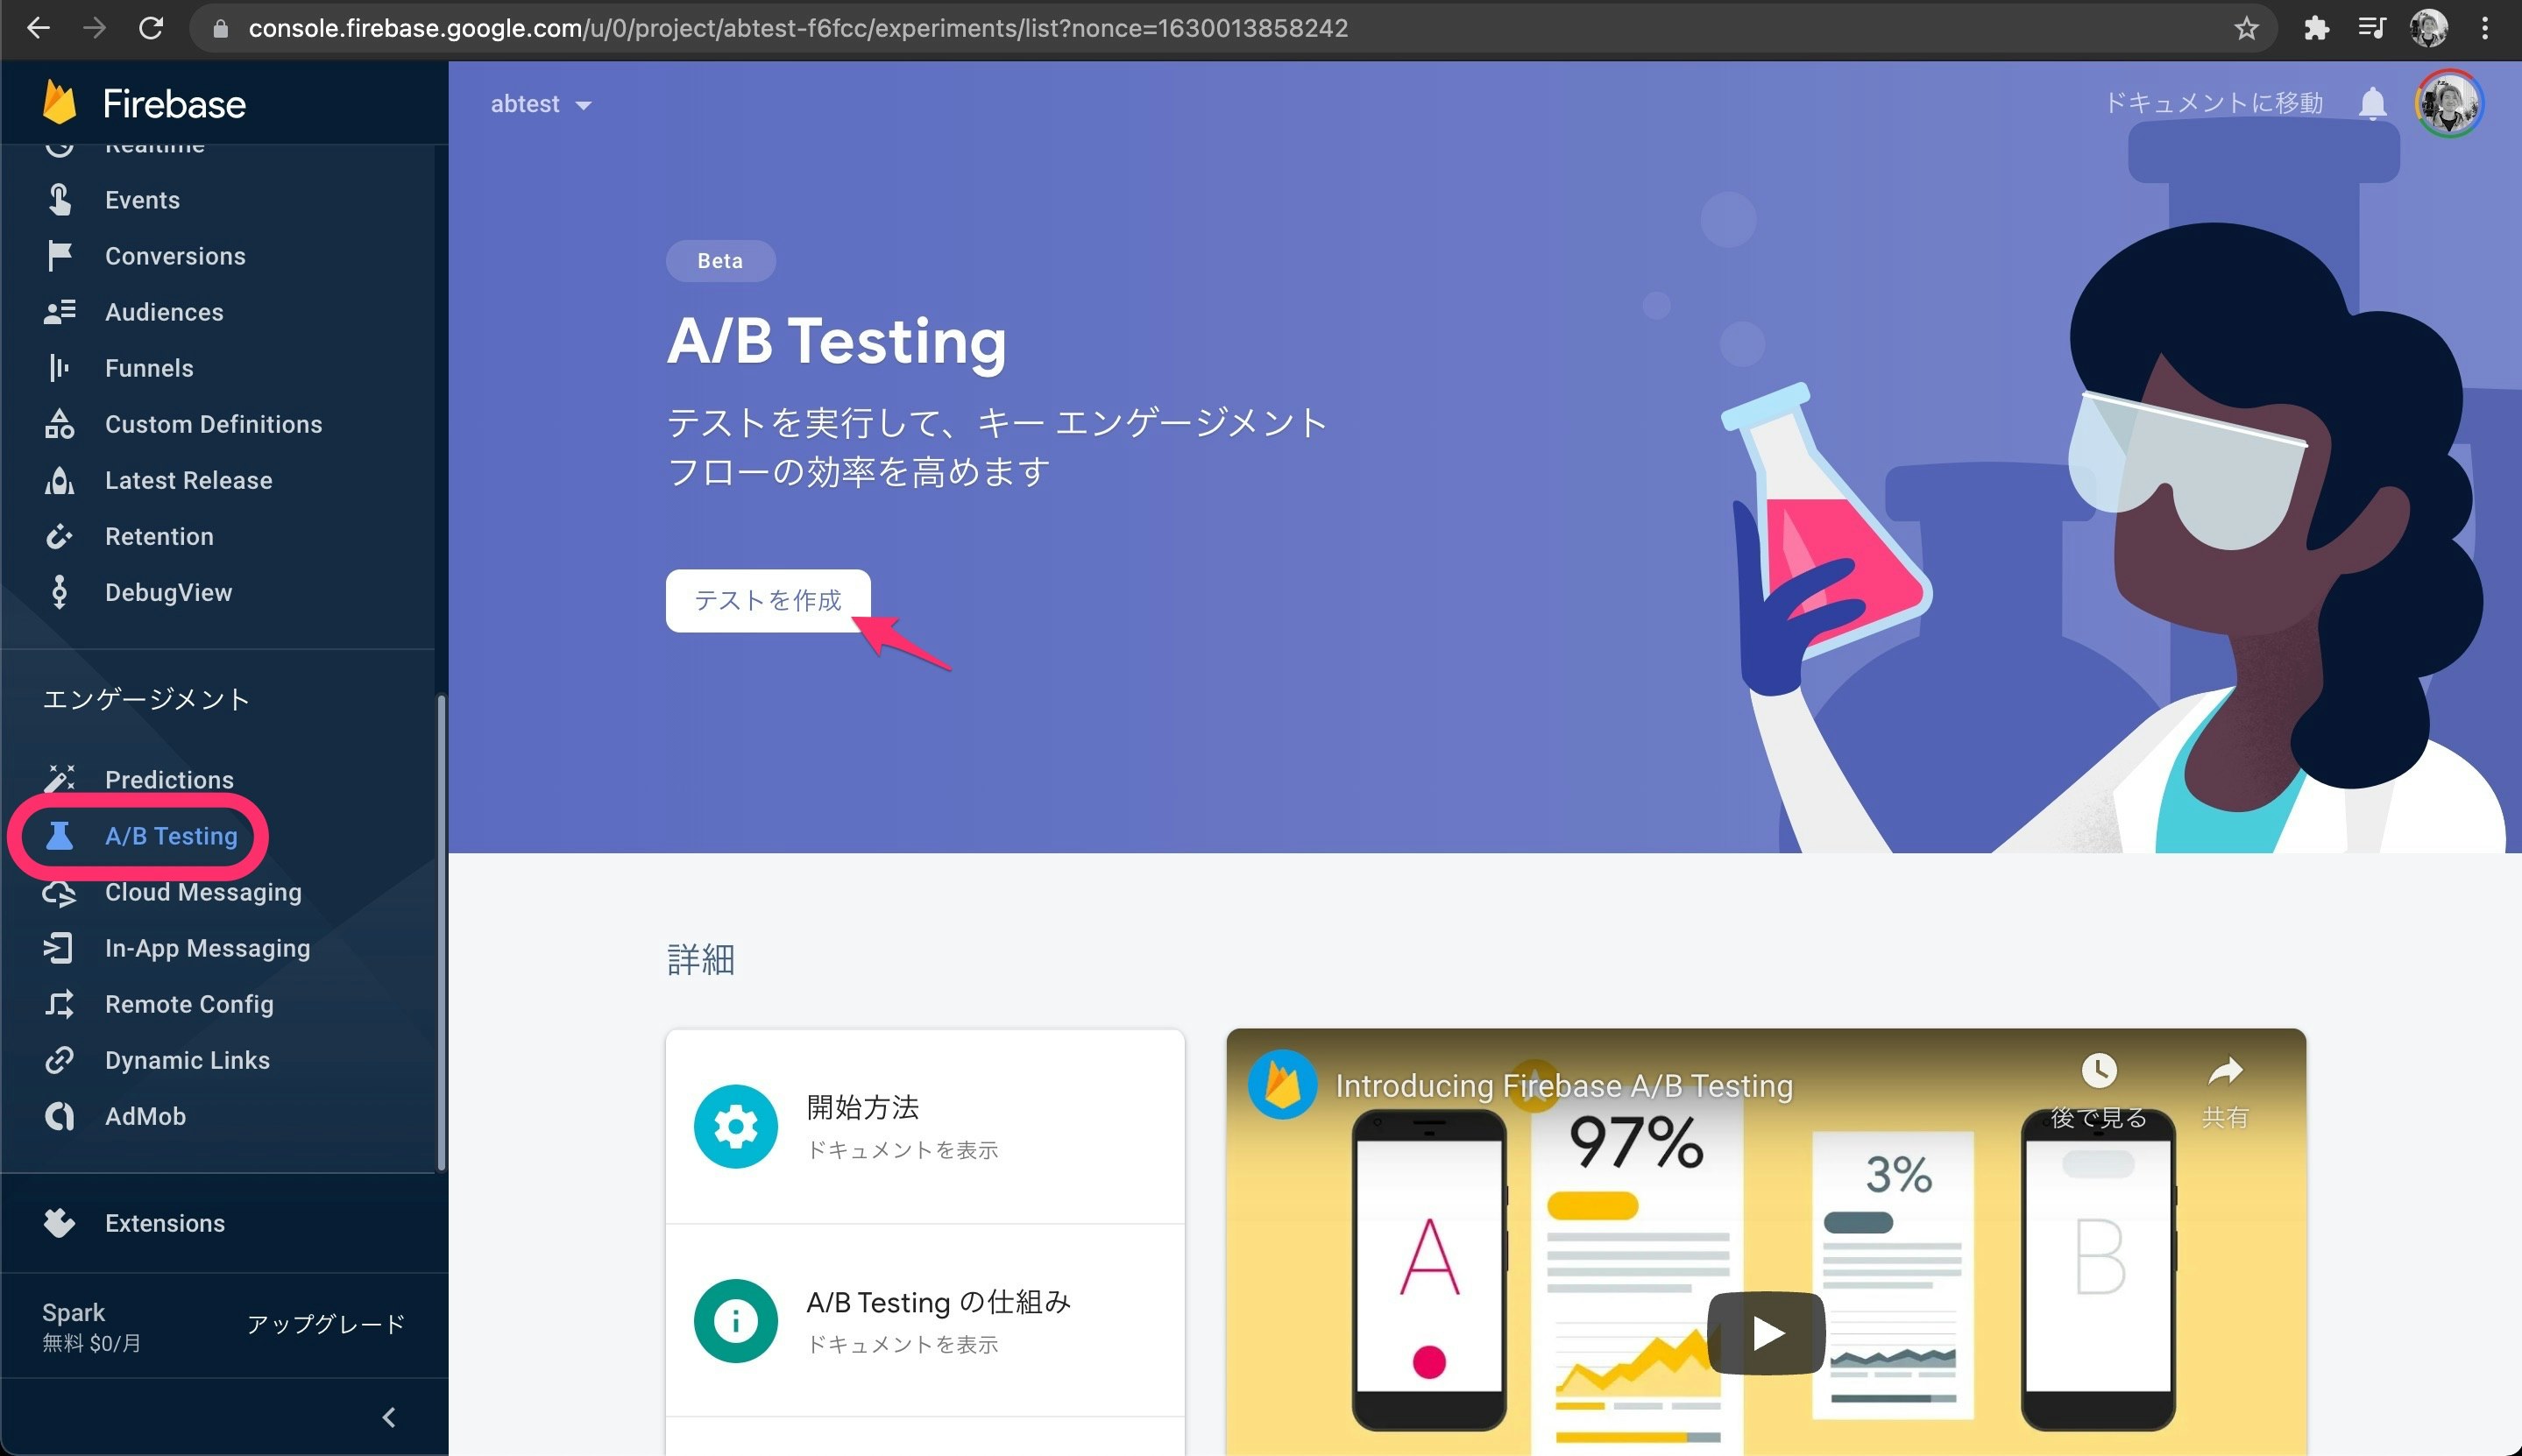
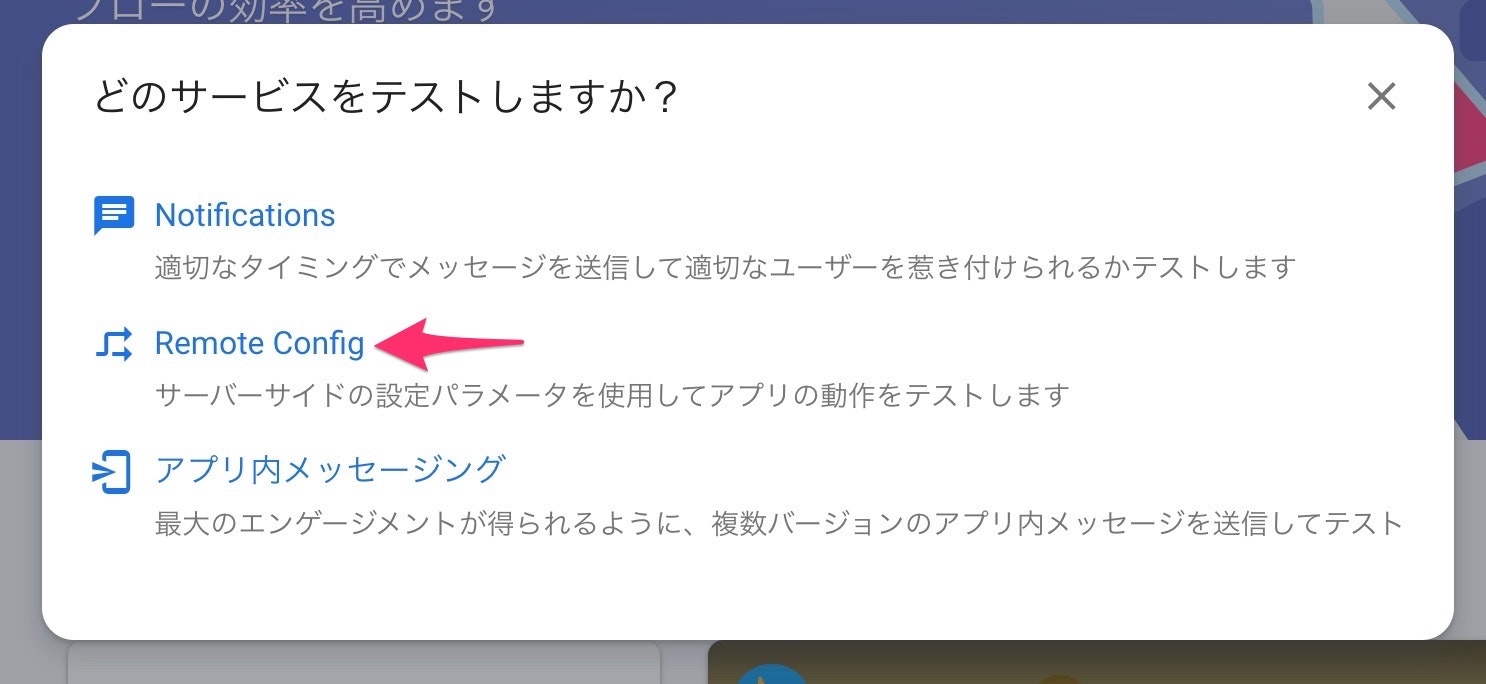
Remote Configを作成します。
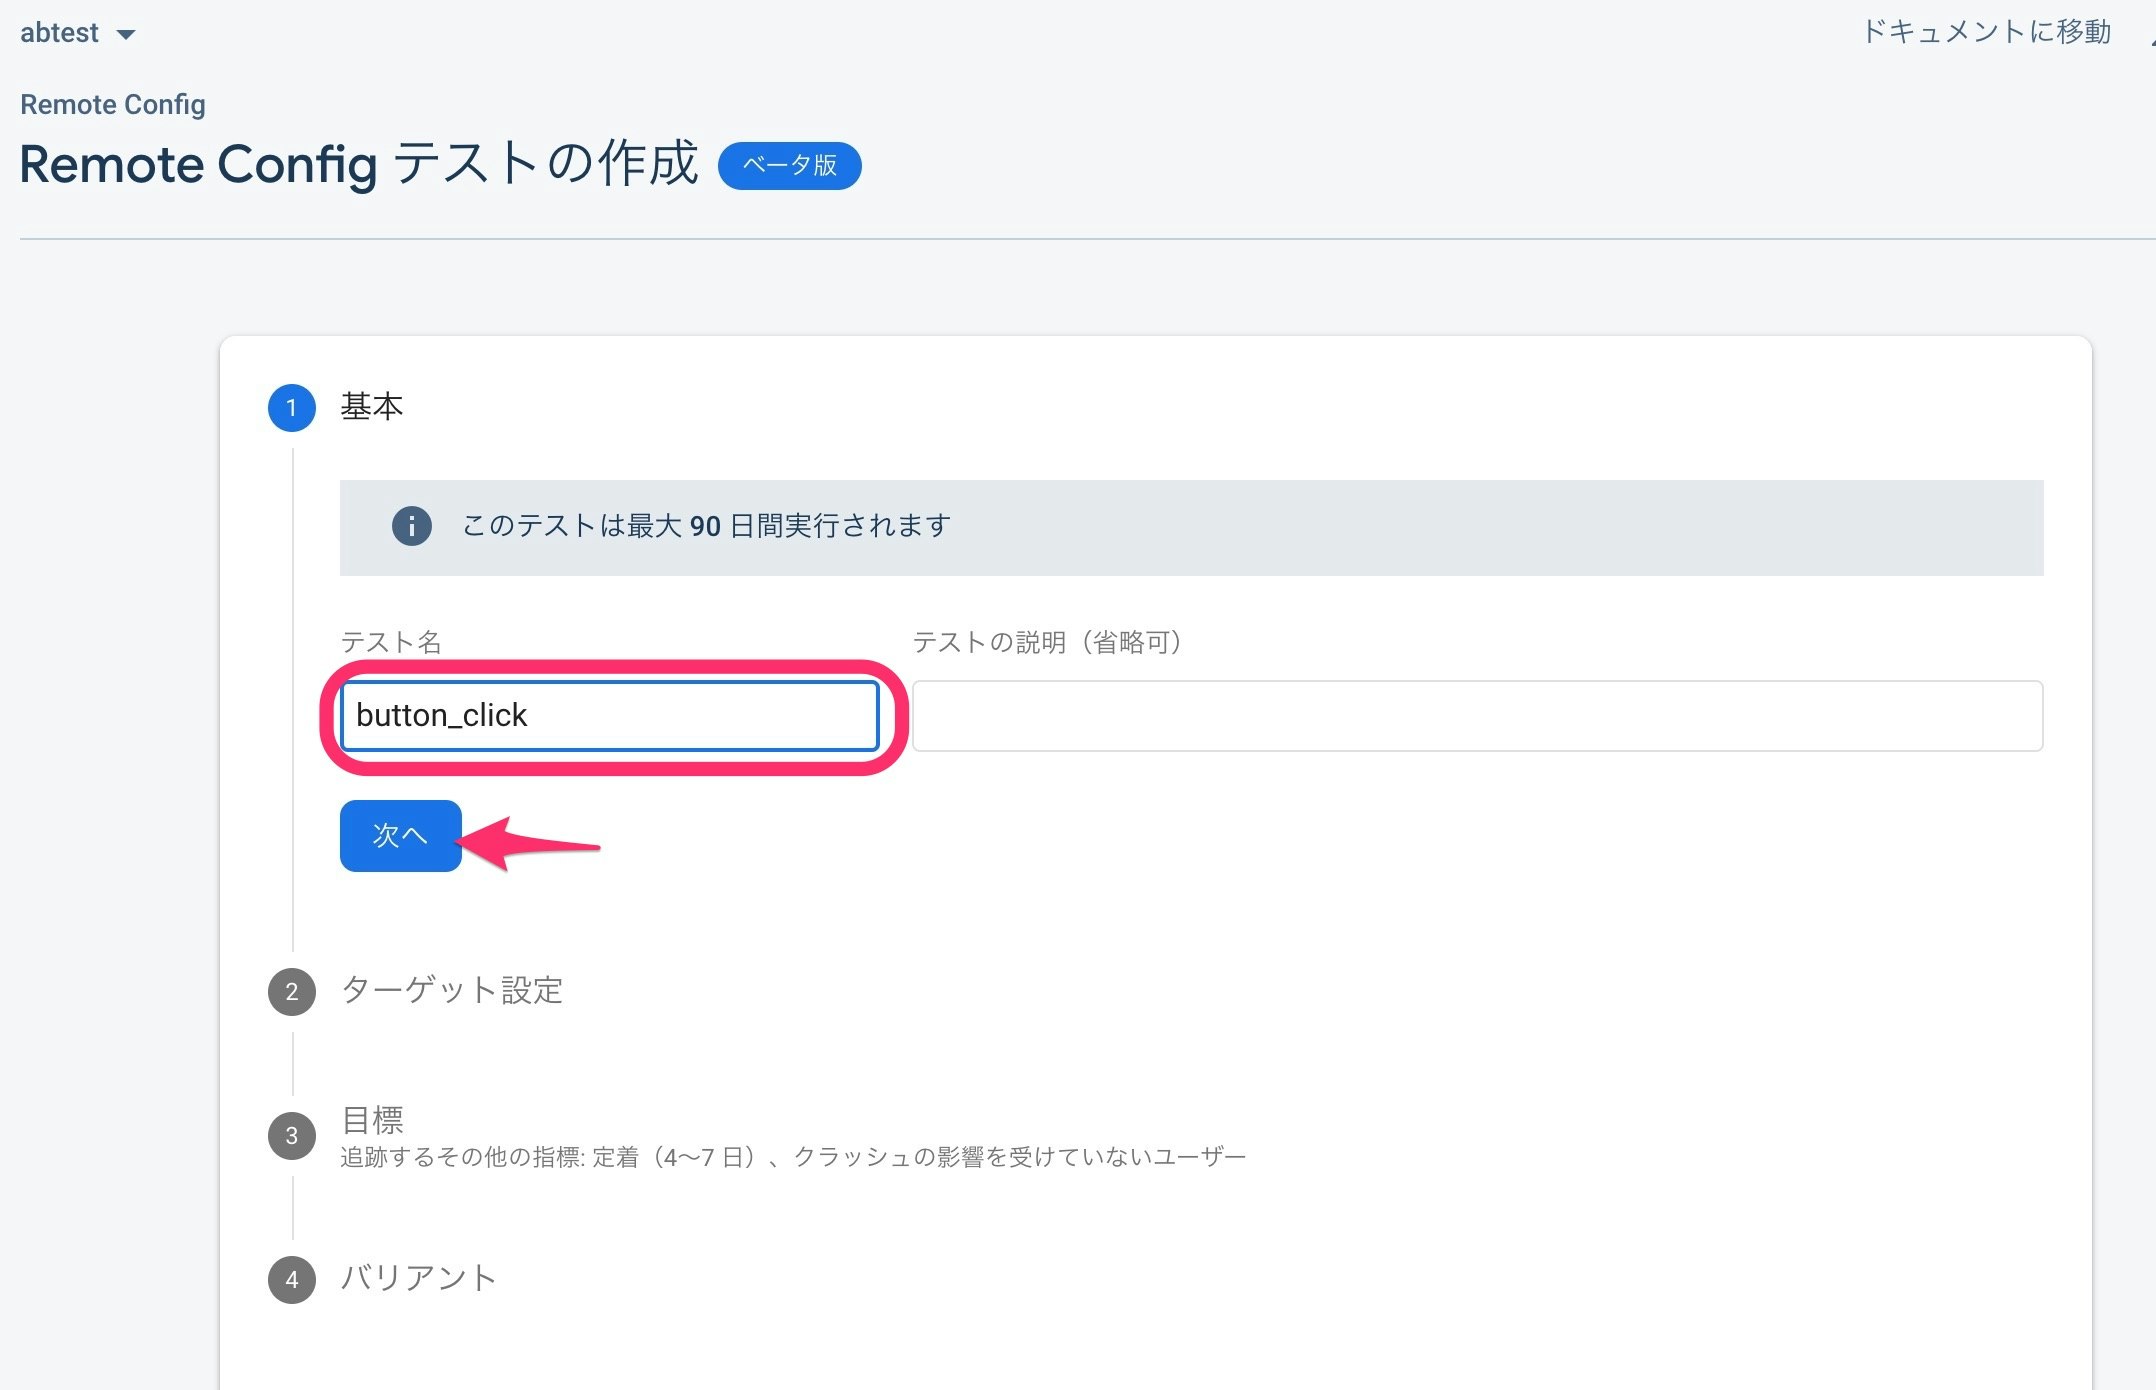
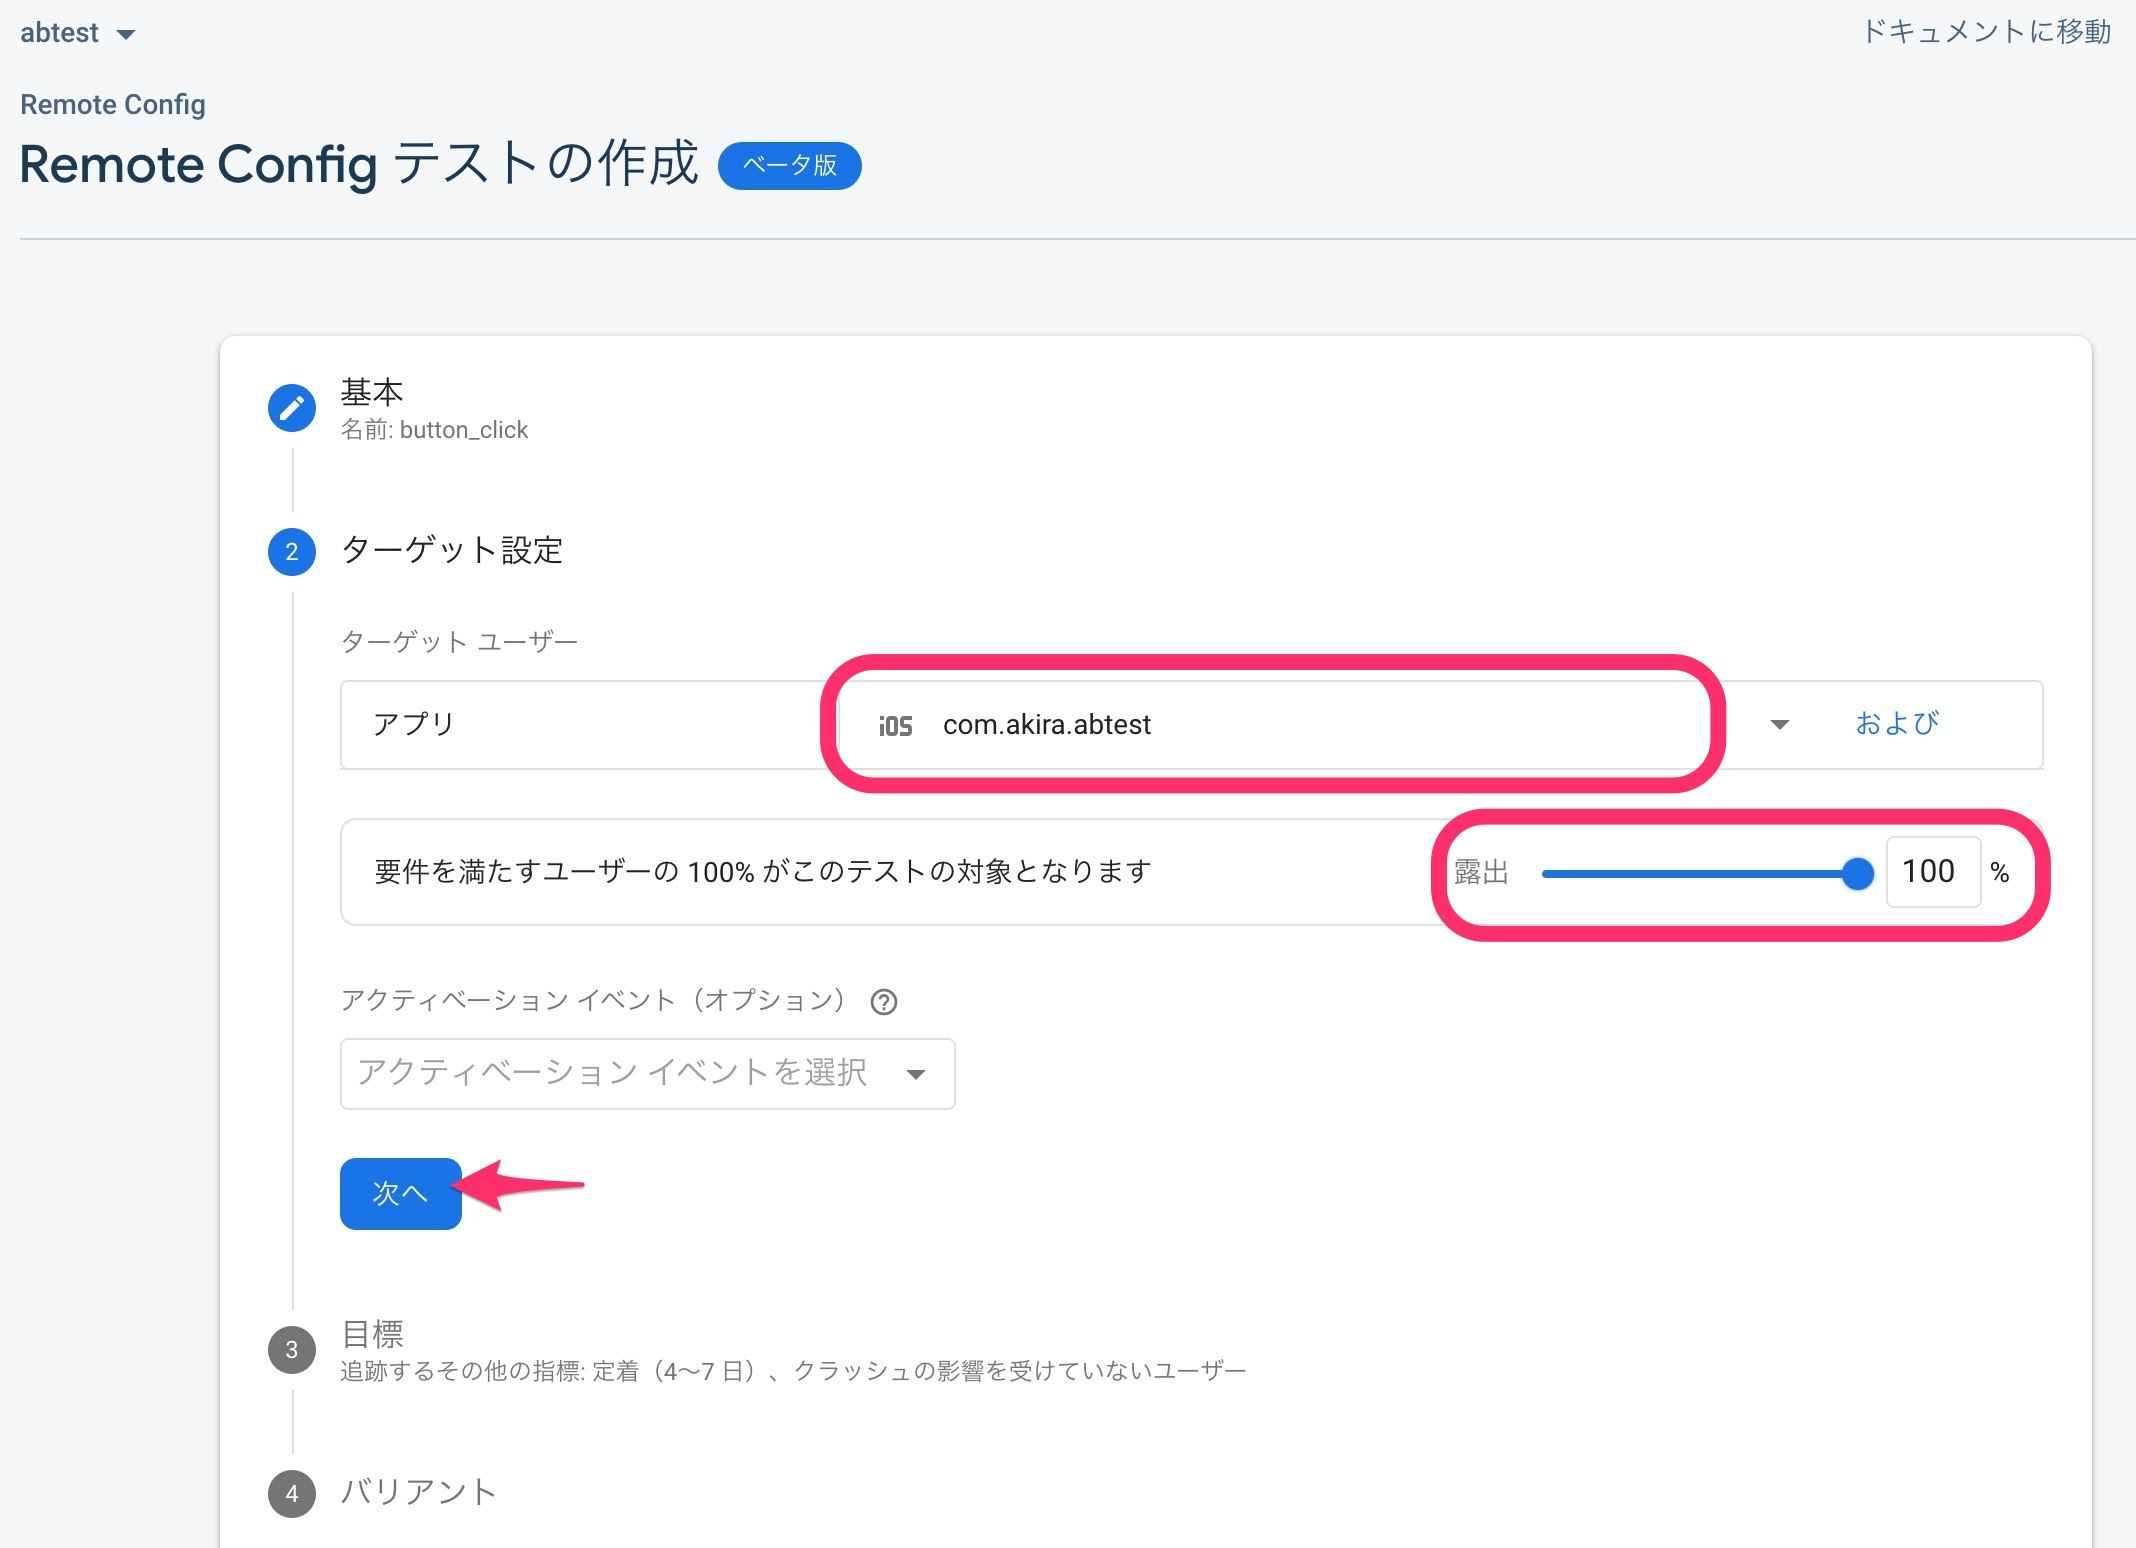
テスト名を button_click として次へ進みます。
登録したアプリを選択し100%の利用者でテストを有効にします。ユーザー数が多いサービスの場合は全体の30%などでテストを行うのもよいでしょう。
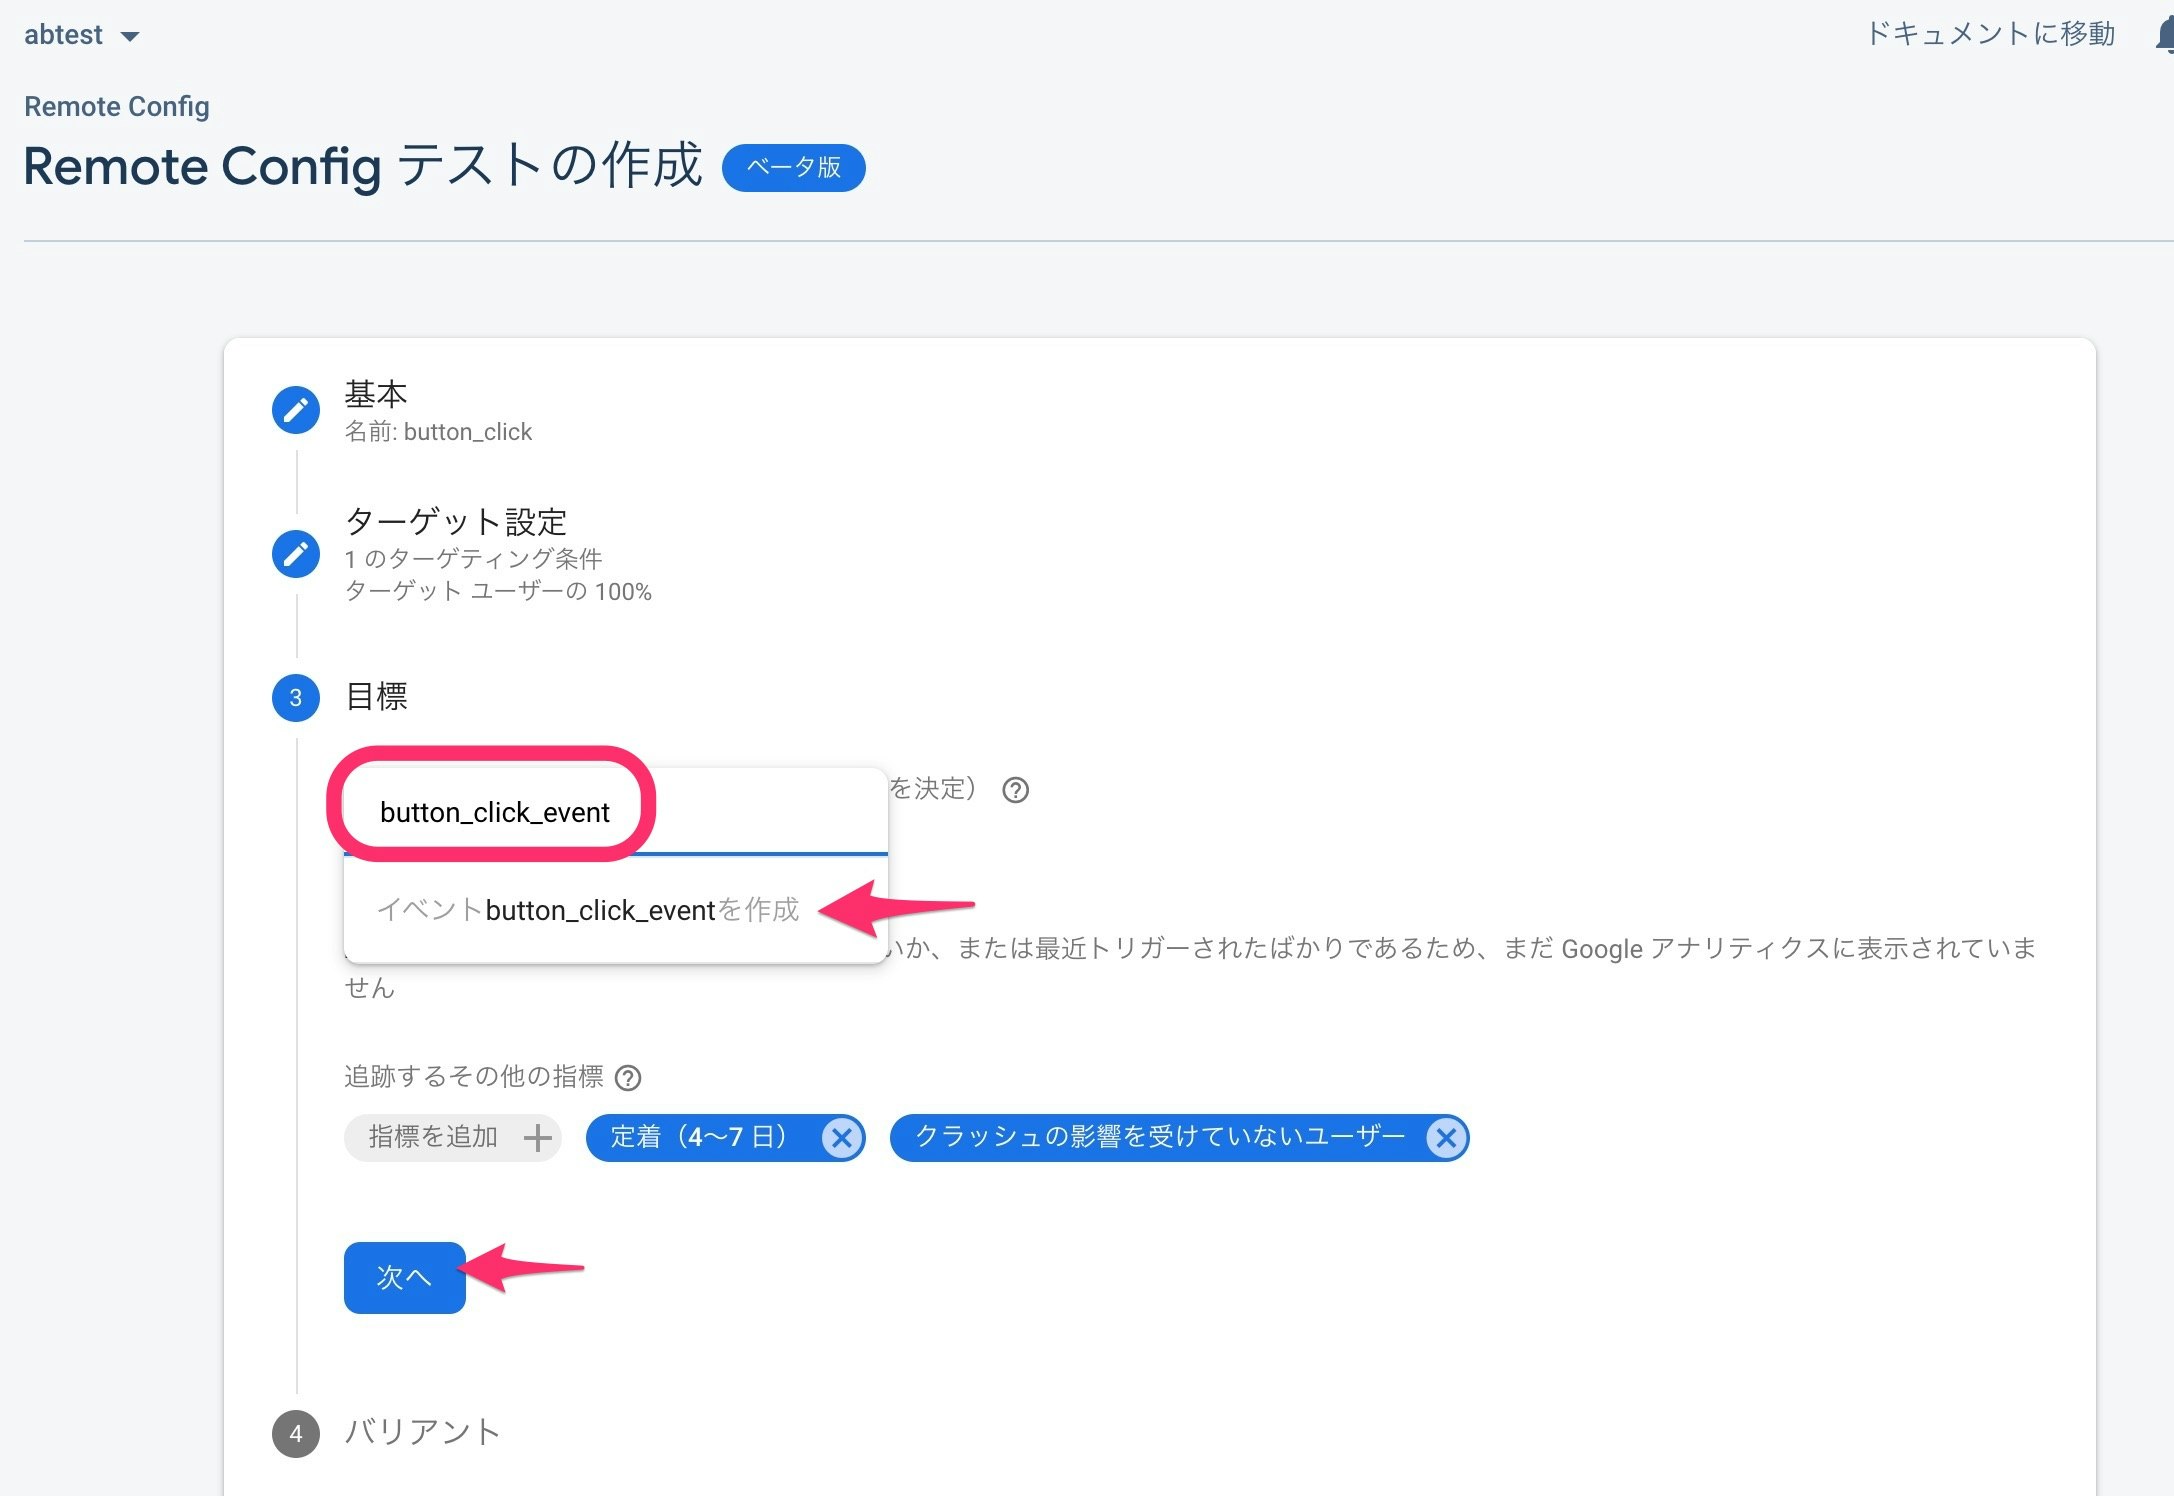
次に目標を設定します。ここではボタンがクリックされたときに呼ぶイベントを作成します。 button_click_event とします。定着率などを計測したい場合はそちらの項目を選択してください。
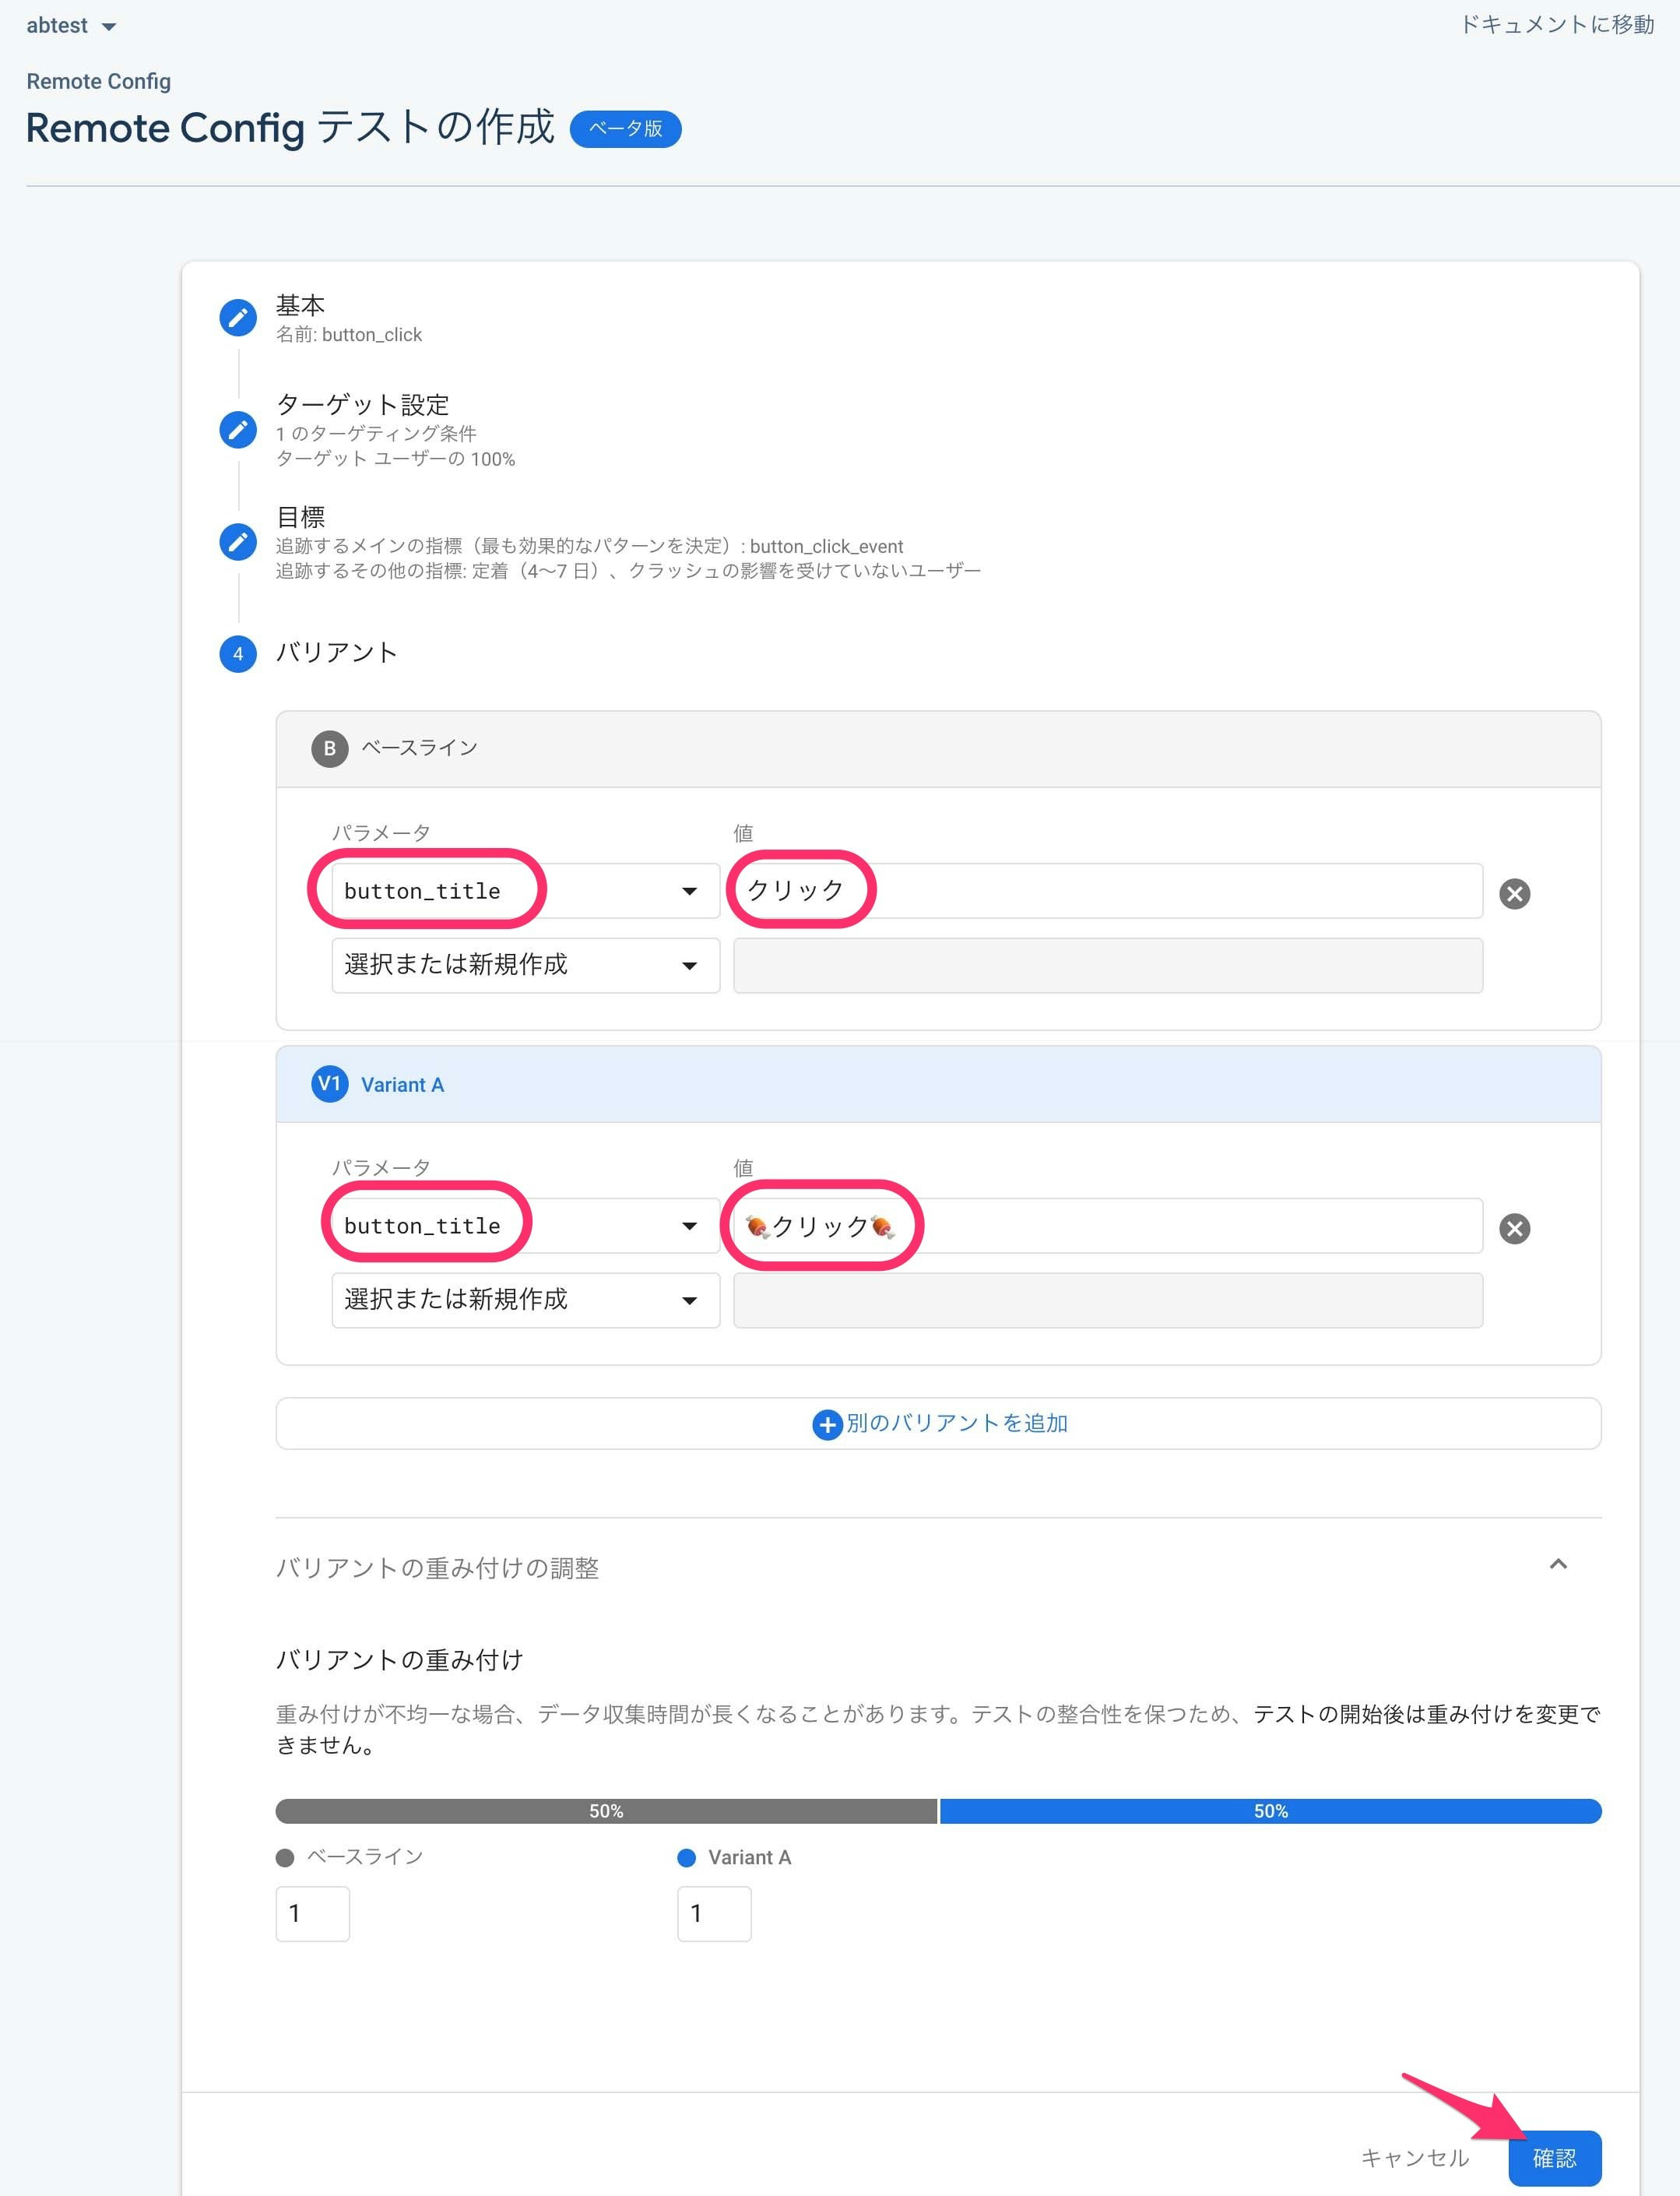
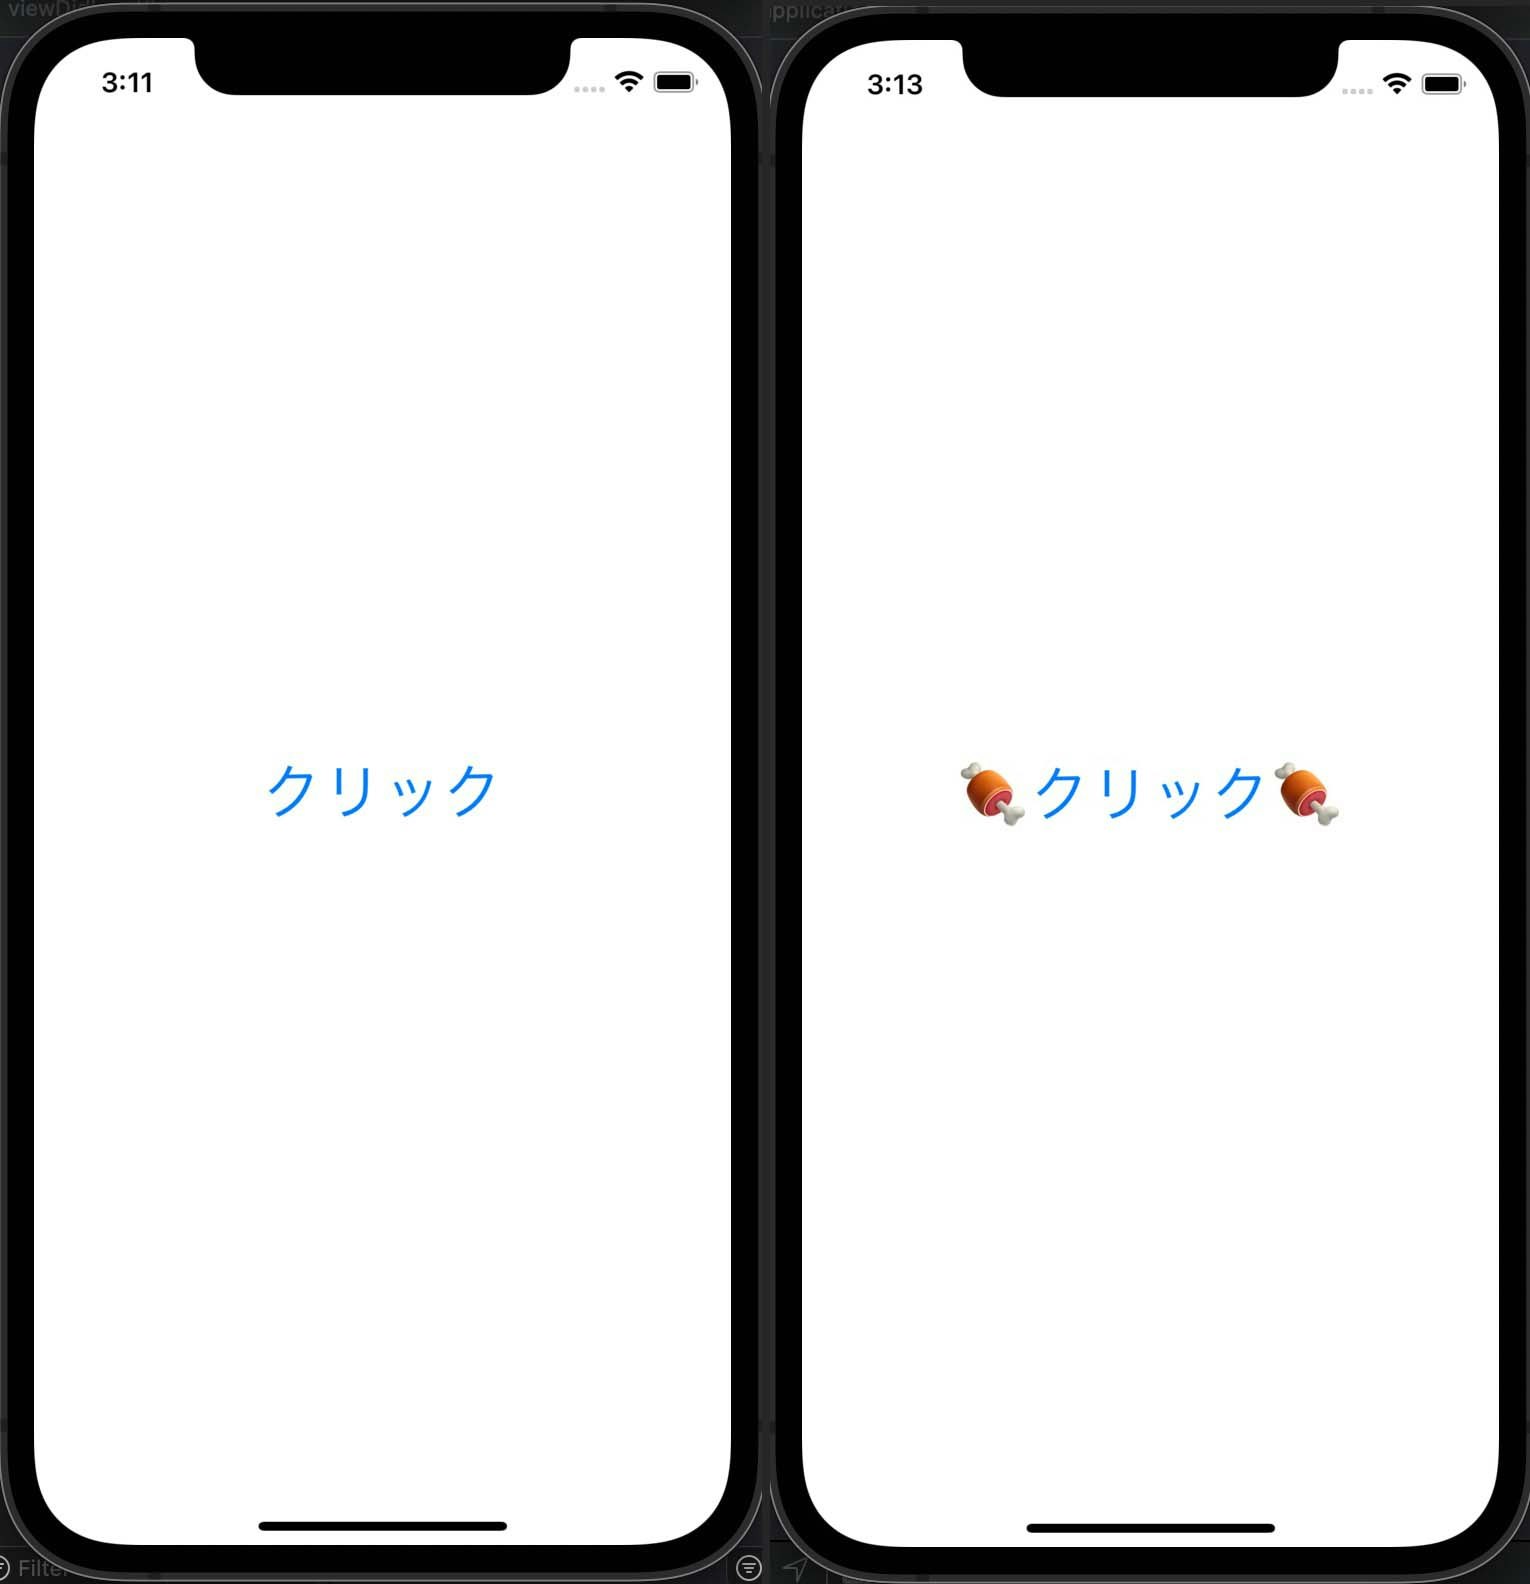
次にバリアントを設定します。バリアントとはつまりAとかBです。3パターンならCもあるでしょう。ここでは button_title というパラーメータに クリック と 🍖クリック🍖 を設定します。これをアプリのボタンに設定して表示を分けます。
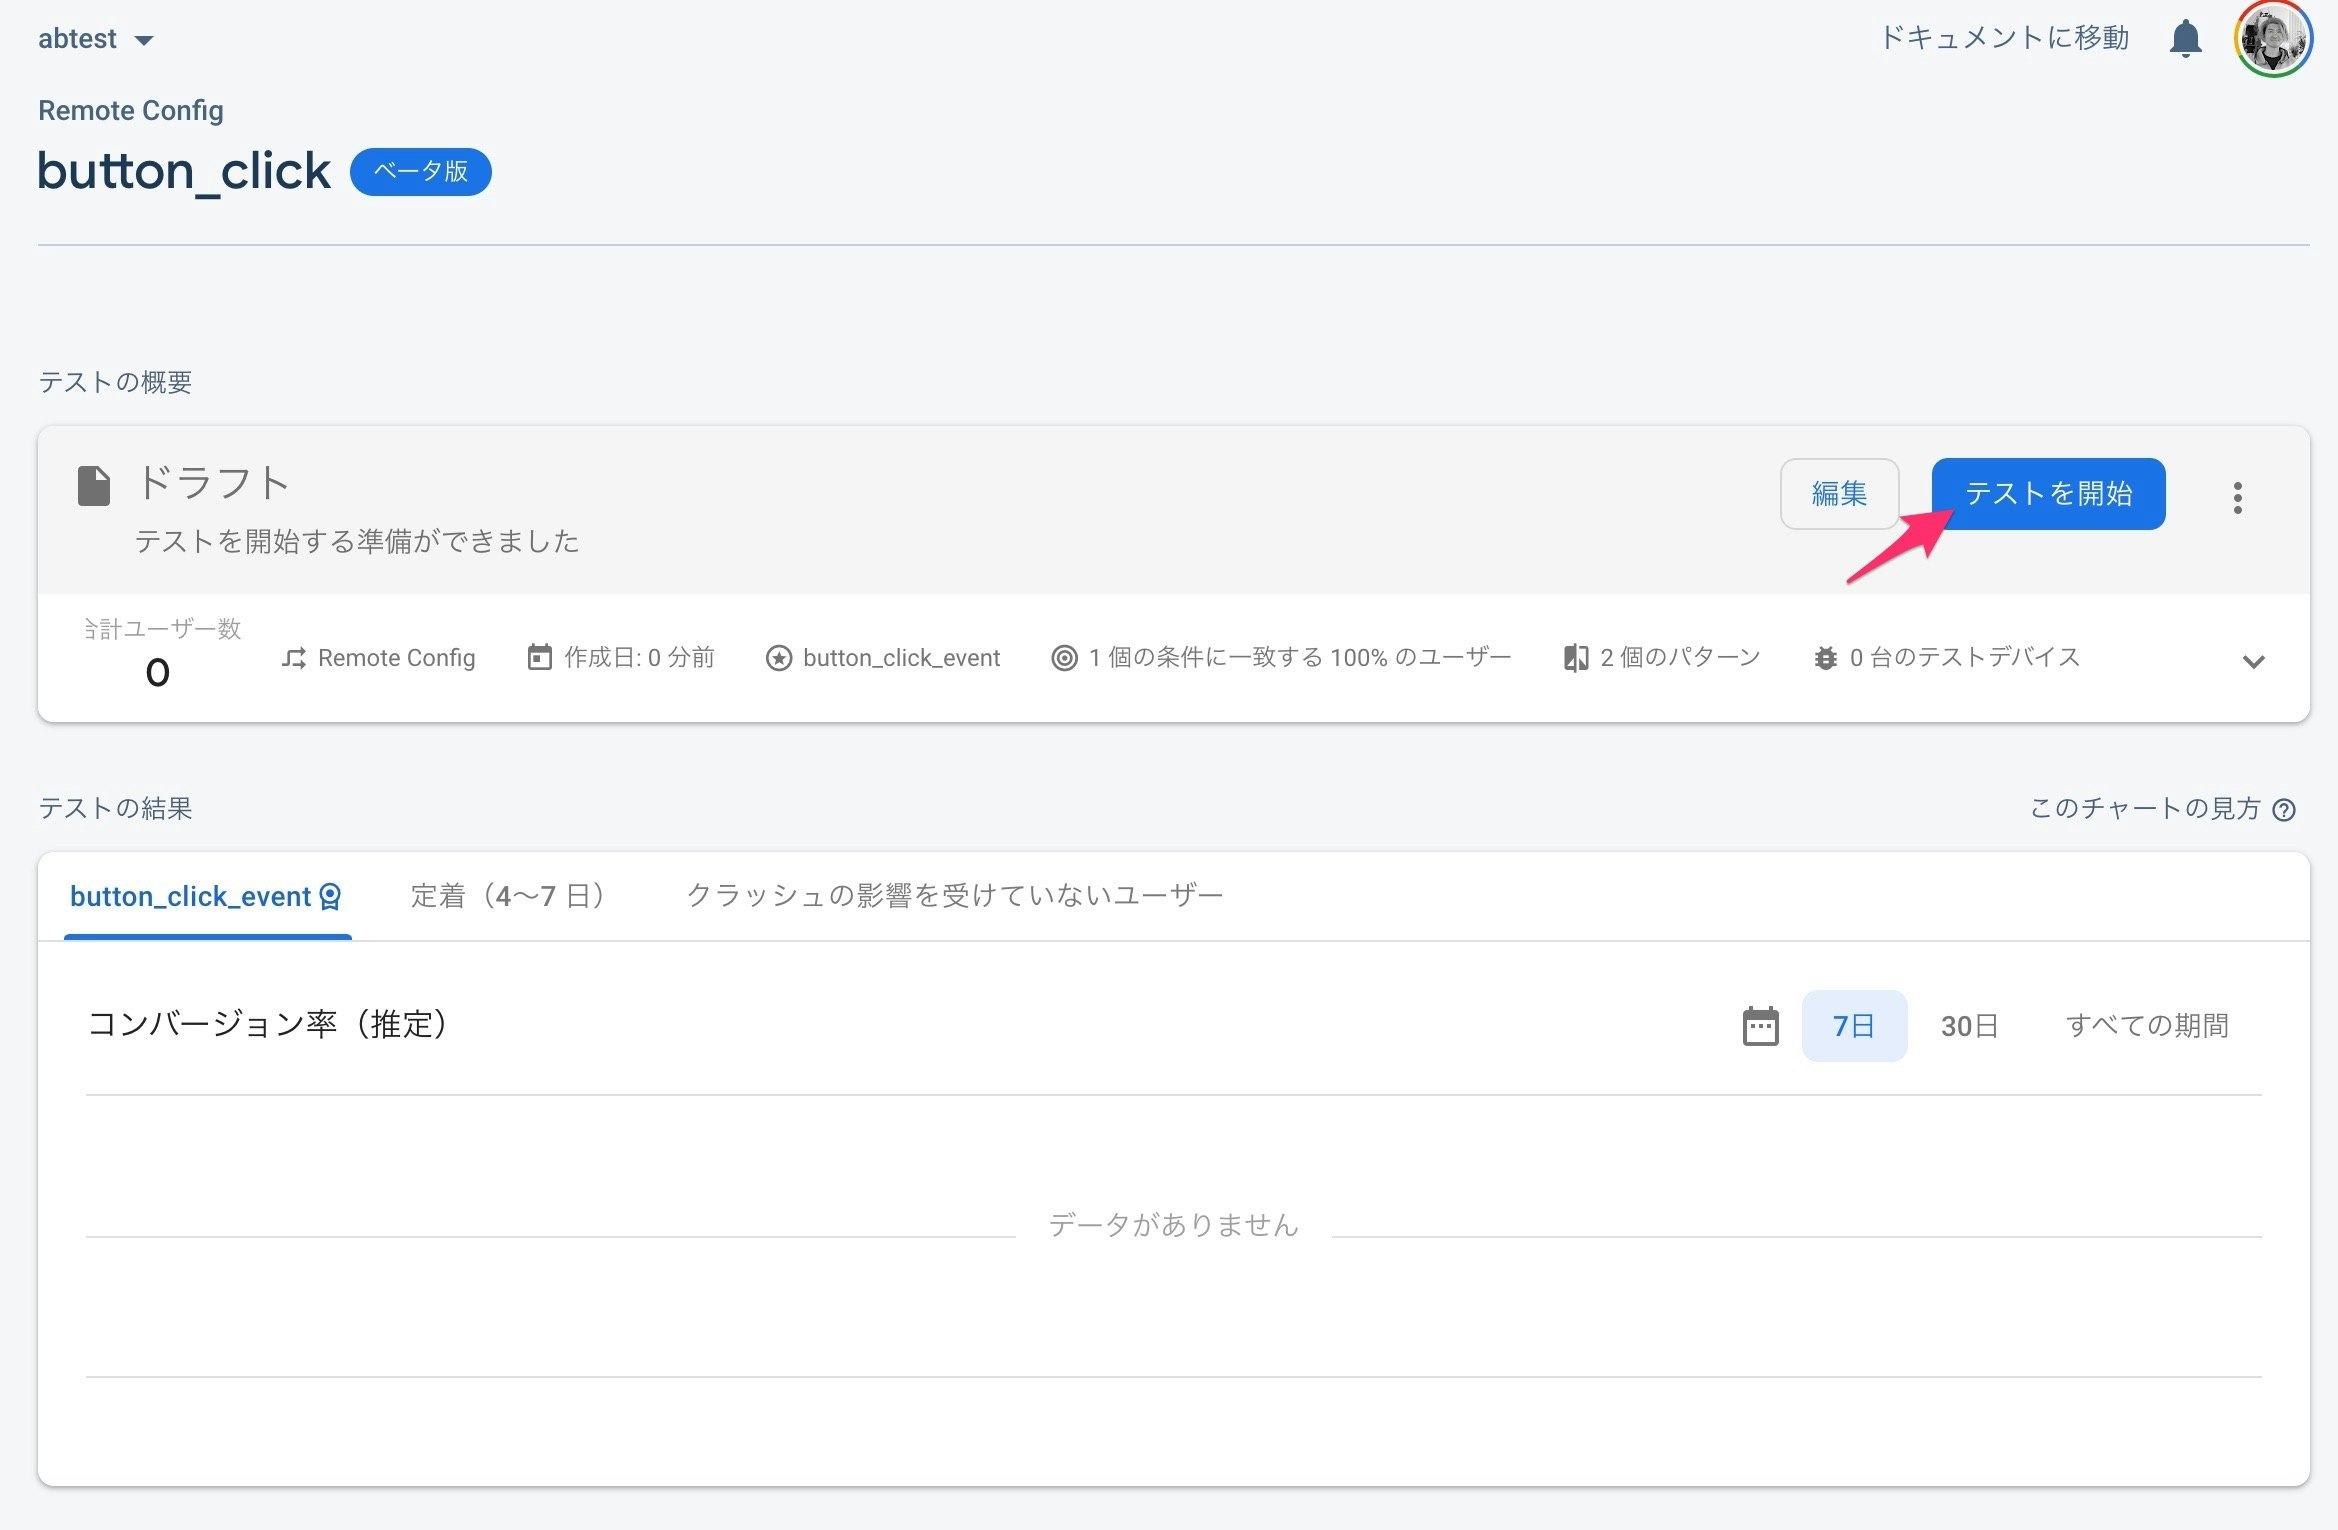
テストを開始します。
アプリでボタンのテキストを分ける
次はアプリにFirebase A/Bテストを入れていきます。まずはFirebase Remote Configを使うクラスを作ります。
import Firebase

class RCValues {
    enum ValueKey: String {
        case button_title
    }

    static let sharedInstance = RCValues()

    private init() {
        loadDefaultValues()
        fetchCloudValues()
    }

    func loadDefaultValues() {
        let appDefaults: [String: Any?] = [
            ValueKey.button_title.rawValue : "クリック",
        ]
        RemoteConfig.remoteConfig().setDefaults(appDefaults as? [String: NSObject])
    }

    func activateDebugMode() {
        let settings = RemoteConfigSettings()
        settings.minimumFetchInterval = 0
        RemoteConfig.remoteConfig().configSettings = settings
    }

    func fetchCloudValues() {
        activateDebugMode()
        RemoteConfig.remoteConfig().fetch { [weak self] _, error in
            if let error = error {
                print("Uh-oh. Got an error fetching remote values \(error)")
                return
            }
            RemoteConfig.remoteConfig().activate { _, _ in
            }
        }
    }

    func string(forKey key: ValueKey) -> String {
        return RemoteConfig.remoteConfig()[key.rawValue].stringValue!
    }
}
適当な場所に置きxcodeに取り込んでください。
RCValues はシングルトンで RCValues.sharedInstance でアクセスします。インスタンスが作成されると loadDefaultValues() で初期値を設定しfetchCloudValues() でFirebaseからRemote Configを取得してきます。
activateDebugMode() はデバック用のコードです。 minimumFetchInterval = 0 にすることでインタンス作成時に必ずRemote Configを取得してきます。未設定の場合は1日おきなど、ある程度時間が立たないと更新されません。
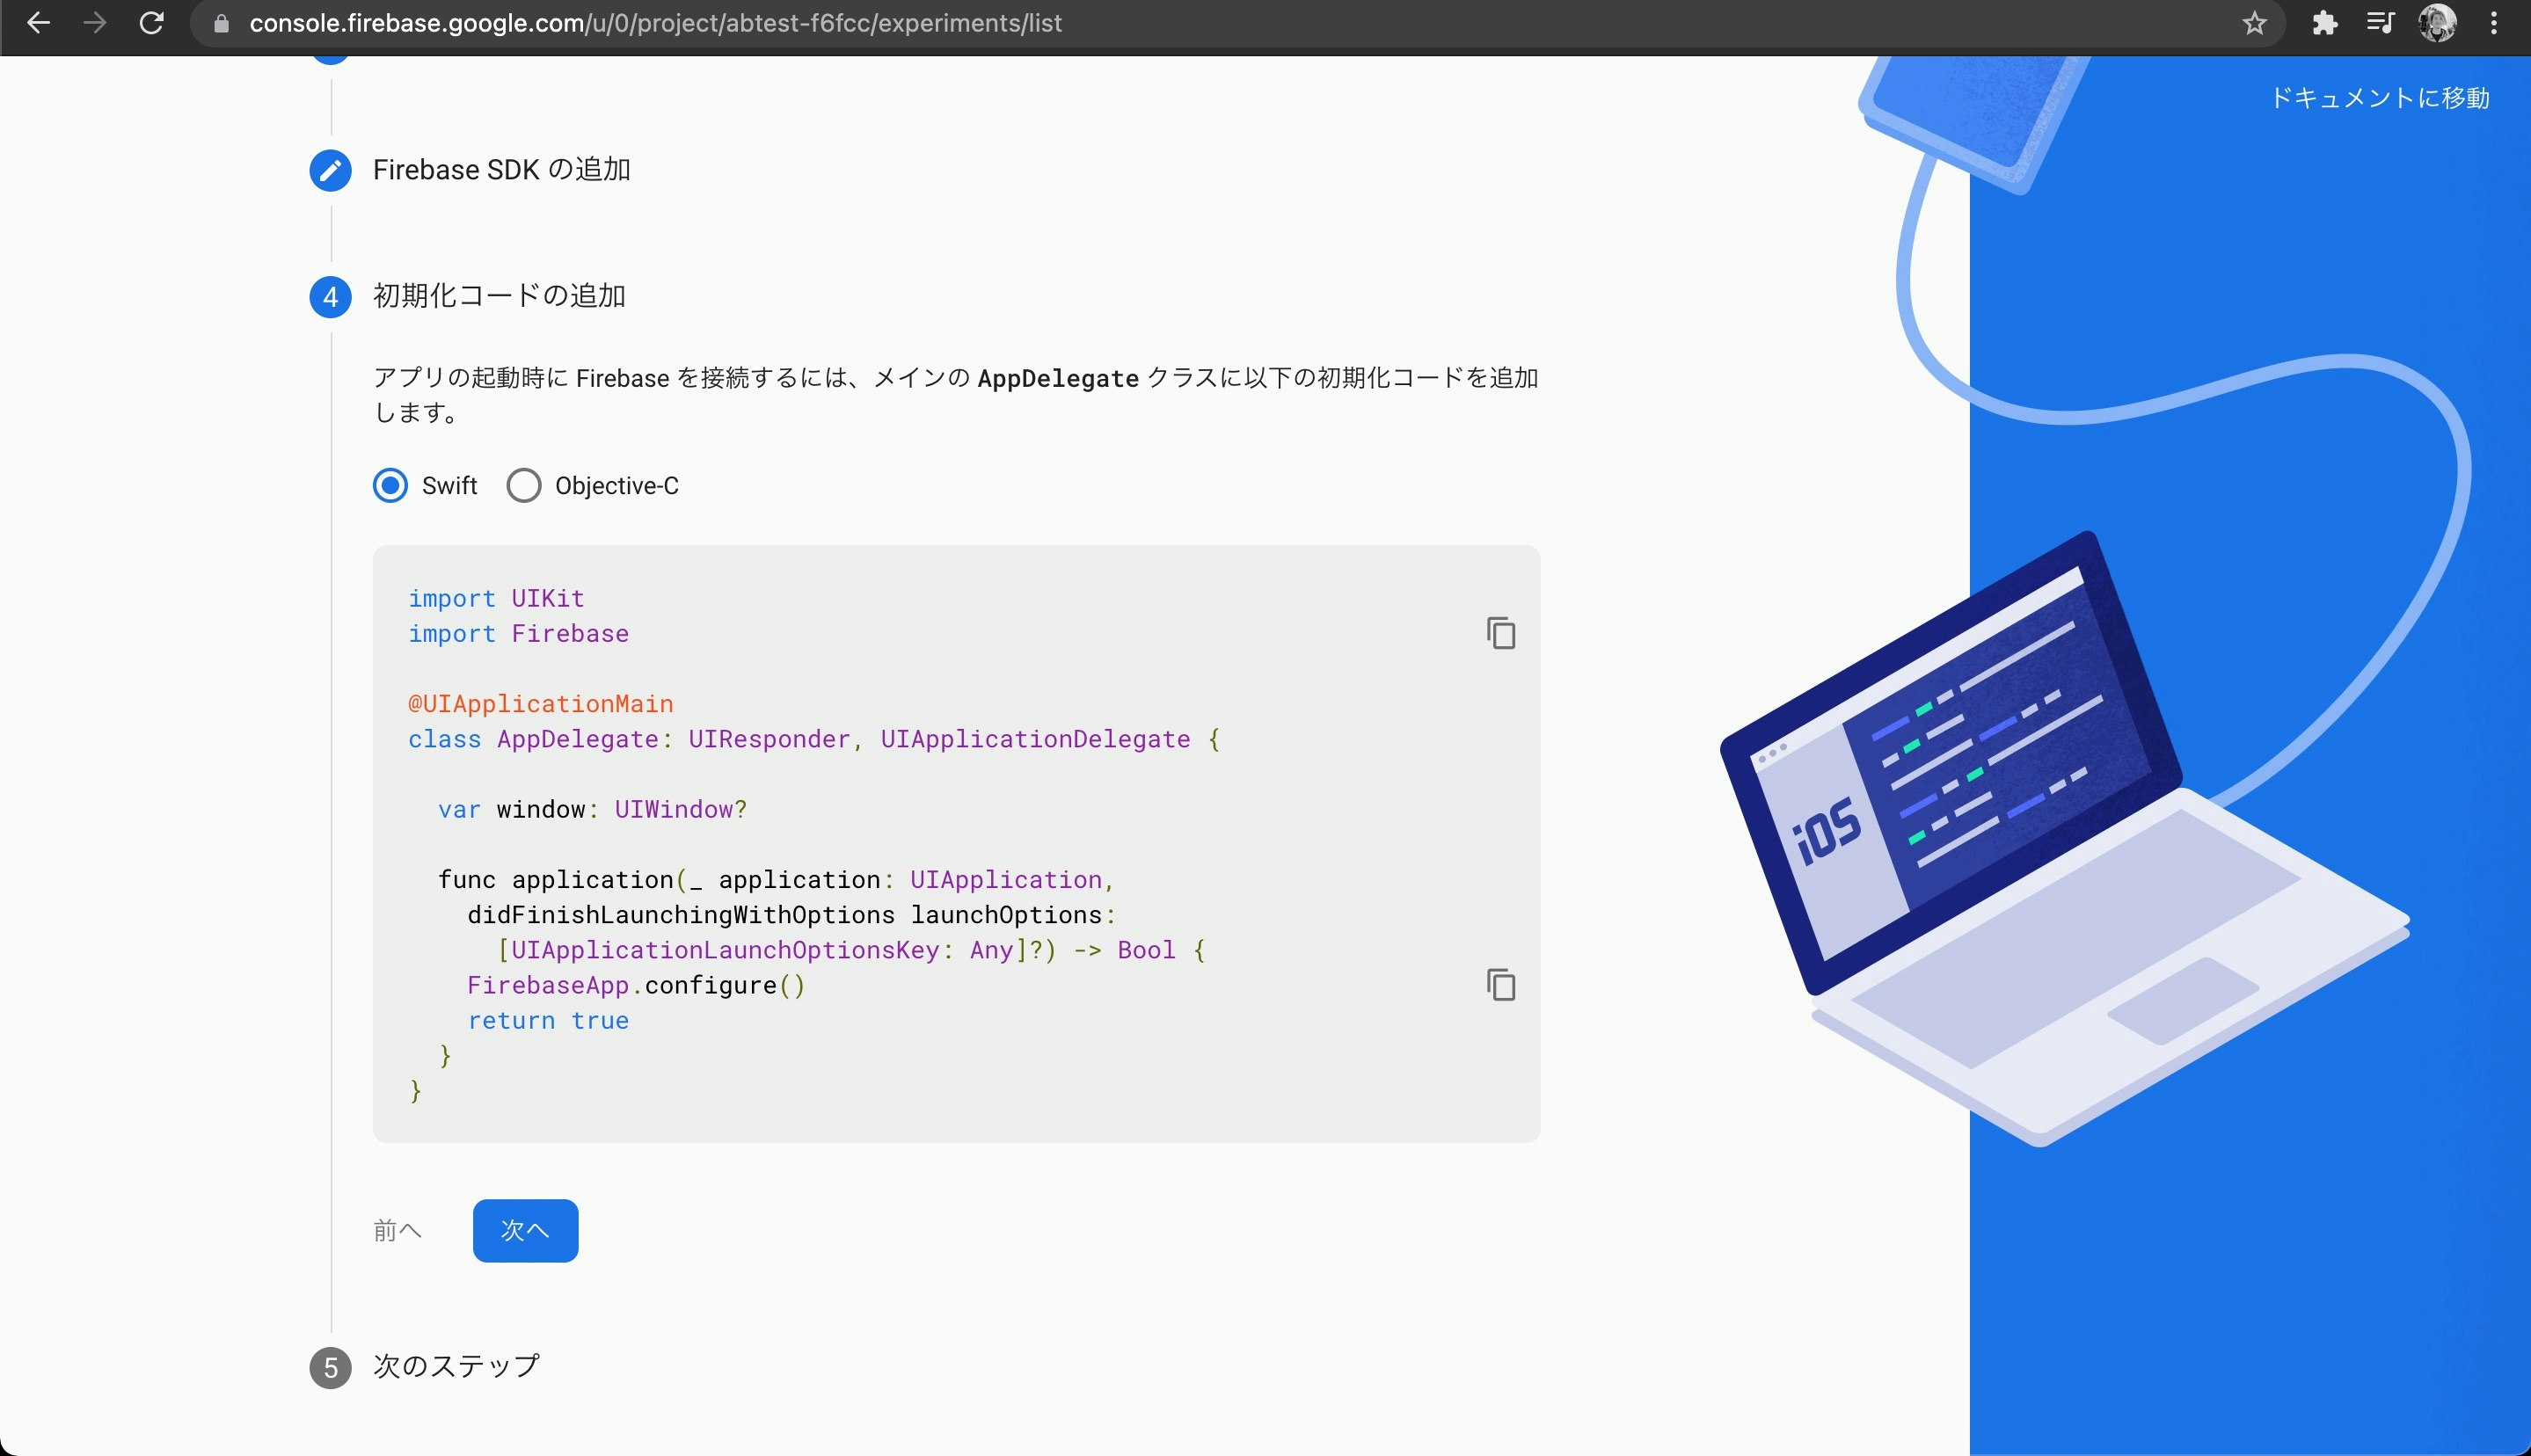
次にFirebaseとRCValuesを初期化します。
class AppDelegate: UIResponder, UIApplicationDelegate {
    func application(_ application: UIApplication, didFinishLaunchingWithOptions launchOptions: [UIApplication.LaunchOptionsKey: Any]?) -> Bool {
        // Override point for customization after application launch.
        FirebaseApp.configure()
        _ = RCValues.sharedInstance
        return true
    }
FirebaseApp.configure() でFirebaseを初期化し、 _ = RCValues.sharedInstance でRCValuesのインスタンスを作成します。
最後にRemote Configの値を使ってボタンのテキストを変更し、ボタンがタップされたらAnalyticsでイベントを呼び出します。
import UIKit
import Firebase

class ViewController: UIViewController {
    @IBOutlet weak var button: UIButton!

    override func viewDidLoad() {
        super.viewDidLoad()
        // Do any additional setup after loading the view.
        let buttonTitle = RCValues.sharedInstance.string(forKey: .button_title)
        button.setTitle(buttonTitle, for: .normal)
    }

    @IBAction func onButton(_ sender: Any) {
        Analytics.logEvent("button_click_event", parameters: nil)
    }
}
RCValues.sharedInstance.string(forKey: .button_title) でRemote Configで設定したテキストを取ってきてボタンに設定できます。
そしてボタンをタップされたときに Analytics.logEvent("button_click_event", parameters: nil) でイベントを送信します。これでどちらのボタンの方がクリック率が高いのかが測定できます。
これでアプリを何回か実行してみてください。半々の確率でテキストが変わると思います。
特定のデバイスにAとBを指定する
開発時にはランダムで表示されるよりもどちらかに固定したい場合があると思います。その場合はデバイスを登録して指定できます。
class AppDelegate: UIResponder, UIApplicationDelegate {
    func application(_ application: UIApplication, didFinishLaunchingWithOptions launchOptions: [UIApplication.LaunchOptionsKey: Any]?) -> Bool {
        // Override point for customization after application launch.
        FirebaseApp.configure()
        Installations.installations().authToken { result, _ in
            print("Your instance ID token is \(result?.authToken ?? "n/a")")
        }
        _ = RCValues.sharedInstance
        return true
    }
FirebaseApp.configure() の直後に Installations.installations().authToken を出力してその値をコピーしてください。
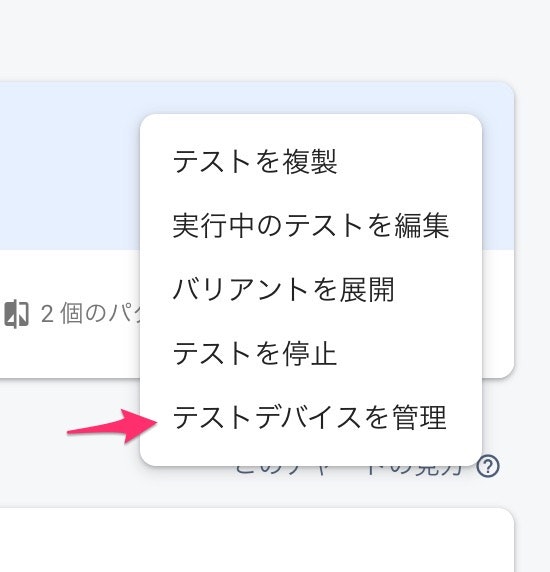
次にFirebase Consoleでデバイスを登録します。
テストデバイスを管理を選択し
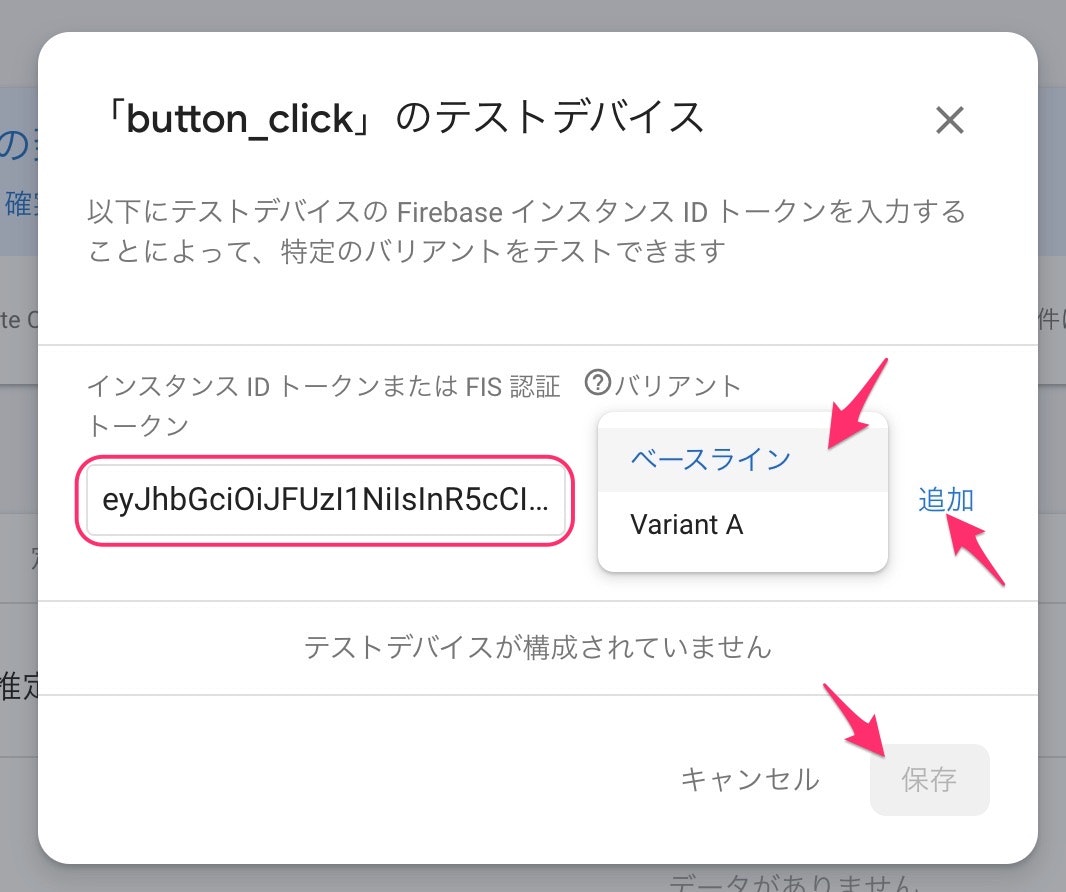
先程コピーしたトークンを貼り付け、バリアントを選択し、追加してから保存します。
これでどちらのテキストを表示するのか決めることができます。